How to make a mini 3.7 V electric soldering iron with fast heating of the tip
In a conventional electric soldering iron, the tip has a small contact surface with the spiral. As a result, a significant part of the heat is lost to heating the housing. We offer the design of a homemade soldering iron, in which heating is carried out in the tip itself, so it reaches operating temperature many times faster.
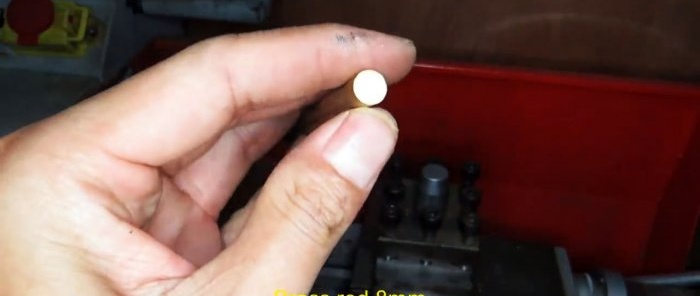
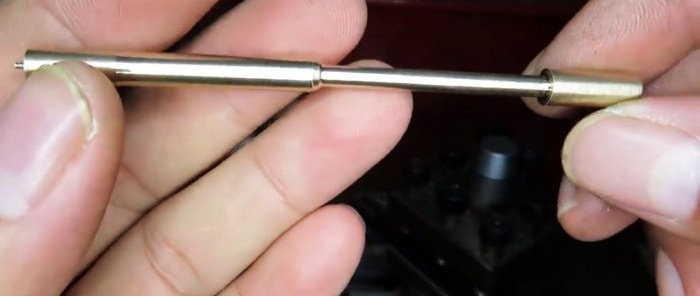
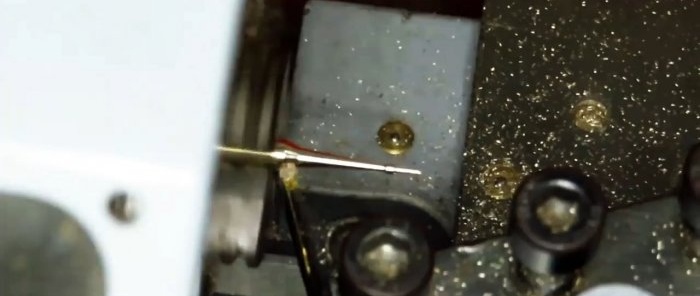
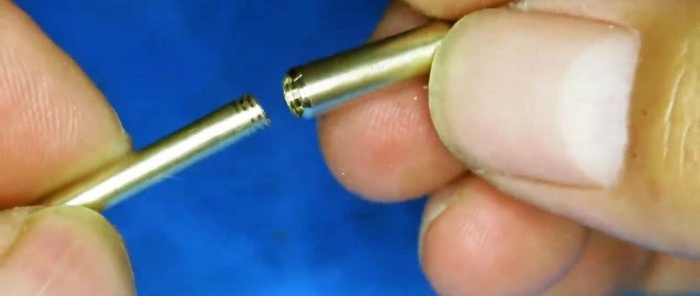
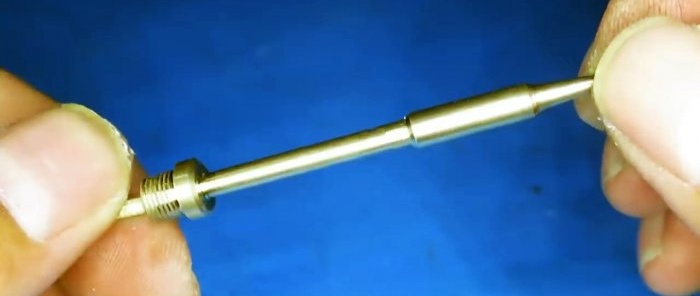
From a brass rod we turn a thin hollow tube with external threads along the edges on a lathe. This will be the body of the soldering iron. One thread is made small for connecting to the tip, and the second is large for attaching the handle. A slot needs to be made on the last turn of the smaller thread.
The sting is also sharpened.
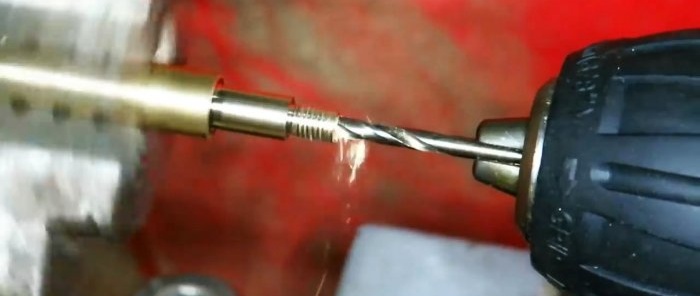
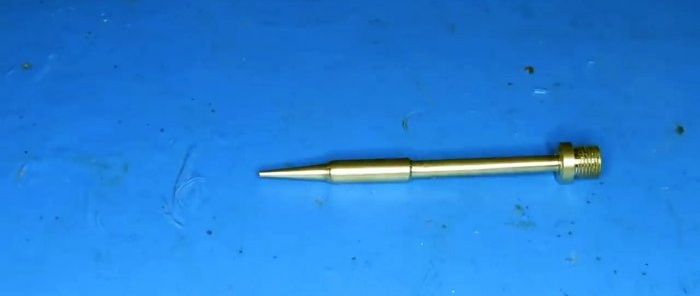
You need to leave 2-3 cm of rod in front of its sharp tip, drill it, and cut an internal thread to screw in the body.
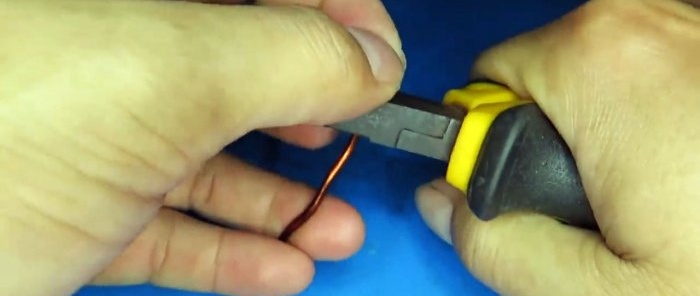
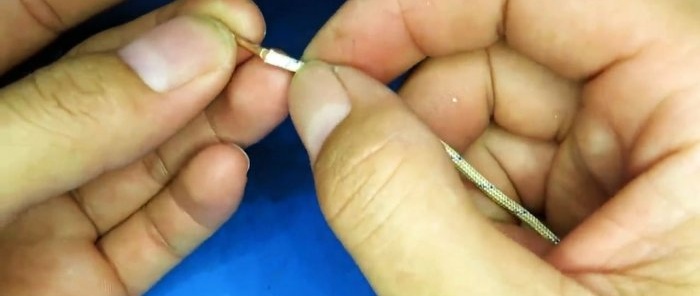
After this, you need to bite off 10-20 mm of thick copper wire and place it in a heat-resistant casing.
This will be the part for winding the thread; it should fit completely into the cavity in the tip.
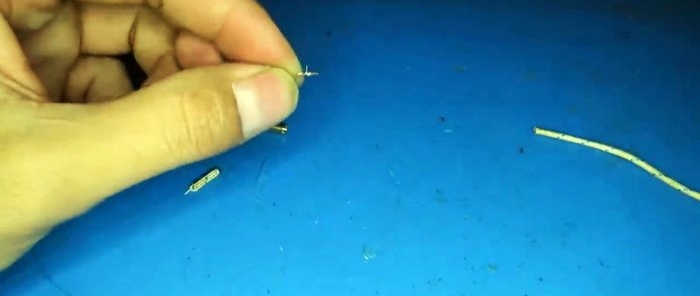
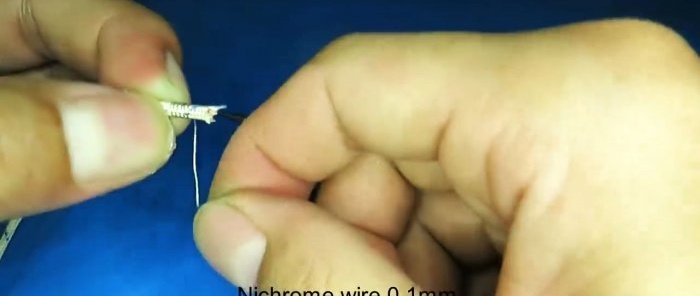
Next, we connect a piece of thin copper wire and a nichrome thread.
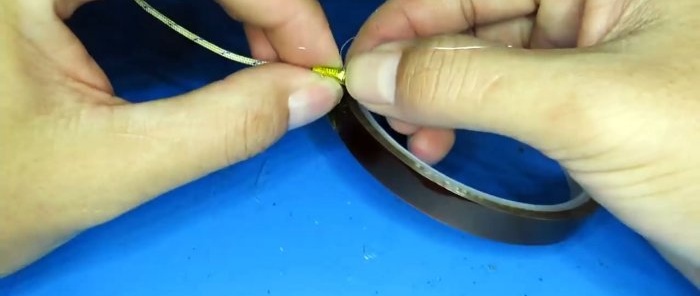
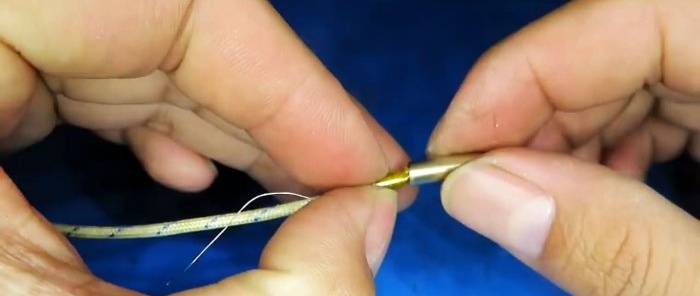
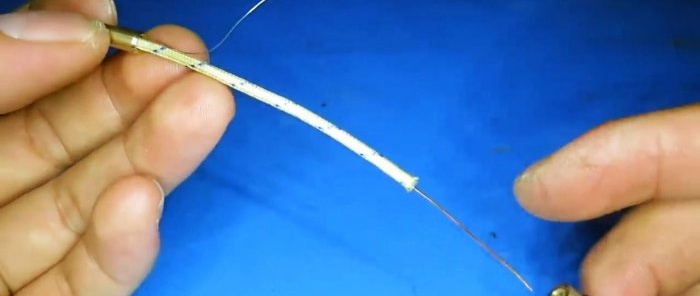
The wire is passed into the cambric. The thread is wound onto a previously made insulated workpiece and fixed with thermal tape.
Then the spiral is inserted into the tip, and the soldering iron body is put on the casing with wire.
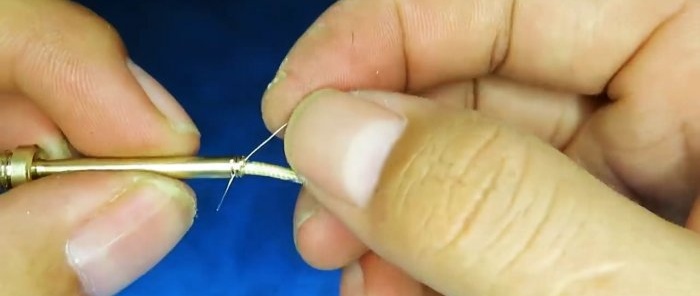
The tail of the thread must be inserted into the body and brought out through a cut in the thread. After this, the sting is wound. It will clamp the thread, and the remainder can be cut flush.
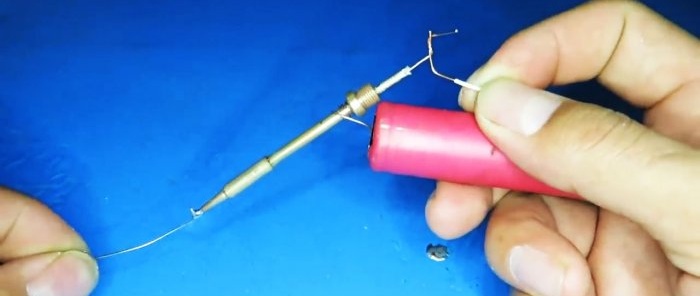
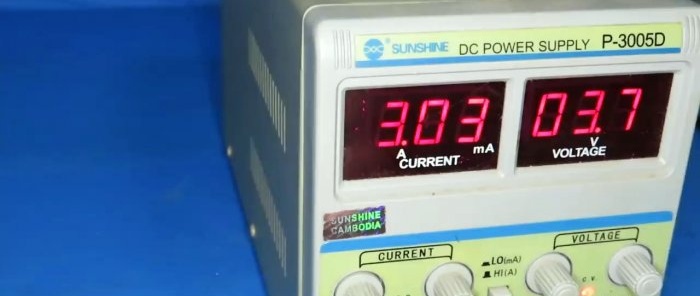
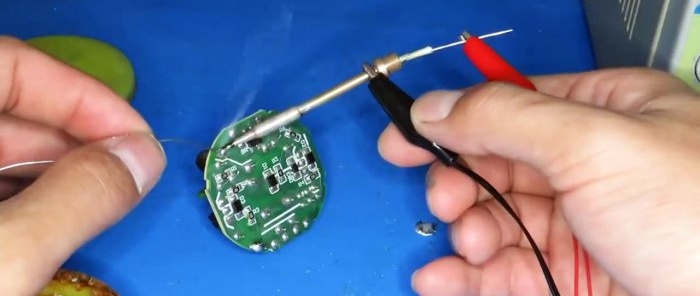
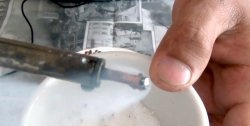
Now if you apply 3.7 V to the body of the soldering iron and the wire coming out of the casing, the tip will heat up very quickly.
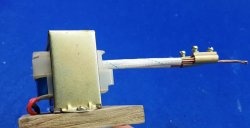
You can use a regular rechargeable battery as a power source to make the soldering iron autonomous. All that remains is to make a handle for it. You can even make it hollow and put a battery inside.
You may be interested in the article on how to instantly clean a soldering iron tip from carbon deposits using available means - https://home.washerhouse.com/en/4480-kak-momentalno-ochistit-zhalo-payalnika.html
Materials:
- brass rod 8 mm;
- nichrome thread 0.1 mm;
- heat-resistant cambric;
- thermal tape;
- thin copper wire.
Soldering iron manufacturing process
From a brass rod we turn a thin hollow tube with external threads along the edges on a lathe. This will be the body of the soldering iron. One thread is made small for connecting to the tip, and the second is large for attaching the handle. A slot needs to be made on the last turn of the smaller thread.
The sting is also sharpened.
You need to leave 2-3 cm of rod in front of its sharp tip, drill it, and cut an internal thread to screw in the body.
After this, you need to bite off 10-20 mm of thick copper wire and place it in a heat-resistant casing.
This will be the part for winding the thread; it should fit completely into the cavity in the tip.
Next, we connect a piece of thin copper wire and a nichrome thread.
The wire is passed into the cambric. The thread is wound onto a previously made insulated workpiece and fixed with thermal tape.
Then the spiral is inserted into the tip, and the soldering iron body is put on the casing with wire.
The tail of the thread must be inserted into the body and brought out through a cut in the thread. After this, the sting is wound. It will clamp the thread, and the remainder can be cut flush.
Now if you apply 3.7 V to the body of the soldering iron and the wire coming out of the casing, the tip will heat up very quickly.
You can use a regular rechargeable battery as a power source to make the soldering iron autonomous. All that remains is to make a handle for it. You can even make it hollow and put a battery inside.
Watch the video
You may be interested in the article on how to instantly clean a soldering iron tip from carbon deposits using available means - https://home.washerhouse.com/en/4480-kak-momentalno-ochistit-zhalo-payalnika.html
Similar master classes
Particularly interesting
Comments (0)

