How to make a powerful LED light bulb from an ordinary one
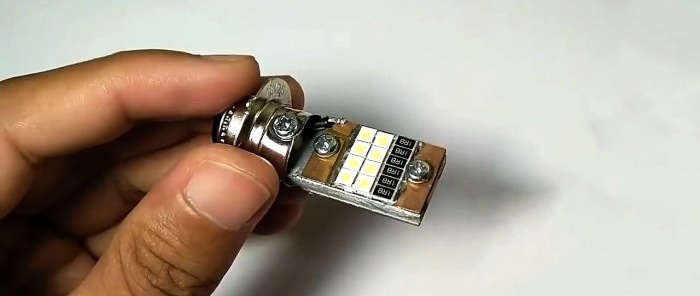
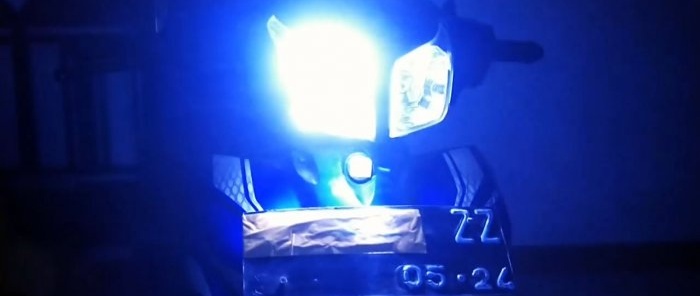
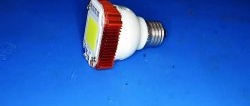
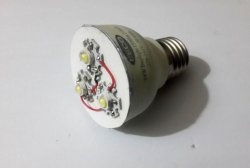
You can make a very powerful LED lamp for a headlight with your own hands from purchased ones. LEDs from Aliexpress. It is simply incredibly bright, and most importantly, it is repairable. A homemade light bulb is simply a salvation if it is not possible to buy a factory one for your headlight.
For an LED lamp you will need a base from a regular light bulb.
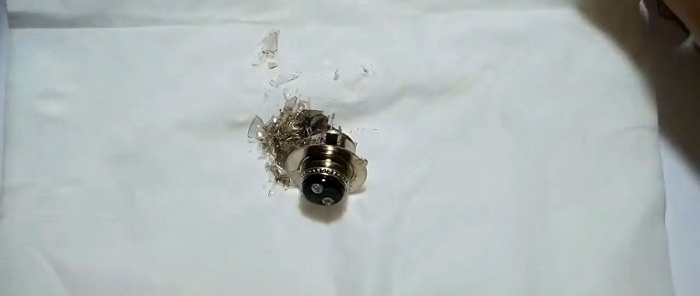
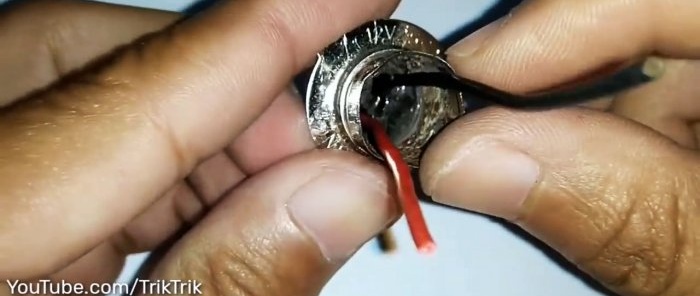
Therefore, you need to break her flask and clear it of the entrails. 2 wires are soldered into the base.
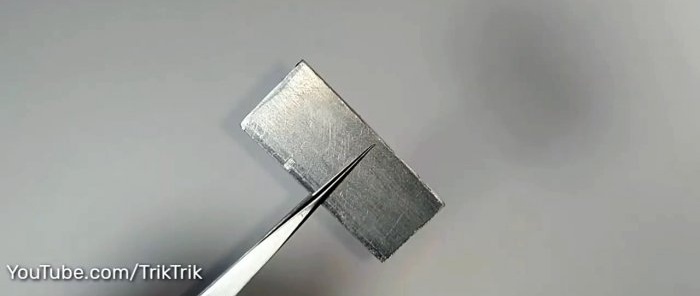
Next you need to cut out an aluminum plate 35x15 mm. A longitudinal line is applied to it in the center, as well as markings 3 mm and 23 mm from one edge, and 4 mm from the opposite.
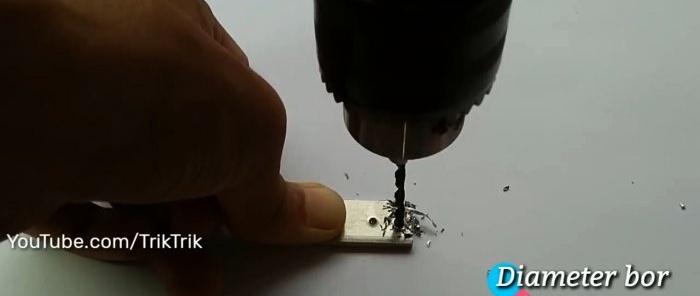
Holes for screws are drilled according to the marks.
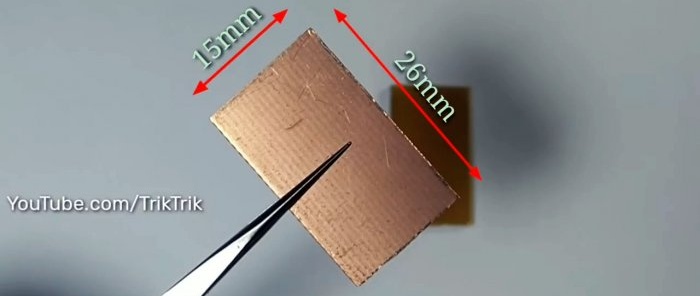
2 26x15 mm plates are cut from the printed circuit board.
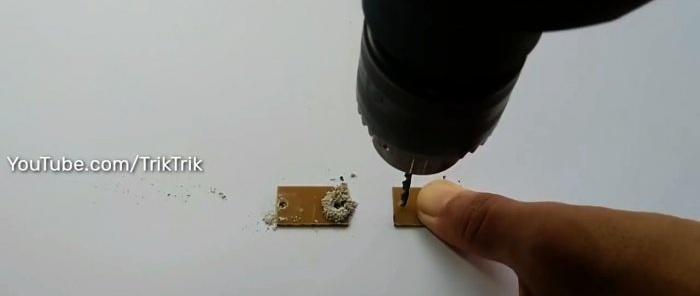
They are combined with an aluminum blank and drilled.
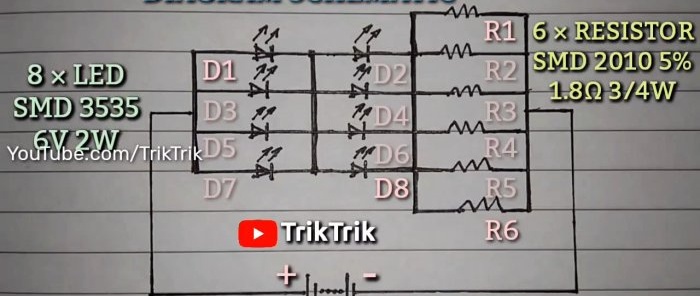
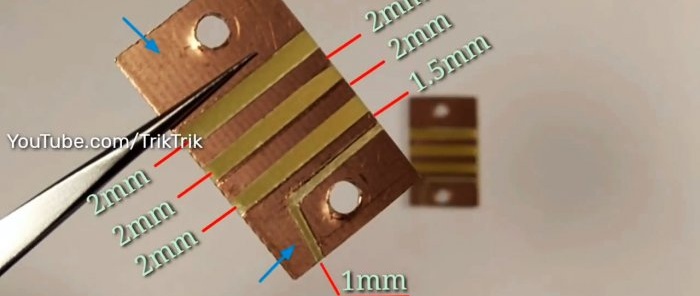
On the boards you need to remove the copper coating according to the proposed scheme.
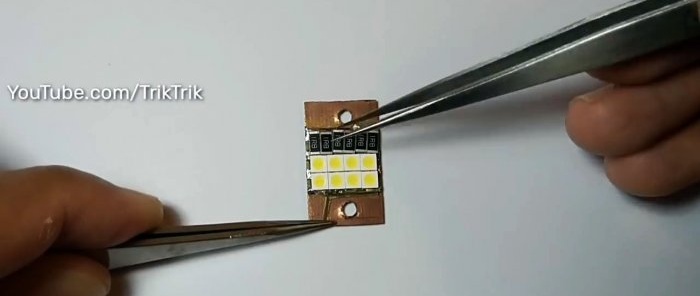
The conductor strips must be tinned.Flux is applied to the solder and laid out LEDs and resistors according to the diagram.
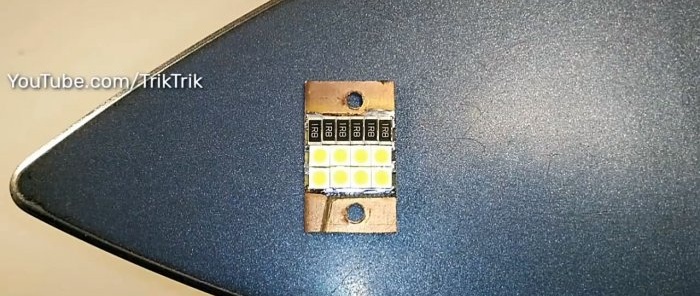
For soldering, the board is placed on the soleplate of the iron and heated. The second board is prepared in a similar way.
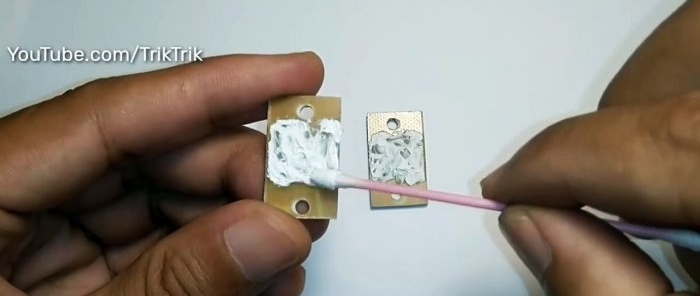
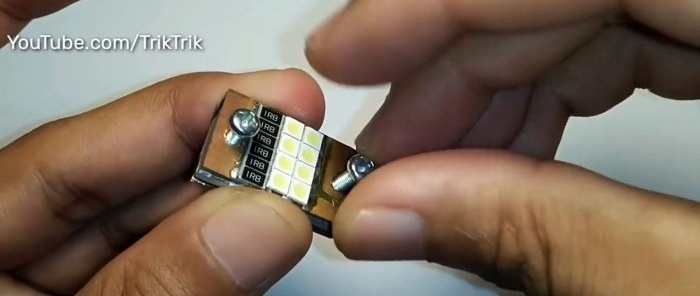
Next, the boards are lubricated with thermal paste and screwed on both sides to an aluminum plate.
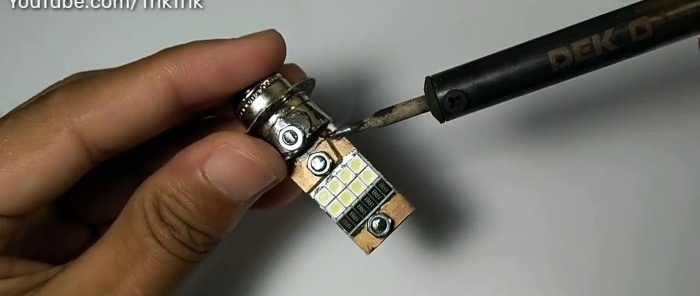
All that remains is to insert them into the lamp base and screw it to it through the bushings. Then the power wires are soldered.
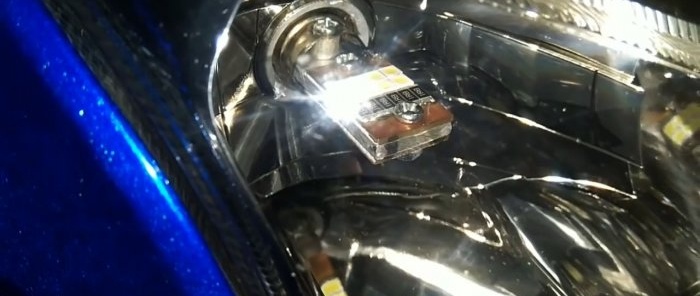
That's it, the light bulb is ready to be installed in the headlight.
Materials:
- lamp base;
- aluminum plate 3 mm;
- printed circuit board;
- LED SMD 3535 2 W 6 V – 16 pcs -
- resistors SMD 2010 1.8 Ohm 3/4W – 12 pcs -
The process of making a high-power LED light bulb
For an LED lamp you will need a base from a regular light bulb.
Therefore, you need to break her flask and clear it of the entrails. 2 wires are soldered into the base.
Next you need to cut out an aluminum plate 35x15 mm. A longitudinal line is applied to it in the center, as well as markings 3 mm and 23 mm from one edge, and 4 mm from the opposite.
Holes for screws are drilled according to the marks.
2 26x15 mm plates are cut from the printed circuit board.
They are combined with an aluminum blank and drilled.
On the boards you need to remove the copper coating according to the proposed scheme.
The conductor strips must be tinned.Flux is applied to the solder and laid out LEDs and resistors according to the diagram.
For soldering, the board is placed on the soleplate of the iron and heated. The second board is prepared in a similar way.
Next, the boards are lubricated with thermal paste and screwed on both sides to an aluminum plate.
All that remains is to insert them into the lamp base and screw it to it through the bushings. Then the power wires are soldered.
That's it, the light bulb is ready to be installed in the headlight.
Watch the video
Similar master classes
Particularly interesting
Comments (4)

