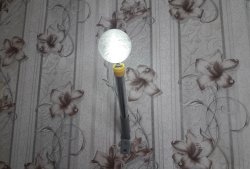
Upgrading a kerosene lantern
It just so happened in old village houses that even the most unnecessary and completely outdated thing could not be thrown away under any circumstances, but was carried away “out of sight”, in the hope that it would come in handy someday. And it was useful.
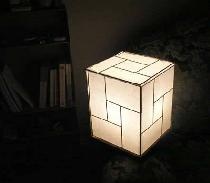
An old kerosene lantern turned into a wonderful electric lamp for the porch of a country house. You can, of course, buy it ready-made in a store, but there is something subtly attractive in the shapes of old things. And a homemade piece of furniture will highlight your individuality.
You'll need:
• the lantern itself
• light bulb (better energy-saving, it heats up less)
• electric light bulb socket
• the wire
• a piece of tin or plywood
• some nitro enamel for painting
• several screws
• 3-4 hours of free time
First you need to disassemble the flashlight. Carefully remove the glass and the part on which it rests with the lower edge.
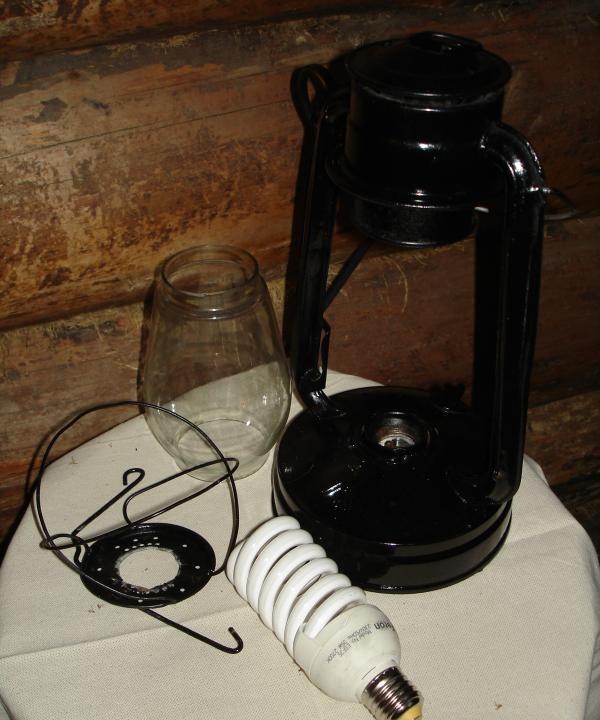
Cut a hole from the bottom along the diameter of the electric socket using any available tool.
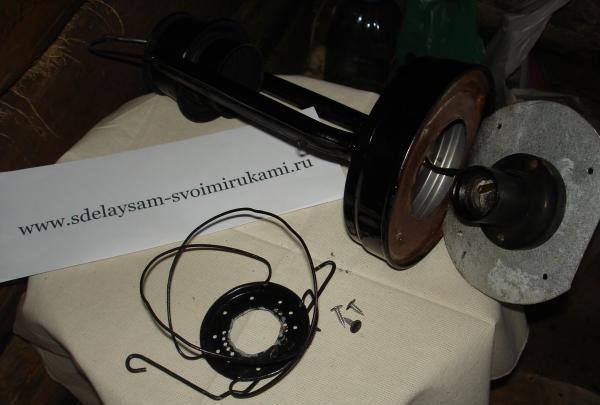
In the photo, it was drilled around the perimeter and processed with a round file. The same thing needs to be done with the glass support, only select the diameter according to the size of the cartridge skirt.
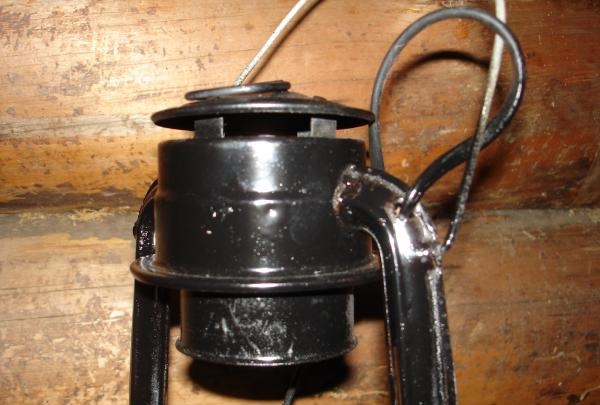
Drill two holes with a diameter of 8mm from the inside of the lantern and at the top of the vertical post. and run wires through them.
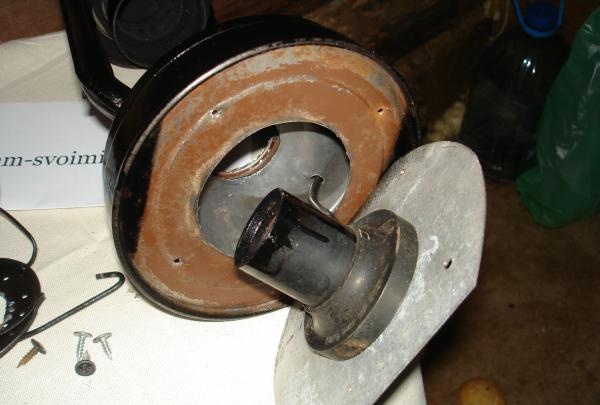
The next step is to fix the cartridge on a base made of thin tin or plywood and screw it to the bottom of the lantern with self-tapping screws. Now the entire structure needs to be cleaned with sandpaper, degreased and painted in several layers of nitro enamel. If you like the vintage shabby look, you don’t have to paint it.
For final assembly, first place the light bulb inside the glass bulb. Then insert them together into the flashlight housing. Then lift the glass slightly and, slowly, using the gap formed under the glass, screw the light bulb into the socket. The lamp is ready.
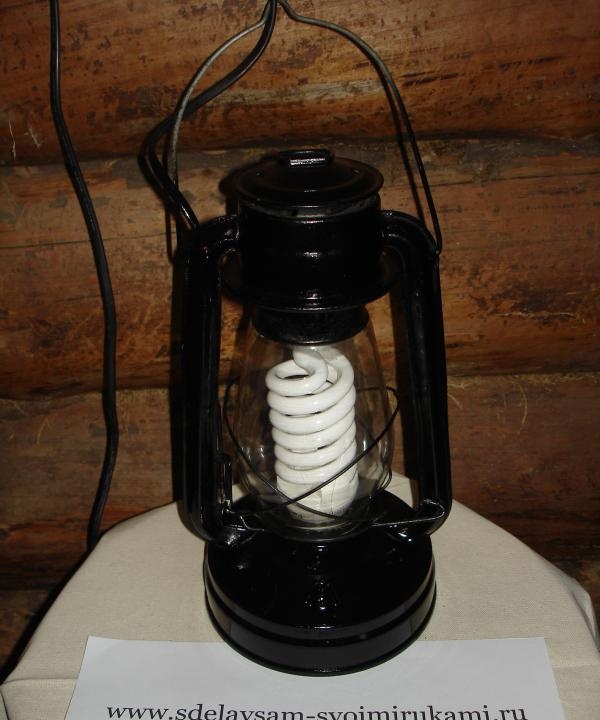
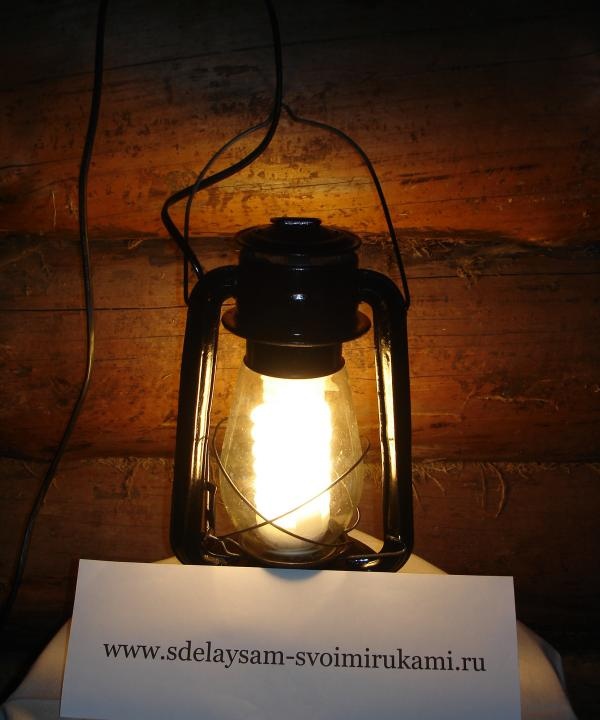
An old kerosene lantern turned into a wonderful electric lamp for the porch of a country house. You can, of course, buy it ready-made in a store, but there is something subtly attractive in the shapes of old things. And a homemade piece of furniture will highlight your individuality.
You'll need:
• the lantern itself
• light bulb (better energy-saving, it heats up less)
• electric light bulb socket
• the wire
• a piece of tin or plywood
• some nitro enamel for painting
• several screws
• 3-4 hours of free time
First you need to disassemble the flashlight. Carefully remove the glass and the part on which it rests with the lower edge.

Cut a hole from the bottom along the diameter of the electric socket using any available tool.

In the photo, it was drilled around the perimeter and processed with a round file. The same thing needs to be done with the glass support, only select the diameter according to the size of the cartridge skirt.
Drill two holes with a diameter of 8mm from the inside of the lantern and at the top of the vertical post. and run wires through them.


The next step is to fix the cartridge on a base made of thin tin or plywood and screw it to the bottom of the lantern with self-tapping screws. Now the entire structure needs to be cleaned with sandpaper, degreased and painted in several layers of nitro enamel. If you like the vintage shabby look, you don’t have to paint it.
For final assembly, first place the light bulb inside the glass bulb. Then insert them together into the flashlight housing. Then lift the glass slightly and, slowly, using the gap formed under the glass, screw the light bulb into the socket. The lamp is ready.


Similar master classes
Particularly interesting

Cable antenna for digital TV in 5 minutes

A selection of simple and effective schemes.

Three-phase voltage from single-phase in 5 minutes

Starting a three-phase motor from a single-phase network without a capacitor

Eternal flashlight without batteries

How to make an inexpensive but very powerful LED lamp
Comments (3)

