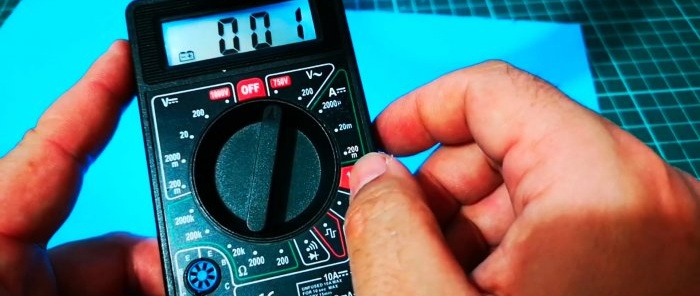
How to make a display backlight for a Chinese multimeter
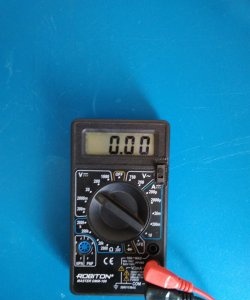
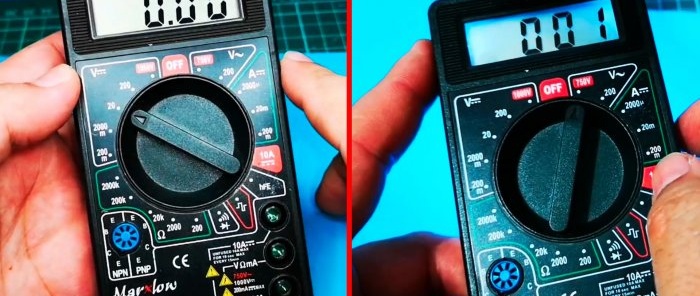
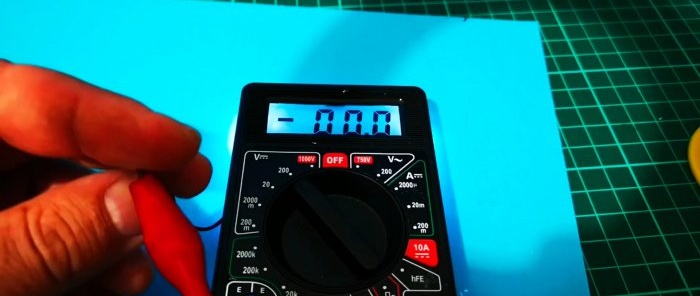
This model multimeter is one of the most common. For home use, such measuring equipment is enough; such a tester is quite inexpensive - And even breaking it or losing it for such a price is not a pity. Multimeter has all the necessary functionality, with the exception of backlighting, which is sometimes so necessary.
Tester models with display backlight cost at least 3-4 times more. Well, now you will see how to give a cheap Chinese multimeter backlight in half an hour.
Will need
- Two LED.
- Resistor 100 Ohm - 1 kOhm.
- Glue gun refill.
Multimeters on AliExpress at a discount - http://alii.pub/62t1zq
We add screen backlighting to a Chinese multimeter with our own hands
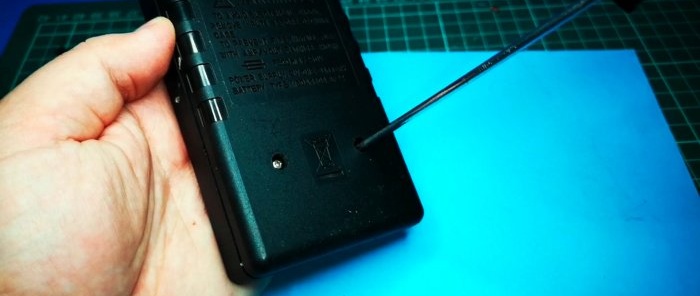
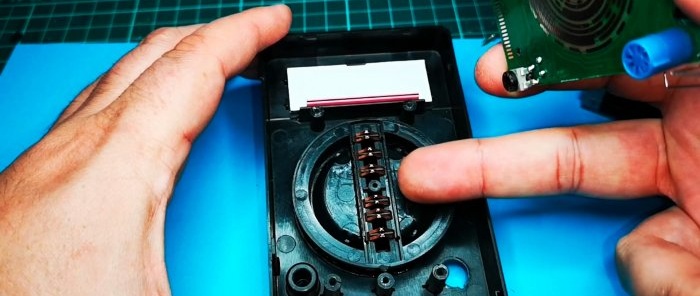
We open the device body by unscrewing the two screws on the back.
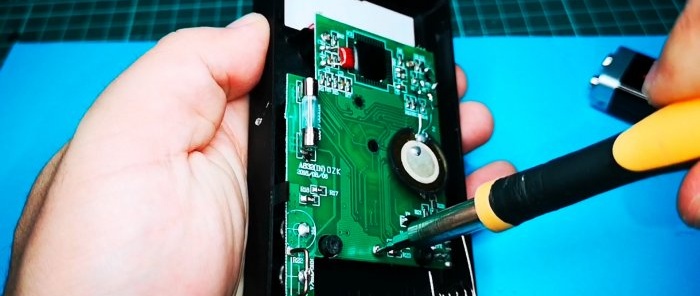
We take out the battery and unscrew the screws securing the board.
We carefully remove the board. Be careful not to lose the insides: there may be metal balls of the position lock, springs, or a display cable.
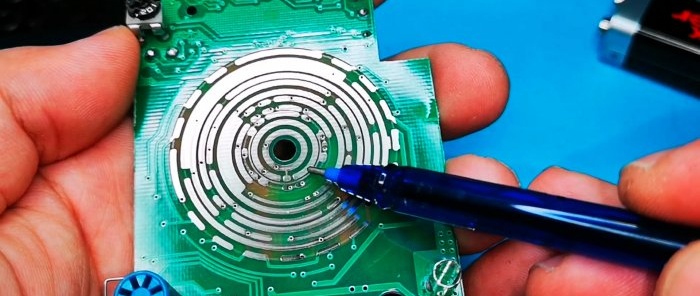
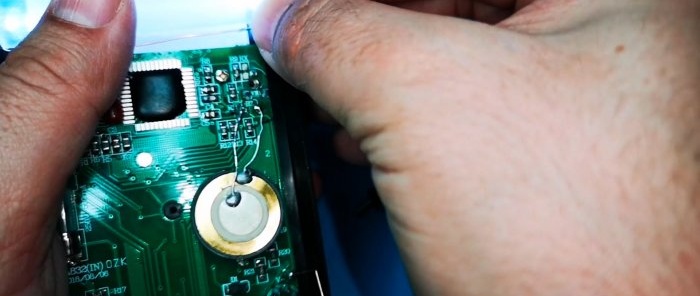
Because multimeter turns off when the mode switch is in the central position, which means there must be tracks on the board that will be closed by sliders in any position other than the central one. This will supply power from the battery to the circuit. In this example, these are the first two rings. They close during operation.
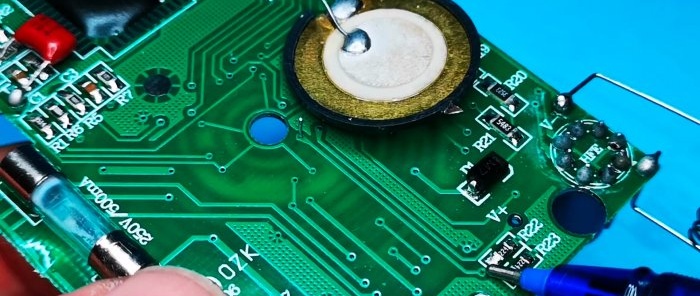
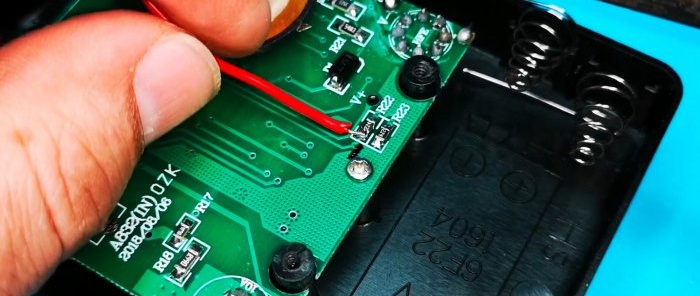
Let's trace along the board tracks where the power output is. And we will visually replace it; in the future, we will solder a contact from the backlight to it to automatically turn it on.
We install the board back as it was and fix it with screws.
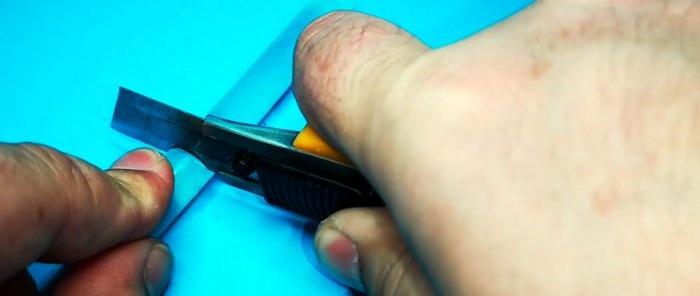
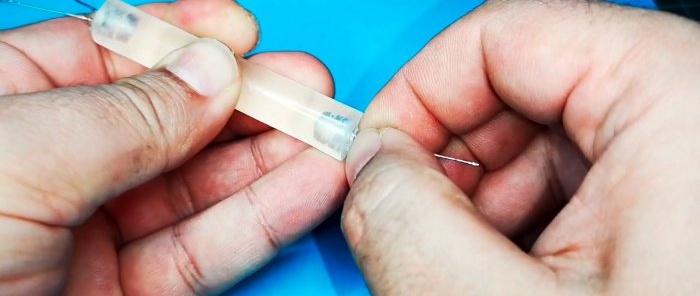
Using a utility knife, cut a piece from the hot melt glue rod along the length of the LCD display.
Let's drill or use a soldering iron to make holes on the sides of this rod and install LEDs.
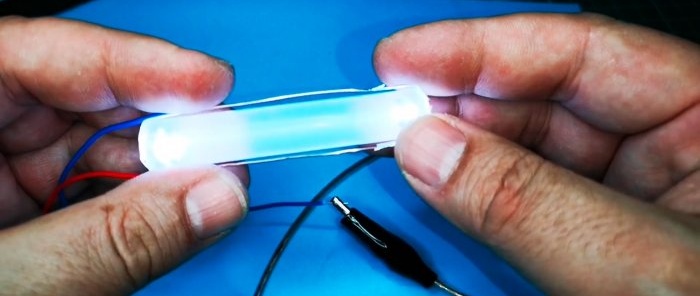
Let's connect them in parallel to each other. Let's turn on the power and check the work.
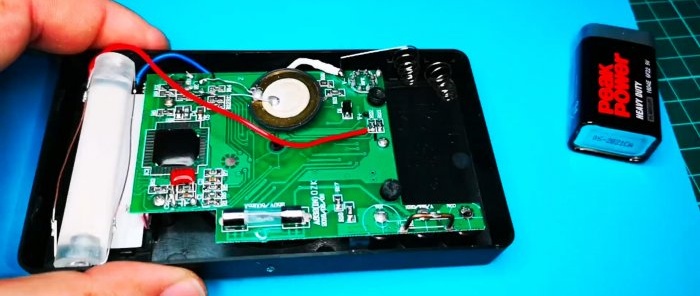
Let's put it on the back of the display and look at the backlight.
The result was excellent, even and beautiful illumination.
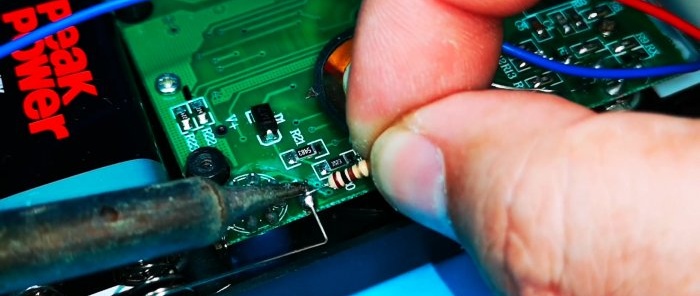
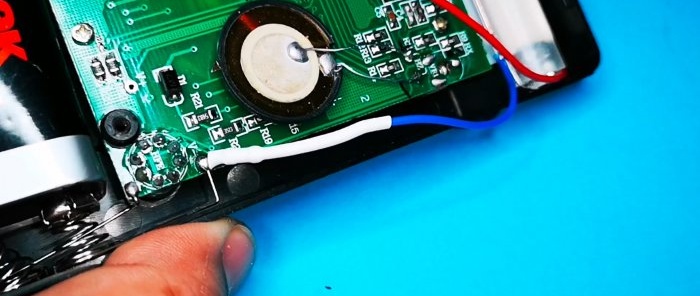
Minus from LEDs Solder it to the battery through a resistor. Its denomination is selected according to the brightness of the glow. If you need it brighter, take a lower resistance.
We insulate with heat shrink.
We solder the positive wire to the contact on the board noted earlier.
Now when you turn on multimeter The backlight lights up on its own.
Secure the illuminated rod with hot glue. Close the multimeter housing and secure it with self-tapping screws.
Now it has become much more convenient to work. To save battery, it is advisable to connect LEDs in series and choose a resistor with a higher resistance of 1 kOhm.
Watch the video
Similar master classes

