How to make a tachograph holder with your own hands
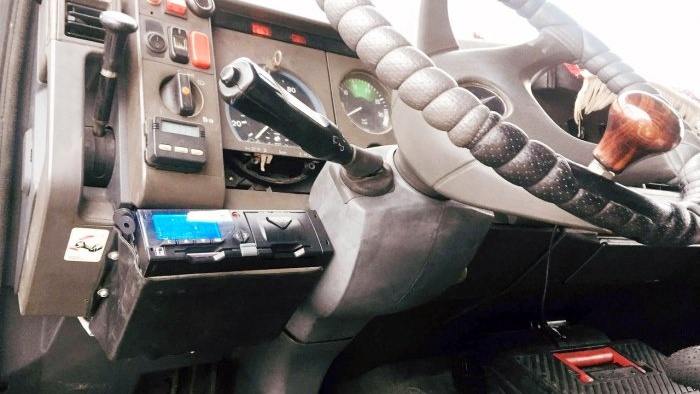
Have you become the “lucky” owner of a tachograph imposed by the legislator? Now is the time to think about where, and most importantly, how to install this expensive miracle of technology. I present to you my experience of installing the device in the cabin of an old Mercedes Benz 814D truck.
Where to install the tachograph?
There is not much free space in Mercy - all the niches have long been equipped with devices that make the driver’s life easier during trips. I think the same situation applies to most other small truck owners. The device has a standard size for 1DIN car radios and can be installed instead of music, but there was no desire to lose the last joy on the road. When choosing a tachograph mounting location, I adhered to the following requirements:- lack of direct sunlight;
- ease of access, incl. for traffic police officers (to reduce the amount of fumbling around the cab);
- ease of installation due to the proximity of the speedometer and ignition key, to which the device is connected by wires;
- the location is not on track, i.e. so that the device does not interfere with passengers;
- distance from the eyes of a non-random passer-by, so that he does not break the glass while the car is parked and does not take out the tachograph (not everyone knows that this is not a radio tape recorder, and there is no point in installing a registered device on someone else’s truck).
How to make a tachograph holder?
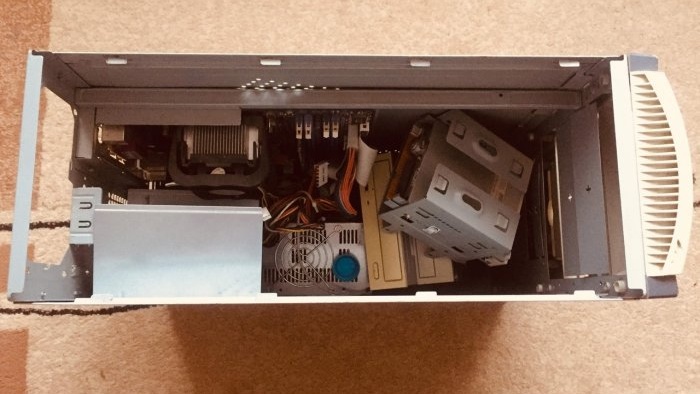
The work will require a little more skills than a schoolchild would when working with a metal construction set during labor lessons. The only problem is finding the material. I was running out of time, so the homemade product was made from available components:- the upper part is from an unnecessary system unit;
- a set of screws, washers and nuts (it took 12 sets);
- boot top to give the product a “marketable” appearance.
Progress
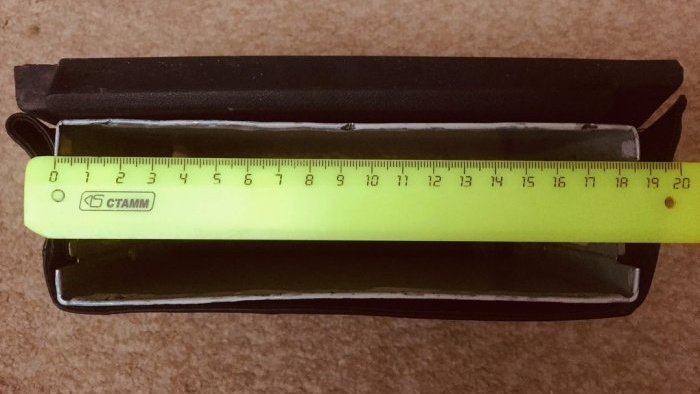
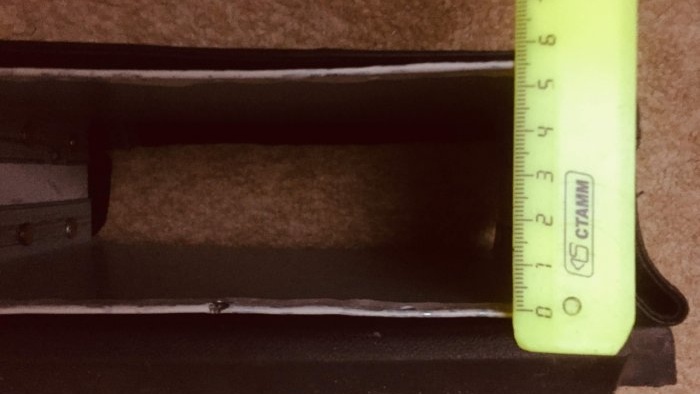
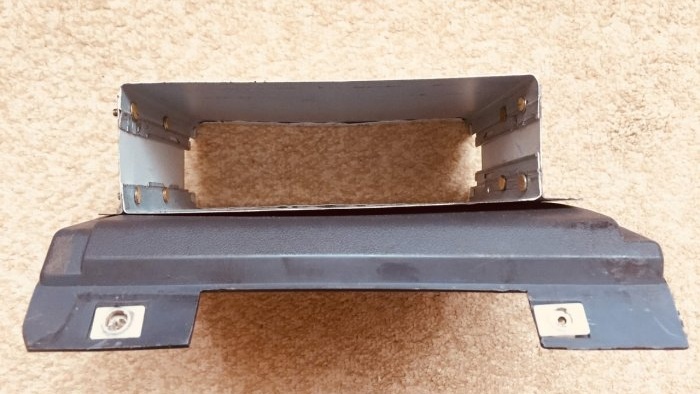
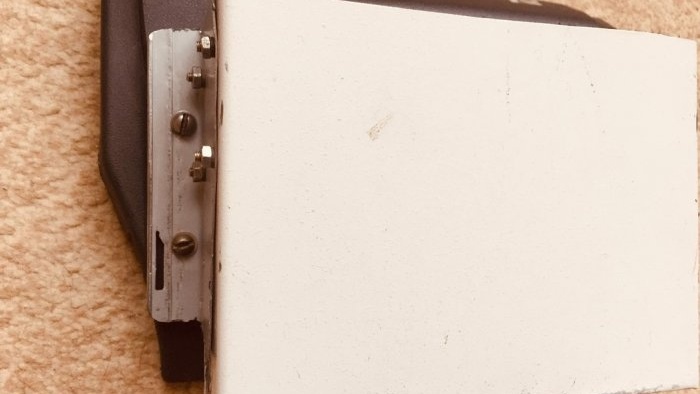
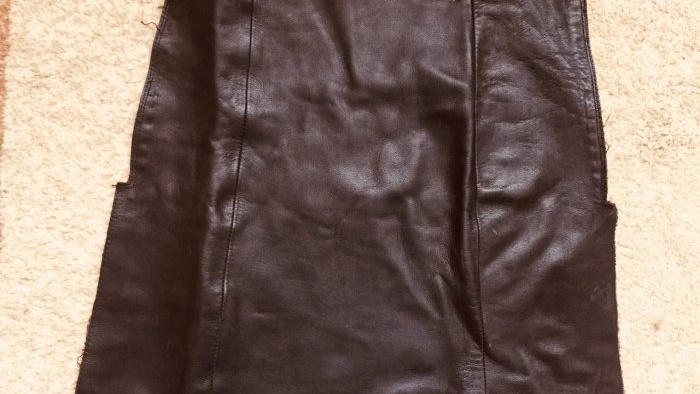
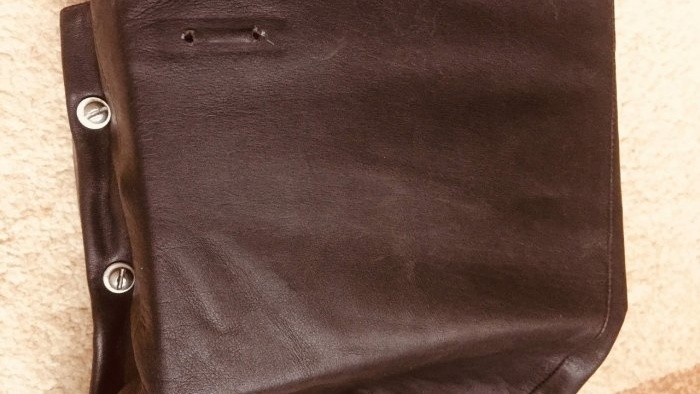
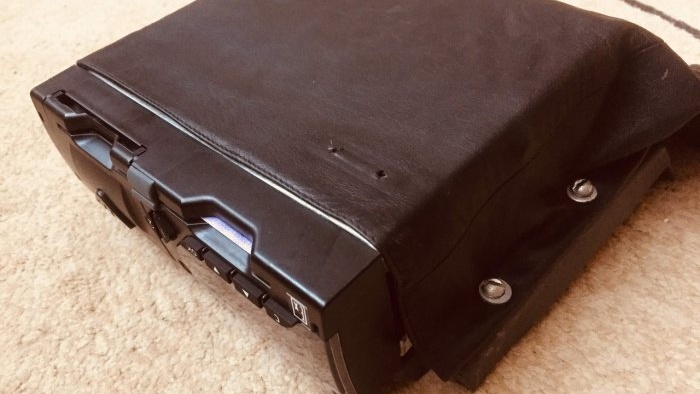
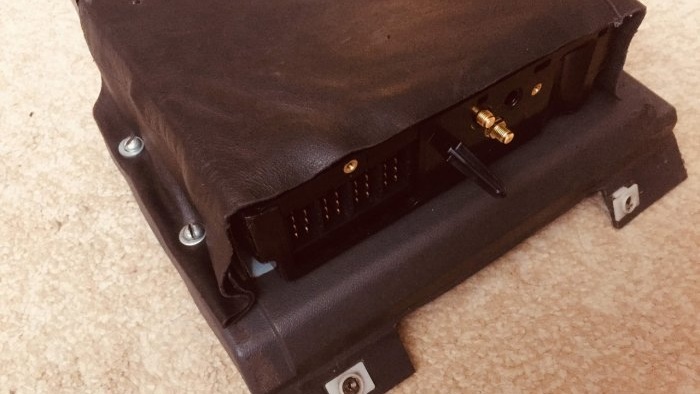
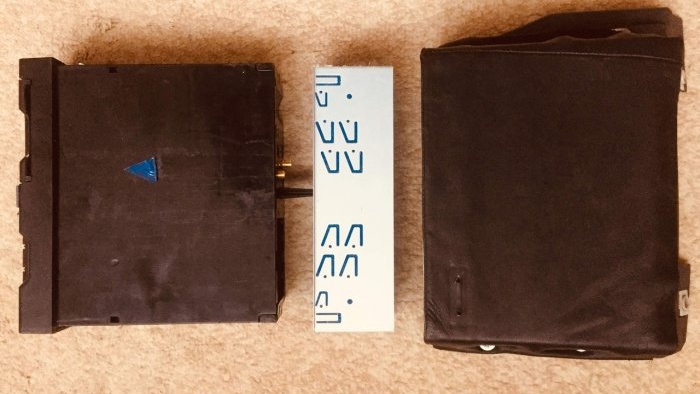
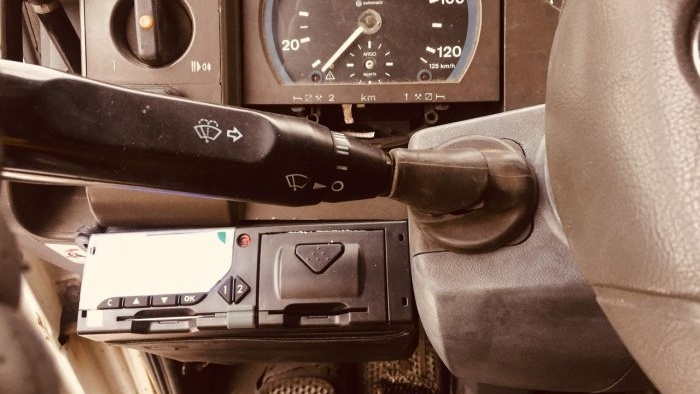
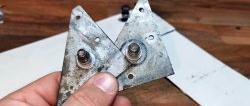
The device is equipped with a slide for installing a control device. A homemade holder must be of such dimensions that the slide fits tightly into it (we take into account the presence of screw heads inside the mount, which also eat up a certain space). I got 18.5 cm x 5.5 cm. 1. I started work by installing the cover of the system unit. On the picture The system unit is already without a cover, since the idea to record the work process on a smartphone camera came after the cover was dismantled and sawed with a grinder into separate parts: top, bottom, two side walls and two corners for attaching the holder to the car panel. All details are visible in the photo. 2. Bend the edges of the blanks inward and press them tightly using pliers and then a hammer.This was done for one simple reason: the system cover had a side bent at an angle of 90%, which was easier to press against the main workpiece than to cut off with a grinder. 3. I twisted all the parts together. 4. The top of the boot was ripped open and covered the tachograph holder with leather on top. The skin was fixed with screws. 5. I inserted the tachograph into the sled, and the sled into the holder (it almost looked like a “Matryoshka doll”). I trimmed off the excess skin. The last stage is installing the panel with the holder in the cabin and connecting the tachograph. The device has already been tested on the voyage. The result was satisfactory: it does not interfere and does not visually stand out from the background of the main dashboard.How to quickly install a threaded rivet without a riveter - https://home.washerhouse.com/en/6955-kak-bez-zaklepochnika-bystro-ustanovit-rezbovuju-zaklepku.html
Similar master classes
Particularly interesting
Comments (0)

