How to build a mini tablet computer on Windows 10
Making a miniature computer that can easily run Windows 10 is quite easy. This PC will have a 7-inch touchscreen display, USB ports for connecting any devices, such as a wireless keyboard and mouse. The PC is also equipped with wi-fi and bluetooth.
Will need
- Windows 10 Mini PC 2GB/32GB “LattePanda” V1 - http://alii.pub/5uzvvu
- 7" IPS display 1024 x 600 - http://alii.pub/5uzvx0
- Touch overlay for 7-inch display - http://alii.pub/5uzvxe
- Charging module T4056 -
- Boost converter MT3608 - http://alii.pub/5uzvqz
- 18650 batteries - http://alii.pub/5becfz
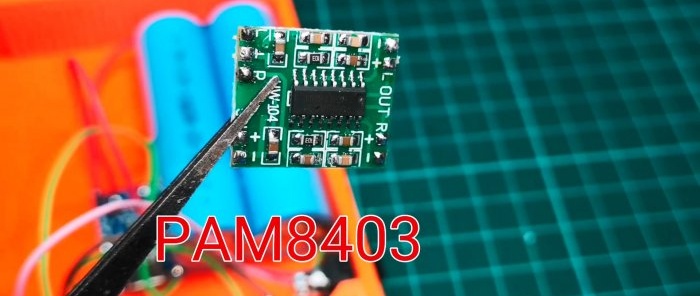
- Digital amplifier - http://alii.pub/5uzvlc
Files for 3D printer - https://drive.google.com/file/d/1gUaF9OOsvLzq0y6MdEpSAb8DiID82R0V/view
Making a mini computer on Windows 10
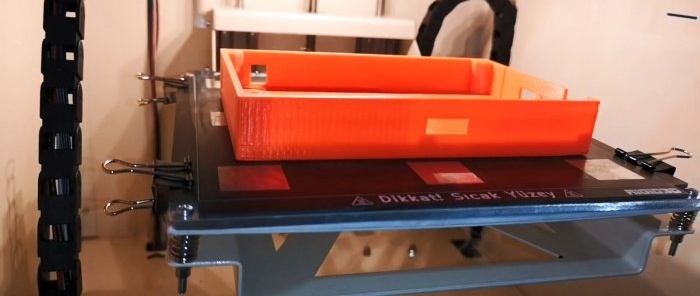
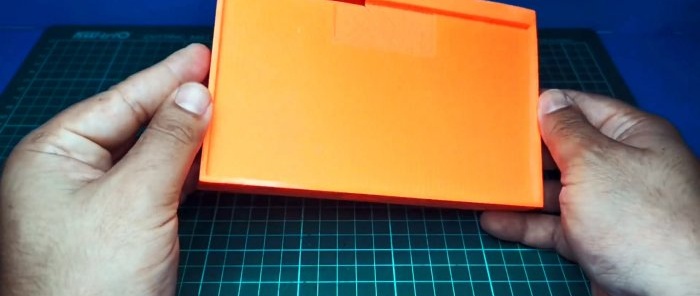
The body of the device is printed on a 3D printer. It consists of a main body and a cover.
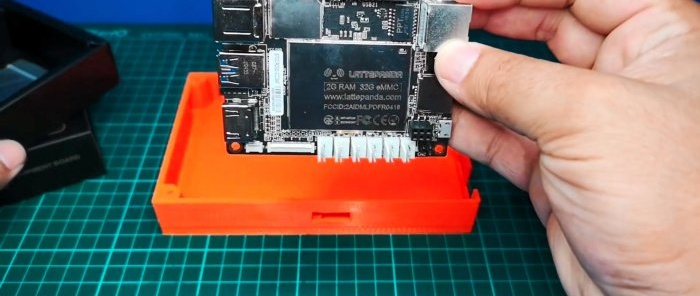
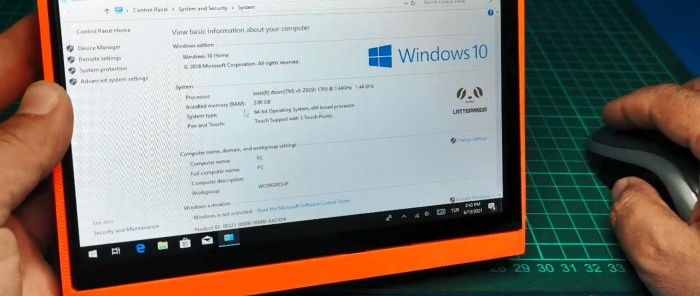
We open the shipping box with the computer board. The cheapest build “LattePanda” V1 is used in this example, with a quad-core processor, 2 gigabytes of RAM and 32 GB of internal memory.But no one bothers you to choose a more powerful assembly.
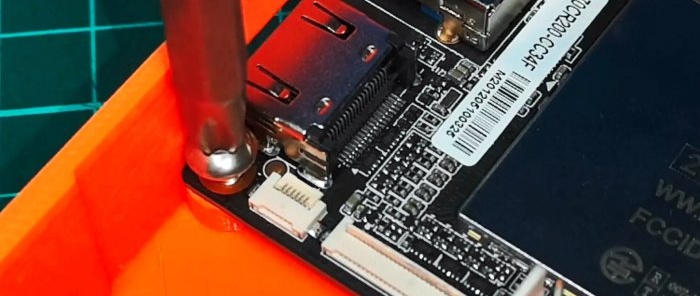
We screw the board to the case with self-tapping screws.
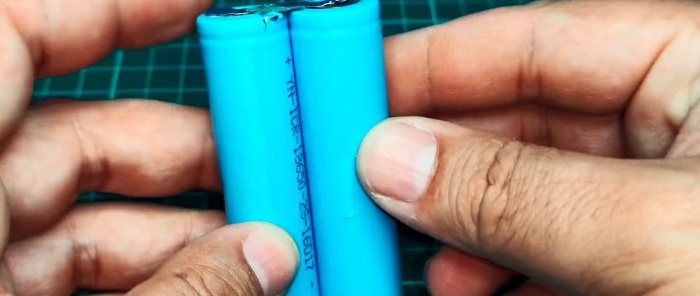
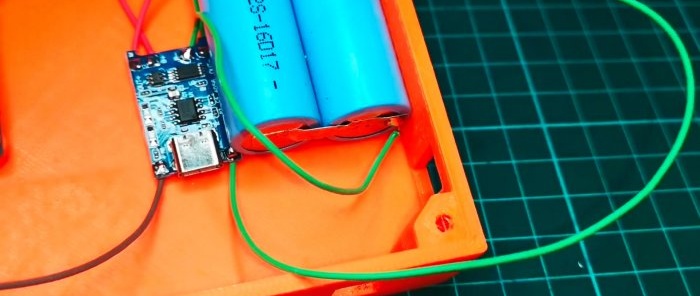
We connect the two batteries with jumpers parallel to each other.
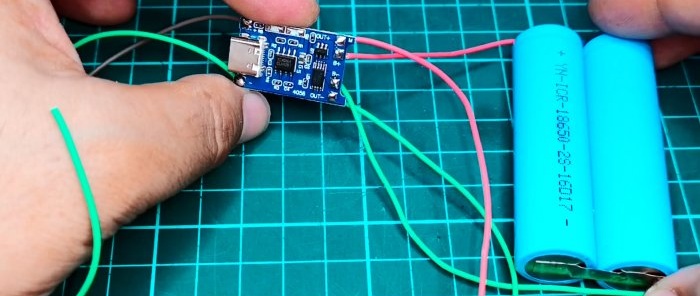
We connect them to the charging module and make two more outlets for the power output.
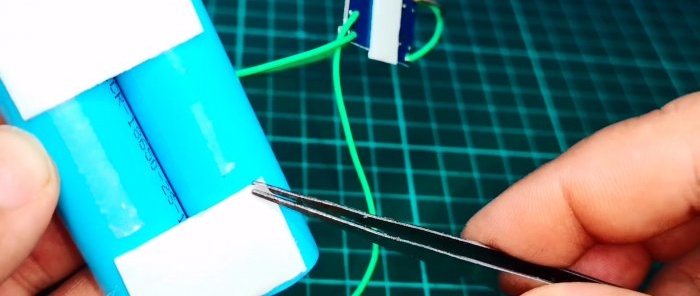
Using double-sided tape, attach the battery with the charging board to the case.
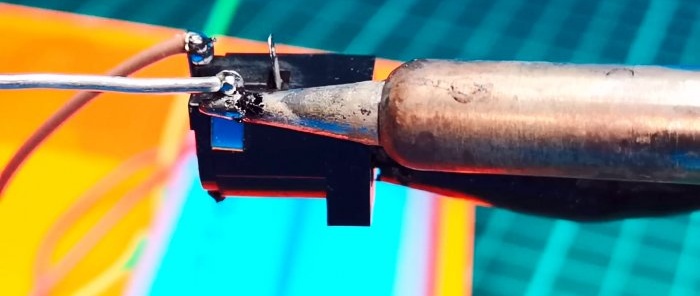
We make taps from the charging module and connect them to the connector through which the tablet will be charged.
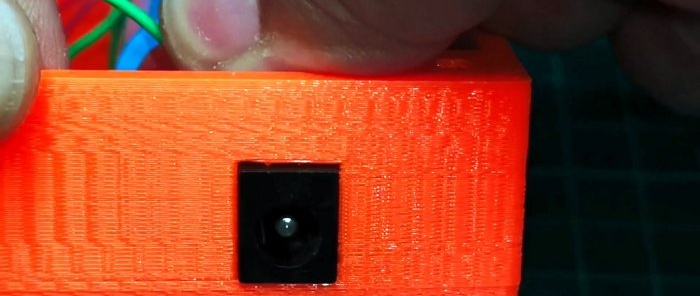
We install the connector into the socket on the case.
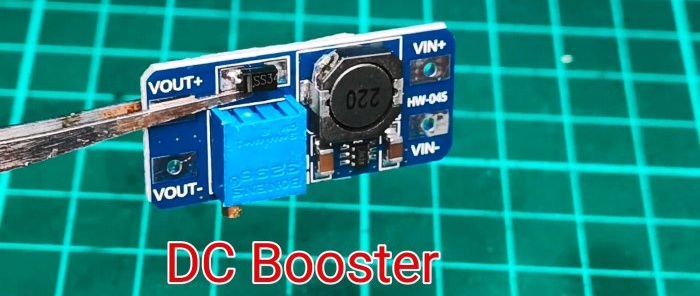
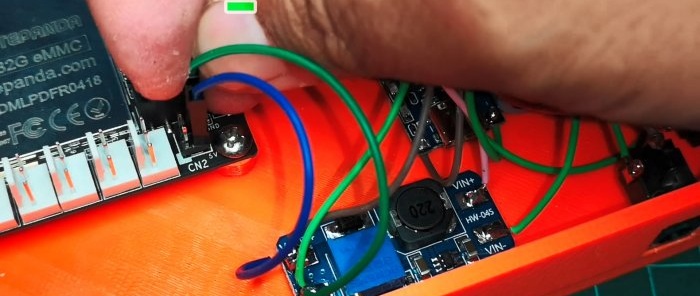
We take a boost converter.
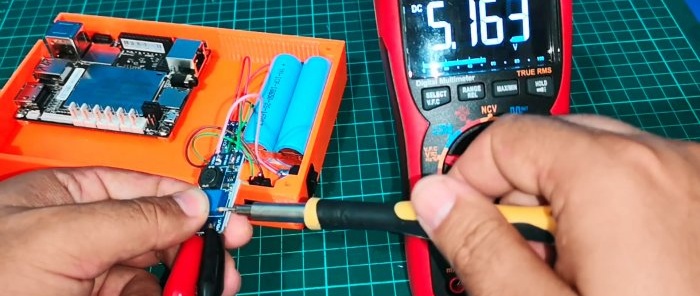
We assign it to the previously made battery taps via a switch. Turn on the switch and connect to the output of the converter multimeter. By rotating the potentiometer on the board we achieve an output voltage of 5 V.
Next, from the output of the converter, we connect the wires to the power supply of the motherboard.
We take a mini digital amplifier board. We will use only one channel.
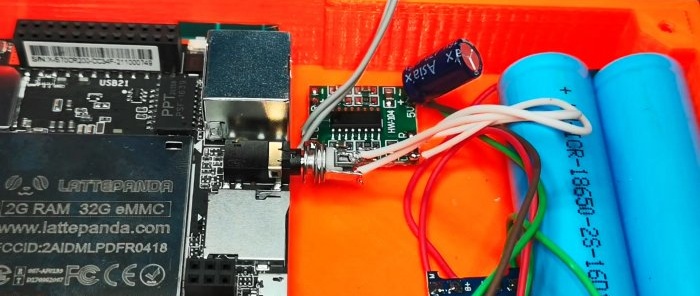
Through the connector we solder the audio wires from the PC board to the amplifier input.
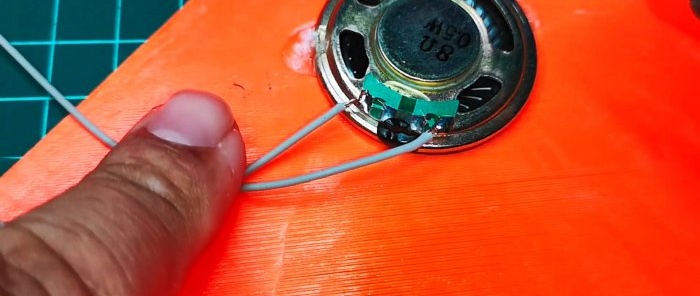
We connect the output from the amplifier to the dynamic head, which is pre-glued to the back cover.
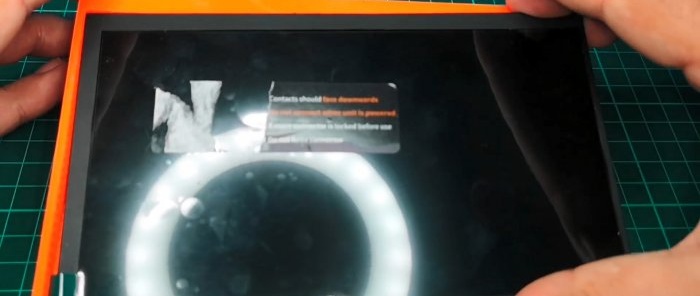
We glue the display onto the front panel and insert the cable inside through the slot.
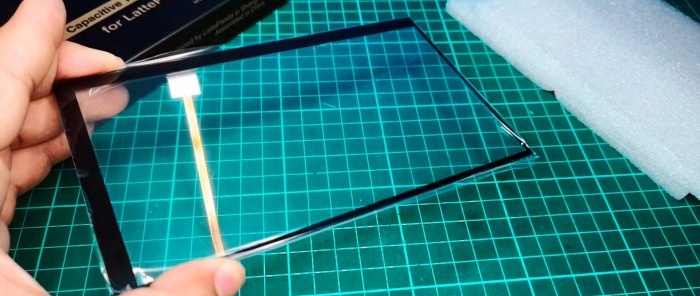
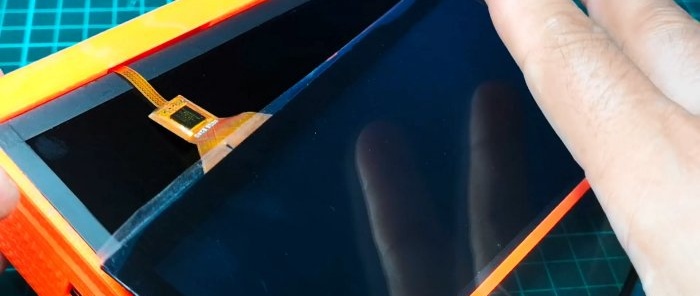
We do the same with the touch panel, glue it on top of the display.
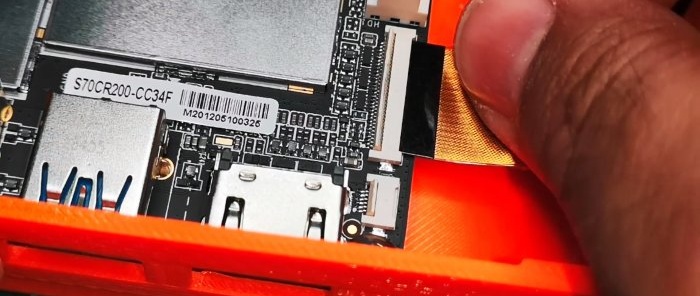
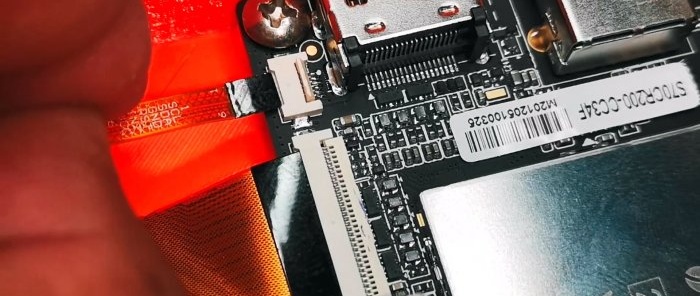
We connect the wide display cable, then the thin touch panel cable.
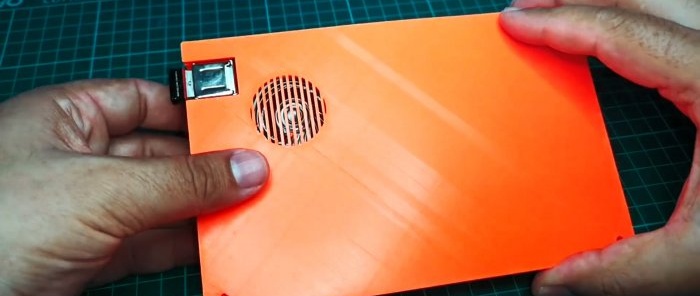
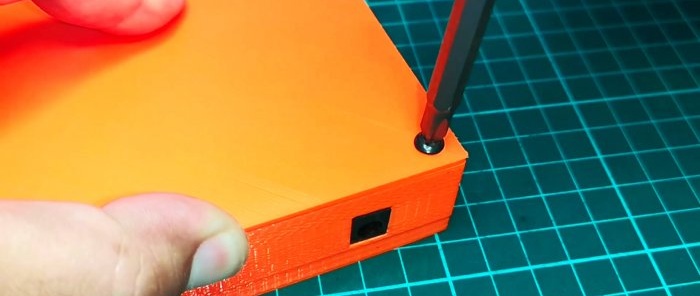
Close the lid and secure it with screws.
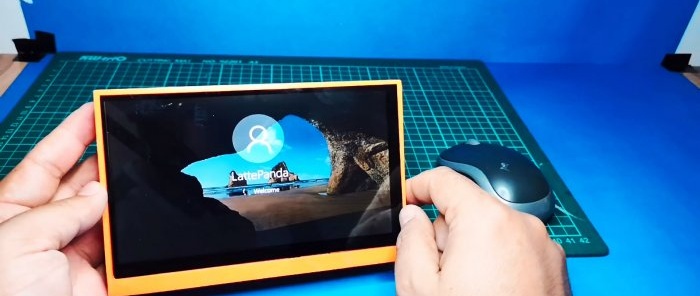
Turn on the power. The pre-installed Windows 10 system is loaded.
It works without any “brakes”.
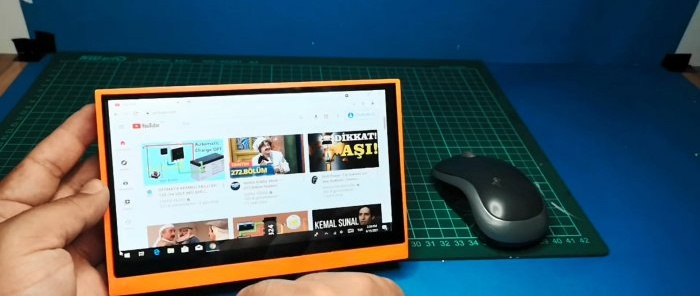
The browser and surfing the Internet also perform well.
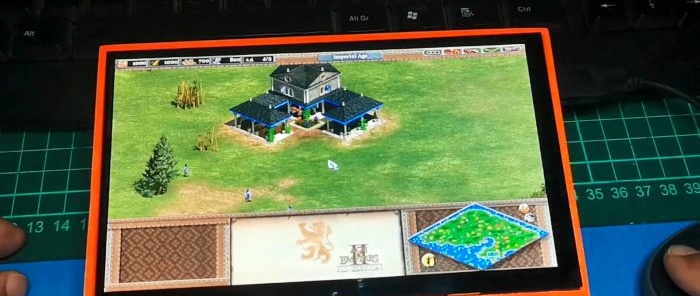
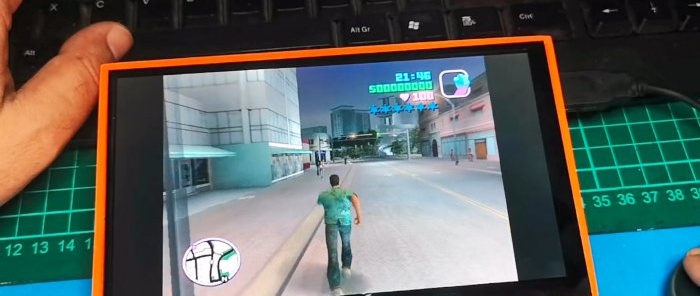
The computer pulls toys, but not very productive.
The good thing about this PC is that you can assemble any assembly for any task. I wanted longer work - I added additional batteries. I needed a more powerful processor with more RAM - I ordered another board.

