How to make a mini sharpening machine with variable speed control from an old HDD
If you have an old hard drive lying around that no one needs anymore, then you can use it to make an excellent miniature machine for your workshop or home. With which you can easily sharpen knives, scissors, screwdrivers, some special knives from kitchen appliances, etc.
You will need the following
- Old HDD.
- Brushless motor controller - http://alii.pub/5v2hn7
- Power supply 5-12 V - http://alii.pub/5v2hgz
- Anti-vibration feet - http://alii.pub/5v2hjp
Making a sharpening machine with your own hands
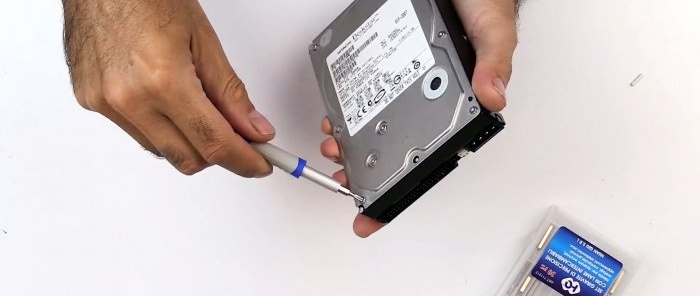
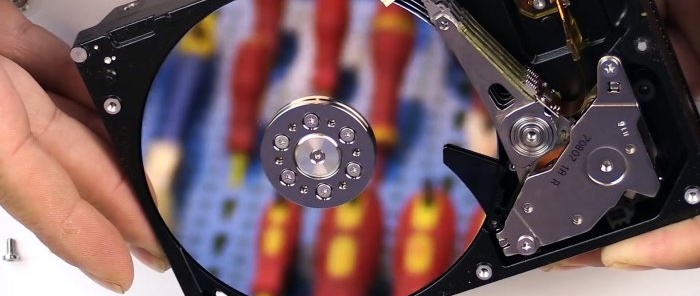
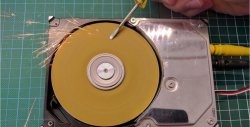
The HDD is equipped with a brushless, three-phase electric motor. Despite its modest size, it has simply impressive power.We open the hard drive using a set of service screwdrivers - http://alii.pub/5v2i0m
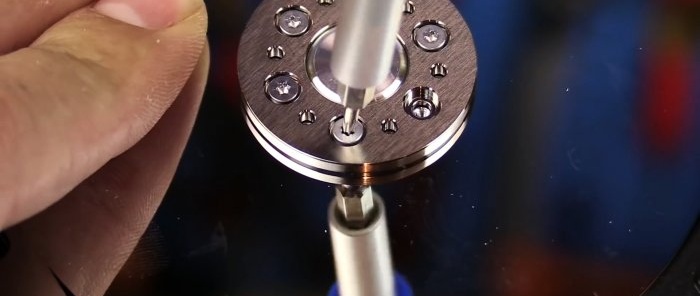
Unscrew the magnetic disk, unscrew the screws securing the brushless motor.
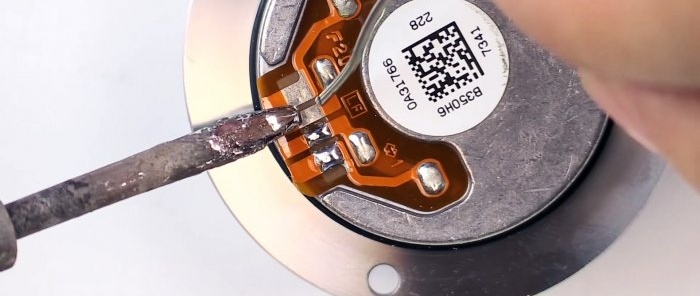
We cut off the cable from the engine and tin the pads for soldering the wires.
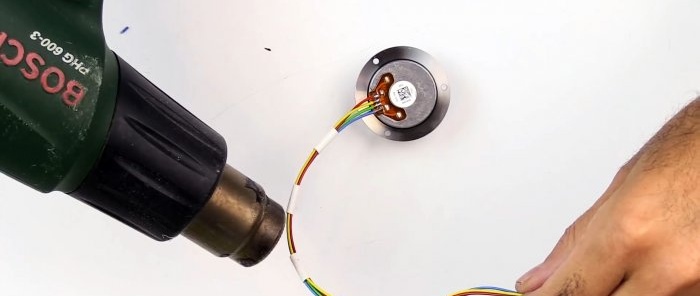
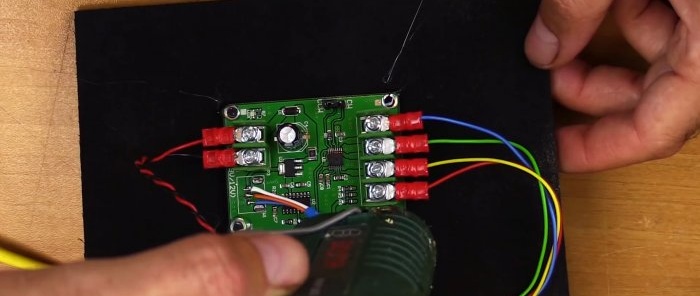
We solder the wires (it is advisable to use multi-colored ones), and tighten them into a single wire with scraps of heat shrink. Blow with a hairdryer.
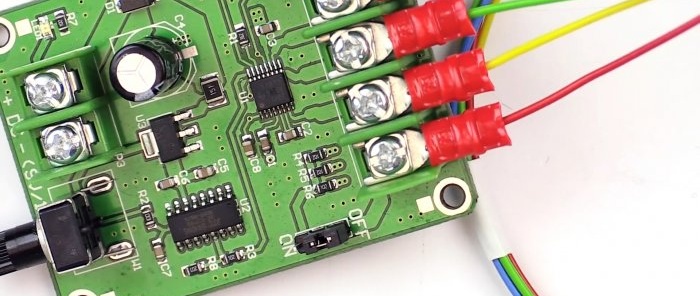
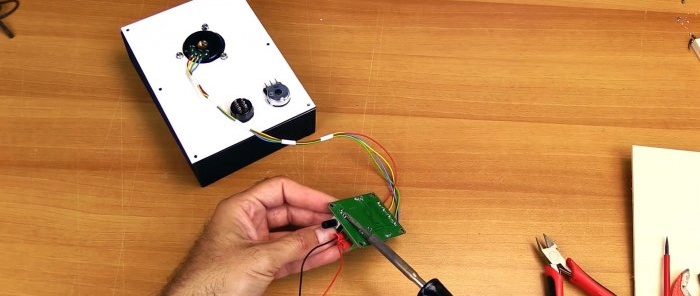
We connect the wires to the controller.
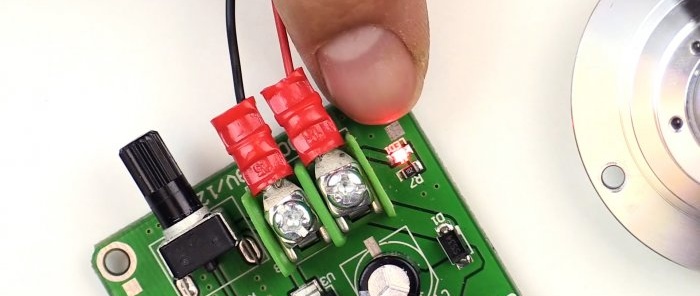
Connect power to the board. At this stage, you can check the operation of both the controller and the motor. Lights up on the board Light-emitting diode.
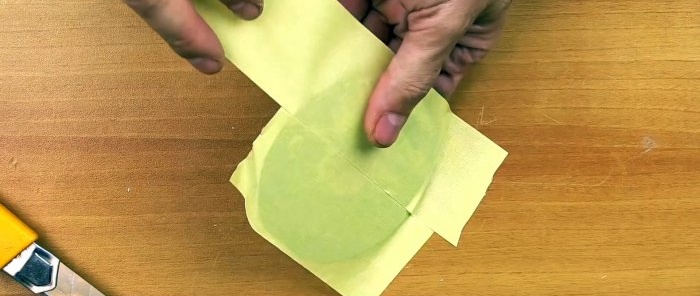
We glue double-sided tape to the previously removed steel disk.
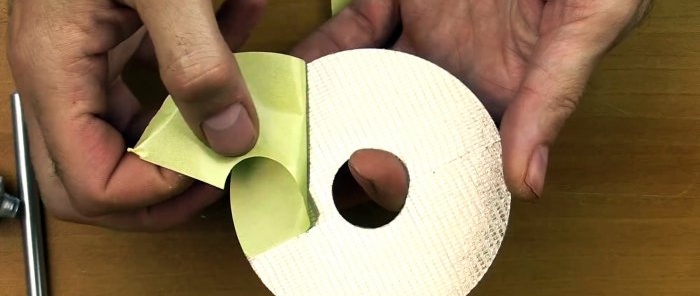
We cut it to size and remove the protective coating.
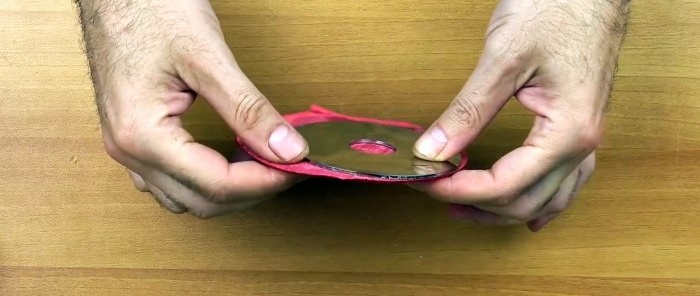
Glue the Velcro.
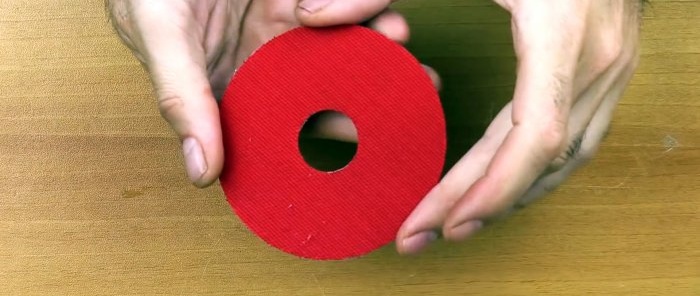
Trim along the borders.
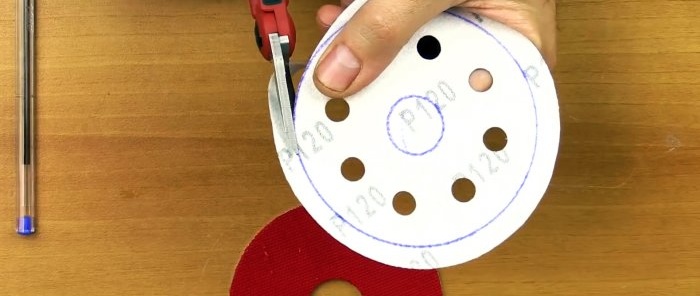
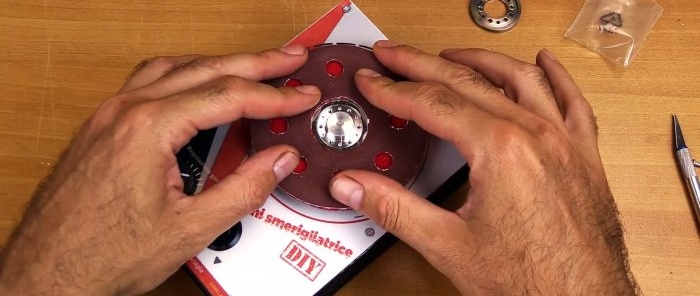
Now you can attach any grinding wheel to the disc as if it were a grinder. We take such a circle and cut it to the size of the disk.
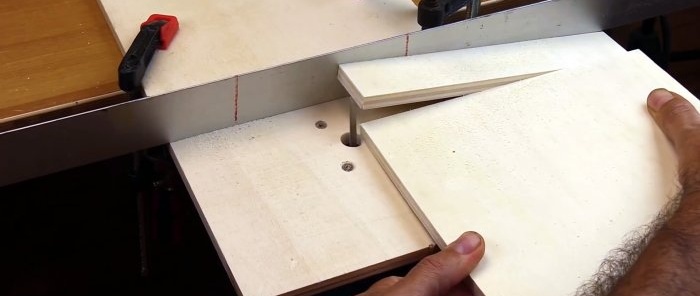
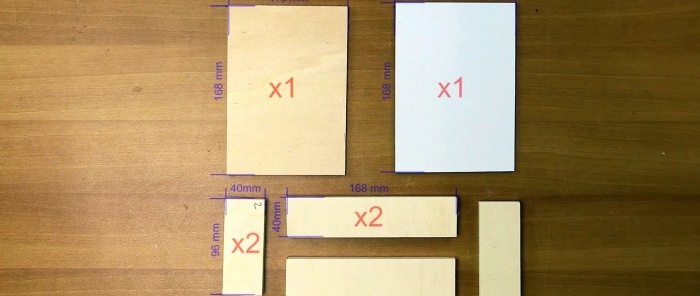
We cut out parts for the body from wood.
Dimensions in the photo:
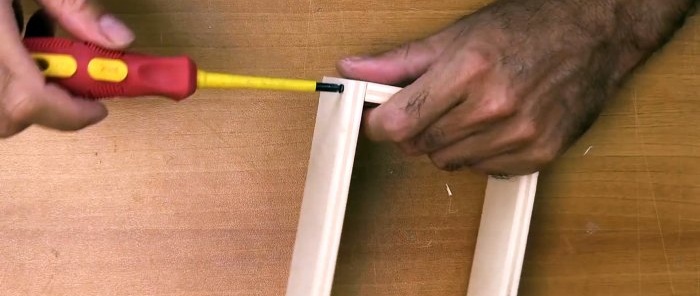
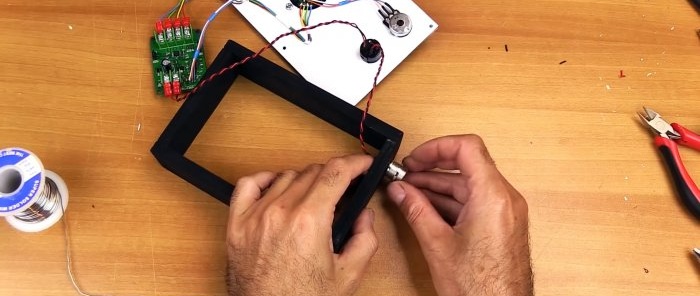
We twist the rectangle of the body using self-tapping screws.
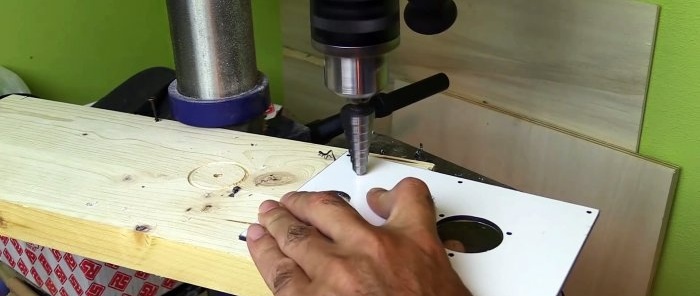
The top panel is made of plexiglass. We drill thin holes in it around the perimeter for fastening to the body. In the center we drill holes for the motor from the HDD, a switch, and a speed controller.
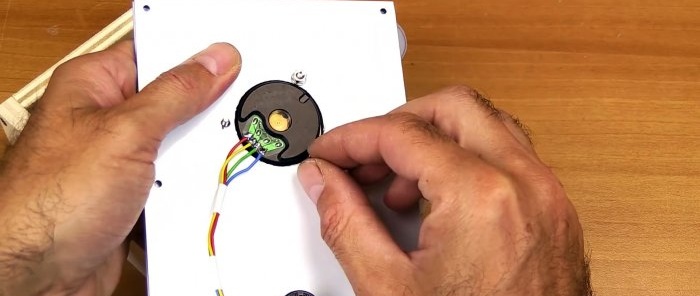
We install the engine and secure it with screws. We also attach a potentiometer and a switch.
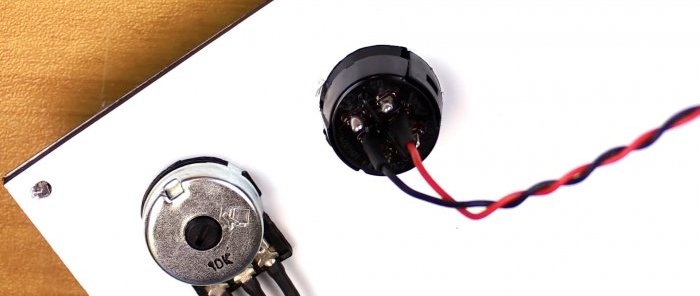
We remove the variable resistor from the controller board. Using the extended wires, we connect a variable resistor located on the control panel instead.
We connect the controller to the power connector and connect the switch to the open circuit.
We drill a hole in the side wall for the power connector and install the connector.
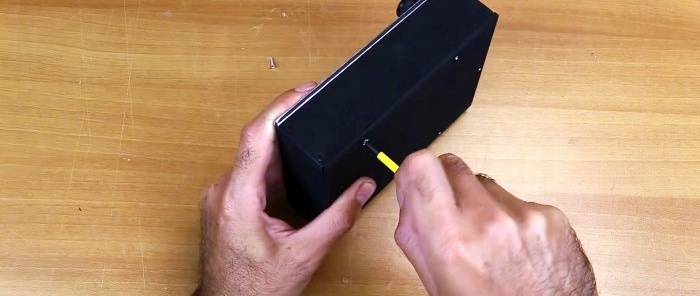
We install the controller into the housing and fix it with self-tapping screws.
Close the back cover of the machine.
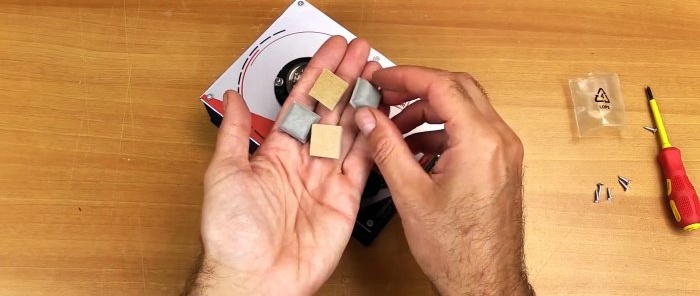
For stability we glue rubber feet.
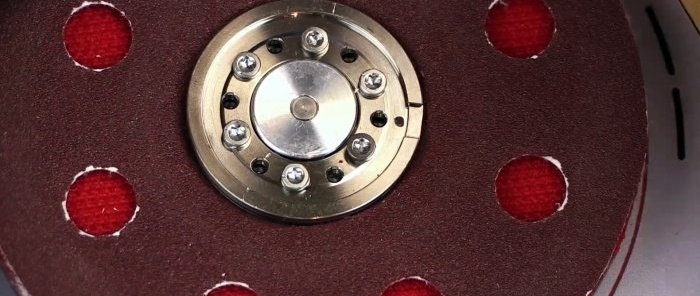
Install the disk and secure it with screws.
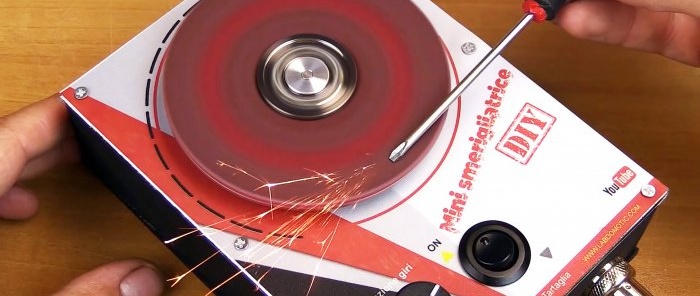
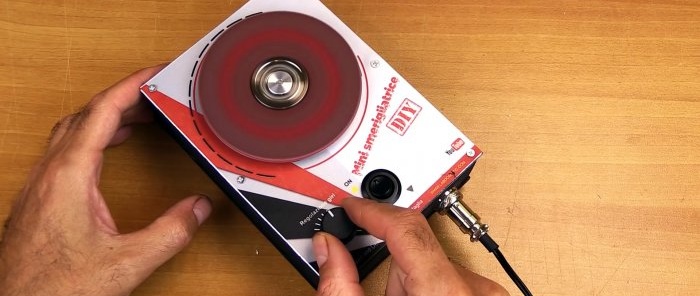
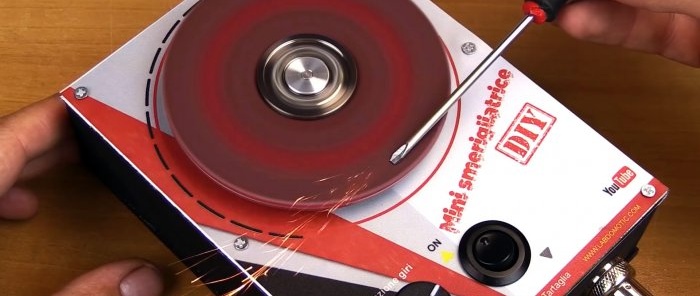
The sharpening machine is ready for use. The device is powered by 5-12 V. The speed is smoothly adjusted from minimum to maximum.
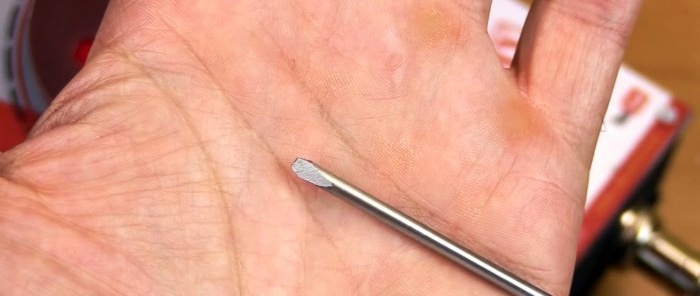
Now you can sharpen small tools such as screwdrivers, scalpels, scissors, knives, etc.
The speed controller makes this machine very convenient to use.

