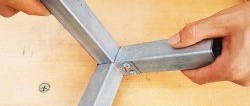
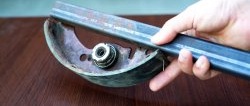
Device for autonomous welding of profile pipe joints
Novice welders have little experience, so the seams on the structures being welded are unreliable and unsightly. At first, while the required level of skill has not yet been achieved, you can use special conductors. Let's look at how to make one of them, designed for welding profile pipes.
Materials:
- Steel strip with a cross section of 4-6 mm;
- long M10 bolts with nuts – 2 pcs.
- M12-M14 bolt with nut.
Welding jig manufacturing process
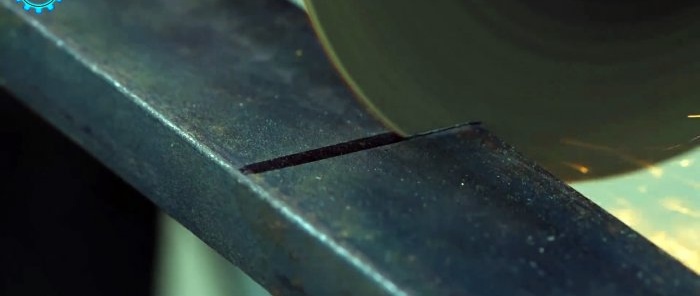
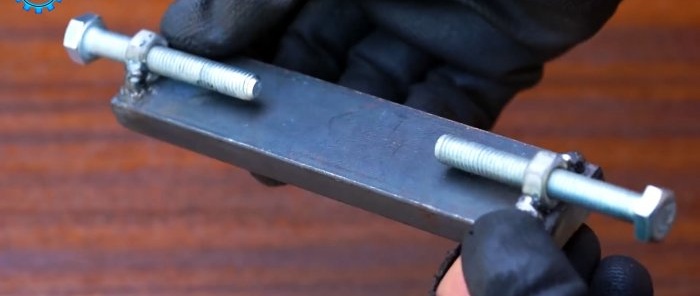
A piece 10-15 cm long is cut from the steel strip.
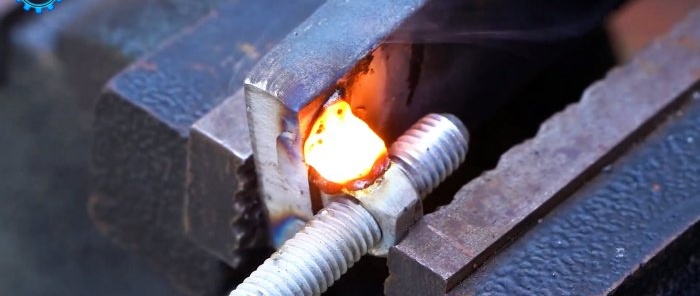
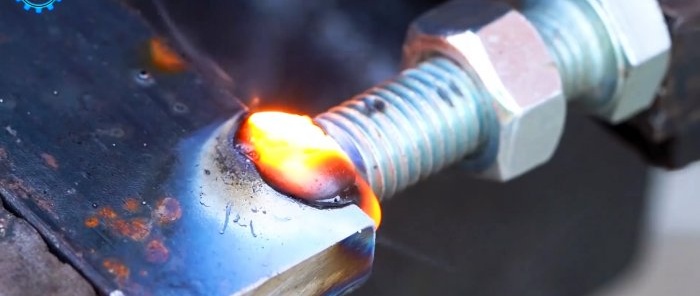
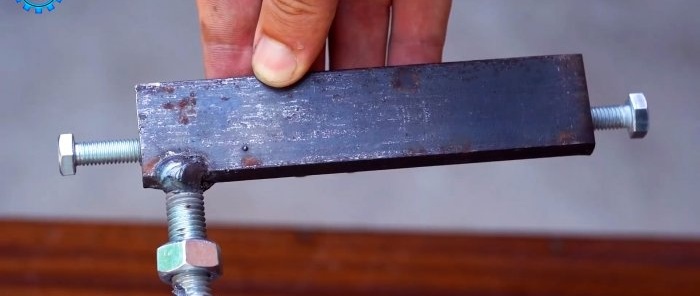
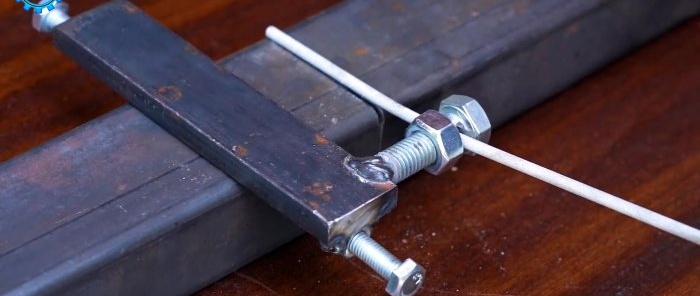
From the ends, M10 nuts are carefully welded to it. They are positioned and welded so as not to damage the thread, and the bolts screwed into them have a parallel direction relative to the strip.
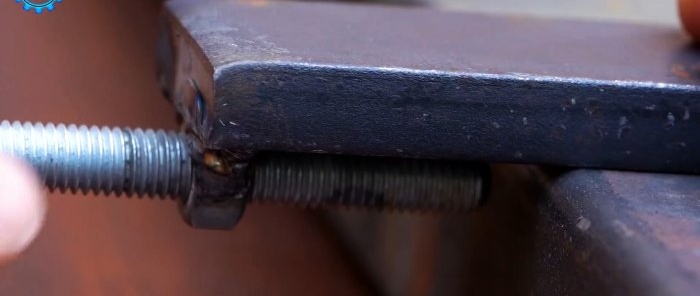
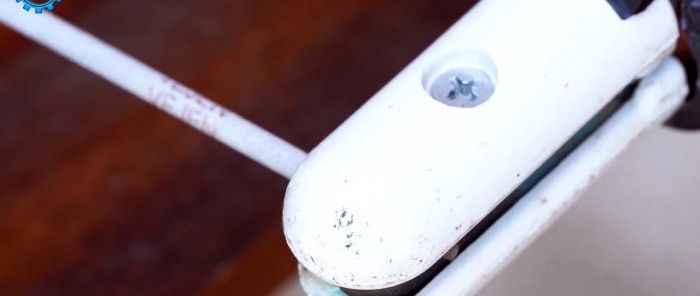
The edges of an M12 or M14 bolt with a screwed-on nut are welded to the side of the strip.
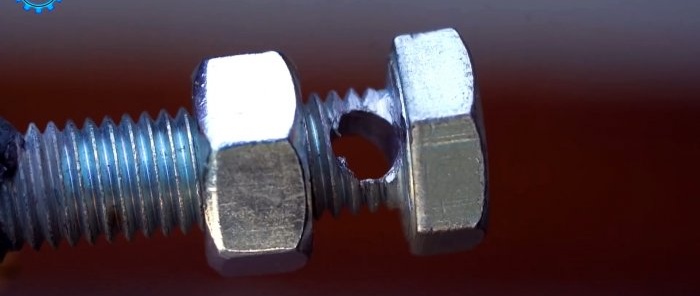
It needs to be drilled across in front of the head. The drilling direction should not be parallel to the strip, but at a slight downward angle towards the welded nuts. The diameter of the hole is made such that the welding electrode fits into it.
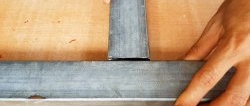
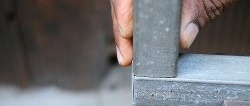
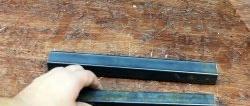
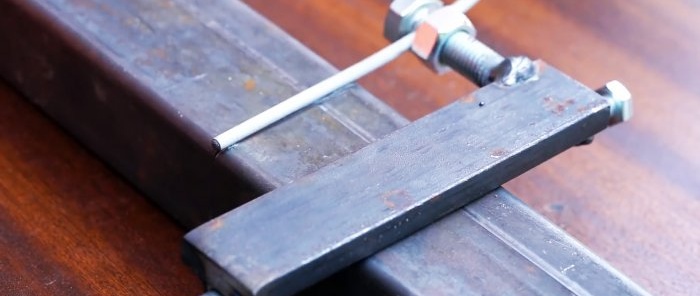
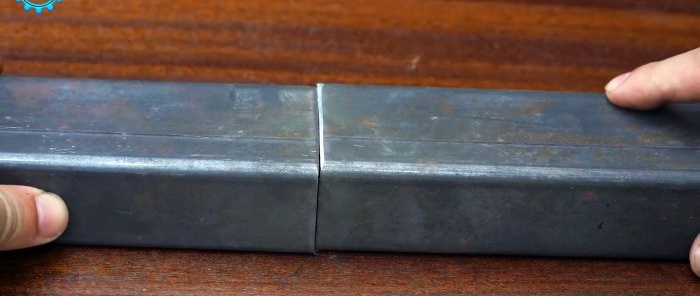
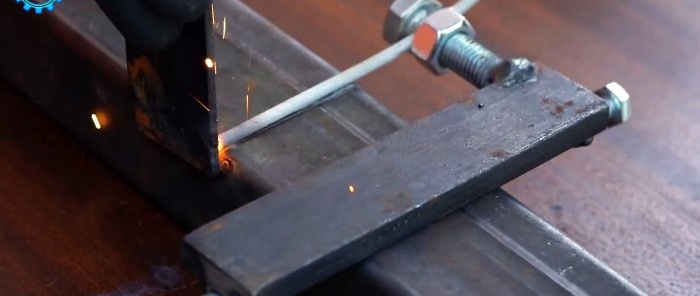
To use the jig, you need to chamfer the ends of the pipes to be welded. Then they are laid end to end on a flat surface. The conductor is clamped from the side onto one of the pipes so that the hole in the welded bolt is located opposite the joint.
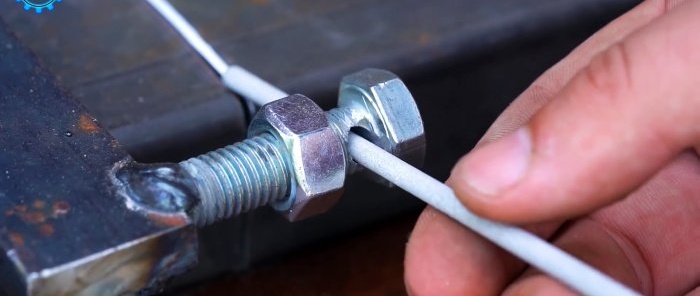
An electrode is inserted into the hole and placed at the joint of the pipes. It is then secured with a nut. Due to the beveled hole, it will be pressed against the pipes.
Now we connect the holder from the welding inverter to the electrode, and the ground to the pipes.
Next, we close its edge with any metal object, and the electrode itself will weld the joint, leaving an even seam.
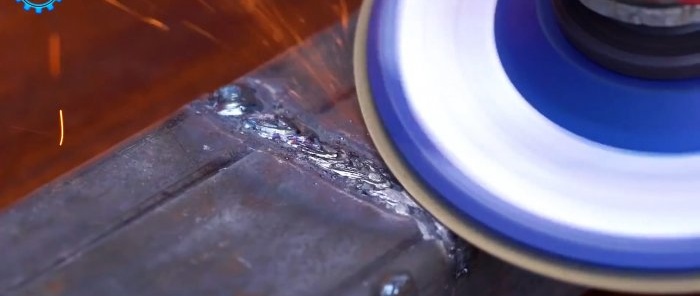
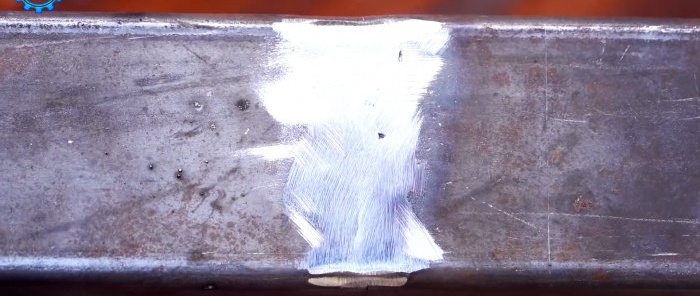
All that remains is to remove the jig and polish off the deposits of metal and slag. Then the device is installed on the other side of the pipes, and everything is repeated.
Watch the video
Similar master classes
