How to repair chips and delaminations at the bottom of a wooden door
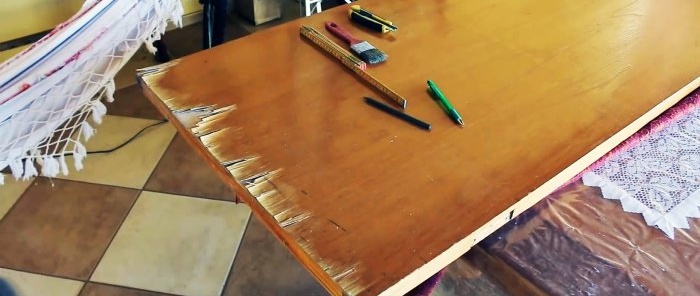
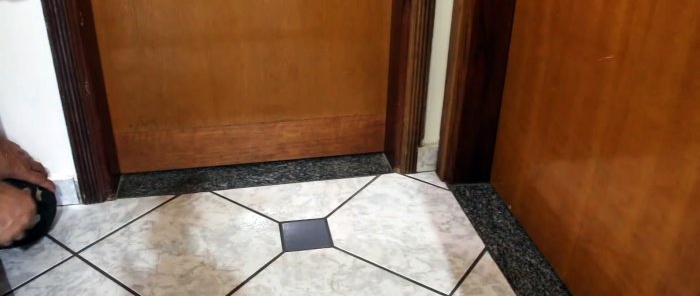
In this master class we will tell and show you how to repair a veneered entrance door. The veneer on the bottom of this door is peeled off, and it doesn't look very attractive.
To repair the door you will need
Tools:- hammer;
- simple power screwdriver;
- crosshead screwdriver.
- the veneer itself;
- ruler;
- pen and/or pencil;
- rack for cutting control;
- stationery knife;
- kitchen knife;
- PVA glue;
- impregnation for wood with a shine effect.
You can choose any impregnation, but it is better to choose one with a shine effect, otherwise the area with the new veneer will stand out greatly.
We repair chips and delaminations at the bottom of the door with our own hands
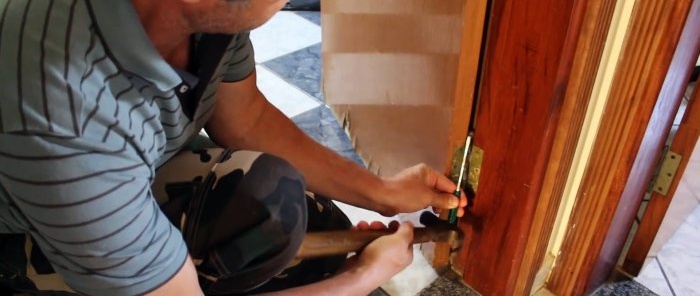
The first thing we need is to remove the door from its hinges, otherwise we won’t be able to properly repair it.
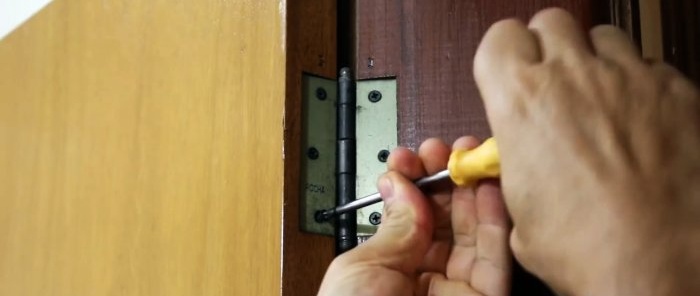
To remove the doors from their hinges, you need to knock out the pins. The hinges are different, in some places you will have to knock off the plug on the pin, in others the pins come right with the plug.When the pins are knocked out, unscrew the hinges from the door leaf and remove the doors.
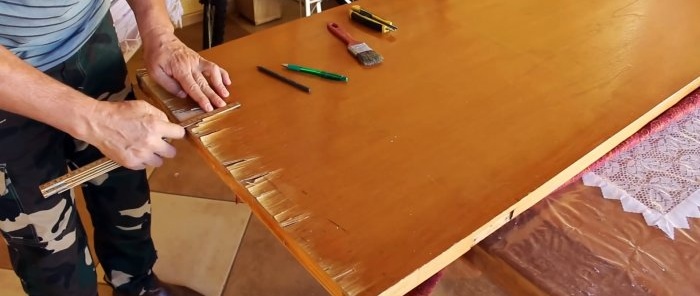
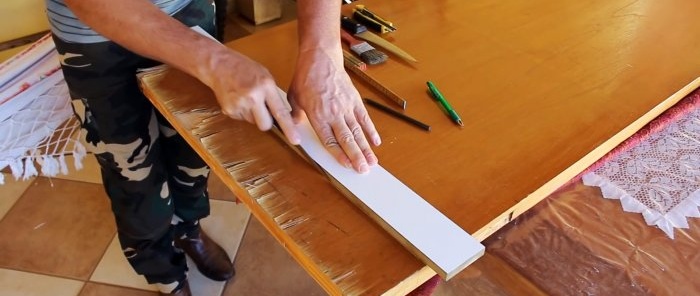
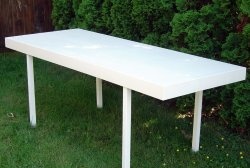
Next, we place the door on a suitable table and assess the extent of the damage. The section of veneer that needs to be cut must be cut with a margin so that all damage is included in this section.
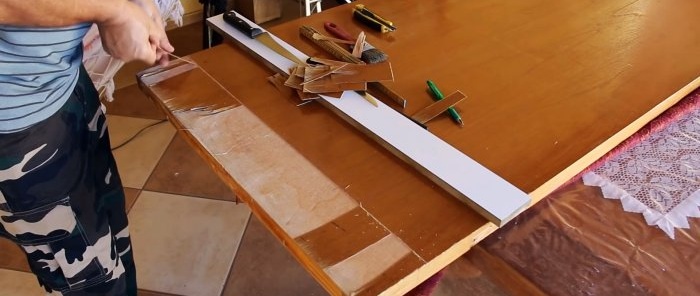
We cut off the defective section of veneer.
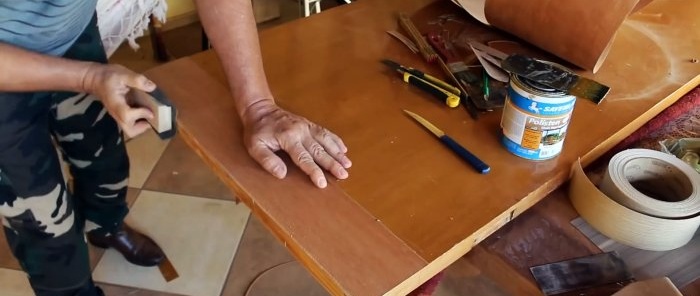
We roughly grind all irregularities and remaining material with a knife.
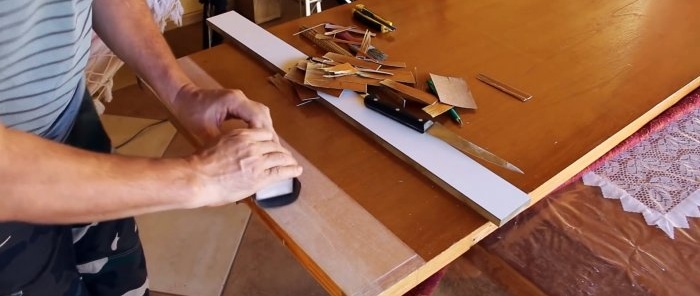
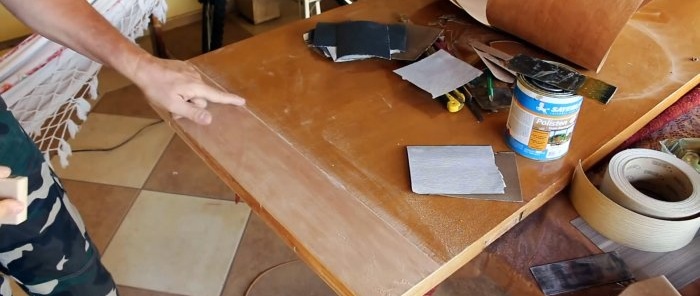
Then we sand the area with coarse 80-grit sandpaper.
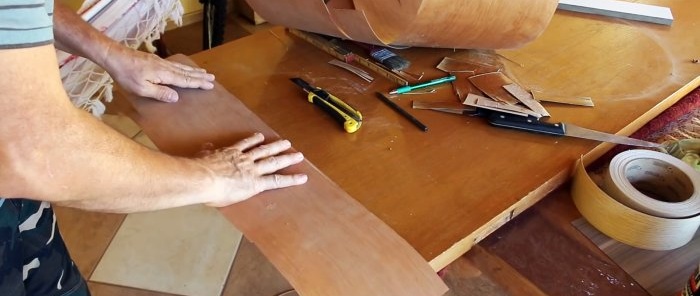
We prepare a piece of new veneer, cut it approximately, then, after gluing, the excess pieces will be cut off.
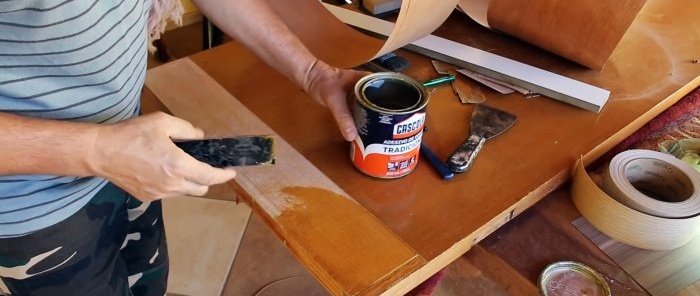
We take wood glue and carefully coat the area on which we will glue the veneer.
The piece of veneer also needs to be thoroughly coated with glue on one side. It is very important to carefully coat the base of the door so that the veneer does not come off later; you need to apply several layers of glue.
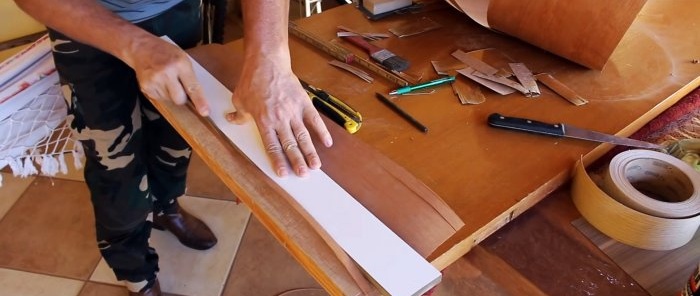
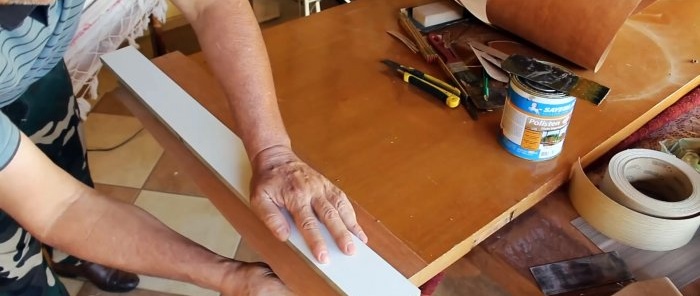
We glue a piece of veneer, carefully iron it over the entire surface to avoid the appearance of bubbles and un-glued areas.
Then we trim off the excess areas along the edges.
At this stage you need to be careful and not cut off excess; you need to cut with a knife from below.
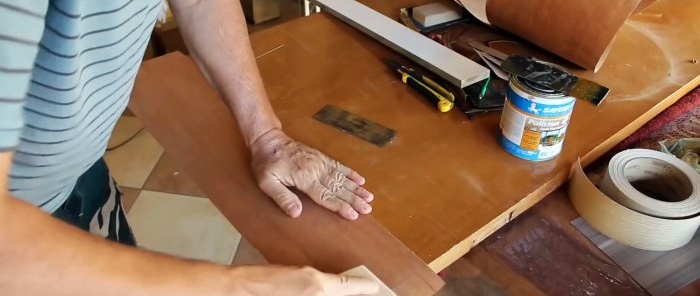
We carefully clean the finished area with sandpaper of different grain sizes, the main thing here is to hide the transition between the old and new veneer as much as possible.
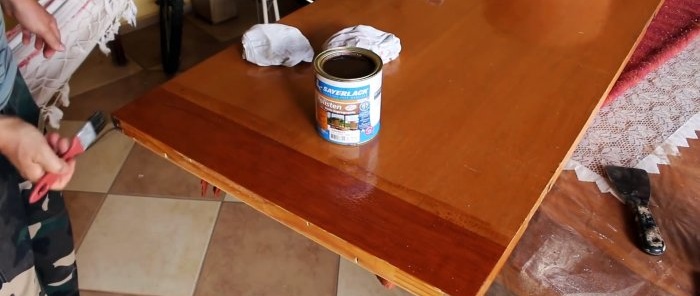
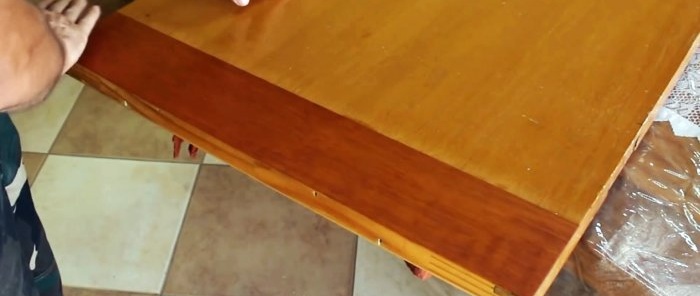
At the final stage, all that remains is to cover the sanded area with a special stain. It is desirable, of course, that it be the same color as the old veneer, but if it’s a little different, it’s okay.
Now we wait until everything is dry and return the door to its place in the door frame.
We put on the loops and screw them on.
The repair of the damaged section of the door is now complete!
