How to convert a 12V lead-acid battery into a lithium-ion battery with a significant increase in capacity
An old, non-functioning lead-acid battery can be converted to a lithium-ion battery. To do this, it is equipped with a block of 3.7 V 18650 lithium-ion batteries. Even used cells, for example those removed from laptop batteries, are suitable for this. Such a modification will increase the battery capacity by almost 2 times, and will also make its charging faster.
Materials:
- Li-ion batteries 3.7V 18650 -
- controller Bms 3s 40A - http://alii.pub/601y11
- nickel spot welding tape;
- wires;
- heat shrink;
- sheet plastic;
- insulating tape.
Battery conversion process
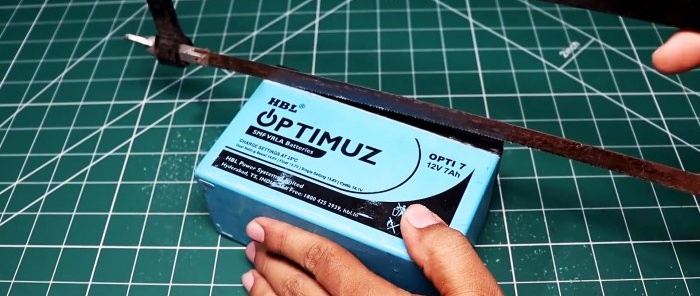
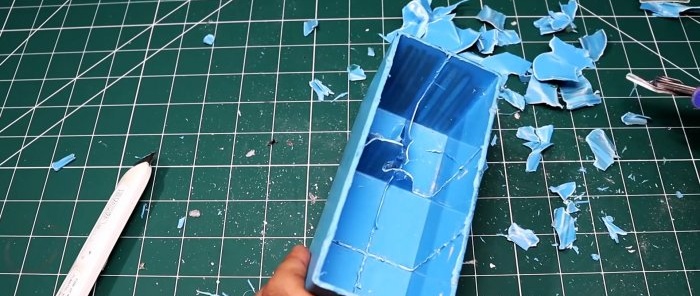
A lead-acid battery only requires a housing. To do this, its lid is sawed in a circle and removed.
The lead plates are removed from the battery and the partitions are removed.
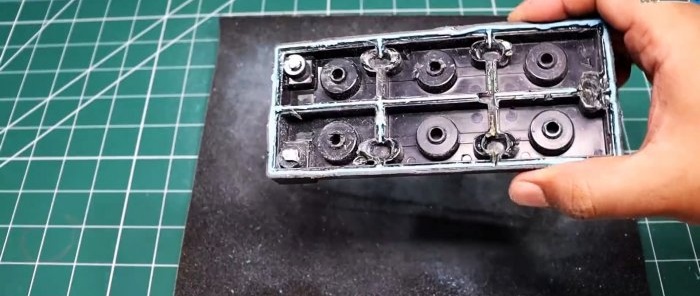
Grind the edges of the lid and body using sandpaper to a smooth edge.
After this, you need to measure the internal dimensions of the case and determine how many 18650 batteries will fit in it when placed in 3 rows.
In this case, you can insert 6 batteries in a row.If used batteries are used, then it is better to measure their capacity, and then sort the elements into 3 groups so that in each of them the total capacity is approximately the same.
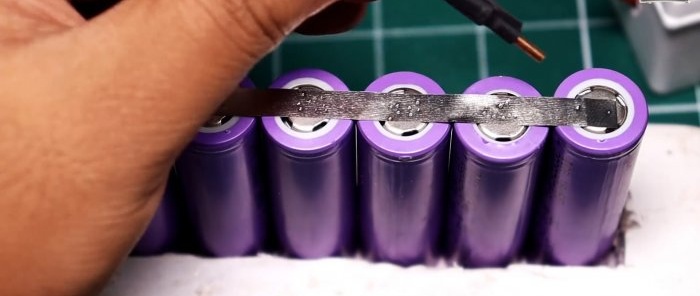
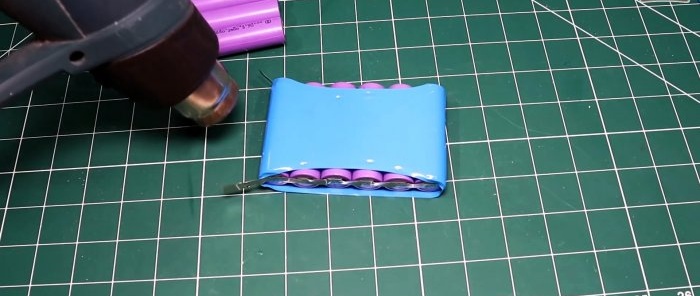
To assemble a row of batteries evenly, it is best to insert them between two strips of a ruler, secured at the edges with rubber bands, or make a homemade template. After this, a nickel strip is spot welded onto them.
If there is no such equipment, then it can be soldered. When connected in a row, the batteries are placed in the same polarity to obtain a parallel connection. This will combine their capacity. Sections are insulated with shrink film.
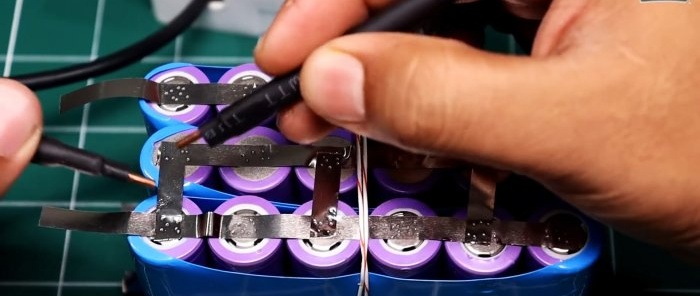
Then the 3 rows are connected to each other in series to sum up their voltages. To do this, the outer rows are turned with the positive terminals up, and the middle one down. The connection of adjacent rows is made by jumpers from the strip through one battery. Then the block is turned over and the next 2 rows are connected with jumpers.
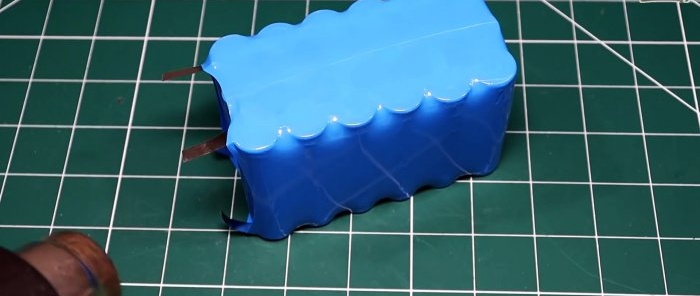
The finished battery pack is insulated with heat shrink.
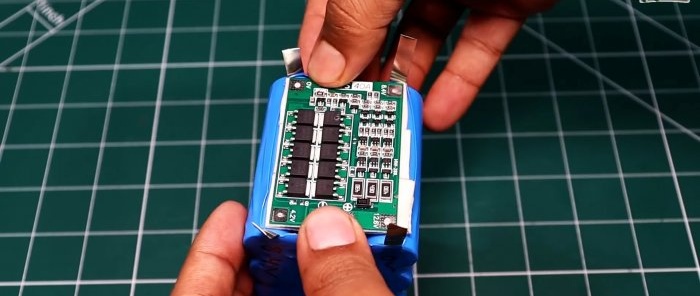
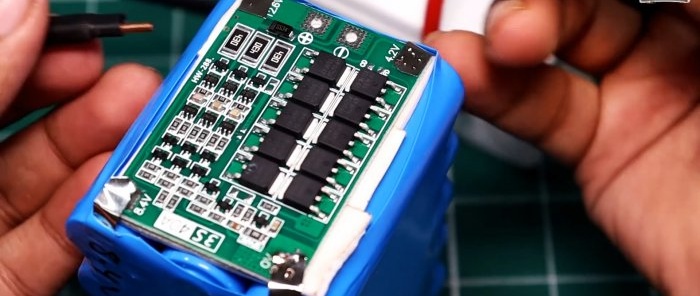
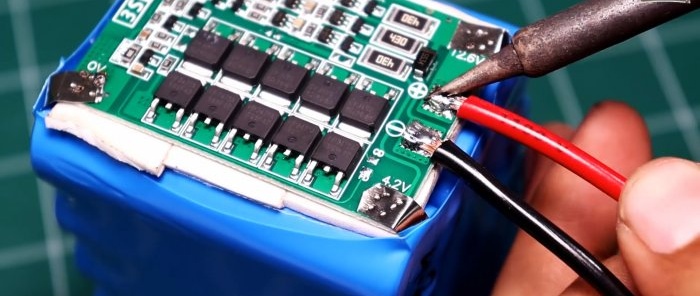
The controller is glued to the block using double-sided tape and soldered to its terminals.
You also need to solder 2 wires to it to connect the electrodes in the lead battery cover.
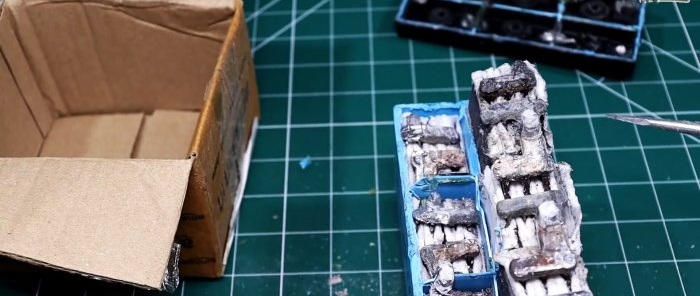
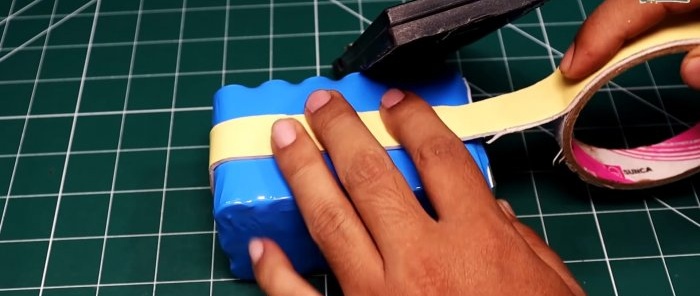
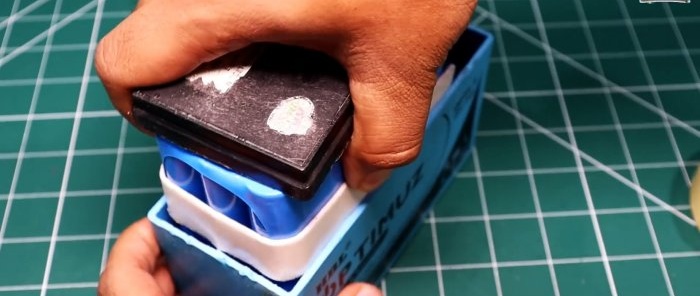
After this, the fixation block is wrapped with a thin, double-sided cover and placed in a box.
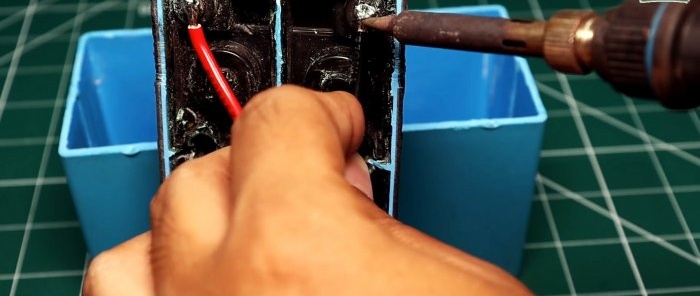
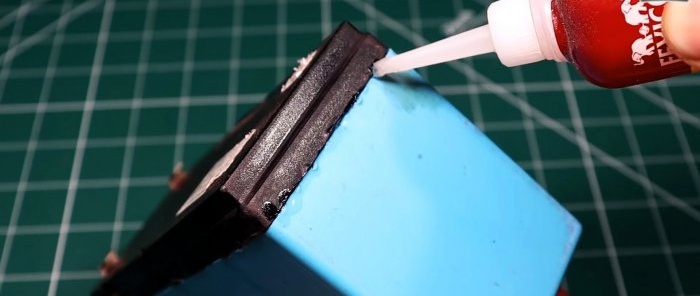
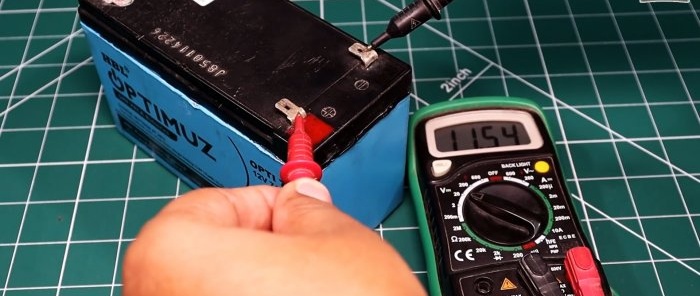
The wires of the block are soldered to the contacts in the cover, after which the body is glued together.
Before doing this, you may need to wedge the batteries so that they do not dangle. Thus, with the same form factor, we get a battery of greater capacity.
Watch the video
Similar master classes
