Master class on making a dispenser for cotton pads
A dispenser is a very convenient device that makes people’s lives easier. Can be used in different interpretations for the dosed use of a variety of materials. The presented master class will introduce step-by-step instructions for making a dispenser for cotton pads in the bathroom from a tube of chips in the style of shabby chic or Provence.
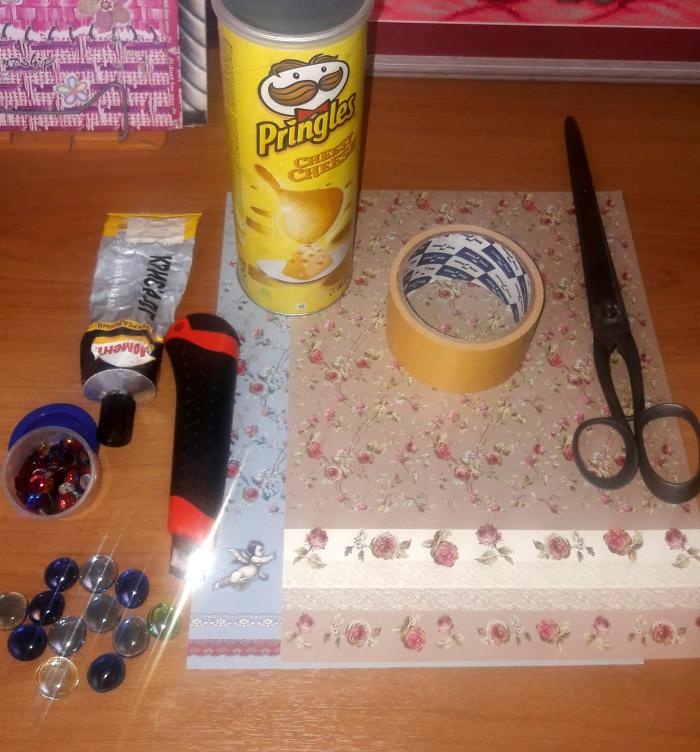
Materials for work:
Process:
1. Determine the required width of the hole for removing the disks. To do this, measure the diameter of the cotton pad and subtract 0.5 cm from the resulting number. You will get the optimal width so that the pad comes out easily enough, while leaving the remaining pads in place in the tube.
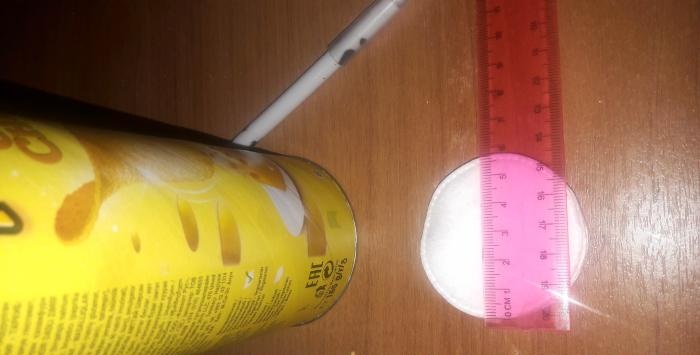
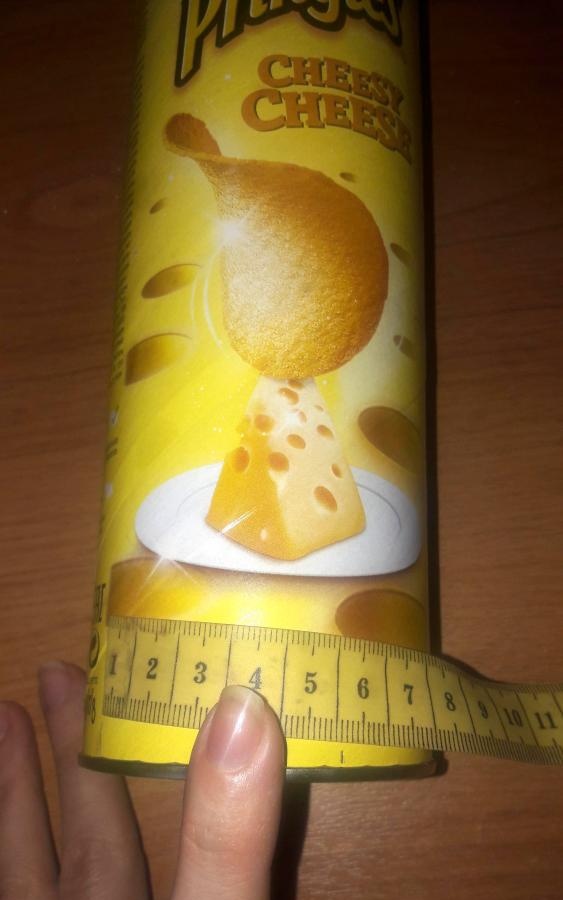
2. Mark the height of the hole on the tube. It is equal to 3.5-4 cm, so that in the hole you can see a stack of 6-9 disks and be able to grab one disk with two fingers.
3.Draw a semicircle at the points determined by our measurements.
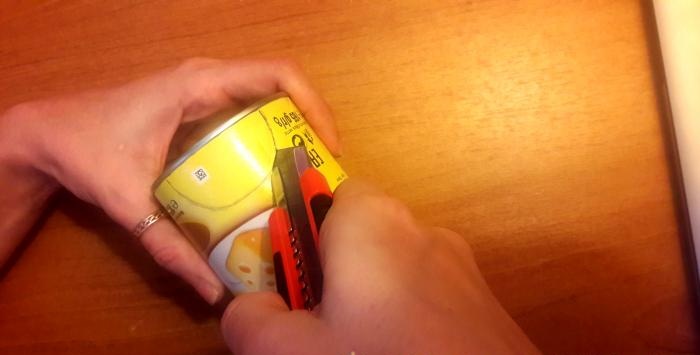
4. Cut out the window using a utility knife or nail scissors.
5. Prepare paper for registration. Determine the required height and width of the tube. Using the shape obtained by cutting out the hole, make the same semicircle on paper.
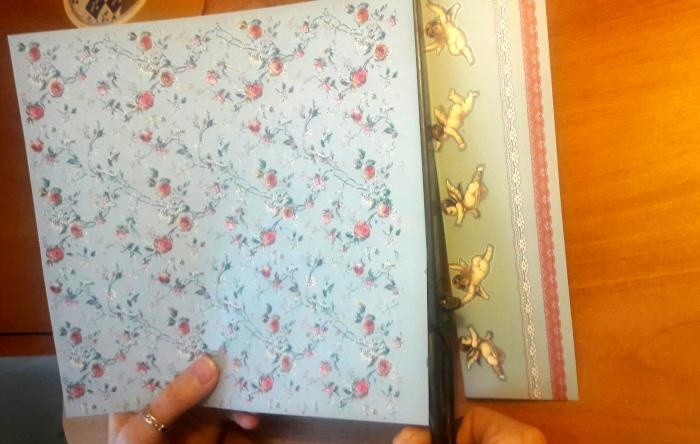
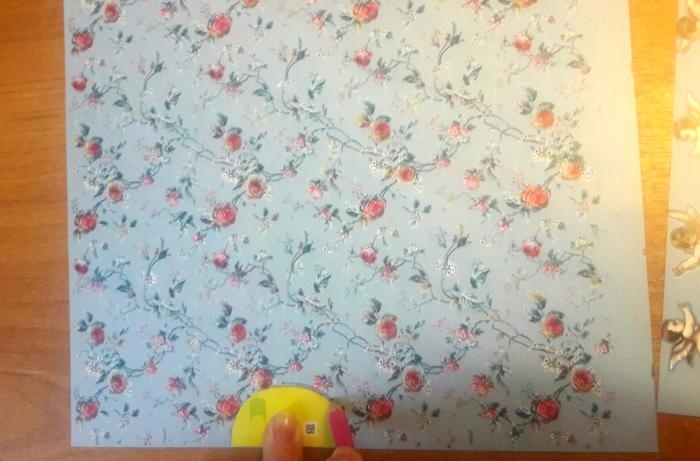
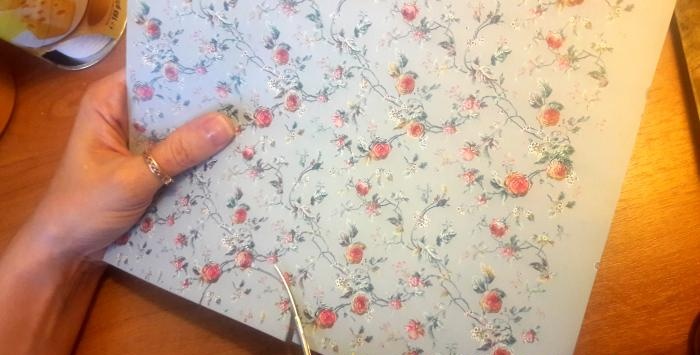
6. Try it on dry to see if the sizes of the holes on the tube and the paper match. If necessary, adjust with nail scissors.
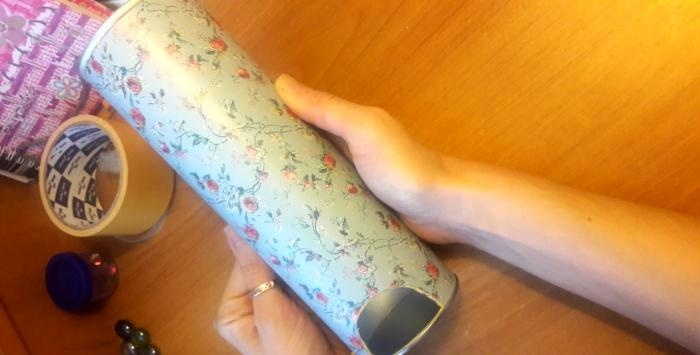
7. Place double-sided tape over the entire area on the back of the paper.
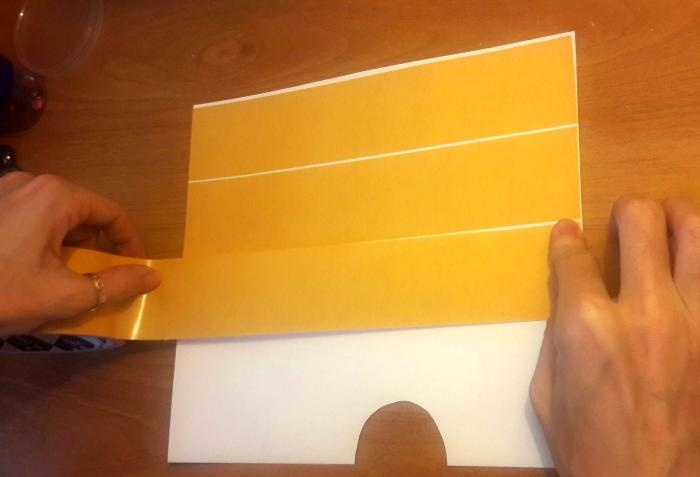
8. Glue the paper onto the tube, starting with gluing the windows. Gently smoothing with your hands, move in all directions. Secure the area where the edges of the paper touch with glue.
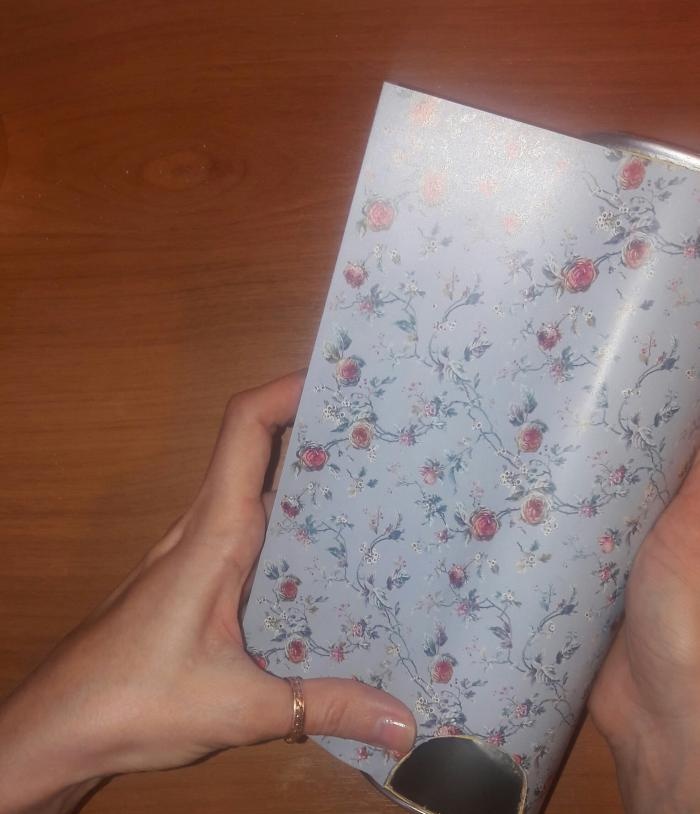
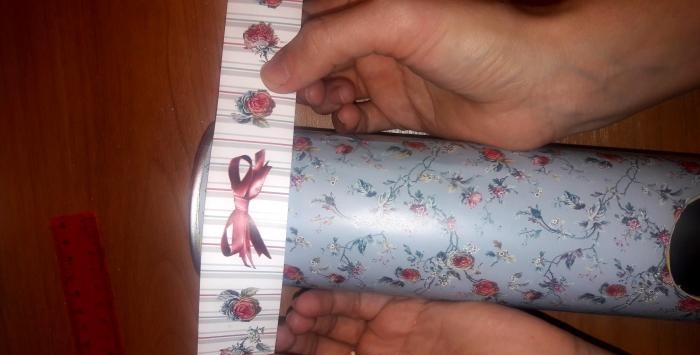
9. Focus on the top of the tube. This option uses a strip of designer paper 3 cm wide, of a different color, similar in theme. Using it, you can hide possible irregularities along the top edge when gluing the base paper, as well as create any desired contrast or effect.
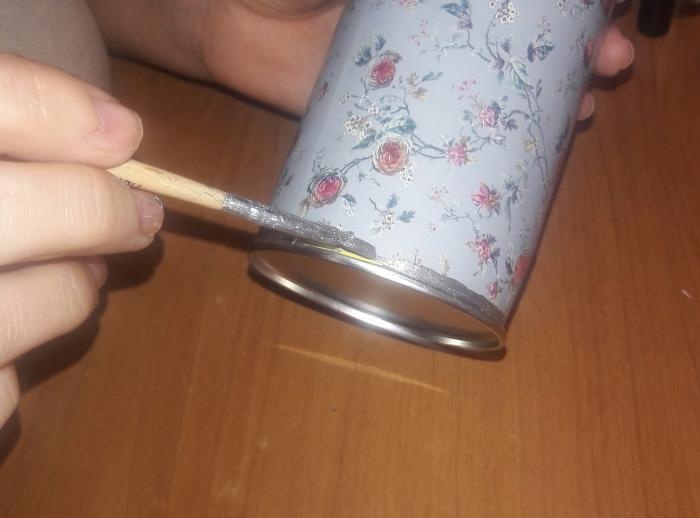
10. Using nail polish, in our case silver, paint the bottom of the tube and the edges of the hole for the discs with a strip of about 0.3-0.5 cm. Allow time for the polish to dry.
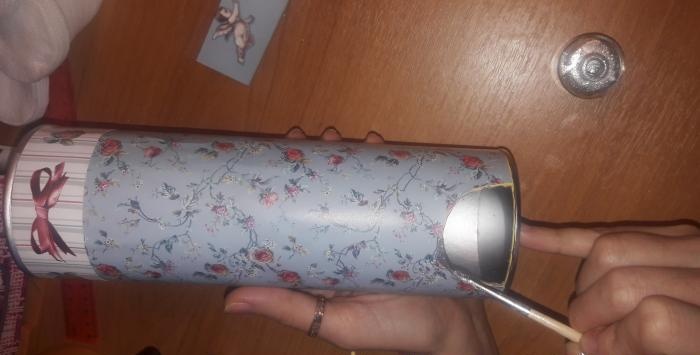
11. To complete the decoration of the window and add a slight touch of glamor, in our case we use silver sequins glued with transparent glue along the entire rim of the window.
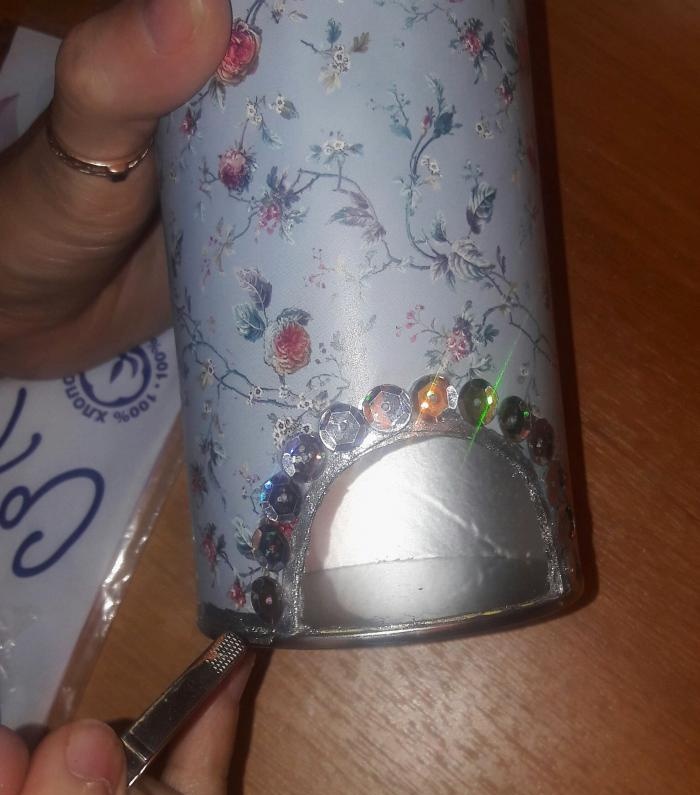
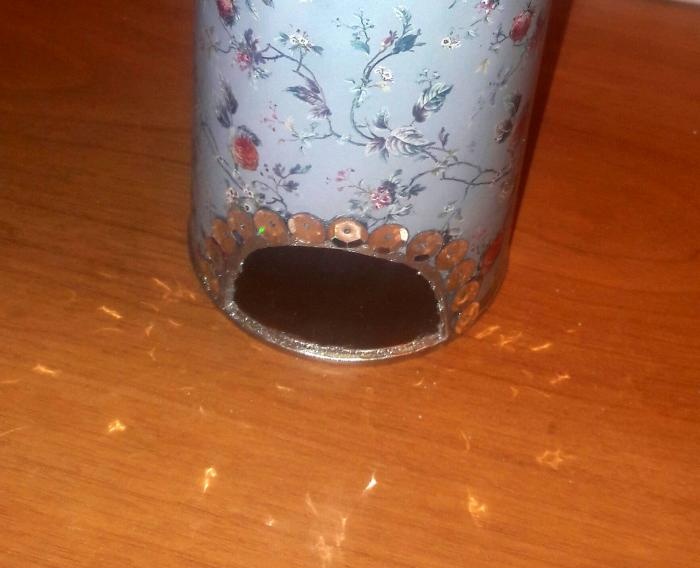
12. Fill the tube with cotton pads and close the lid.
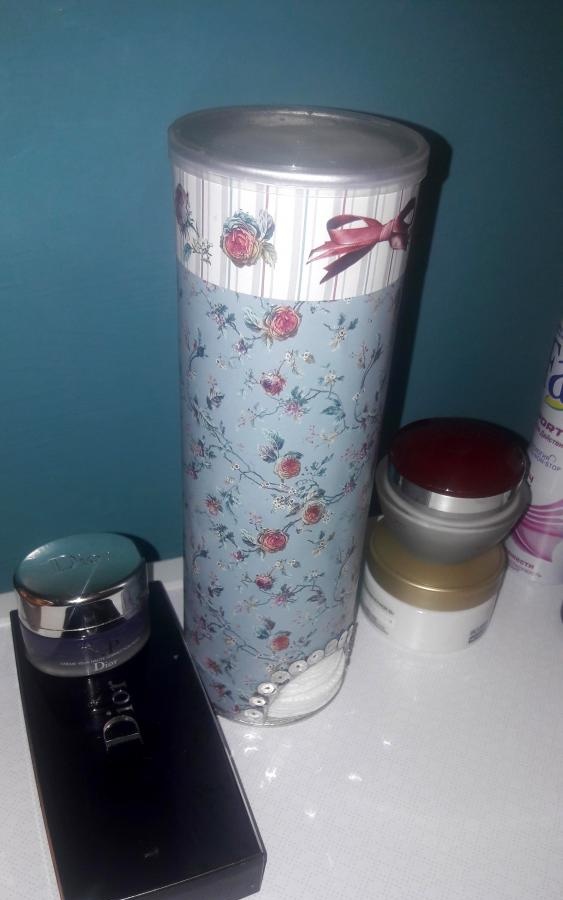
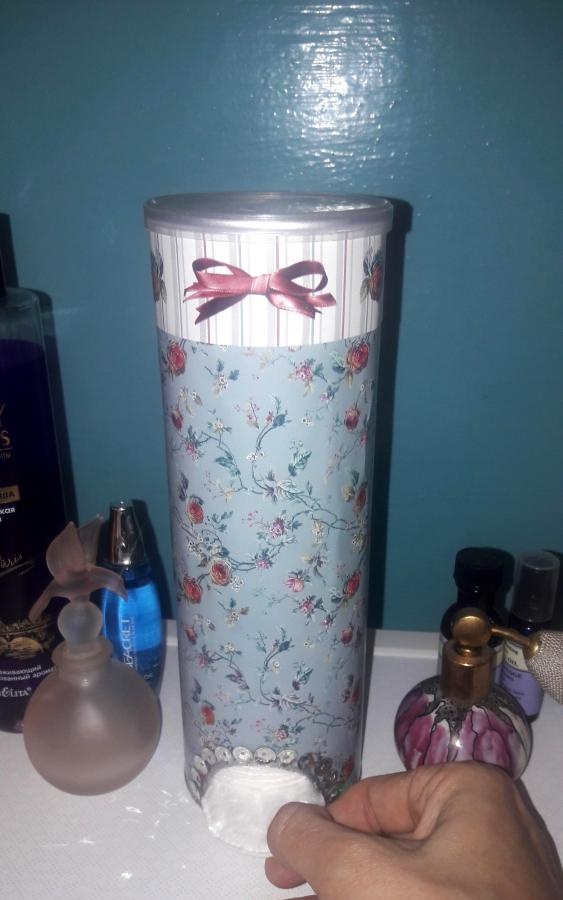
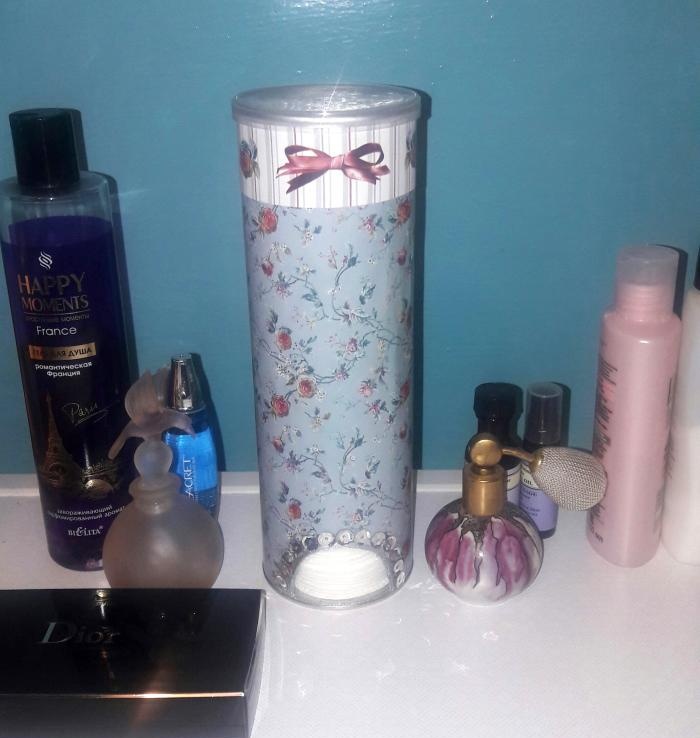
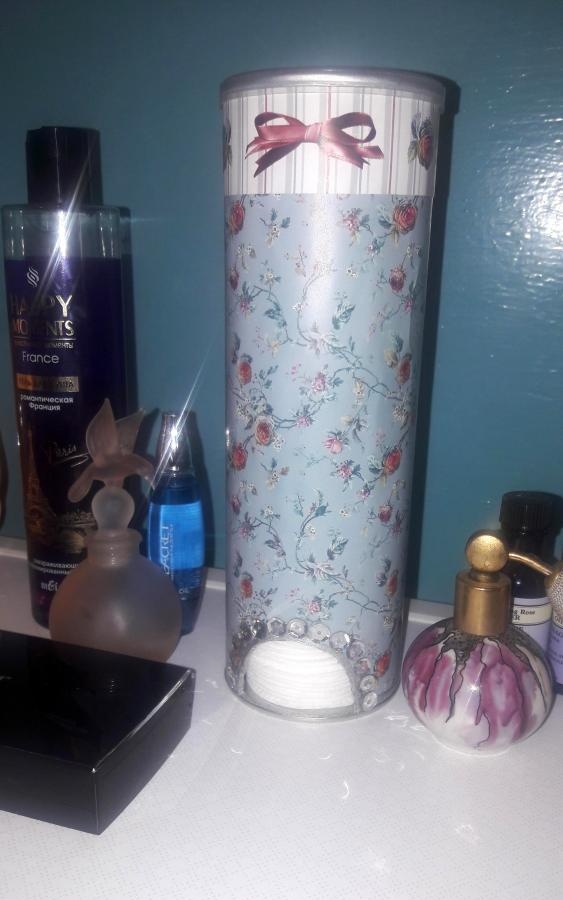
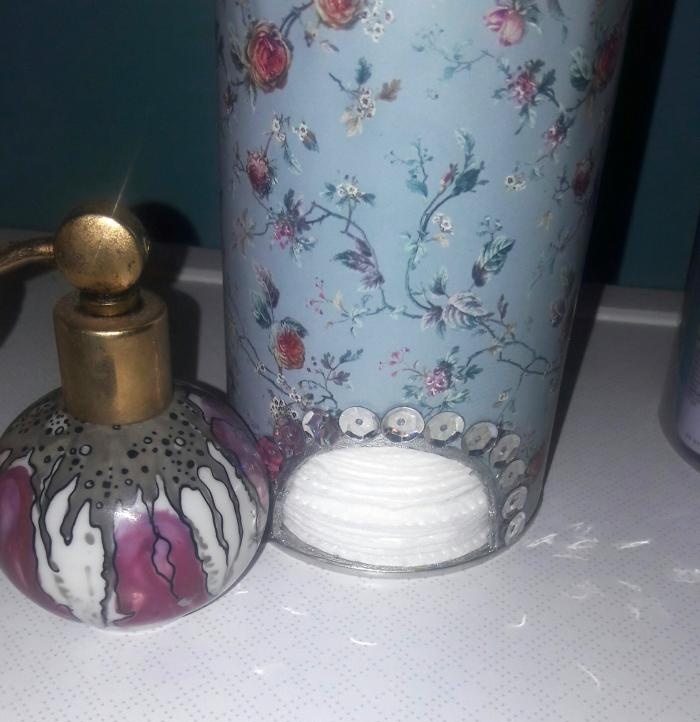
With these simple steps, you can decorate your bathroom in any style you like, decorating not only a dispenser, but also a stand for cotton swabs and other forms for cosmetic items.To decorate the product, you can use all kinds of textures and decorations: beads, seed beads, ribbons, lace, felt, buttons, stickers, fabric, feathers. Success depends only on your imagination and desire.
Materials for work:
- a tube from chips (can be used from other products of a suitable size);
- glue Moment crystal;
- scissors, centimeter;
- double sided tape;
- designer paper (good density);
- sequins;
- stationery knife, tweezers;
- nail polish.

Process:
1. Determine the required width of the hole for removing the disks. To do this, measure the diameter of the cotton pad and subtract 0.5 cm from the resulting number. You will get the optimal width so that the pad comes out easily enough, while leaving the remaining pads in place in the tube.


2. Mark the height of the hole on the tube. It is equal to 3.5-4 cm, so that in the hole you can see a stack of 6-9 disks and be able to grab one disk with two fingers.
3.Draw a semicircle at the points determined by our measurements.
4. Cut out the window using a utility knife or nail scissors.

5. Prepare paper for registration. Determine the required height and width of the tube. Using the shape obtained by cutting out the hole, make the same semicircle on paper.


6. Try it on dry to see if the sizes of the holes on the tube and the paper match. If necessary, adjust with nail scissors.

7. Place double-sided tape over the entire area on the back of the paper.

8. Glue the paper onto the tube, starting with gluing the windows. Gently smoothing with your hands, move in all directions. Secure the area where the edges of the paper touch with glue.

9. Focus on the top of the tube. This option uses a strip of designer paper 3 cm wide, of a different color, similar in theme. Using it, you can hide possible irregularities along the top edge when gluing the base paper, as well as create any desired contrast or effect.

10. Using nail polish, in our case silver, paint the bottom of the tube and the edges of the hole for the discs with a strip of about 0.3-0.5 cm. Allow time for the polish to dry.


11. To complete the decoration of the window and add a slight touch of glamor, in our case we use silver sequins glued with transparent glue along the entire rim of the window.


12. Fill the tube with cotton pads and close the lid.


With these simple steps, you can decorate your bathroom in any style you like, decorating not only a dispenser, but also a stand for cotton swabs and other forms for cosmetic items.To decorate the product, you can use all kinds of textures and decorations: beads, seed beads, ribbons, lace, felt, buttons, stickers, fabric, feathers. Success depends only on your imagination and desire.
Similar master classes
Particularly interesting
Comments (1)


