How to convert a UPS to a lithium battery and increase its autonomy by 3 times
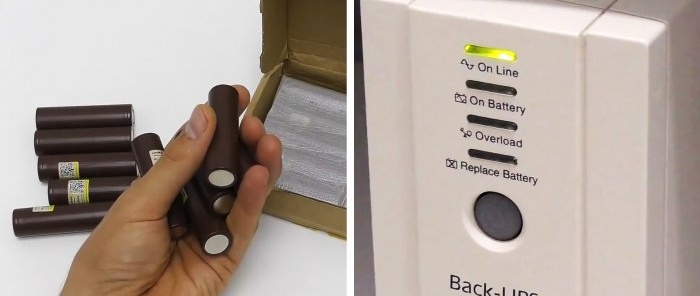
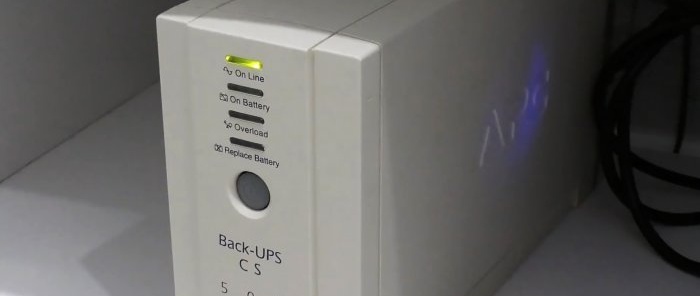
Uninterruptible power supplies are equipped with a lead-acid battery, the capacity of which provides low autonomy. If you properly re-equip the UPS, then its operating time during a network outage can be increased by 3 times. Let's look at how to install a more capacious battery in it and configure its charging.
Basic materials:
- Battery assembly kit: case, BMS board, connectors - http://alii.pub/63n3dg
- 18650 batteries - http://alii.pub/5becfz
- BMS board - http://alii.pub/5mubpk
- wires;
- resistor 2.2-2.3 kOhm.
The process of re-equipment of uninterruptible power supply
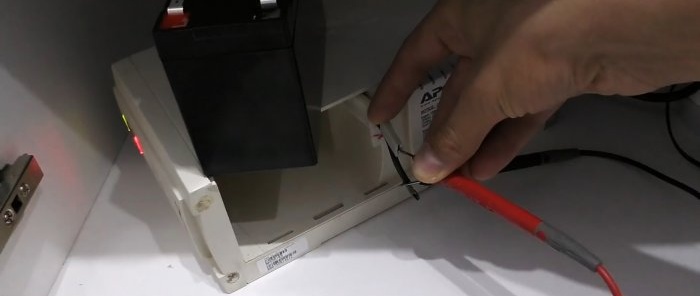
To remodel, you need to remove the standard battery from the UPS, cut off its cover, and remove the lead plates and partitions from the inside. All you need is a housing and a cover with contacts. You need to place an assembly of 18650 batteries in it. You can also buy a ready-made kit with a housing - http://alii.pub/63n3dg
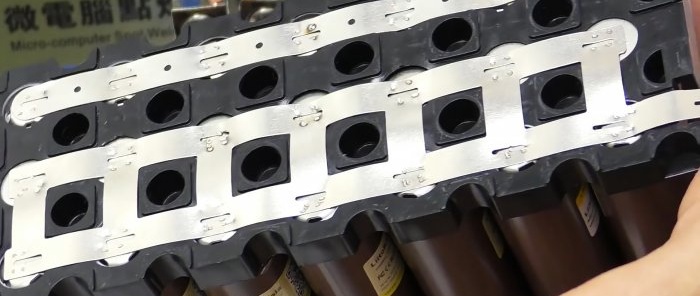
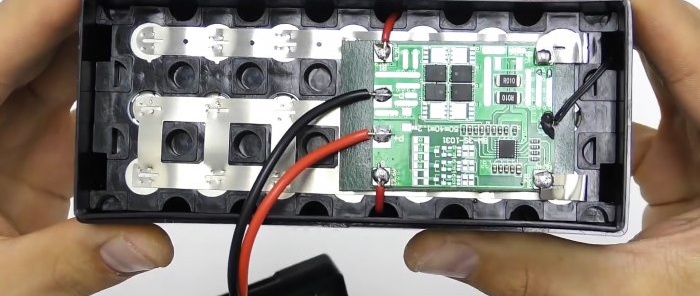
The assembly consists of 3 blocks. Each of them consists of 18650 batteries connected in parallel in a row. This allows them to combine their capacity. The blocks themselves are connected to each other in series to connect their voltage, and ultimately get 12V.In the case in the example we managed to fit 3 rows of 7 batteries each.
The elements are connected using nickel tape. It is best to fasten by welding, but soldering is also possible. To prevent the tape from overheating, you need to connect the elements of adjacent rows in parallel for better current flow. This solution will eliminate internal heating of the battery itself.
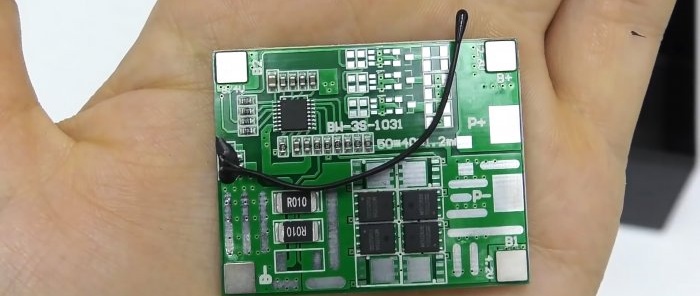
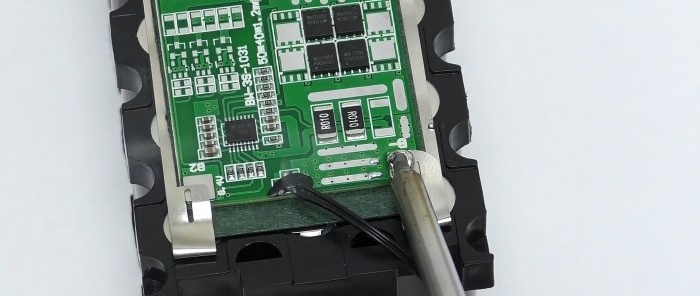
The BMS board must be soldered to the battery. It will work as protection against overheating and short circuit. The power of the board is selected depending on the type of your load. For example, we take a 10 A BMS. To calculate, we multiply 10 A by 12 V, and we ultimately get the permissible peak electrical power of the consumer up to 120 W. That is, if you have a 200 W device powered by a UPS, then divide this value by 12 V and get a current of 16.6 A. Taking into account the tolerances for converter losses, in this case a 25 A BMS is suitable.
We solder the BMS to the battery assembly and the contacts of the housing cover. For this purpose, wires of a cross-section are used that are capable of passing your current without heating. We select the cable thickness according to the table.
The assembly is placed in the housing and covered with a lid. To prevent it from falling off, it is better to glue it.
However, when installing such a battery in a UPS, we get a small problem.
The fact is that it is designed for a lead-acid battery, the charge voltage of which is 13.8 V. In a lithium battery, this value is 12.6 V. When it reaches it, the BMS board will turn off charging. The uninterruptible power supply itself, having determined that the voltage of 13.8 V has not been reached and the charging has stopped, will begin to emit a sound signal.
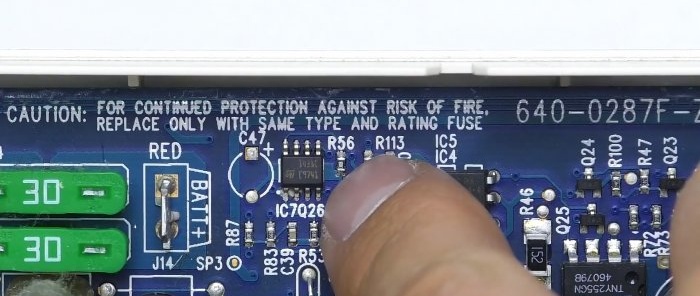
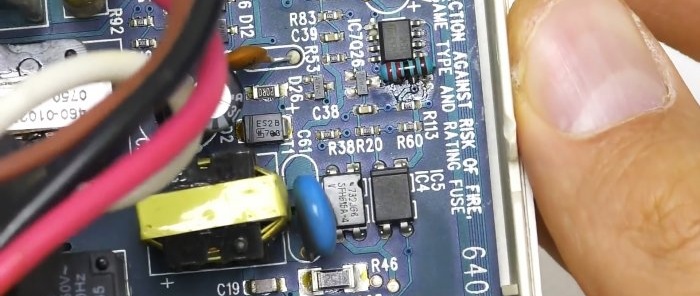
To solve the problem, you need to disassemble the UPS housing. You can remove the tweeter from its board, or find trimming resistors on it to adjust the required voltage.In most cases there won't be any. Then we find resistor R56 on the board. It must be replaced with a 2.2 or 2.3 kOhm resistor. After this, the charging voltage conflict between the uninterruptible power supply and the BMS will stop.
Thus, we get a UPS with protection against overload, short circuit, overheating, overcharging, and even with a capacity 3 times higher. Of course you'll have to tinker, but it's worth it.
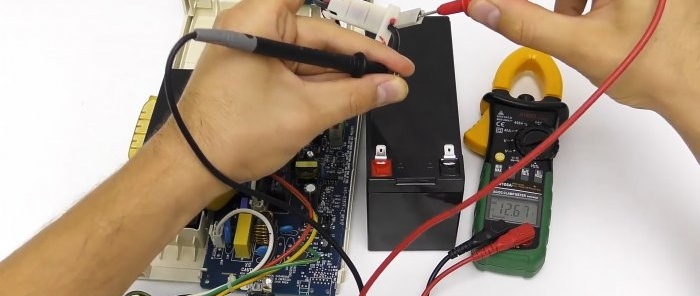
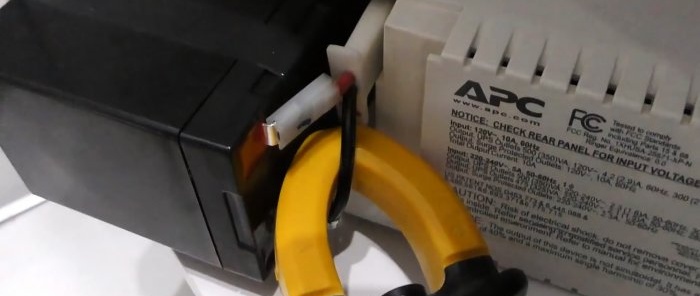
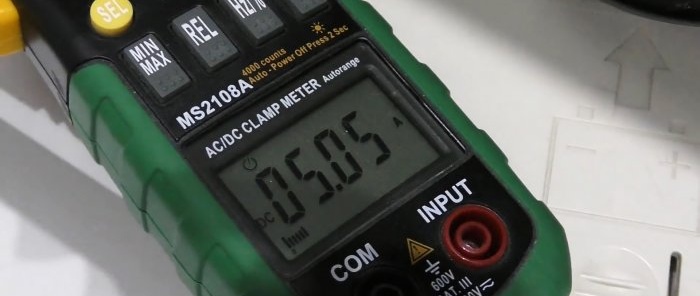
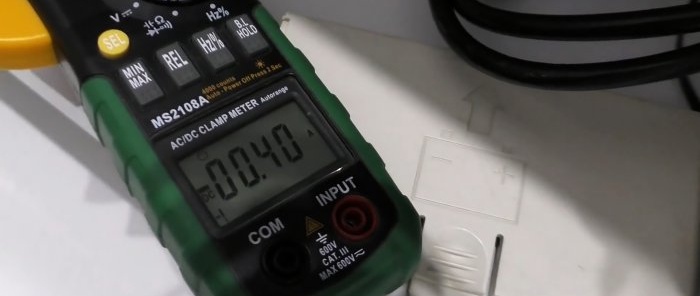
Current consumption when power is off.
Charging current.
Watch the video
Similar master classes
