How to make a thermostat for a fan using just 3 parts
In order to automatically turn on the cooling fan, you do not need complex circuits; you only need 3 parts. This regulator is incredibly simple to build and adjust. There is no need to make a board for the circuit; everything is soldered by surface mounting in 15 minutes.
Details
- Transistor IRF540N - http://alii.pub/63abgi
- Trimmer resistor 10 kOhm - http://alii.pub/63abmx
- Temperature sensor NTC 10K - http://alii.pub/63abo3
Schematic diagram
The regulator circuit, as mentioned earlier, is very simple. It is connected to the 12 V regulator power supply circuit and does not require additional power, which is an undoubted advantage of this design.
A threshold element is assembled on the transistor, which monitors changes in the resistor and temperature sensor circuit. The potentiometer adjusts the response threshold.
How to make a simple 12V fan thermostat
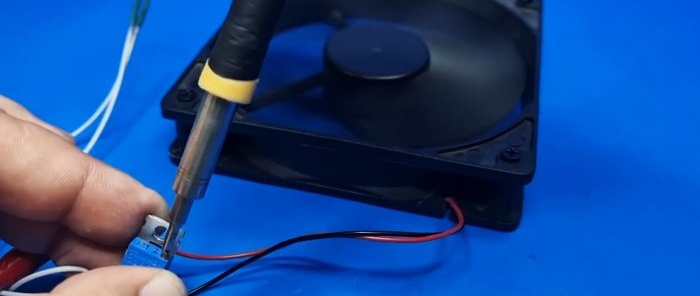
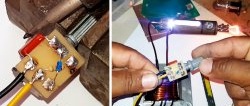
We fix the transistor and tin the output.
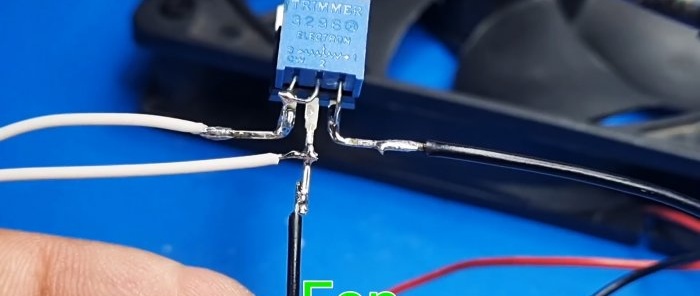
We solder the variable resistor, having previously closed one of the side contacts with the central one.
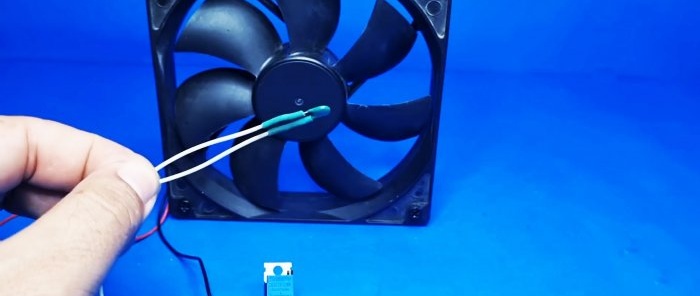
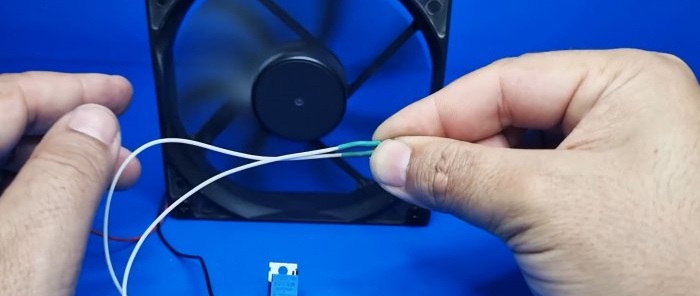
The thermoelement will be remote. We solder the wires to it and insulate it with heat shrink tubing.
Solder the wires from the thermistor to the transistor according to the diagram.
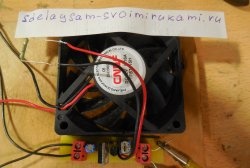
We connect the regulator to the fan power supply.
We supply power and adjust the operation to the desired temperature.
Checking the operation of the thermostat
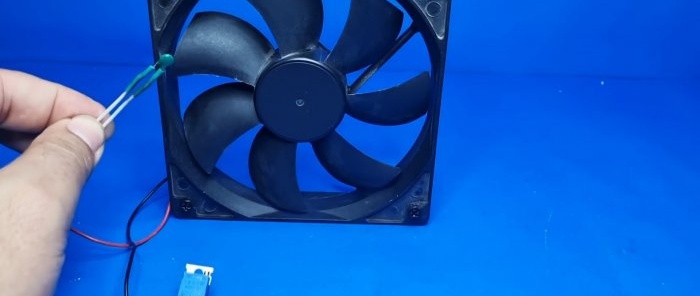
Initially the fan does not spin. But as soon as you heat the sensor with the heat of your hand, the fan impeller begins to rotate.
In the future, the temperature sensor can be attached to the radiator of the cooled circuit, or simply left in the case, inside of which the required temperature must be maintained.
This circuit is proto, which means it is very reliable in operation.

