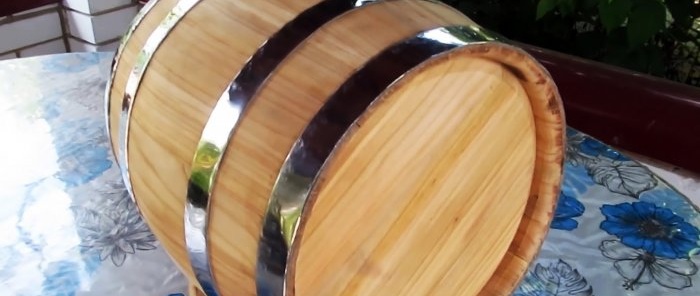
How to make a barrel from an old log
It is best to store home distillate in wooden barrels. Usually such containers are made from oak, but wood from other trees will also work. We will take cherries, which will give the distillate the aroma and taste of cherries. Cooperation requires some skills and a set of machines.
Will need
Materials:- cherry log;
- steel strip 20×1.5 mm;
- rivets 5×10 mm.
Tools: axe, hammer, heel, jointer, pendulum saw, milling machine, template for rivets, “working” hoops, fire source, bath of water, clamp for tying rivets, grinder, router, band saw, etc.
The process of turning an unsightly cherry log into a beautiful barrel
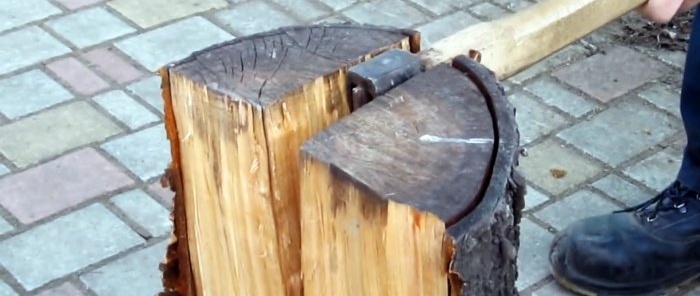
We split the cherry log into quarters.
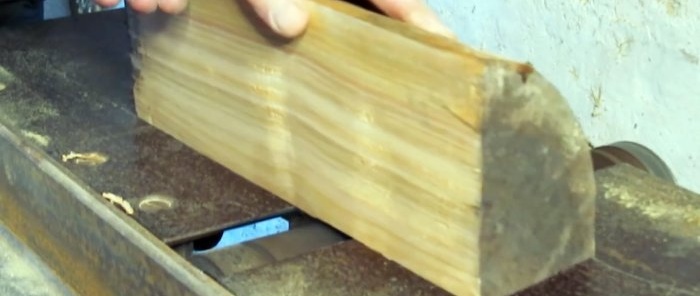
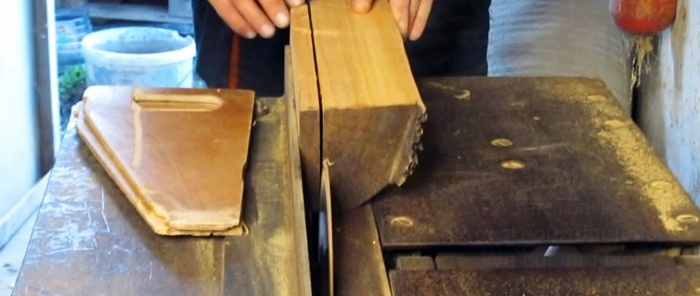
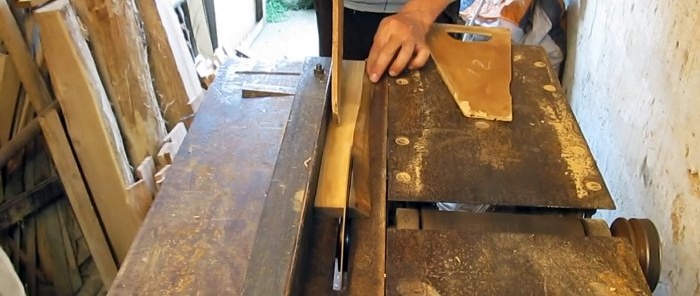
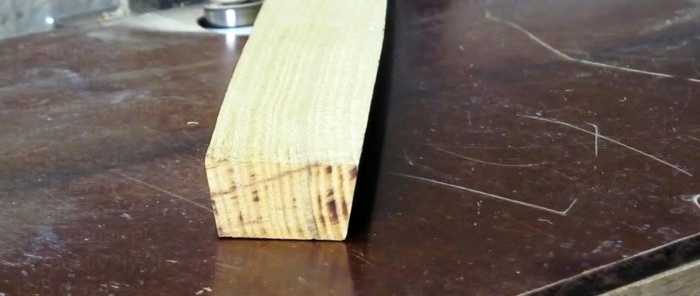
We process two perpendicular sides of each quarter on a jointer and saw them into blanks of the required thickness on a circular saw.
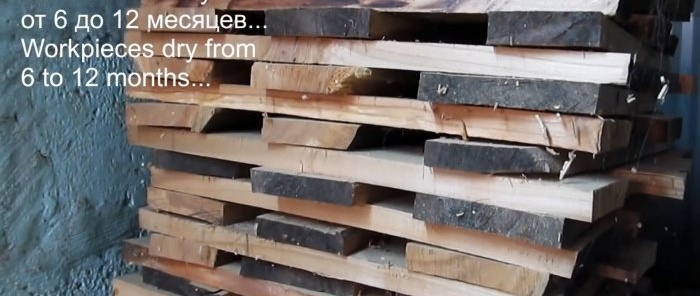
We leave the blanks to dry for six months to a year.
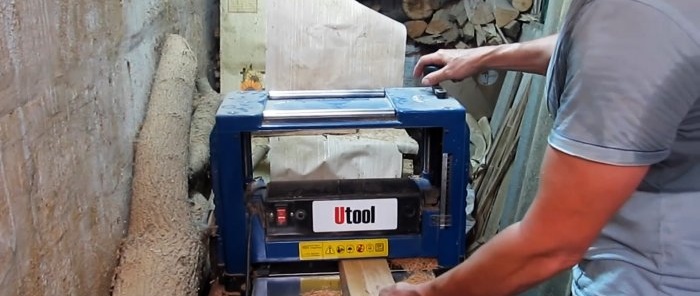
We calibrate the workpieces according to thickness on a calibration machine, cut them into rivets of the required width and length.
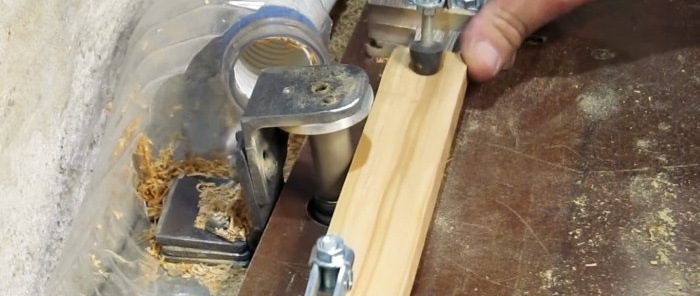
Using the template, we mill the side edges of the rivets at the desired angle. We make the barrel from 21 rivets, so the angle of the side edges will be 8 degrees 36 minutes.With a different number of rivets, the angle will also change.
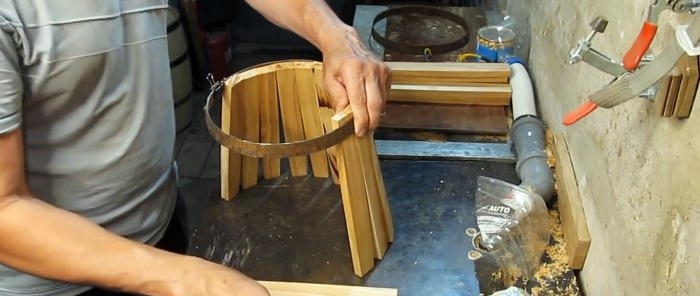
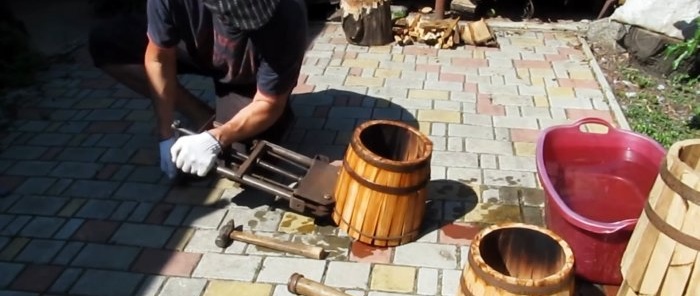
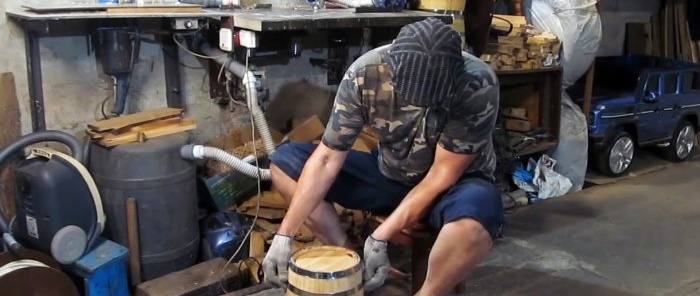
Using “working” hoops, we assemble the rivets into a barrel and hammer the hoop along the upper end of the rivets. We install the second “working” hoop using a heel and a hammer.
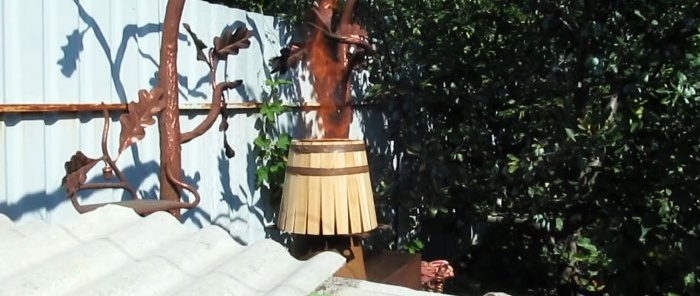
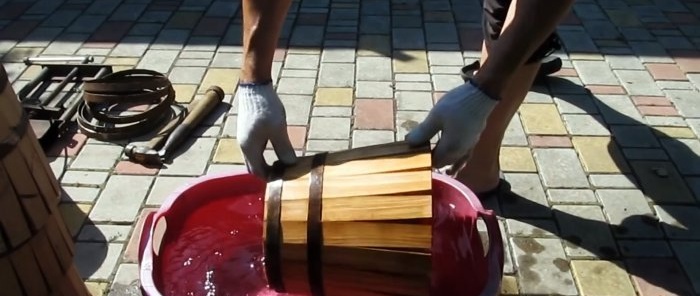
We heat the assembled rivets over a fire from the inside and dip them into a container of water, i.e., steam them, which is necessary to facilitate the compression of the rivets with a clamp.
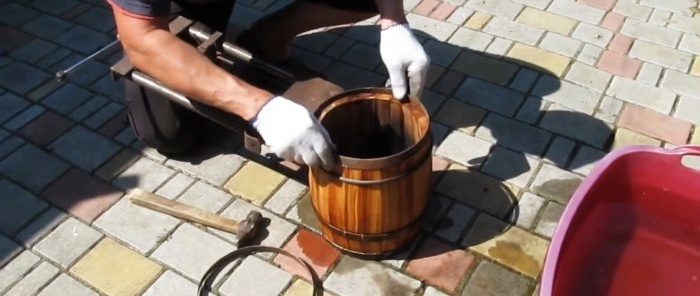
It is difficult to pull the rivets together at one time, so we wet them again and heat them over the fire. After this, we perform the finishing tie of the rivets. We put on the “working” hoop and remove the clamp.
We wet the pulled barrel again in water and burn it inside until blackened. This intense roasting is beneficial for strong drinks.
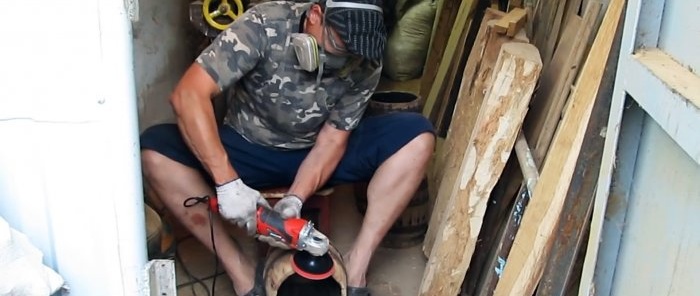
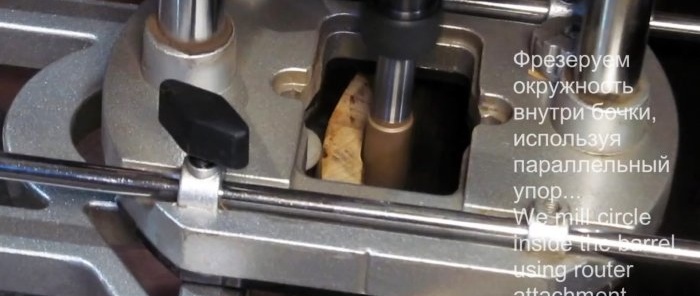
We make a circle from the polygon along the outer edges of the barrel using a grinder. We also mill the circle inside the barrel using a rip fence.
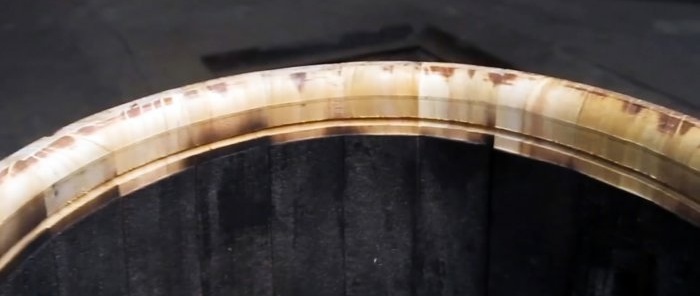
At a distance of 15 mm from the edge of the barrel, we cut a 3x3 mm groove for the bottom and make a chamfer along the ends of the barrel. We measure the radius of the barrel bottom using the morning groove. It is equal to 1/6 of the circumference.
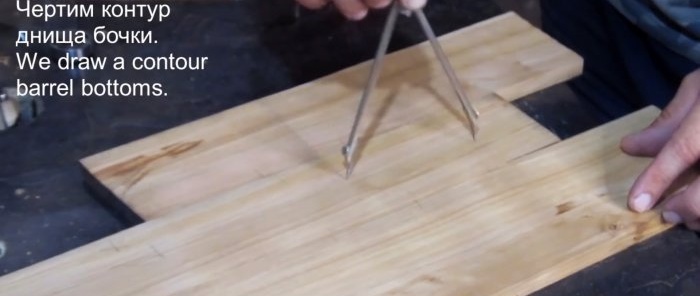
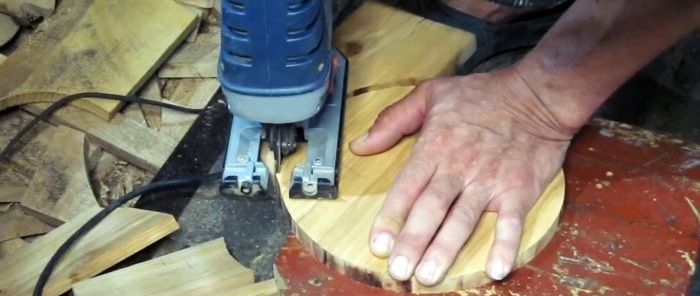
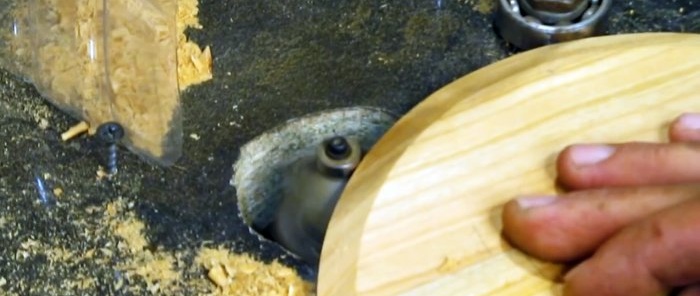
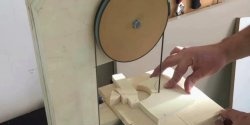
We level the side edges of the rivets for the bottom of the barrel on the jointer, fasten them, draw the outline of the bottom of the barrel and cut it out with a band saw. Using a milling machine, we chamfer the bottom on both sides at an angle of 45-60 degrees.
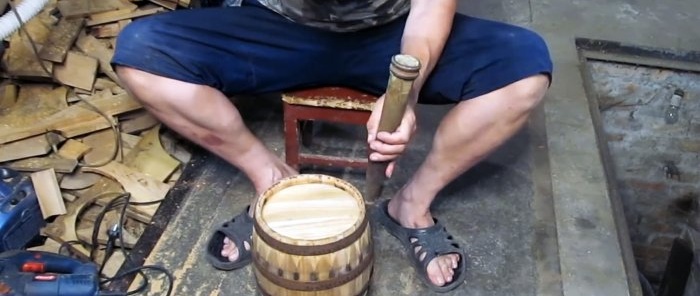
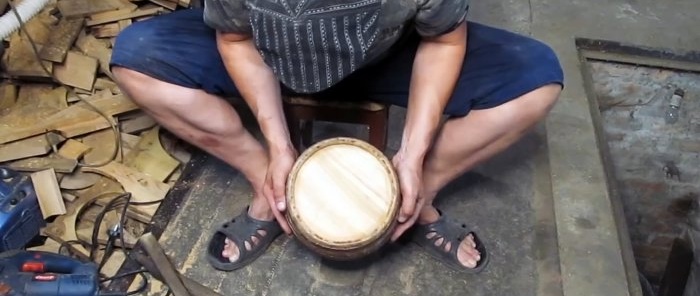
We knock down two hoops and install the bottom in the morning groove. We put the hoops back on and make sure that the edges of the bottom fit into the morning groove along the entire circumference.
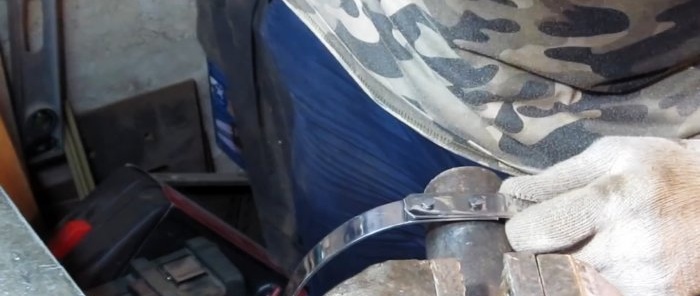
We measure the diameter of the permanent hoop along the edges of the barrel with a measuring tape and cut off a piece from a steel strip 20x1.5 mm with a margin for overlapping the ends of the hoop.
Stepping back from the edge of the hoop 15 and 35 mm, we drill two holes with a diameter of 5 mm and fasten them with 5 × 10 mm rivets.
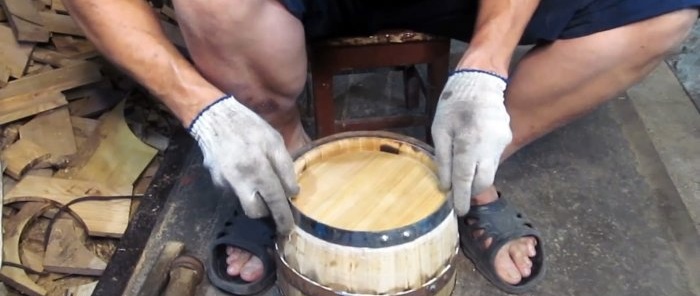
We rivet one side of the hoop to give them the desired taper.We sand the installation areas of the hoops with sandpaper, rub them with chalk and install the permanent hoop in place.
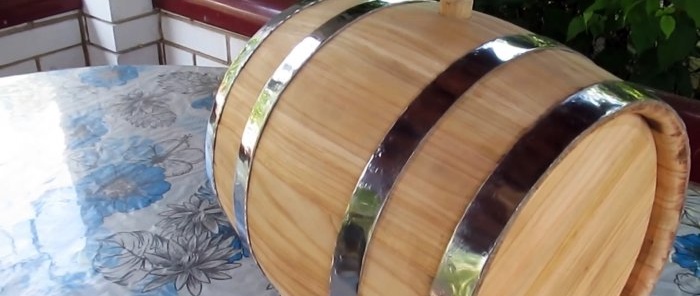
We remove the two middle “working” hoops and grind the barrel on all sides with a grinder. Install the two remaining permanent hoops using a heel and hammer.
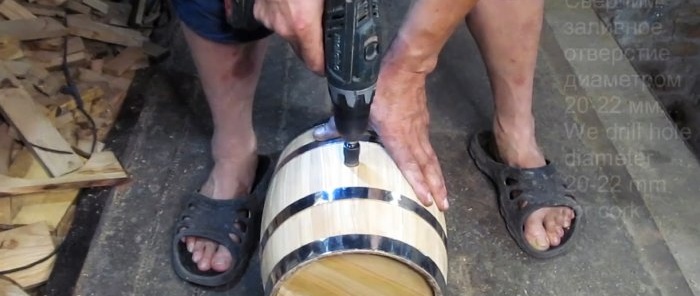
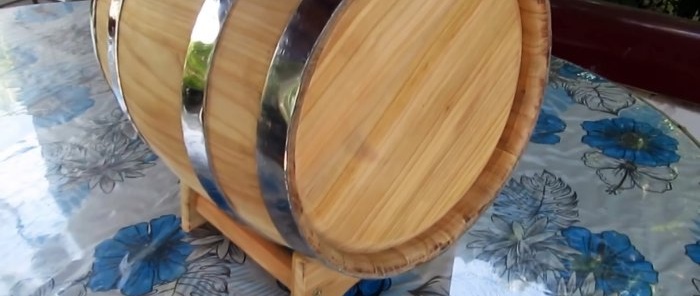
We make a stand, place a barrel, drill a filler hole with a diameter of 20-22 mm on top, sand it with sandpaper and close it with a wooden plug.

