How to insulate a room inside with warm plaster and reduce the effect of “cold walls”
If it is not possible to insulate the outer walls of a room that is heated occasionally, then it is better to use warm perlite plaster. With its help, you can solve three problems at once: plastering, insulating and reducing the effect of cold walls. Moreover, any adult familiar with the basics of plastering can handle this work.
Will need
Materials:
- perlite warm plaster;
- warm water;
- plasticizer;
- cement grade M500;
- sifted sand.
Tools: a drill with a stirrer, tools for working with plaster, screws and a cord, various containers, beacons made of metal profiles, a concrete mixer, a water sprinkler, etc.
The process of plastering walls from the inside with warm perlite plaster
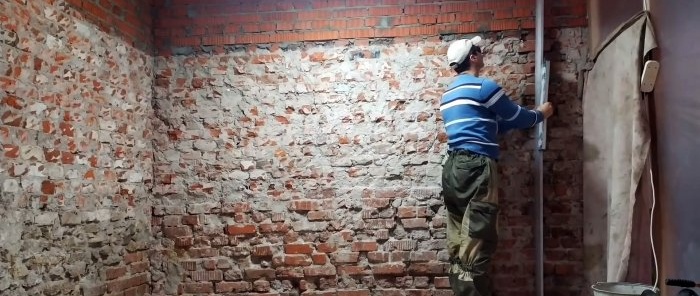
We start by marking the walls for the subsequent installation of beacons. First, we draw three vertical lines at equal distances, two of which should be 15 cm from the corners. Usually, gypsum plaster is used to secure the beacons, but we will use warm perlite plaster.
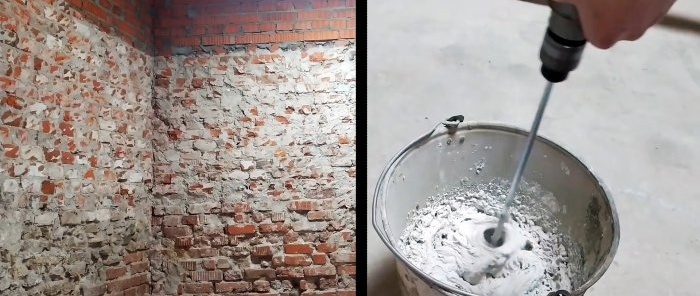
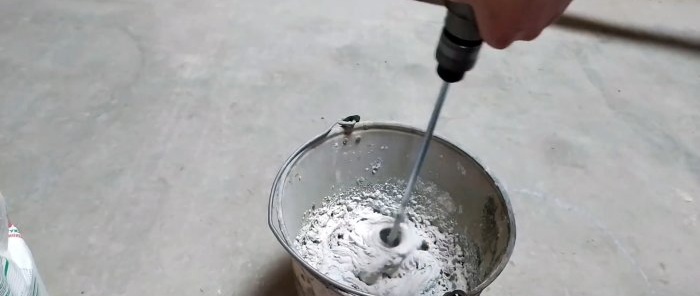
Pour some warm water into the container and add the dry mixture in small portions so as not to miss the moment of setting the mixture in the container. Then mix everything thoroughly using a special attachment on a drill.
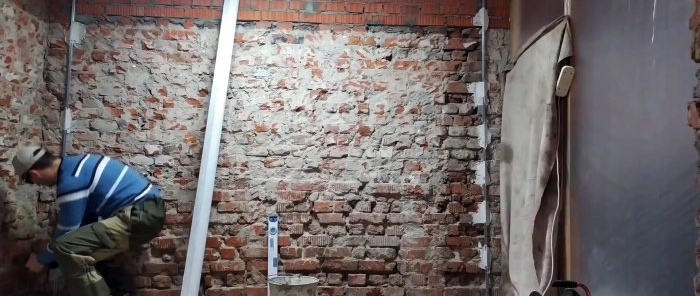
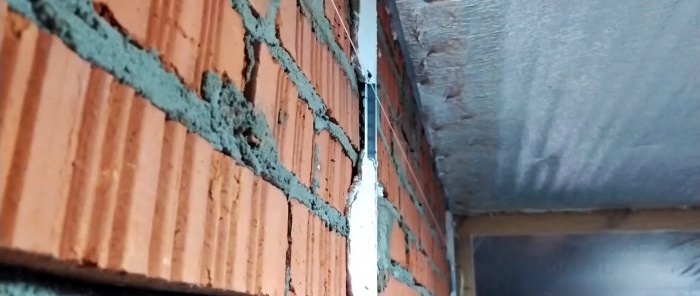
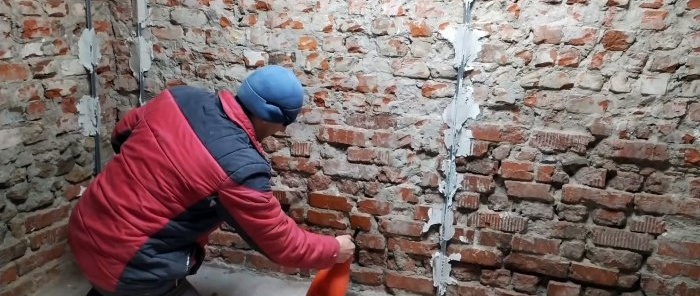
From the resulting solution we make blotches on the wall closer to the corners along the vertical markings, to which we attach beacons in the form of metal profiles, press them and check their verticality, as well as the absence of deflections and bends, using a rule and a level gauge.
Next, in the corners, we screw three self-tapping screws into the mortar joints to increase accuracy - at the bottom, at the top and in the middle. We pull the construction cord onto the self-tapping screws. Already along the cords on the blotches we install the third beacon in the center.
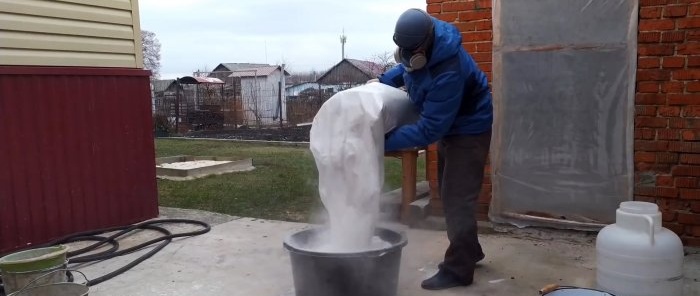
Let's start plastering the walls. To do this, soak the dry perlite mixture by pouring two buckets of warm water and five buckets of perlite into a container. Mix everything with a shovel until a homogeneous wet mass is obtained. This operation must be done with glasses and a respirator, since perlite dust is harmful to humans.
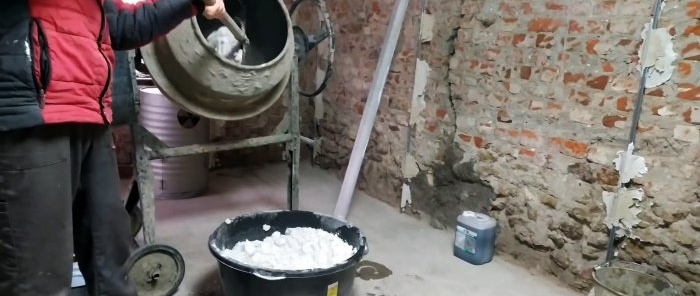
Pour a bucket of water and 0.3 kg of plasticizer into the turned on concrete mixer, then fill in a bucket of M500 cement and clean sand. We wait a while for the cement and sand to mix into a homogeneous mass, and only after that we add the perlite mass in small portions, adding water if necessary.
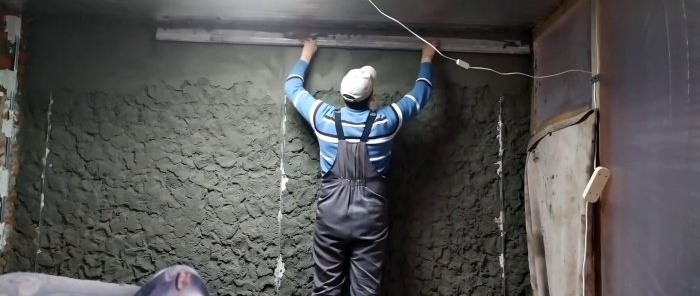
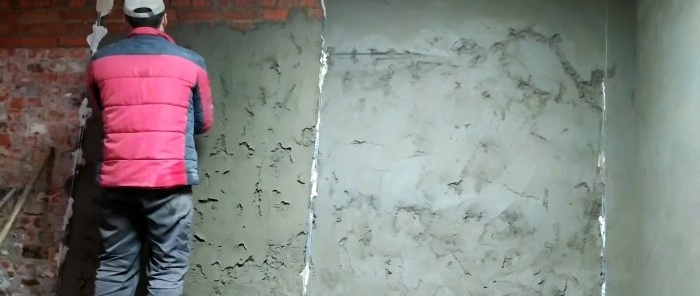
We wet the brick wall with water for better adhesion and spread the resulting mixture from bottom to top with a trowel. Due to the large thickness of the plaster (3-5 cm), we perform the cape in two layers with a break of several hours.
It turned out to be more convenient to level the mixture with a grater than with a rule. Perhaps the quality of the plasticizer was not up to par or the properties of the mixture are inelastic, which could be corrected by adding liquid soap.Also, practice has shown that it is better to straighten the first layer a little, then it is better to stretch the second layer of plaster.
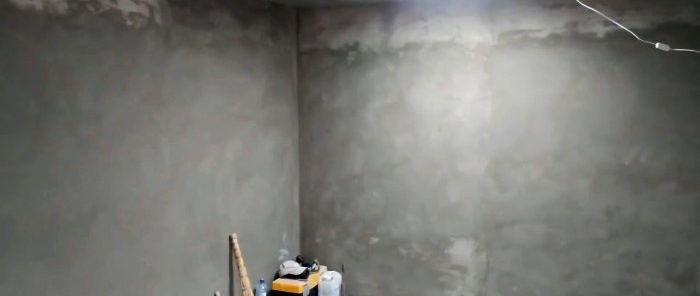
To ensure complete drying of the perlite plaster, we will maintain a positive temperature in the room for several days. After this, the plaster will become warm to the touch and the walls will not have to be heated for days.
Watch the video
Similar master classes
Particularly interesting


