How to ideally surround a pipe with carpet or linoleum
And why did we study geometry at school? After all, we will never need it in life!
You are wrong! It will come in handy. And where? The answer to this is given by a video from the Internet, which we will consider in more detail. We will talk about trimming floor coverings: linoleum, carpet, laminate.
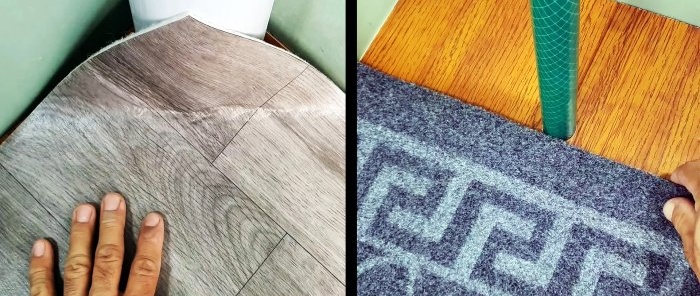
How to ideally go around a pipe with linoleum
The first and main rule when performing all work with linoleum and carpet is that the material must sit for some time. Usually a day is enough for this. Only after 24 hours can you carry out work on cutting and trimming it.
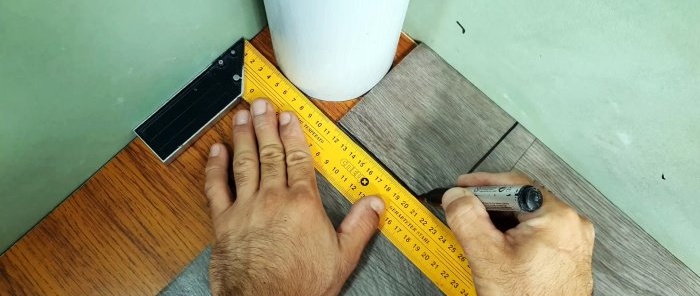
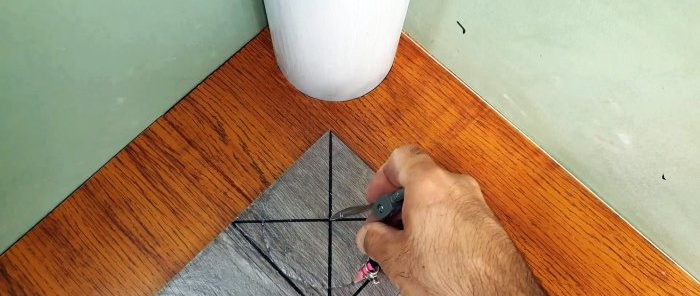
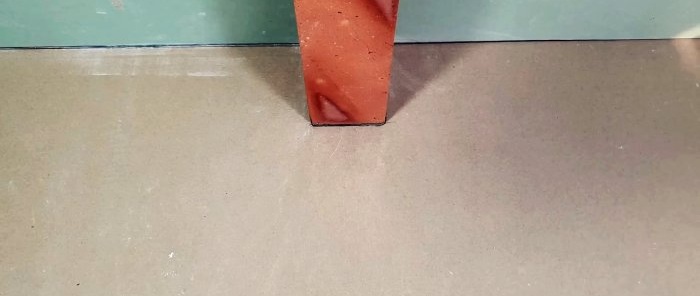
And the first case is a thick sewer pipe in the corner of the room. How to trim linoleum correctly in this case. It's simple. For marking you will need a square and a marker. Using a square, draw a line perpendicular to one wall. Then we repeat the steps with the second one.
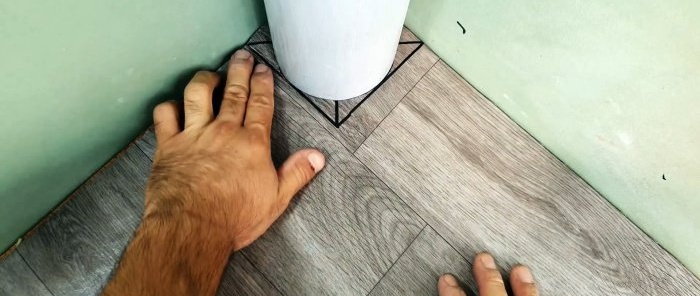
We get a square or rectangle, from the corner of which we plot the distance of the radius of the pipe. A circle is drawn and cut out.
However, it was possible not to describe all the actions; everything is clear from the photos and videos.
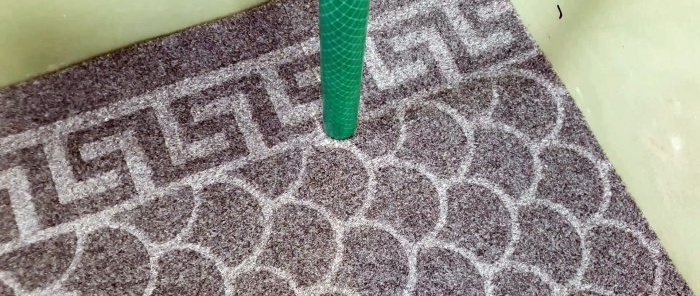
How to go around a thin pipe with carpet
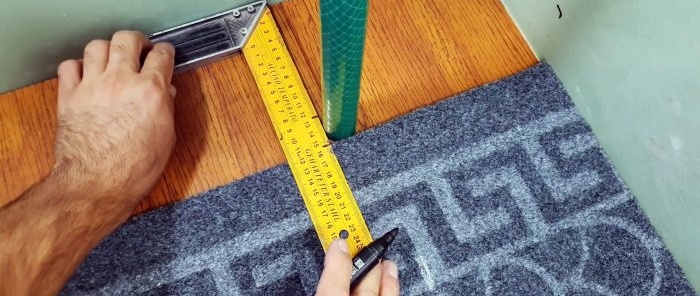
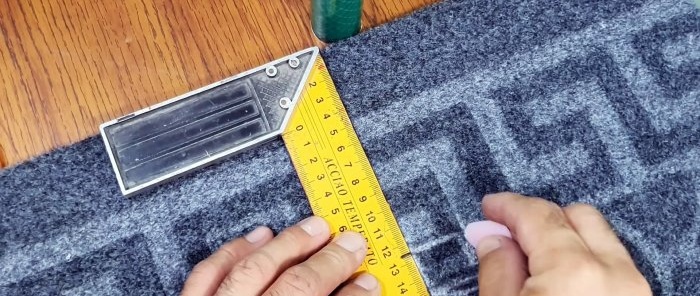
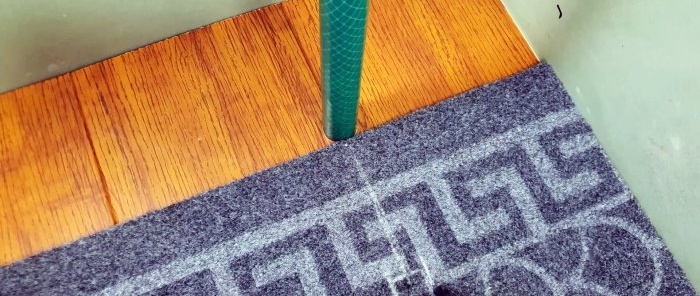
The second case is more complicated.The pipe is not located in a corner, but at a distance from the wall. And here we will act more cunningly. First we make a mark not on the coating, but on the square. We mark on it the diameter of the pipe at a distance from the wall. And then we transfer these marks to the carpet, but not with a marker, but with chalk. We repeat the marking from the other wall. We get a marked square on the surface.
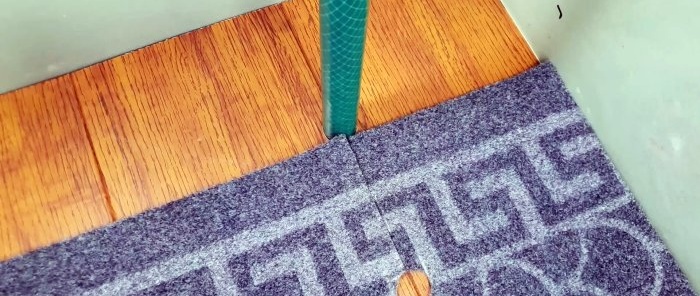
A hole is drilled or cut along the side of the square. It is convenient to do this with a core drill for wood of the required diameter. The carpet itself will also have to be cut.
It is better to make the cut on the side that will be less visible during operation.
Trimming laminate
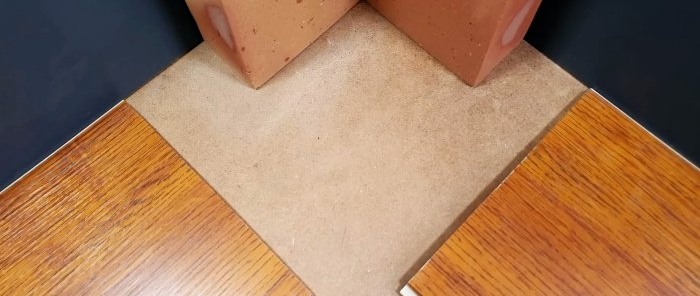
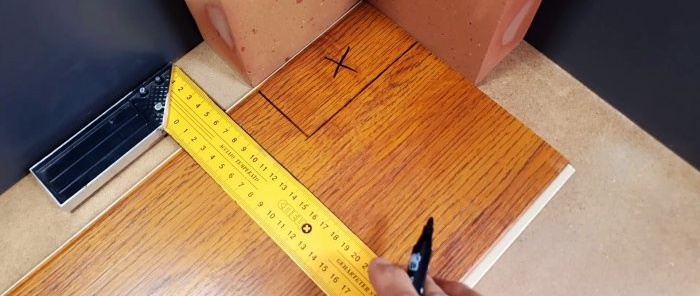
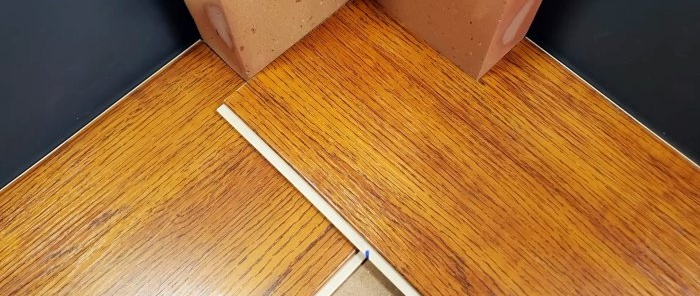
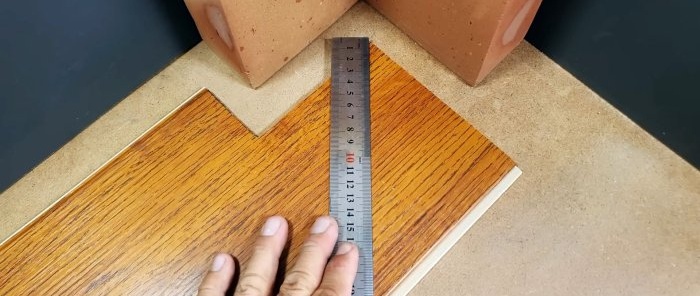
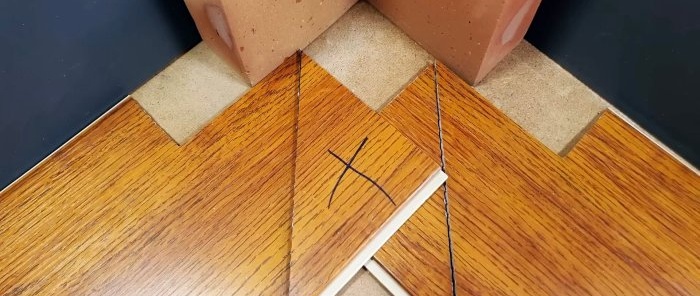
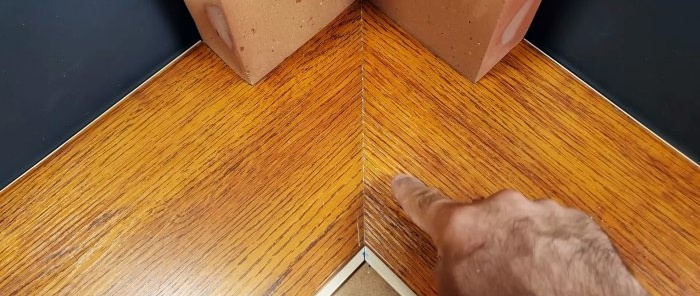
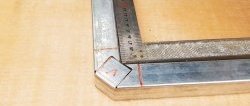
Now we will cut the coating material not to the pipes, but to the rectangular protrusions in the corner of the room. Perhaps it's even simpler. The main thing is to mark it correctly. With the help of the square that has already become familiar to us.
Next, mark at an angle of 45 degrees and cut.
We go around the rectangular ledge
And there are cases when the ledge is not in the corner, but along the wall of the room. Then it is wise to use a pre-made template.
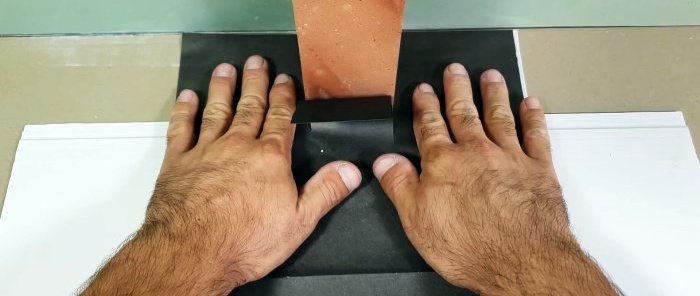
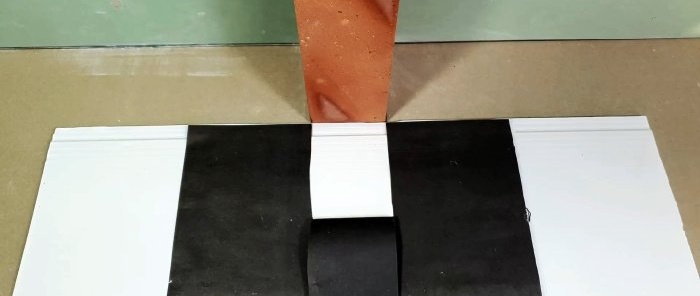
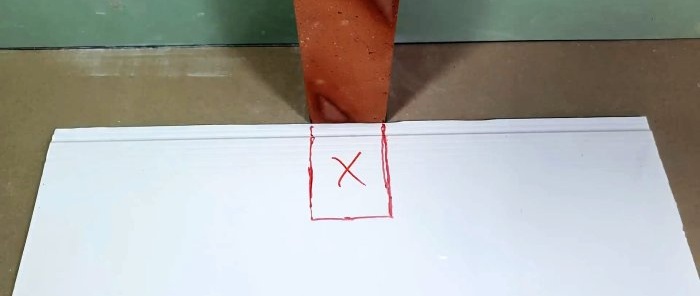
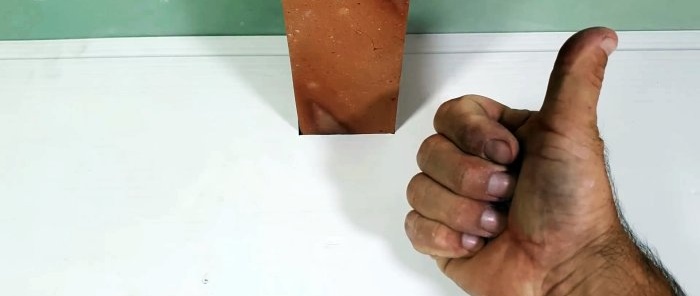
For example, from paper. We cut, fold, mark on the finishing surface, cut out and... Done!
It's simple! Especially if you studied geometry.
Watch the video
Similar master classes


Particularly interesting


