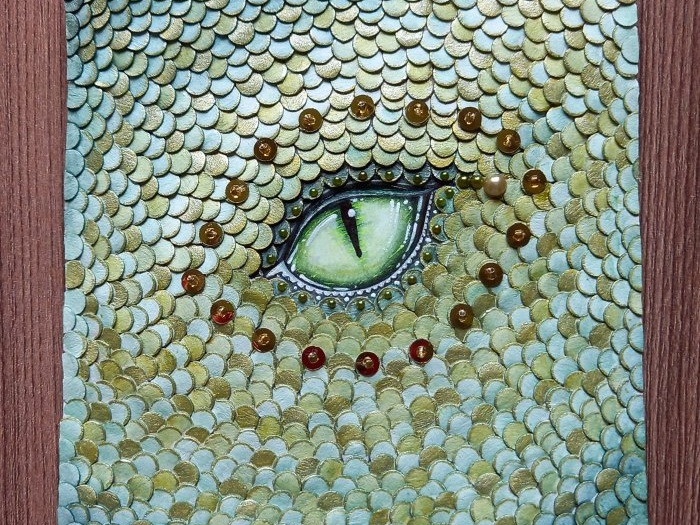
“Eye of the Dragon” - a decorative panel with the symbol of 2024 made by yourself
The symbol of the coming 2024 according to the Eastern calendar will be a green wooden Dragon. Do you want him to patronize you in all matters? Then make a panel with his image and hang it in a prominent place in your home or workplace.
Will need
To make a small panel called “Dragon Eye” you will need the simplest and most affordable materials and tools:
- 1. album sheet,
- 2. a simple pencil,
- 3. watercolor paints,
- 4. helium rods,
- 5. 2 sheets of medium density cardboard,
- 6. a piece of leatherette the size of a landscape sheet,
- 7. beads, rhinestones, etc. to your taste,
- 8. stationery scissors,
- 9. hole punch,
- 10. tweezers,
- 11. brushes of different numbers for painting with paints,
- 12. glue “Moment crystal” or any other similar properties.
Stages of making panels with your own hands
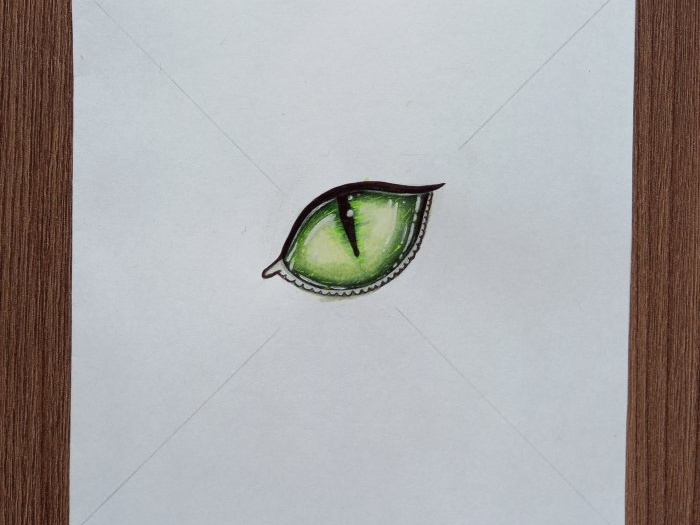
Step 1. Cut a square with a side of 12.5 cm from a landscape sheet.
Using a simple pencil, thin lines, draw diagonals on it connecting the opposite corners of the square to each other.
At the intersection of the diagonals, draw the dragon’s eyes in any shape with a pencil, and then with paints and gel rods.
Don't forget to work on the highlights - they will make your eye look alive.
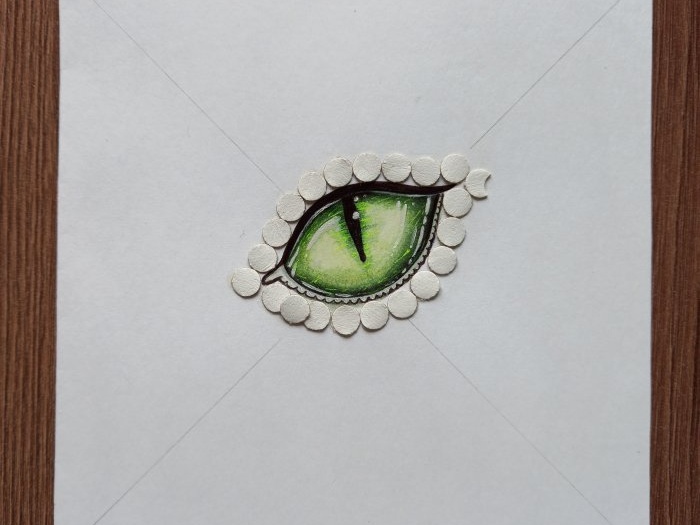
Step 2. Prepare cardboard, hole punch, glue and tweezers. Make frequent holes in the cardboard. Remove the cardboard circles from the hole punch backing. It will be needed for further work.
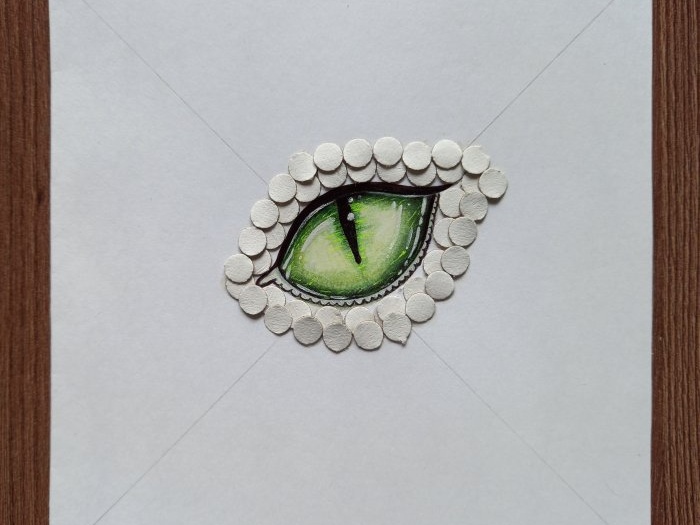
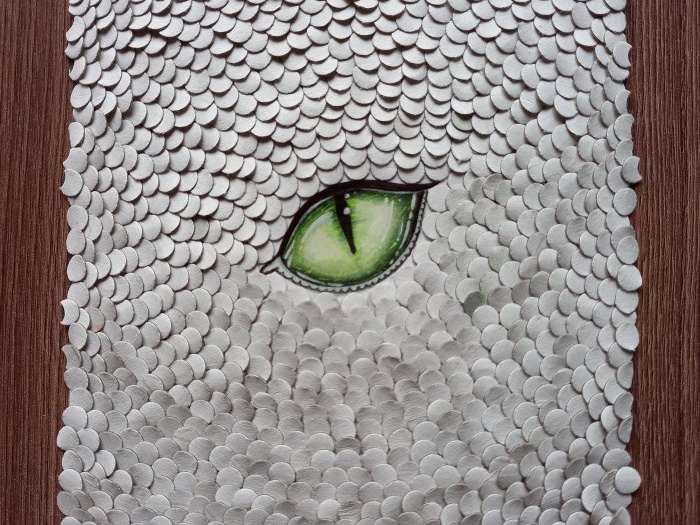
Step 4. Using tweezers, take one circle at a time, apply a small amount of glue to it and glue it around the drawn eye. First, complete one closed row.
Then the next one.
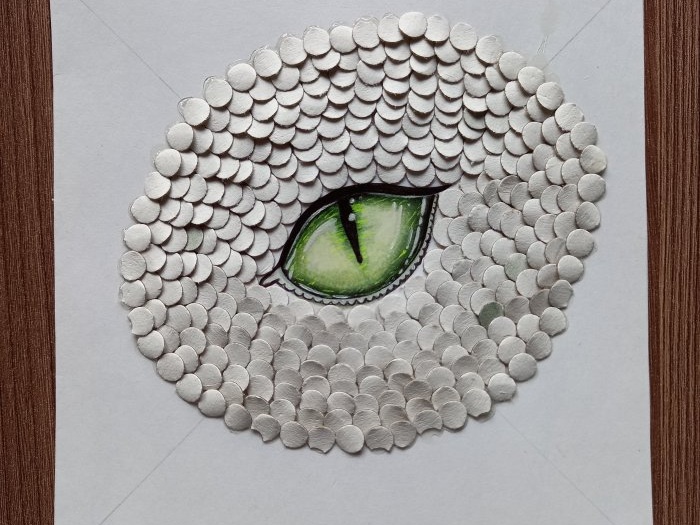
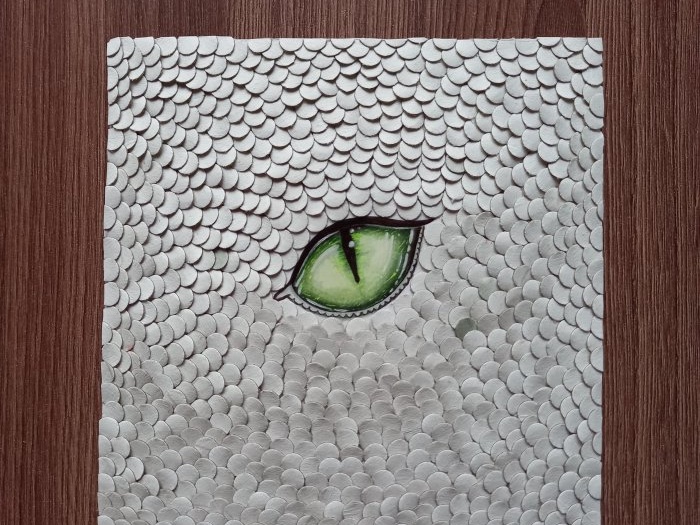
Step 5. Gradually, performing row by row, fill the entire working field of the future panel with improvised cardboard flakes.
Step 6. Trim the protruding scales, following the edge of the cardboard base.
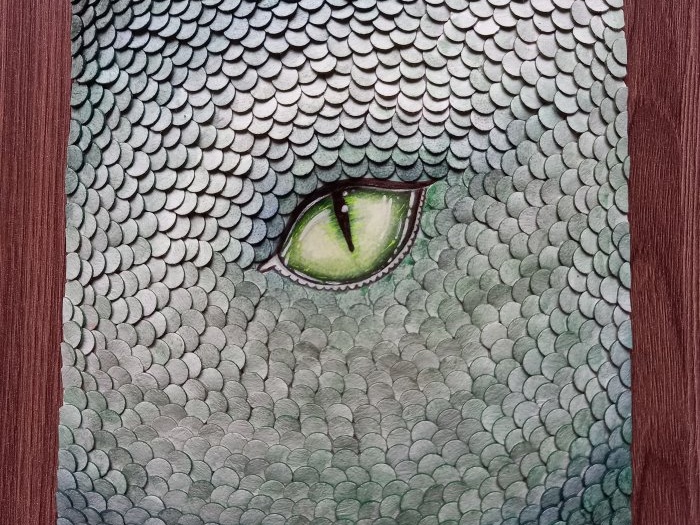
Step 7. Tint the resulting scales of the dragon's head with green. If you wish, you can work not with one color, but with different shades of green, add light and shadows.
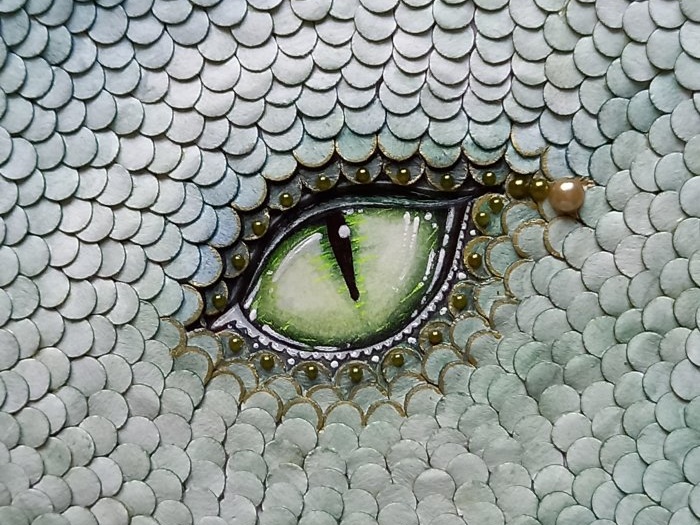
Step 8. Make the dragon's eye more expressive and at the same time decorative by using beads and other elements to decorate it.
Step 9. Using a gold helium stick, tint some of the scales. Also glue gold sequins and beads. This will make the work look more voluminous.
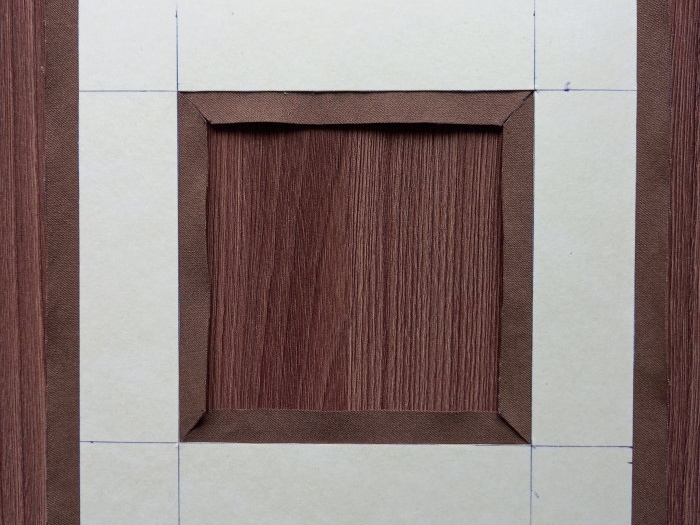
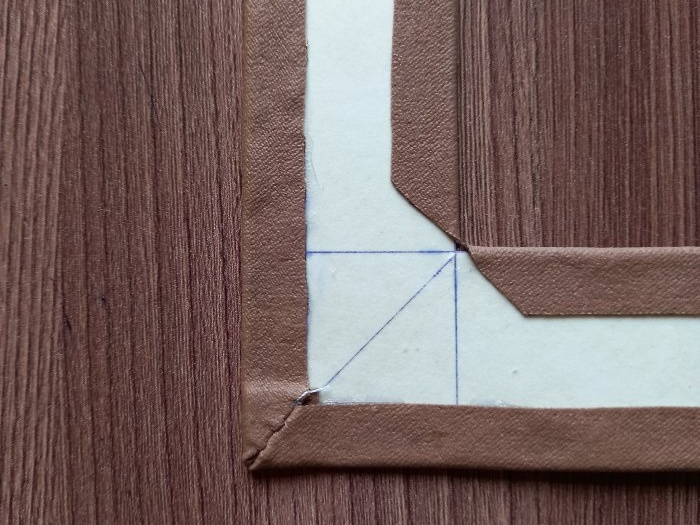
Step 10. Cut out a frame for the panel from cardboard - a square with an outer side equal to 16.5 cm and an inner cutout with a side equal to 10.5 cm. Glue this blank with the front side on the back of the leatherette. Trim off any excess material, leaving a 1cm wide allowance along all edges of the frame.
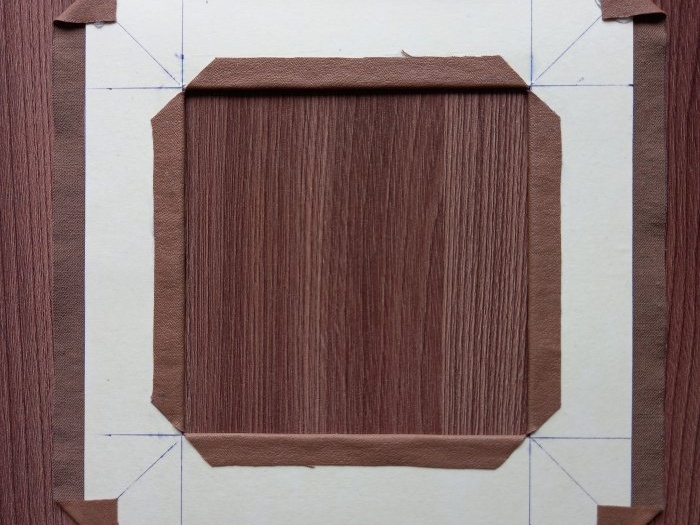
Step 11. Glue the outer corners of the leatherette diagonally to the underside of the frame, as shown in the photo.
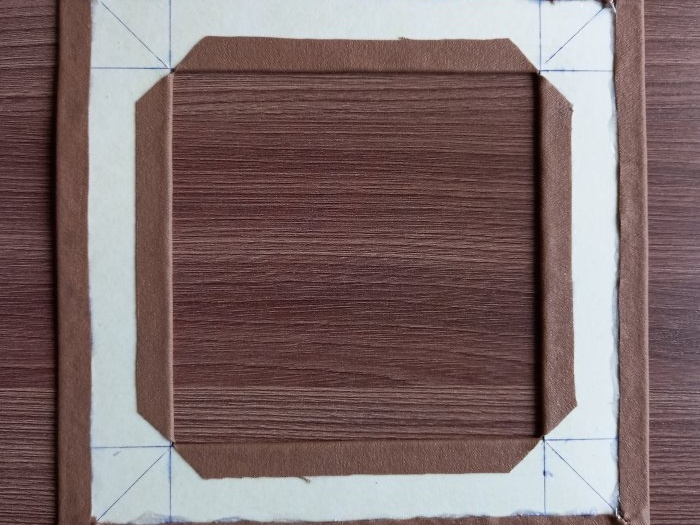
Step 12. Glue the outer allowances of the leatherette to the back of the frame.
Cut the cutout allowances diagonally, towards the corners, and glue them to the underside of the frame.
Step 13. If necessary, hand sew the allowances on the outer corners of the frame to obtain a clearer and more beautiful shape of the covering.
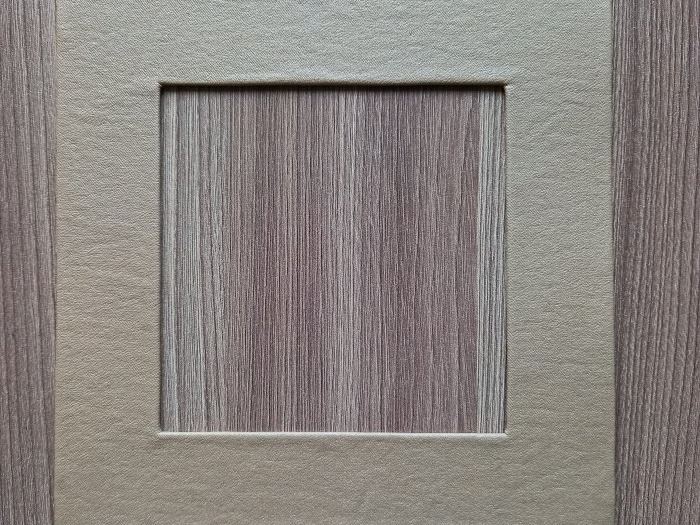
Step 14. This is what the finished frame will look like.
Step 15. Glue the frame to the front side of the panel.
Step 16. Glue cardboard on the wrong side of the work, slightly smaller in size than the outer dimensions of the frame.
Step 17. The “Dragon Eye” panel is ready.
All that remains is to choose a place for it.
Let the kind and wise Dragon look after you and help you in all your affairs and endeavors!


