Amazing photo panel
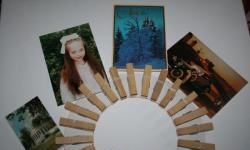
We all love interior photography. You can place them on walls, on shelves, bedside tables, and so on. We are already accustomed to the fact that photographs can be framed - it’s beautiful and standard. However, if you want something unusual in the interior, then I suggest you make an unusual wall panel with me. It is done quite quickly, and ordinary, available materials are used for this.
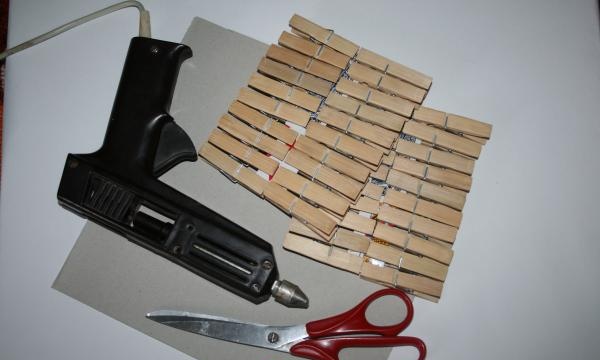
What you will need for production:
- A set of wooden clothespins. 24 pieces were enough for me, but the number of clothespins directly depends on the diameter and size of the base circle.
- Cardboard for the base of our panel.
- Scissors.
- Glue gun or any other reliable glue.
- Pencil.
- Dry glue for gluing cardboard parts.
- Plates or any other circles for marking the base.
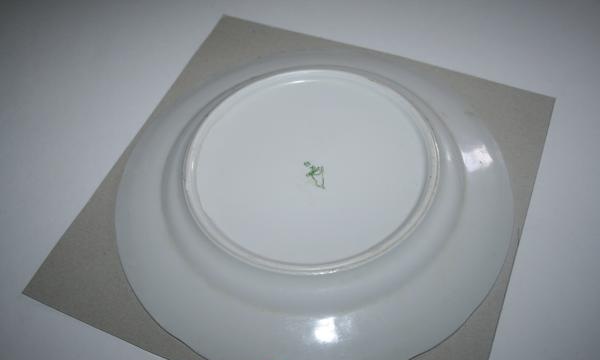
We start by making the base mold for the panel. We take a square of cardboard and attach a dish to it that is suitable in diameter. Use a pencil to outline the shape of a circle.
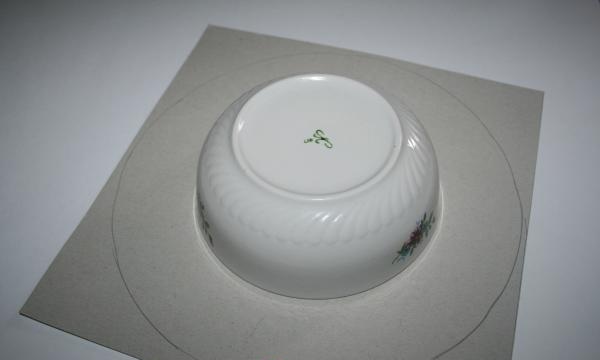
Next, place a plate of a smaller diameter in the middle of the resulting circle and also outline it with a pencil. Carefully ensure that the small plate is exactly in the middle of the drawn circle so that the shape is even.
Next, cut out the lined base. You need to make two identical disks. The second one is quite simple. Attach the already cut out disk to the cardboard and trace it with a pencil. When you cut, cut off the markings with a pencil so that the diameter is the same as the previous disk.
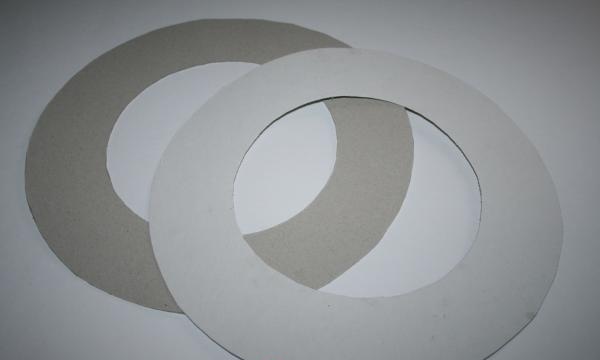
Glue two identical parts together. This is necessary so that the base form is rigid.
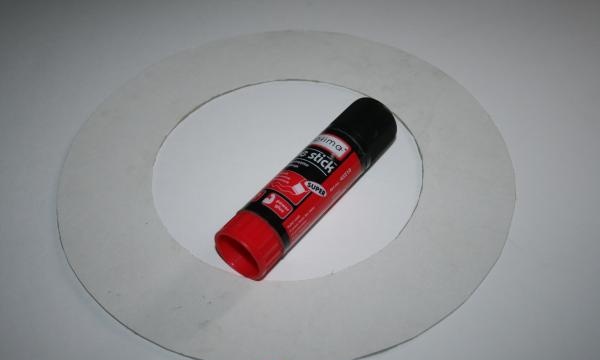
Let's start gluing the clothespins. We glue them with clips in the center so that the “mouth” of the clothespin looks from the center. To glue the clothespins evenly in a circle, first mark the four sides with a pencil and glue the clothespins on them.
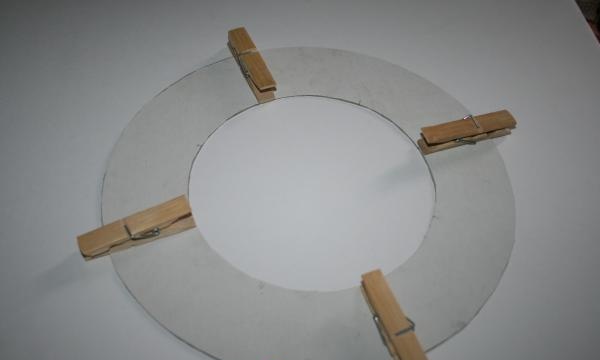
Now we make exactly the same four marks between the already glued clothespins and glue new ones.
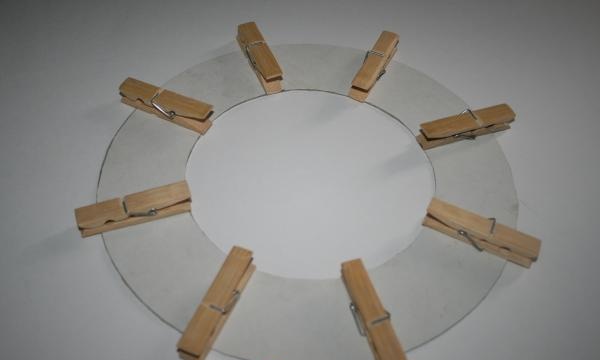
Now distributing clothespins will not be difficult at all. It remains to glue two clothespins in the gaps. This distribution allows objects to be symmetrically placed on the surface of the base, which is quite important.
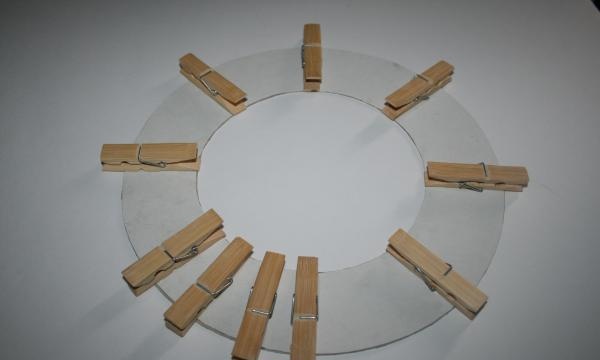
This is the basis for the photo panel.
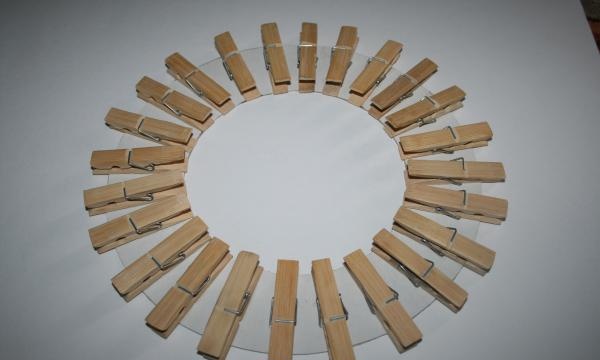
After hanging the base on the wall, you can attach your favorite photographs, postcards, thematic pictures for activities with children or love notes for your husband on clothespins. There is a lot of room for imagination.

What you will need for production:
- A set of wooden clothespins. 24 pieces were enough for me, but the number of clothespins directly depends on the diameter and size of the base circle.
- Cardboard for the base of our panel.
- Scissors.
- Glue gun or any other reliable glue.
- Pencil.
- Dry glue for gluing cardboard parts.
- Plates or any other circles for marking the base.

We start by making the base mold for the panel. We take a square of cardboard and attach a dish to it that is suitable in diameter. Use a pencil to outline the shape of a circle.

Next, place a plate of a smaller diameter in the middle of the resulting circle and also outline it with a pencil. Carefully ensure that the small plate is exactly in the middle of the drawn circle so that the shape is even.

Next, cut out the lined base. You need to make two identical disks. The second one is quite simple. Attach the already cut out disk to the cardboard and trace it with a pencil. When you cut, cut off the markings with a pencil so that the diameter is the same as the previous disk.

Glue two identical parts together. This is necessary so that the base form is rigid.

Let's start gluing the clothespins. We glue them with clips in the center so that the “mouth” of the clothespin looks from the center. To glue the clothespins evenly in a circle, first mark the four sides with a pencil and glue the clothespins on them.

Now we make exactly the same four marks between the already glued clothespins and glue new ones.

Now distributing clothespins will not be difficult at all. It remains to glue two clothespins in the gaps. This distribution allows objects to be symmetrically placed on the surface of the base, which is quite important.

This is the basis for the photo panel.

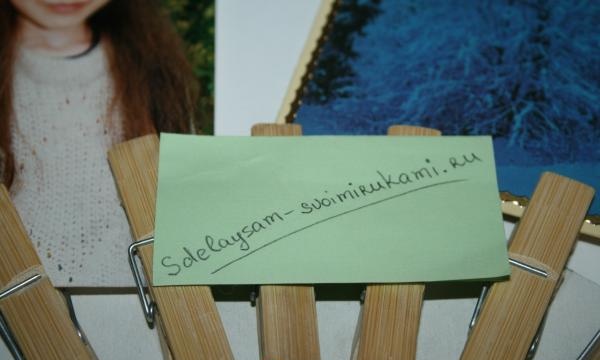
After hanging the base on the wall, you can attach your favorite photographs, postcards, thematic pictures for activities with children or love notes for your husband on clothespins. There is a lot of room for imagination.


Similar master classes
Particularly interesting
Comments (0)

