Ceiling decor
Decor ceiling: masking seams and color transition.
When an idea for decor is born, sometimes you don’t think at all about the technical side of the work. A multi-level ceiling, of course, is beautiful, but how to disguise the joints at the transition of levels and the seams of plastered surfaces? There are many options, but the desire to find the simplest, fastest and cheapest is cherished! There is no need to rush to the store - you just need to find the right cloth. This type of decor requires soft and light fabric. For example, chintz. The texture of the fabric should not have a mesh base so that the folds can be laid easily and keep their shape.
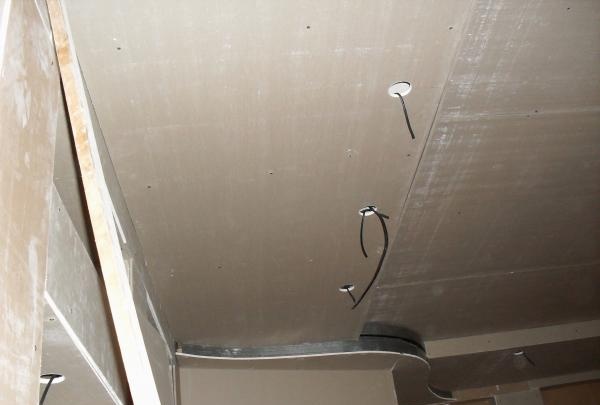
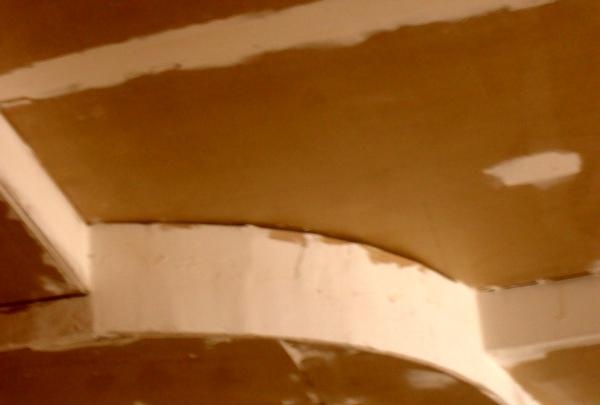
To decorate the transition areas and the curved part of the ceiling you will need:
• PVA construction glue – 200 g;
• Construction alabaster – 100 gr.;
• Soft fabric – according to the size of the surface to be decorated.
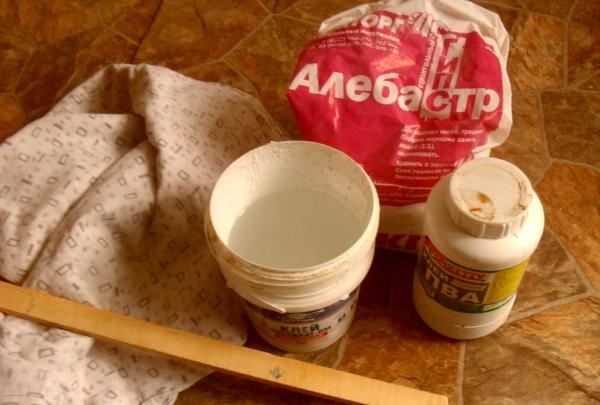
Stages of work:
First stage: preparing the gluing solution.
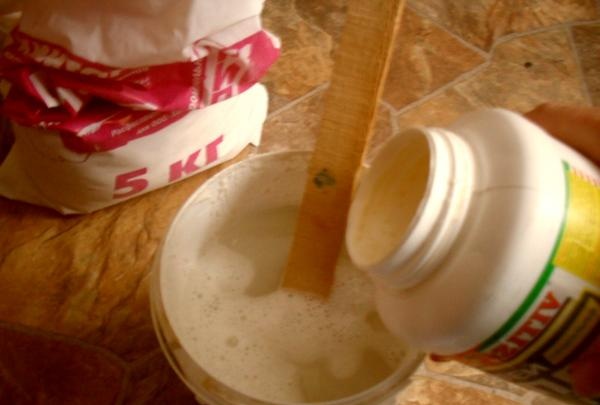
To glue the camouflage fabric and the surface of the curved part of the ceiling, prepare a solution. Add alabaster to 400 grams of water. Pour in PVA glue. Mix thoroughly. It should be remembered that the solution thickens quickly.
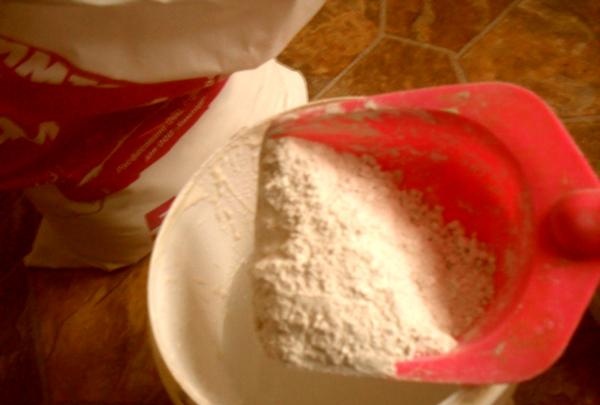
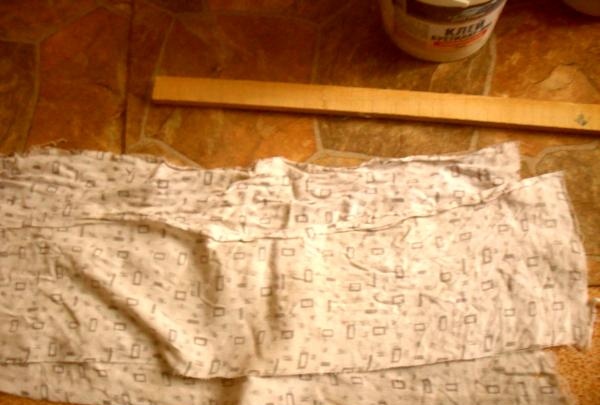
We cut the fabric slightly larger than the size of the surface to be decorated.
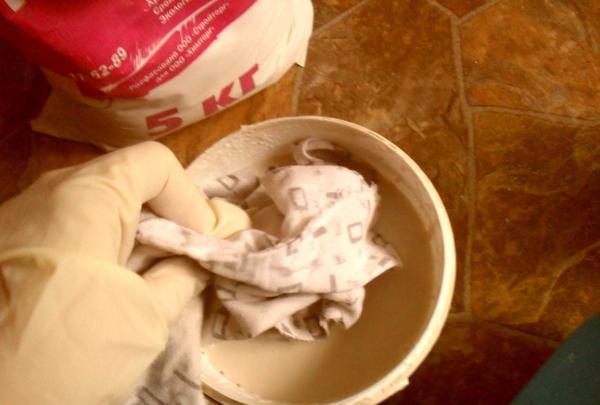
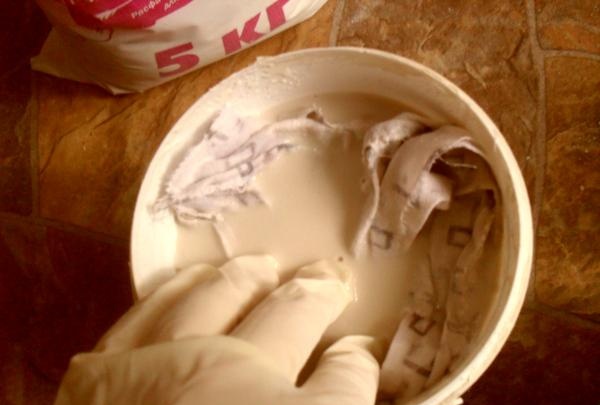
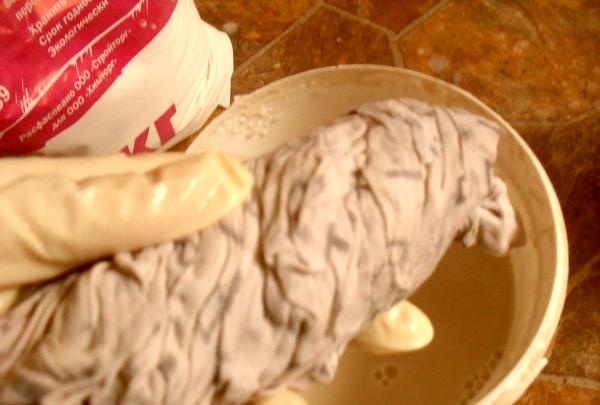
We thoroughly soak it in the solution. Squeeze lightly.Ensure complete coverage of the fabric surface. Dry areas are not allowed.
Second stage: creating the decor.
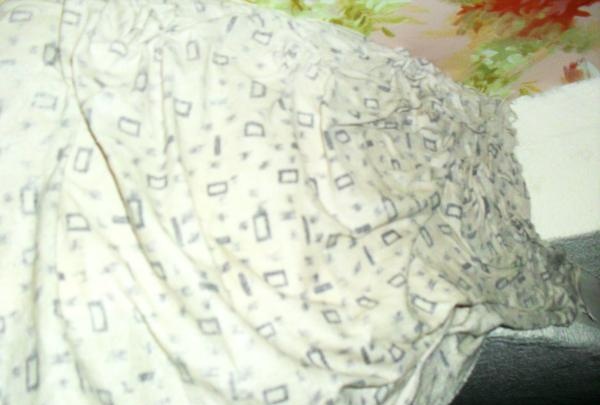
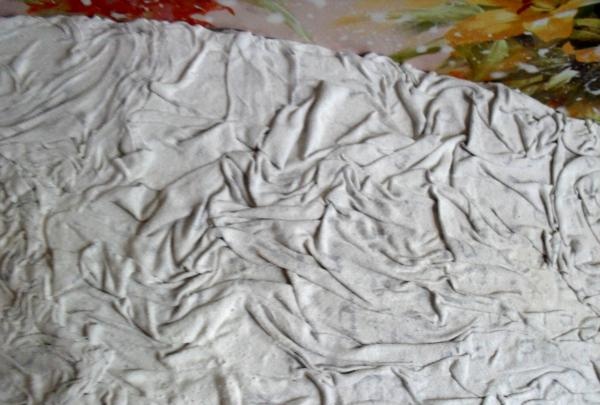
We straighten the fabric. We press its upper edge against the curved part of the ceiling. You can bend the edge of the fabric slightly inward so that the torn parts are not visible. Then press the bottom edge of the fabric. In the center we form chaotic folds and wrinkles.
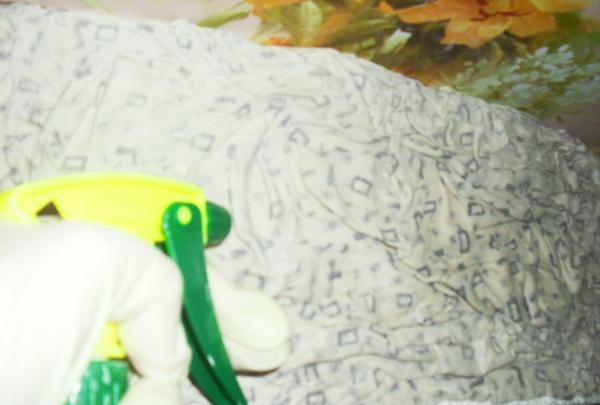
Spray the surface generously with clean water. Gently press the wrinkles, trying to squeeze the air out of them.
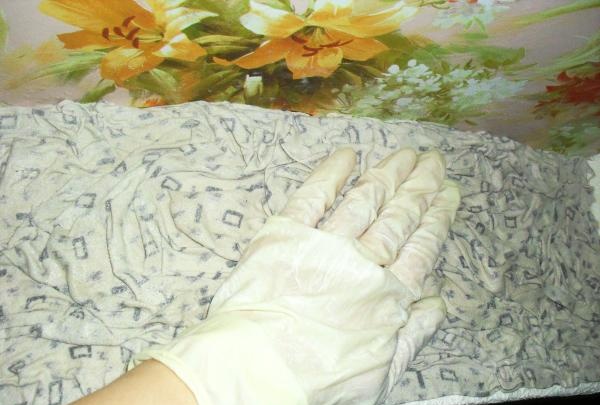
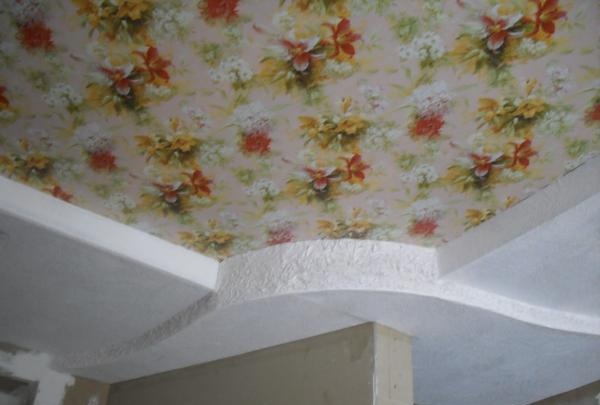
The effect of volume and movement is obtained at the same time.
Third stage: masking the color transitions.
We paint the curved and side parts of the ceiling in a color that matches one of the shades of the central ceiling part. To avoid darkness in the room, it is better to choose the lightest shade.
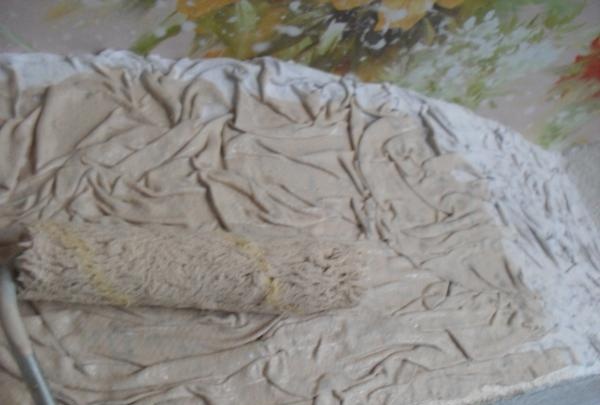
Apply paint to the surface to be decorated with fabric, 2-3 shades darker than the base. You should not put pressure on the brush, otherwise the strokes will be deep and not superficial.
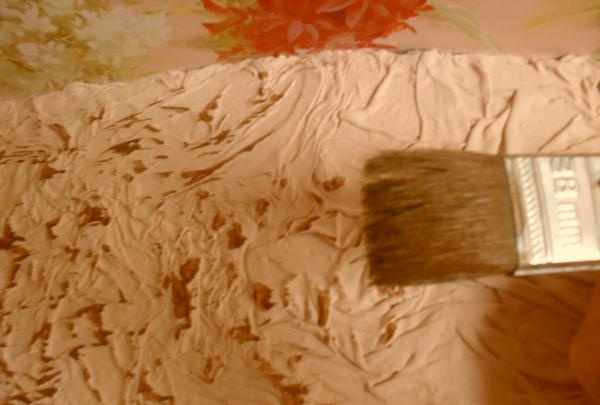
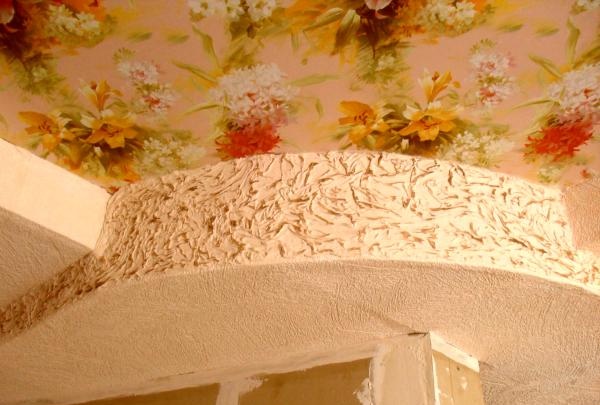
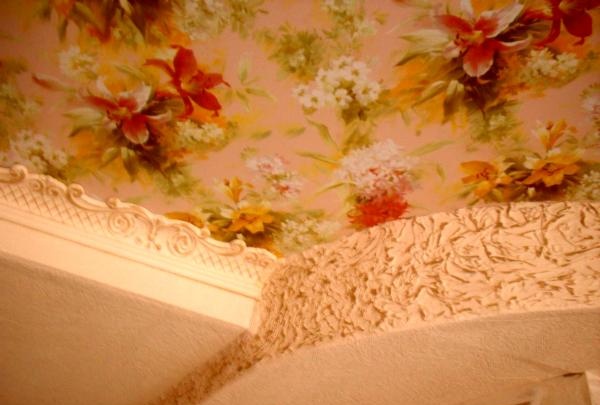
To mask the sharpness of the transition between the central and side parts of the ceiling, similarly apply light and dark paints to the baseboard. If the plinth is cut incorrectly at the junction with the decorated surface of the curved part of the ceiling, it can easily be disguised with small inserts of crumpled fabric.
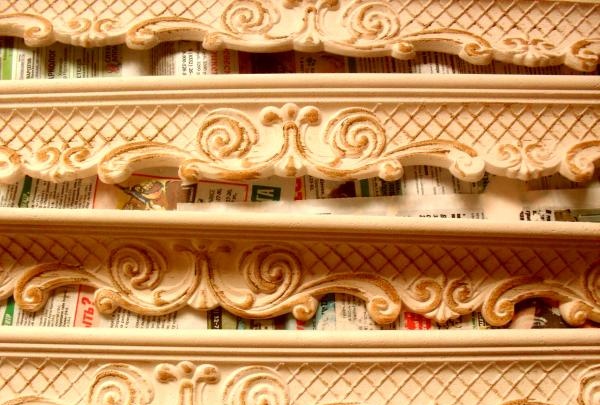
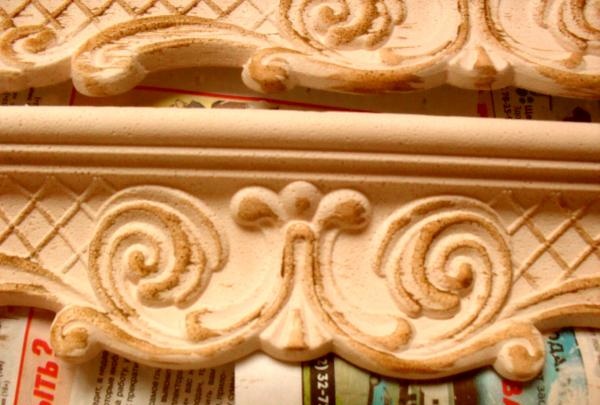
The ceiling is ready to surprise your guests with its originality. And, even if the insidious plaster on the bends decides to crumble, the ceiling will remain unchanged in its appearance.
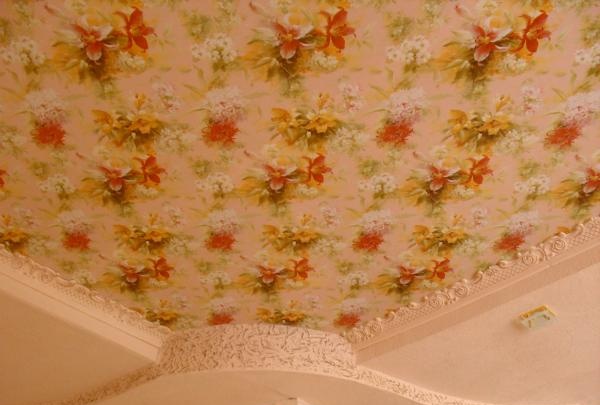
When an idea for decor is born, sometimes you don’t think at all about the technical side of the work. A multi-level ceiling, of course, is beautiful, but how to disguise the joints at the transition of levels and the seams of plastered surfaces? There are many options, but the desire to find the simplest, fastest and cheapest is cherished! There is no need to rush to the store - you just need to find the right cloth. This type of decor requires soft and light fabric. For example, chintz. The texture of the fabric should not have a mesh base so that the folds can be laid easily and keep their shape.


To decorate the transition areas and the curved part of the ceiling you will need:
• PVA construction glue – 200 g;
• Construction alabaster – 100 gr.;
• Soft fabric – according to the size of the surface to be decorated.

Stages of work:
First stage: preparing the gluing solution.
To glue the camouflage fabric and the surface of the curved part of the ceiling, prepare a solution. Add alabaster to 400 grams of water. Pour in PVA glue. Mix thoroughly. It should be remembered that the solution thickens quickly.


We cut the fabric slightly larger than the size of the surface to be decorated.

We thoroughly soak it in the solution. Squeeze lightly.Ensure complete coverage of the fabric surface. Dry areas are not allowed.


Second stage: creating the decor.
We straighten the fabric. We press its upper edge against the curved part of the ceiling. You can bend the edge of the fabric slightly inward so that the torn parts are not visible. Then press the bottom edge of the fabric. In the center we form chaotic folds and wrinkles.

Spray the surface generously with clean water. Gently press the wrinkles, trying to squeeze the air out of them.


The effect of volume and movement is obtained at the same time.


Third stage: masking the color transitions.
We paint the curved and side parts of the ceiling in a color that matches one of the shades of the central ceiling part. To avoid darkness in the room, it is better to choose the lightest shade.

Apply paint to the surface to be decorated with fabric, 2-3 shades darker than the base. You should not put pressure on the brush, otherwise the strokes will be deep and not superficial.


To mask the sharpness of the transition between the central and side parts of the ceiling, similarly apply light and dark paints to the baseboard. If the plinth is cut incorrectly at the junction with the decorated surface of the curved part of the ceiling, it can easily be disguised with small inserts of crumpled fabric.


The ceiling is ready to surprise your guests with its originality. And, even if the insidious plaster on the bends decides to crumble, the ceiling will remain unchanged in its appearance.


Similar master classes
Particularly interesting
Comments (2)


