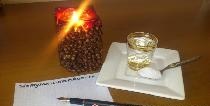
creative cup holder
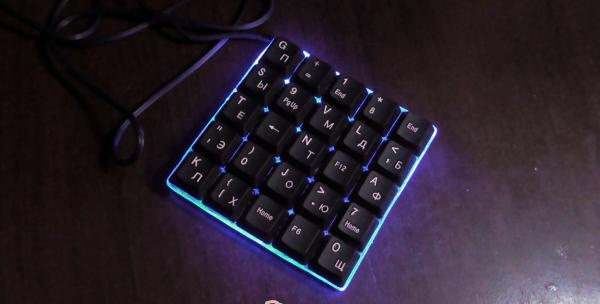
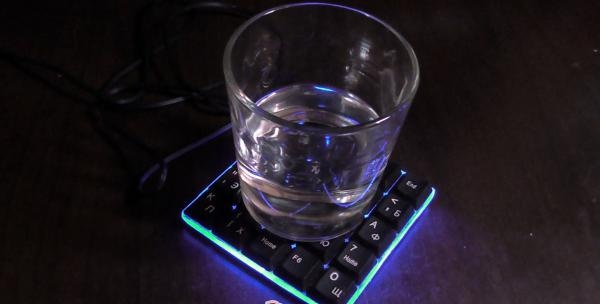
It often happens that when we are at the computer, we often eat, putting the glass directly on the table, leaving “circles” on it from the hot glass, this is corrected by placing various objects under the glass, but all this was very inconvenient and I wanted a little creativity, in the end I assembled Here's a cup holder from a keyboard.
It’s very easy to do, for this we need:
Keyboard, a small piece of org. glass, as well as Light-emitting diode, any color (I took blue)
Let's get started - first, let's unwind the keyboard and separate the required number of buttons that we need for the stand, the legs of the buttons also need to be separated, after that we will deal with the organization. glass.
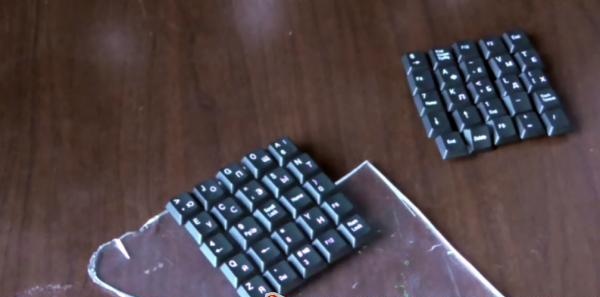
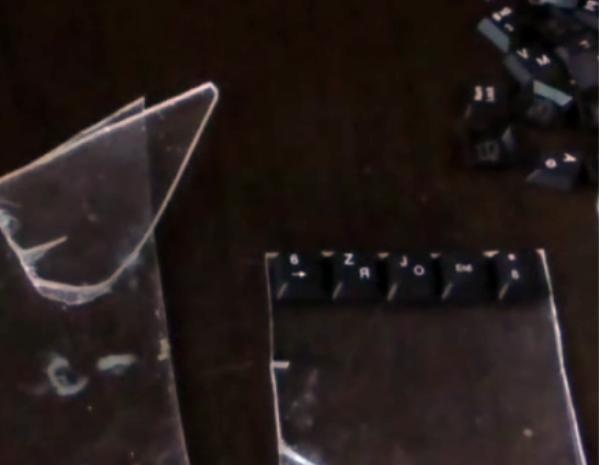
Let's cut off a piece of the required length, the shape can be absolutely arbitrary, then we'll start gluing the buttons to the org. glass, ordinary glue holds them perfectly,
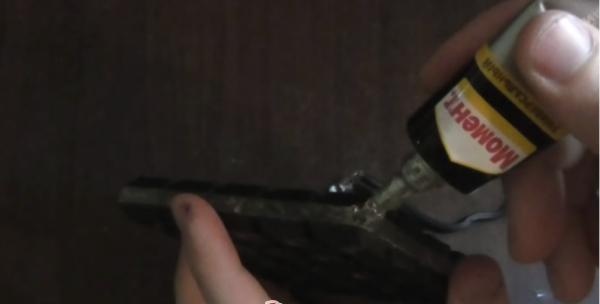
after you have glued the buttons, we will drill a small hole in the corner of our stand, into which we will subsequently glue Light-emitting diode, now let’s deal with the backlight itself, using the remaining USB cord from the keyboard, measure the output voltage using a voltmeter, based on this we will choose Light-emitting diode, suitable for voltage, when everything is prepared, solder Light-emitting diode to USB
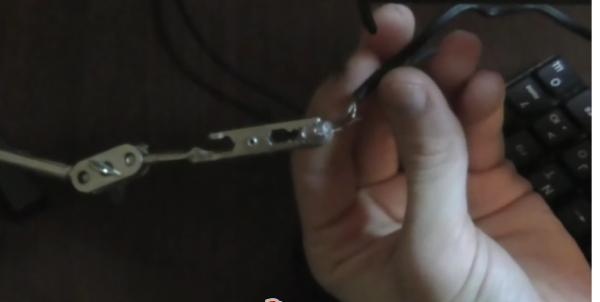
and glue it into the hole that we drilled in the corner of the stand, that’s all, we wait until the glue dries.
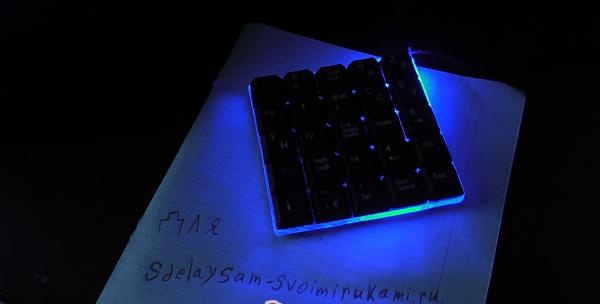
plug it into any USB input and enjoy the results of the work.
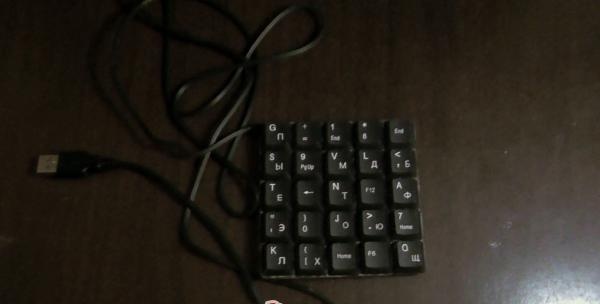
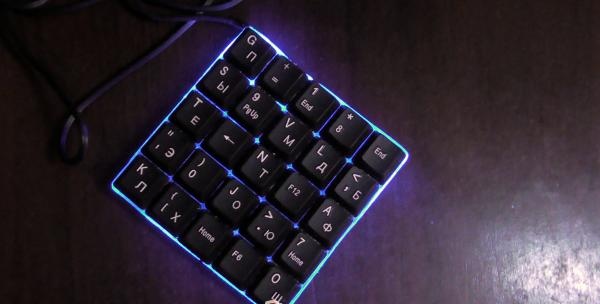
Assembly video:
It’s very easy to do, for this we need:
Keyboard, a small piece of org. glass, as well as Light-emitting diode, any color (I took blue)
Let's get started - first, let's unwind the keyboard and separate the required number of buttons that we need for the stand, the legs of the buttons also need to be separated, after that we will deal with the organization. glass.


Let's cut off a piece of the required length, the shape can be absolutely arbitrary, then we'll start gluing the buttons to the org. glass, ordinary glue holds them perfectly,

after you have glued the buttons, we will drill a small hole in the corner of our stand, into which we will subsequently glue Light-emitting diode, now let’s deal with the backlight itself, using the remaining USB cord from the keyboard, measure the output voltage using a voltmeter, based on this we will choose Light-emitting diode, suitable for voltage, when everything is prepared, solder Light-emitting diode to USB

and glue it into the hole that we drilled in the corner of the stand, that’s all, we wait until the glue dries.
plug it into any USB input and enjoy the results of the work.


Assembly video:
Similar master classes
Particularly interesting
Comments (1)

