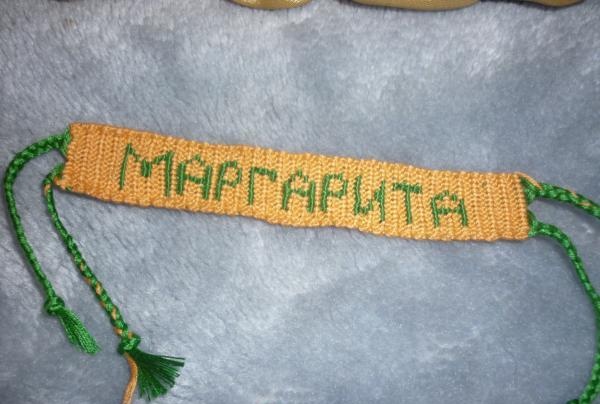
Bauble with name
Baubles have not lost their relevance for many years. They can serve as an affiliation to a certain subculture, be a cute accessory, or just a cute souvenir.
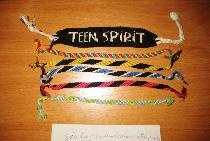
Making a bauble with any inscription - the name of the owner or the name of your favorite band - is not at all difficult. You will need:
• floss threads in contrasting colors,
• safety pin,
• scissors
• small pillow
• a piece of checkered paper and a pen.
Stages of work:
1. First, you need to draw a diagram of the future bauble on paper: write the word in the cells on the paper.
2. We prepare threads. For a bauble 3 cm wide and about 13 cm long (not counting the ties), you need to prepare 15 threads of the color you want to make the inscription and 1 thread for the background. For the background thread you will need a standard skein of floss, cut the rest to approximately 40 cm in length.
3. We tie all the threads in a knot, stepping back from the edge about 7 cm and using a pin, secure it to the pad. Tip: when working, use threads of contrasting colors. Maybe you really like the combination of white and pale pink, but the inscription on the finished bauble will be difficult to read. The more contrast the colors, the better.
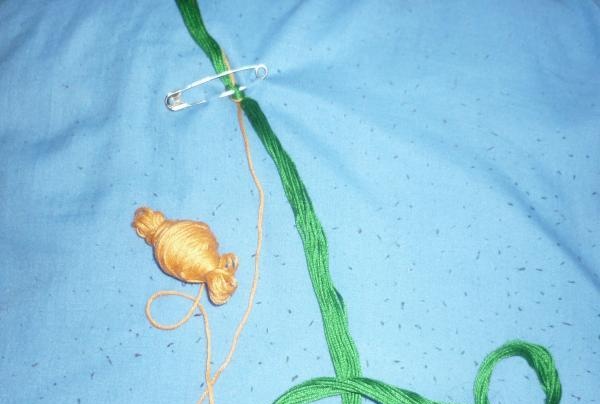
4.We begin to weave a bauble. We make the first 7-10 rows in the background color. To do this, we braid the warp thread with the background thread so that we get a loop. We make 2 knots and move on to the next thread. The knots should be quite tight and their rows dense.
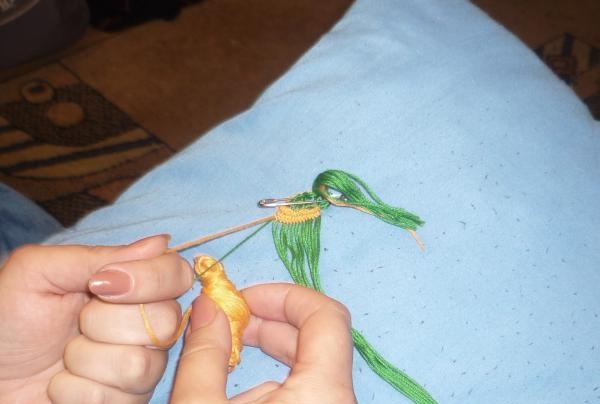
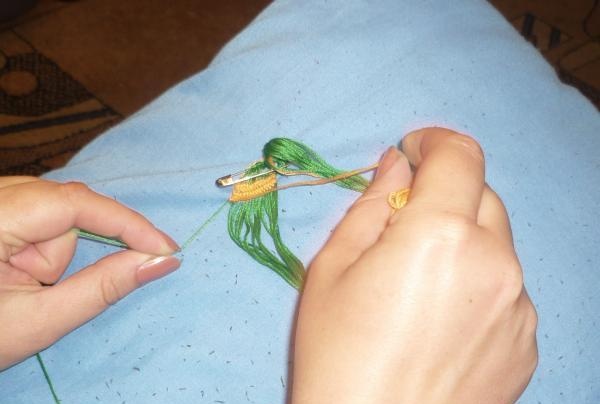
5. To weave the inscription, on the contrary, hold the background thread tight and alternately braid it with each colored thread. We leave two or three rows from the edges in the background color so that the inscription looks more impressive.
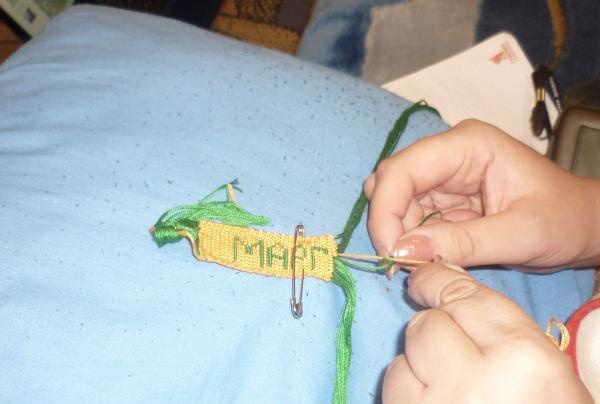
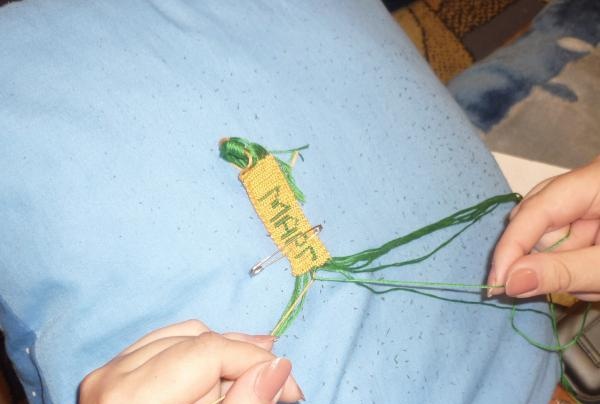
6. When the bauble is completed, we braid the ties into braids. It is advisable to iron the finished product with an iron through a damp cloth.
Making a bauble with any inscription - the name of the owner or the name of your favorite band - is not at all difficult. You will need:
• floss threads in contrasting colors,
• safety pin,
• scissors
• small pillow
• a piece of checkered paper and a pen.
Stages of work:
1. First, you need to draw a diagram of the future bauble on paper: write the word in the cells on the paper.
2. We prepare threads. For a bauble 3 cm wide and about 13 cm long (not counting the ties), you need to prepare 15 threads of the color you want to make the inscription and 1 thread for the background. For the background thread you will need a standard skein of floss, cut the rest to approximately 40 cm in length.
3. We tie all the threads in a knot, stepping back from the edge about 7 cm and using a pin, secure it to the pad. Tip: when working, use threads of contrasting colors. Maybe you really like the combination of white and pale pink, but the inscription on the finished bauble will be difficult to read. The more contrast the colors, the better.

4.We begin to weave a bauble. We make the first 7-10 rows in the background color. To do this, we braid the warp thread with the background thread so that we get a loop. We make 2 knots and move on to the next thread. The knots should be quite tight and their rows dense.


5. To weave the inscription, on the contrary, hold the background thread tight and alternately braid it with each colored thread. We leave two or three rows from the edges in the background color so that the inscription looks more impressive.


6. When the bauble is completed, we braid the ties into braids. It is advisable to iron the finished product with an iron through a damp cloth.

Similar master classes
Particularly interesting
Comments (1)

