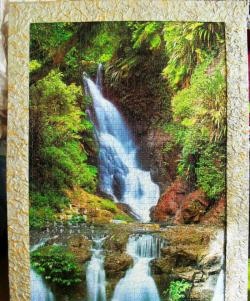
Sea salt candle holder
There is probably no design that does not take into account such cute and heart-warming everyday little things as paintings, frames, clocks, candles and, of course, candlesticks - they always have a place even in the most conceptual interior.
And decorative elements in the interior, made by yourself, give special comfort. They illuminate the room they are in with the warmth of love put into the product by its creator. Warmth and light in the truest sense of these words, in addition to traditional electric lamps, floor lamps and lamps, are provided by candles.
Candles and candlesticks have been, are and remain relevant at all times.
Anyone can easily create a rather interesting candlestick made of sea salt at home.
To bring the idea to life you will need the following materials:
- glass jar;
- coarse sea salt;
- PVA glue;
- disposable cutlery - fork and knife;
- a flat container for salt;
- a small candle.
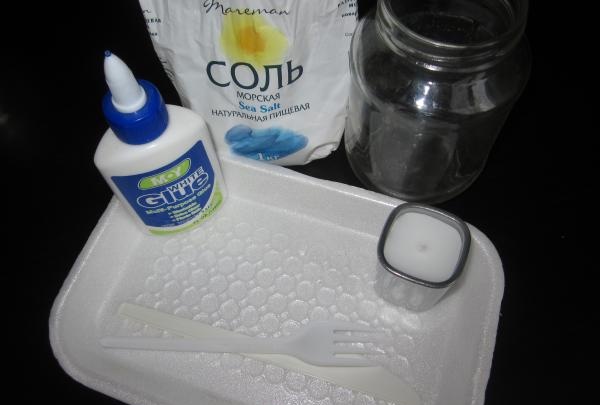
So let's get started!
First of all, you need to prepare a glass jar. Wash it well, remove the labels and let it dry. It is important that the neck of the jar is wide enough so that the existing candle can easily fit inside.
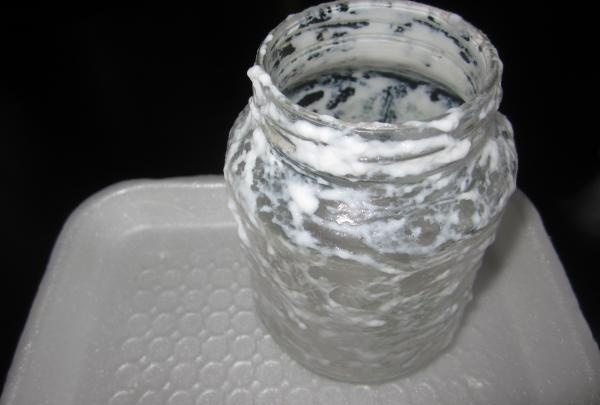
After the first preparations, you can start and cover the jar with a layer of PVA glue. In this case, the glue is quite thick; it must be spread evenly over the entire surface of the jar, without lumps. The most convenient way to do this is with a disposable plastic knife. If the glue is more liquid, then it is better to use a brush.
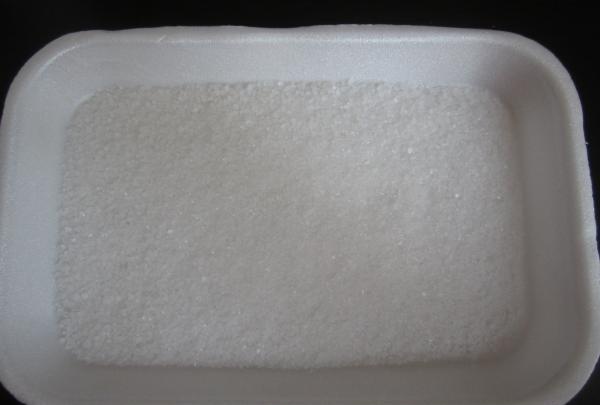
Next, sea salt is poured into a flat container (in this case it is a backing from under the legs). The salt must be coarse so that the crystals look voluminous.
A jar is placed in the poured salt - on its side, and rotated 360 degrees, you can roll it back and forth so that the salt sticks well to it on all sides.
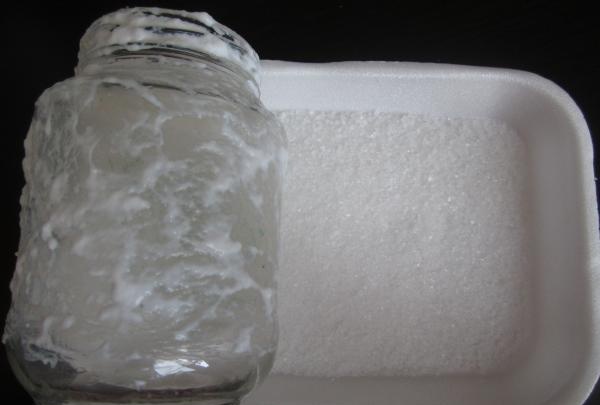
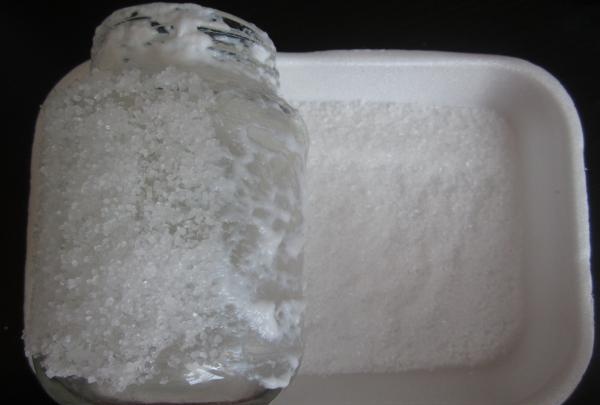
The jar turned out to be completely “crystal”, only the main part of it.
Thus comes the turn of the neck of the jar. Glue is applied to it with a knife, the knife is wiped off and salt can be applied with it. It is very convenient, since it bends under the uneven shape of the jar and the crystals are stacked evenly.
Next, the very edge of the neck is carefully lubricated with glue and the top of the jar is lowered into the salt.
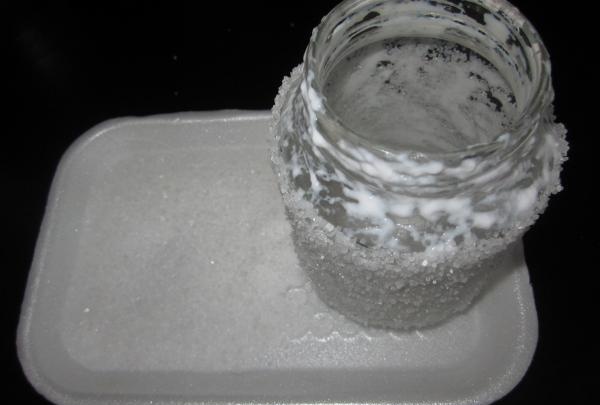
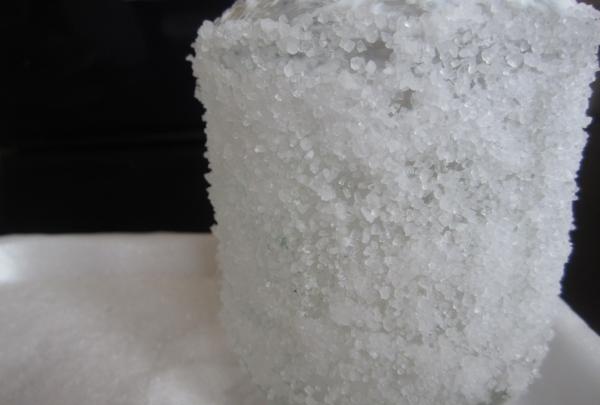
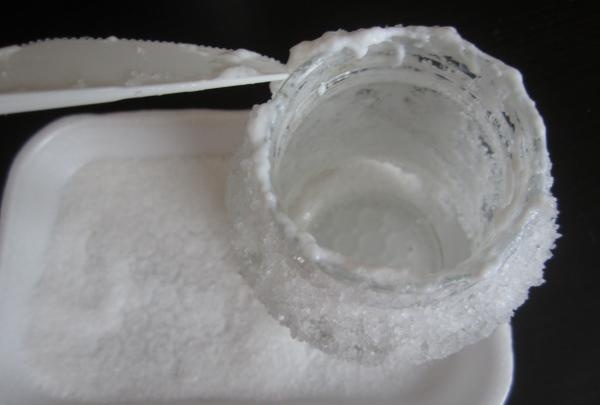
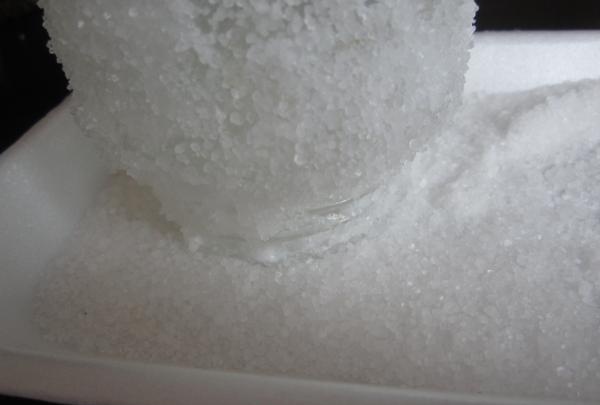
The jar should stand in this position for just a few minutes and you can safely turn it over to its original position.
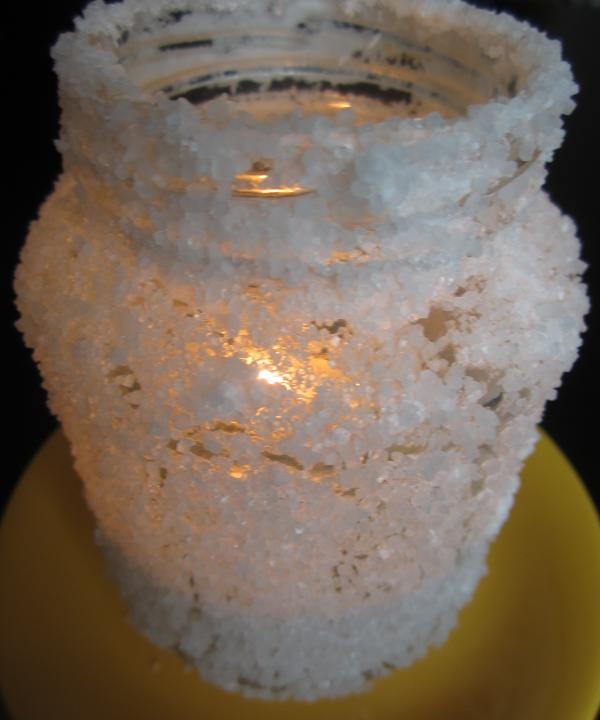
An ordinary glass jar has been transformed into a crystal candle holder. The jar should be allowed to dry and put away for an hour and a half in a place where there is no draft or heat.
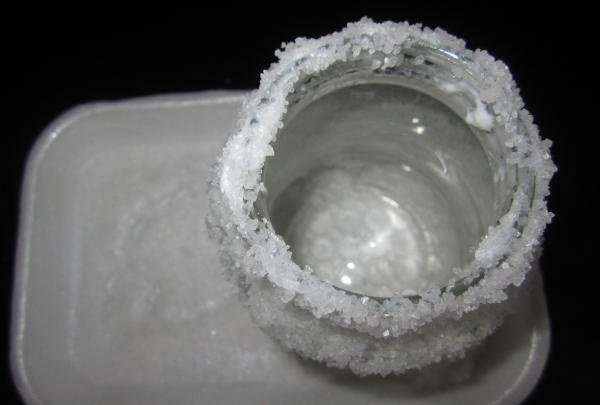
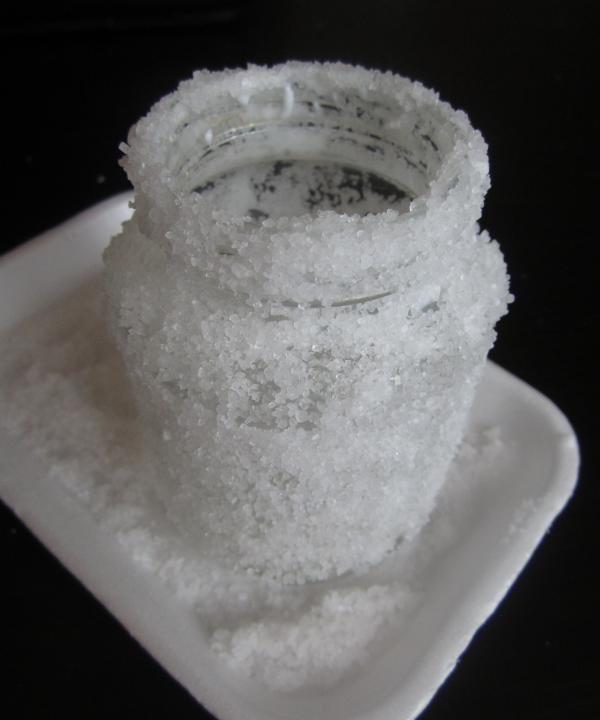
When the jar is dry, you can place a candle in it.
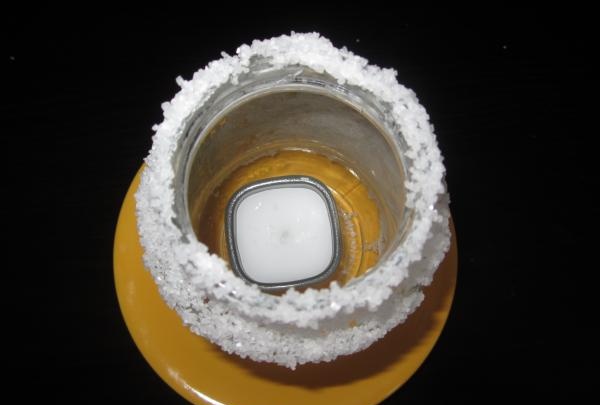
And rock! This is what candle light looks like in daylight.
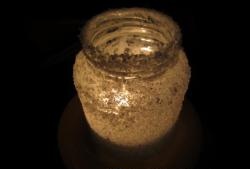
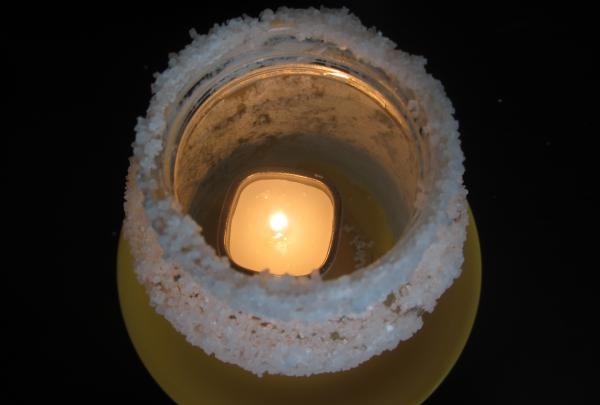
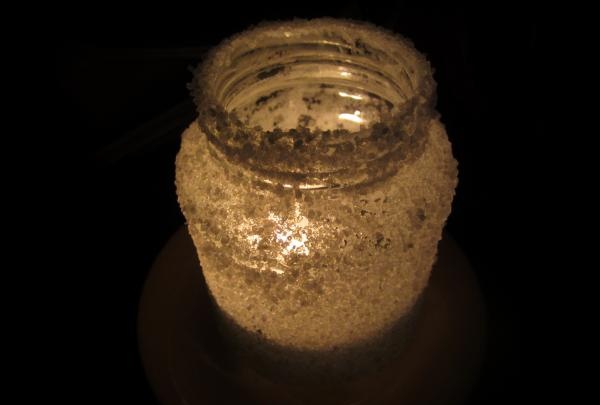
And this is how it looks in the dark. Fascinating and mysterious.
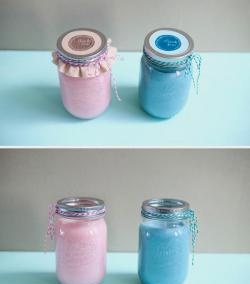
If you have food coloring available, you can add it with salt and then the candlestick will sparkle in different colors.
On winter evenings, when it gets dark early and for a long time, such a candlestick will be especially relevant.Or you can make several at once from jars of different sizes, place them around the room, light candles in them and immerse yourself in the mysterious shine of creations made with your own hands.
And decorative elements in the interior, made by yourself, give special comfort. They illuminate the room they are in with the warmth of love put into the product by its creator. Warmth and light in the truest sense of these words, in addition to traditional electric lamps, floor lamps and lamps, are provided by candles.
Candles and candlesticks have been, are and remain relevant at all times.
Anyone can easily create a rather interesting candlestick made of sea salt at home.
To bring the idea to life you will need the following materials:
- glass jar;
- coarse sea salt;
- PVA glue;
- disposable cutlery - fork and knife;
- a flat container for salt;
- a small candle.

So let's get started!
First of all, you need to prepare a glass jar. Wash it well, remove the labels and let it dry. It is important that the neck of the jar is wide enough so that the existing candle can easily fit inside.
After the first preparations, you can start and cover the jar with a layer of PVA glue. In this case, the glue is quite thick; it must be spread evenly over the entire surface of the jar, without lumps. The most convenient way to do this is with a disposable plastic knife. If the glue is more liquid, then it is better to use a brush.

Next, sea salt is poured into a flat container (in this case it is a backing from under the legs). The salt must be coarse so that the crystals look voluminous.

A jar is placed in the poured salt - on its side, and rotated 360 degrees, you can roll it back and forth so that the salt sticks well to it on all sides.


The jar turned out to be completely “crystal”, only the main part of it.
Thus comes the turn of the neck of the jar. Glue is applied to it with a knife, the knife is wiped off and salt can be applied with it. It is very convenient, since it bends under the uneven shape of the jar and the crystals are stacked evenly.
Next, the very edge of the neck is carefully lubricated with glue and the top of the jar is lowered into the salt.


The jar should stand in this position for just a few minutes and you can safely turn it over to its original position.
An ordinary glass jar has been transformed into a crystal candle holder. The jar should be allowed to dry and put away for an hour and a half in a place where there is no draft or heat.


When the jar is dry, you can place a candle in it.

And rock! This is what candle light looks like in daylight.
And this is how it looks in the dark. Fascinating and mysterious.


If you have food coloring available, you can add it with salt and then the candlestick will sparkle in different colors.
On winter evenings, when it gets dark early and for a long time, such a candlestick will be especially relevant.Or you can make several at once from jars of different sizes, place them around the room, light candles in them and immerse yourself in the mysterious shine of creations made with your own hands.
Similar master classes
Particularly interesting
Comments (0)


