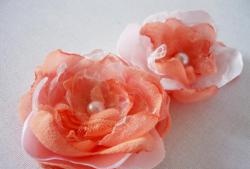
Paper rose
When there are always flowers in an apartment or house, even the air seems cleaner and more pleasant. It’s difficult to please yourself with fresh flowers all year round, so I figured out how to pamper myself with beautiful scents and views, without real flowers. Today I will tell and show you how to make a beautiful fragrant rose from ordinary office paper, which will look very similar to its real friend.
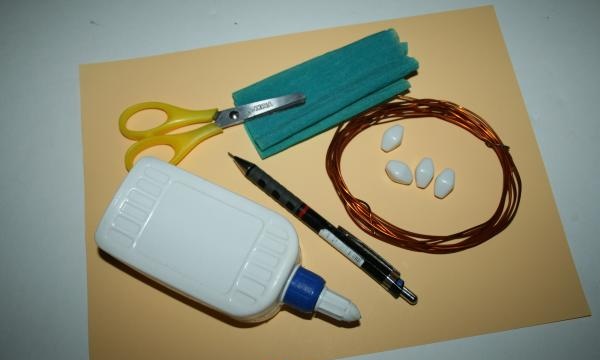
You should have on hand:
• Office colored paper.
• Wire.
• Green corrugated paper.
• PVA glue.
• Pencil, scissors, ruler.
• An elongated bead or piece of plasticine.
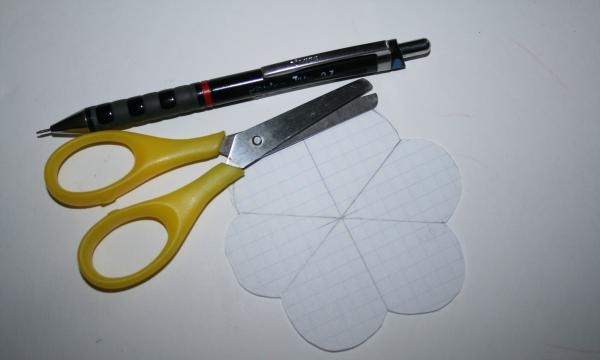
In order for the petals of our rose to be the same, we need to make a pattern. It is done very simply. We don't need ideal proportions; it is important that we get a pattern with six petals. We draw a straight line, 10 cm long. Now we visually divide the sides of the line into two more parts. A little less in one, a little more in the other - it doesn’t matter. Then we connect the lines with an arch to make petals. Cut out the drawn pattern.
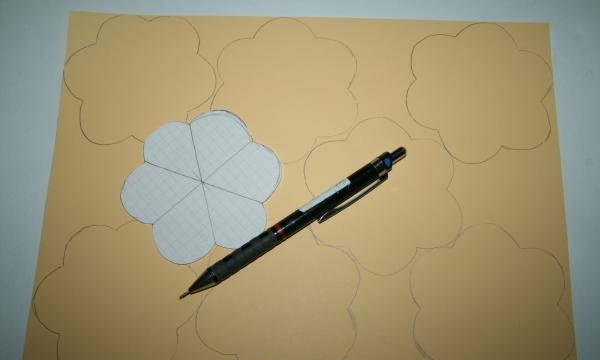
According to our pattern, we need to draw so many blanks. How much will fit on an A4 sheet? I managed to fit 7 pieces.
Now we take the wire and the bead and thread the edge of the wire into the hole, bending the edge. If you don’t have a bead, you can make a cone out of plasticine. In all blanks we make a hole in the center. We take the first piece and thread the wire into it.
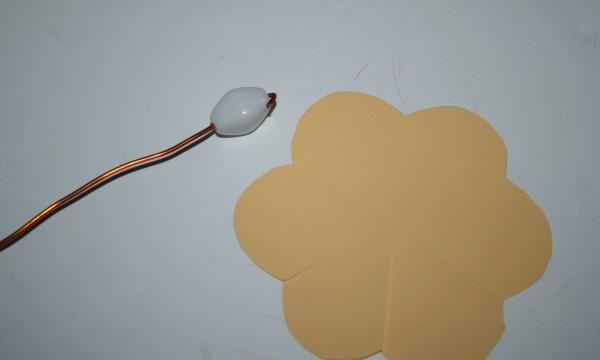
Let's start collecting our bud. We coat two opposite petals with glue and begin to glue one at a time onto the bead.
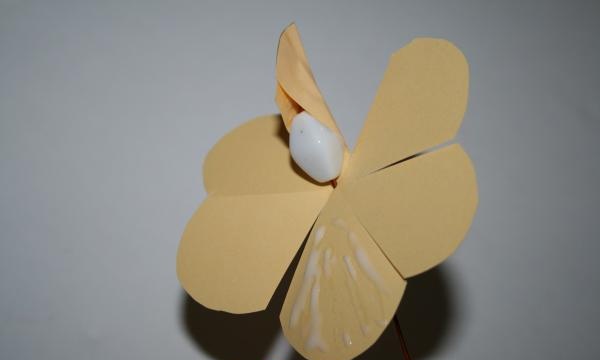
This is how we collect the entire first blank. We glue the second one as well, but when all the petals are glued, we lightly press down the top of the bud.
We glue the third blank into three petals each. We coat three opposite leaves with glue and, gluing them onto the bud, lightly wrap the edges.
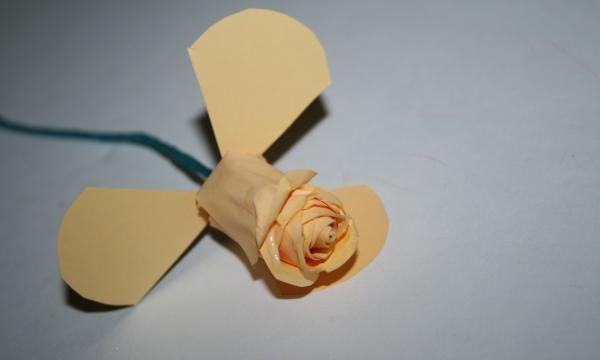
Once you have glued on all six petals, you should have a beautiful, half-open rosebud. If you wish, you can stop at this stage. But, if you want a more magnificent rose, then we will continue to glue the blanks.
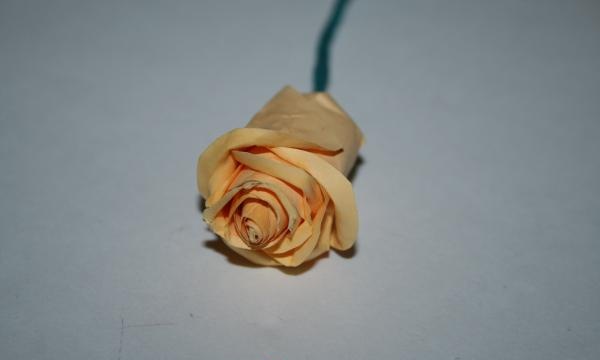
To make the rose lush and the petals curl naturally, take a piece of wire or a knitting needle and twist the edges of the petals on both sides, at an angle.
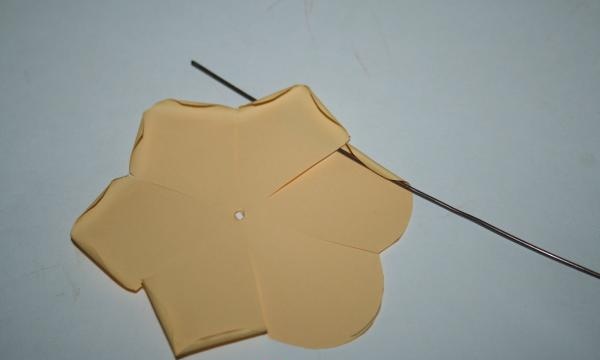
We glue the blank with twisted petals, just like the previous one, three petals at a time.
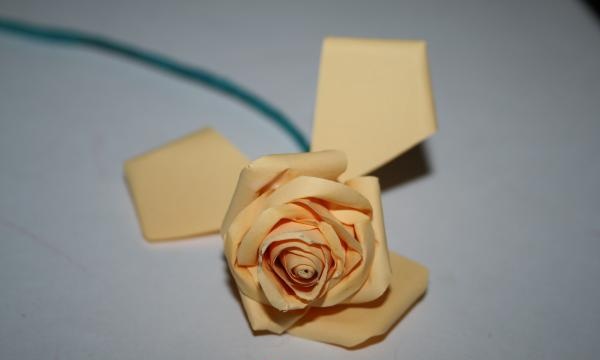
We process the next workpiece in the same way as the previous one - we twist the petals. However, now we are adding one more action. Using something round, I have an iron ball, we crush each petal from the center to the edge. This will cause the petals to begin to round and curl into a bud. I tried doing the same thing with a nail polish cap, and the results turned out to be just as beautiful petals.
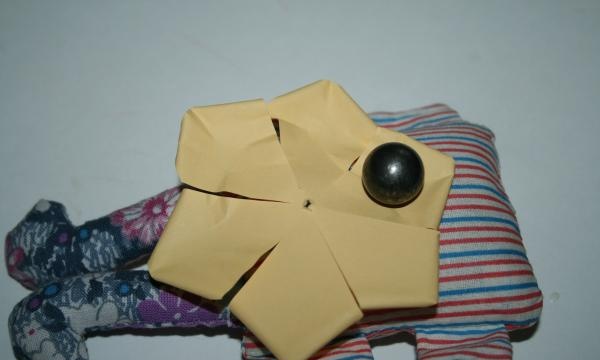
The petals should be wrapped in a bud, curled clockwise. To prevent it from falling apart, glue the joints with glue.
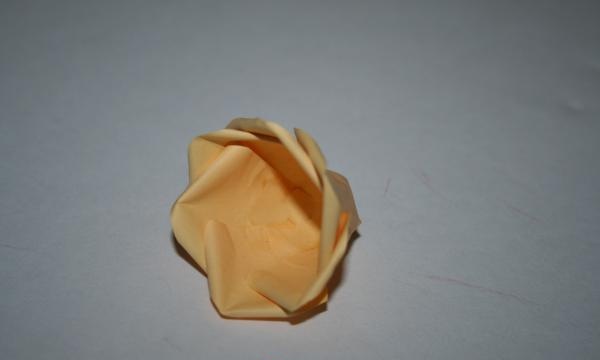
We put on the last petals and wrap the wire with green crepe paper.
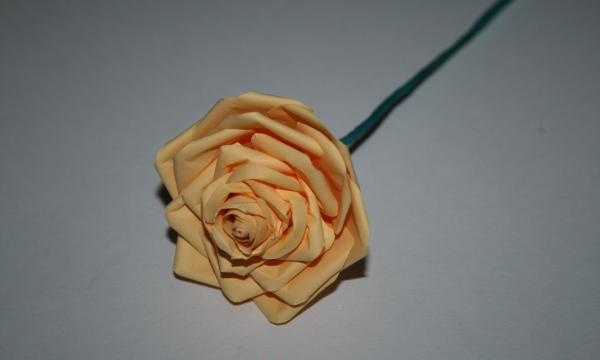
The result is such a beautiful tea rose. To achieve even more naturalness, you can drop a couple of drops of rose oil into the center of the bud. Then the flower will acquire a pleasant aroma.

You should have on hand:
• Office colored paper.
• Wire.
• Green corrugated paper.
• PVA glue.
• Pencil, scissors, ruler.
• An elongated bead or piece of plasticine.

In order for the petals of our rose to be the same, we need to make a pattern. It is done very simply. We don't need ideal proportions; it is important that we get a pattern with six petals. We draw a straight line, 10 cm long. Now we visually divide the sides of the line into two more parts. A little less in one, a little more in the other - it doesn’t matter. Then we connect the lines with an arch to make petals. Cut out the drawn pattern.

According to our pattern, we need to draw so many blanks. How much will fit on an A4 sheet? I managed to fit 7 pieces.

Now we take the wire and the bead and thread the edge of the wire into the hole, bending the edge. If you don’t have a bead, you can make a cone out of plasticine. In all blanks we make a hole in the center. We take the first piece and thread the wire into it.

Let's start collecting our bud. We coat two opposite petals with glue and begin to glue one at a time onto the bead.

This is how we collect the entire first blank. We glue the second one as well, but when all the petals are glued, we lightly press down the top of the bud.
We glue the third blank into three petals each. We coat three opposite leaves with glue and, gluing them onto the bud, lightly wrap the edges.

Once you have glued on all six petals, you should have a beautiful, half-open rosebud. If you wish, you can stop at this stage. But, if you want a more magnificent rose, then we will continue to glue the blanks.

To make the rose lush and the petals curl naturally, take a piece of wire or a knitting needle and twist the edges of the petals on both sides, at an angle.

We glue the blank with twisted petals, just like the previous one, three petals at a time.

We process the next workpiece in the same way as the previous one - we twist the petals. However, now we are adding one more action. Using something round, I have an iron ball, we crush each petal from the center to the edge. This will cause the petals to begin to round and curl into a bud. I tried doing the same thing with a nail polish cap, and the results turned out to be just as beautiful petals.

The petals should be wrapped in a bud, curled clockwise. To prevent it from falling apart, glue the joints with glue.

We put on the last petals and wrap the wire with green crepe paper.

The result is such a beautiful tea rose. To achieve even more naturalness, you can drop a couple of drops of rose oil into the center of the bud. Then the flower will acquire a pleasant aroma.

Similar master classes
Particularly interesting
Comments (0)


