Egg made from threads
Holidays are always pleasant and fun. Recently, it has become especially popular to decorate the interior thematically, which further sets the mood for the holiday. One of the main Easter elements is the egg, which can also be used in decoration. So, for example, you can make a “model” of an egg from threads.
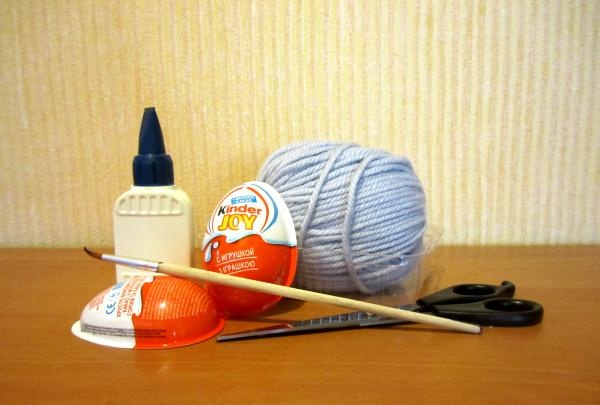
For work we will need:
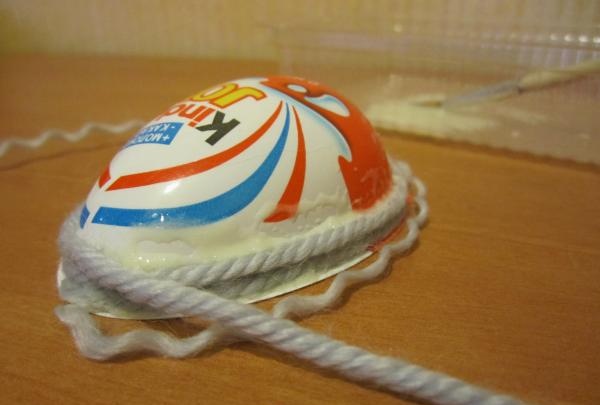
To begin, use glue to secure one end of a small rope to one of our base halves.
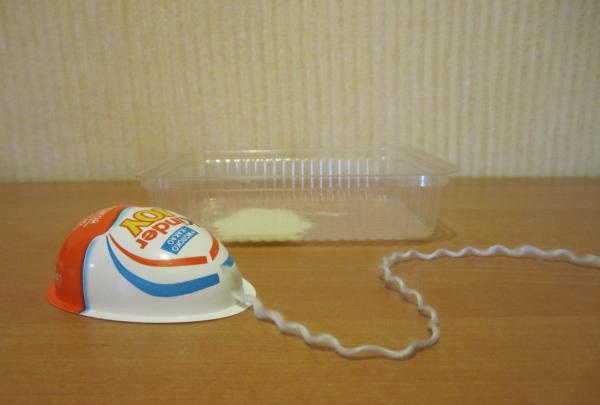
Then, using a brush, coat the circumference of the base with glue for the first row of thread and carefully lay it out.
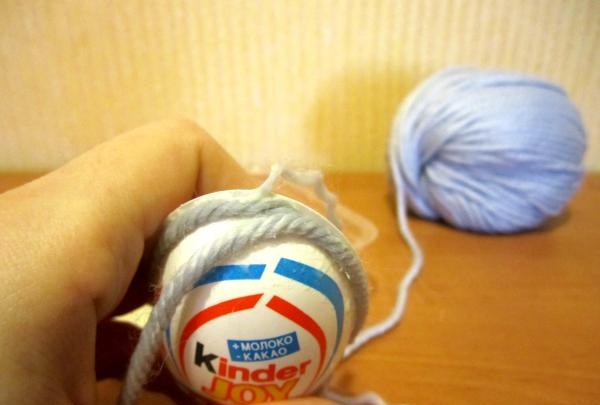
Moving to the second row, you can make a small “approach” to the beginning of the thread to create a solid circle.
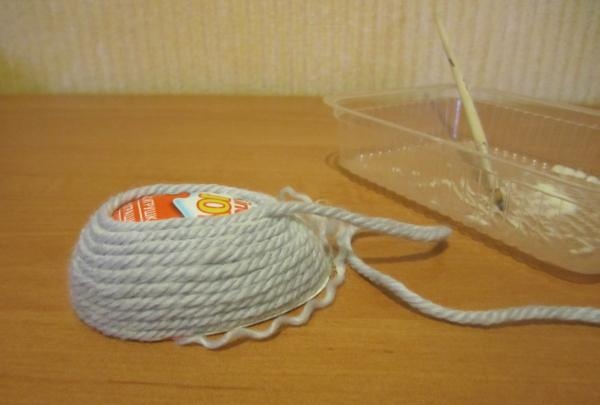
When forming each subsequent row, we lubricate with glue not only the base, but also the underlying thread. There is no need to pull the thread tightly so that the rows do not separate from each other.
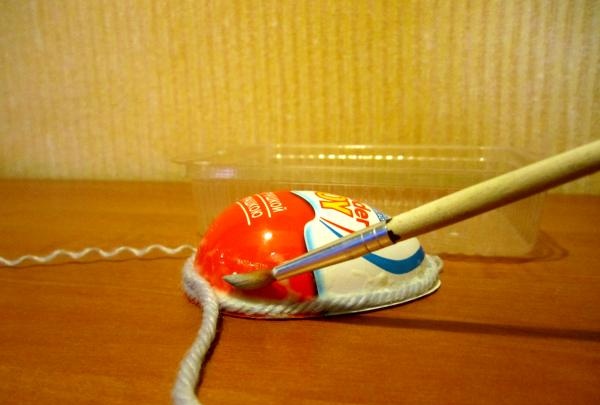
By laying out the thread at the “top” of the form, if necessary, you can adjust the shape of the rows.
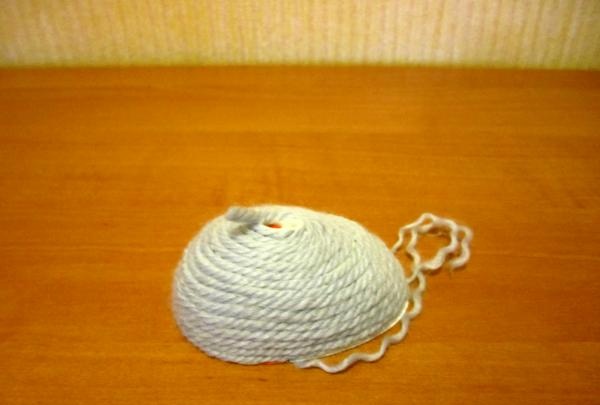
We cut the thread, leaving a small piece, which we then lay inside to complete the shape.
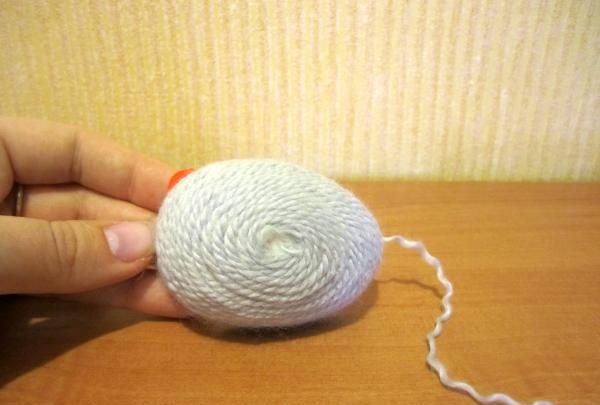
We attach the second end of the rope, by which the craft will be hung, to the second half of the plastic egg mold in a well-known way.
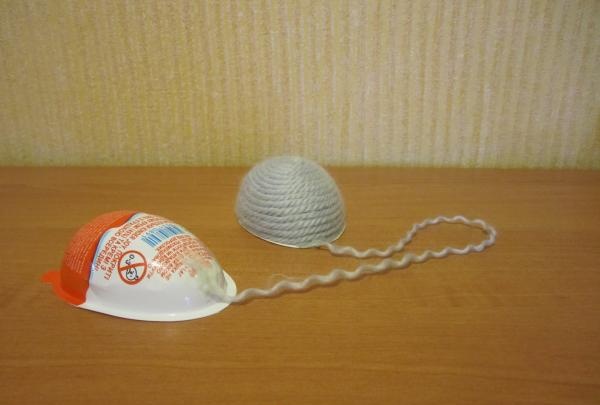
We glue this form with threads in the same way.
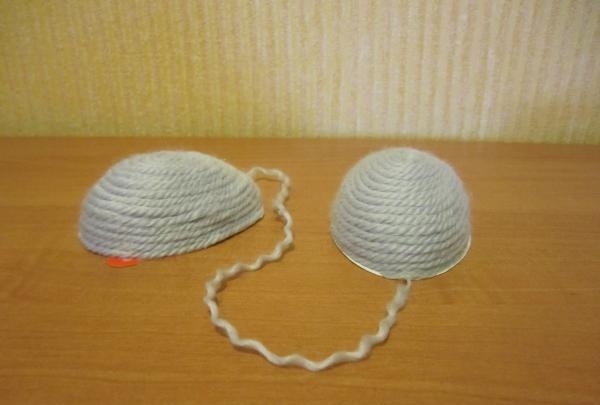
After waiting until the glue dries (6-12 hours - depending on how much glue you used), carefully separate the product from the mold.
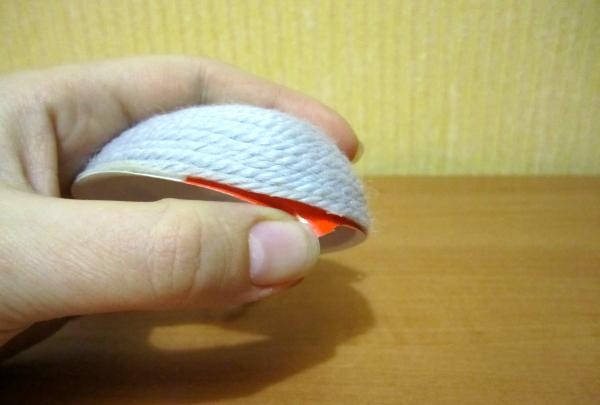
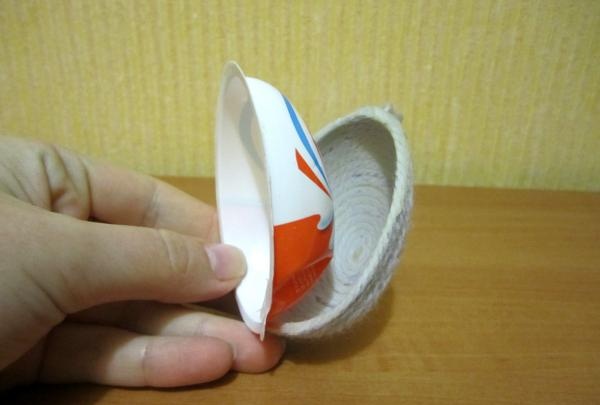
The glue will make the edges of the joints flat, lubricate them with glue and connect the two halves of the wool egg.
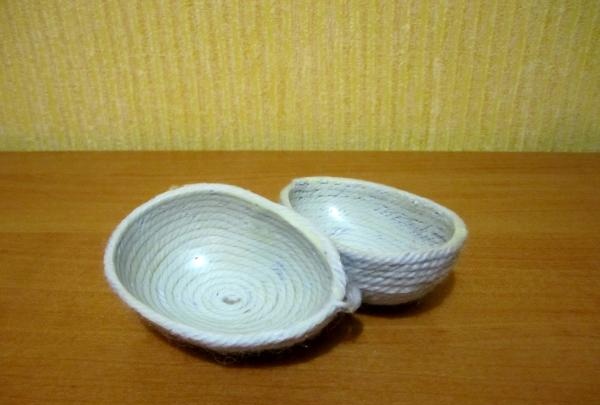
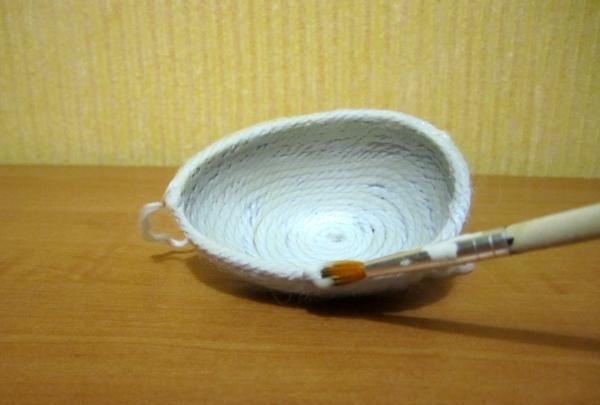
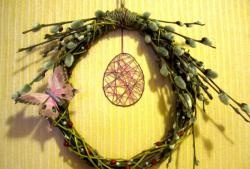
The homemade thread egg is ready.
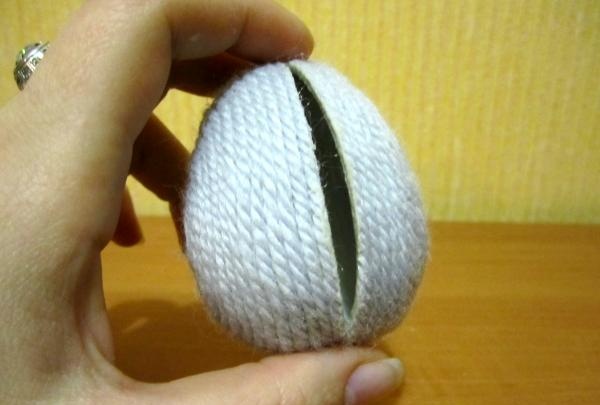
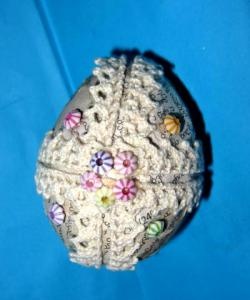
It can be decorated with additional elements by simply attaching it on top.
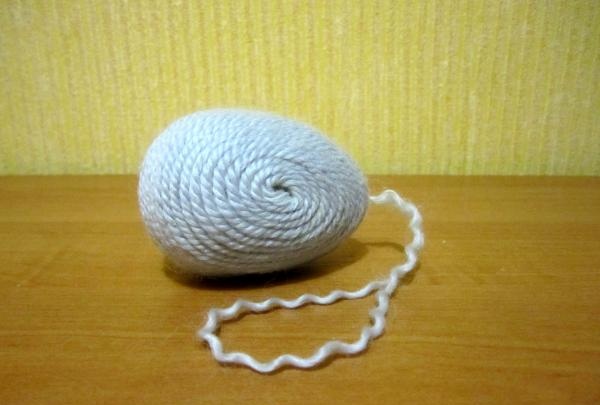
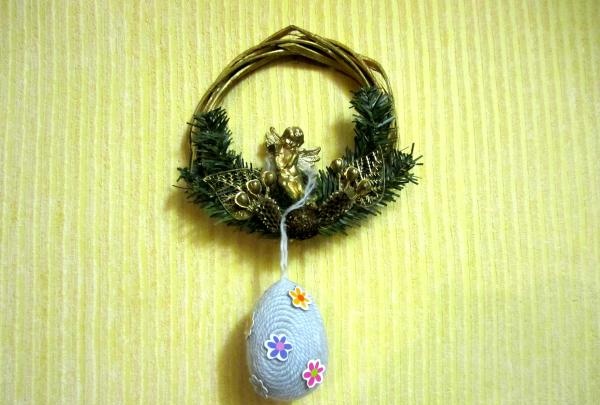
You can use such an egg as a kind of decorative holiday pendants, or make popular door wreaths out of them, or in any other way that your imagination tells you.
For work we will need:

- The base is a plastic packaging of children's sweets in the shape of an egg. It is easy to work with, as it is divided into two parts and does not require additional processing to easily separate the product from the threads.
- Threads. You can use any thread, but remember: the thinner the thread, the longer and more painstaking the work.
- PVA glue. When dry, this glue can be easily separated from the mold.
- Brush. This will allow you to work out details more accurately and get your fingers dirty less.
- Glue container. An optional element, intended only to simplify the work with glue.
- Scissors.
To begin, use glue to secure one end of a small rope to one of our base halves.

Then, using a brush, coat the circumference of the base with glue for the first row of thread and carefully lay it out.

Moving to the second row, you can make a small “approach” to the beginning of the thread to create a solid circle.
When forming each subsequent row, we lubricate with glue not only the base, but also the underlying thread. There is no need to pull the thread tightly so that the rows do not separate from each other.


By laying out the thread at the “top” of the form, if necessary, you can adjust the shape of the rows.

We cut the thread, leaving a small piece, which we then lay inside to complete the shape.


We attach the second end of the rope, by which the craft will be hung, to the second half of the plastic egg mold in a well-known way.

We glue this form with threads in the same way.

After waiting until the glue dries (6-12 hours - depending on how much glue you used), carefully separate the product from the mold.


The glue will make the edges of the joints flat, lubricate them with glue and connect the two halves of the wool egg.


The homemade thread egg is ready.

It can be decorated with additional elements by simply attaching it on top.


You can use such an egg as a kind of decorative holiday pendants, or make popular door wreaths out of them, or in any other way that your imagination tells you.
Similar master classes
Particularly interesting
Comments (0)

