Children's game "Learning colors"
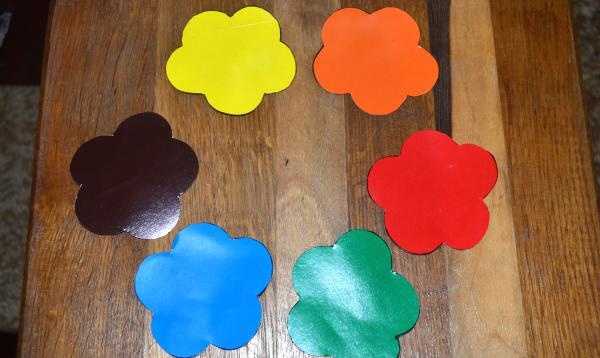
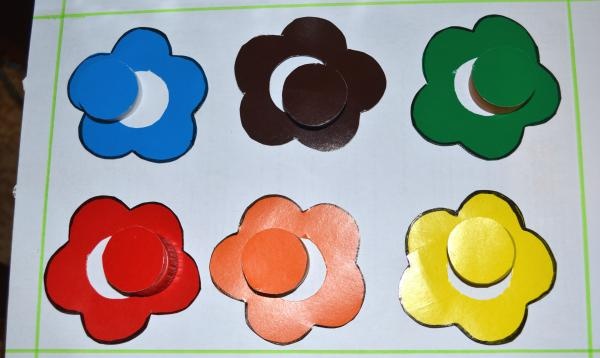
The children's game “Learn Colors” is aimed at preschool children. It is aimed at developing children's logic and memory. The name of the game indicates its essence. There are six different-colored flowers on the cardboard; the child needs to independently insert the middle of a flower of the same color.
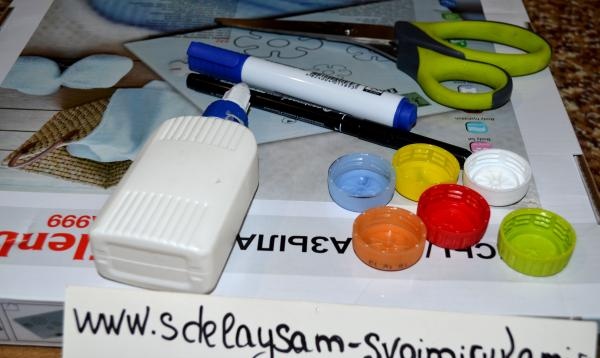
To make it we will need:
1. Cardboard (six different colors);
2. Scissors;
3. Marker;
4. Pencil;
5. Glue;
6. Six lids (we select the lids to match the color of the cardboard).
Instructions for making the game.
Step #1. We make the basis of the game.
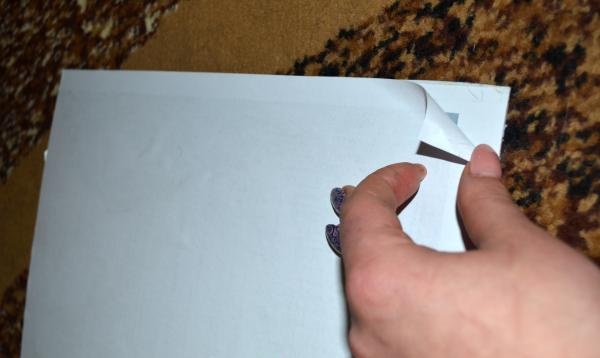
We need to take thick cardboard so that it bends minimally and cut out an A4 rectangle. Next, glue a white sheet onto this rectangle.
Why not just use white cardboard?
Regular cardboard is very thin and the backing will wear out quickly or a child could tear it.
Step #2. Making a flower template.
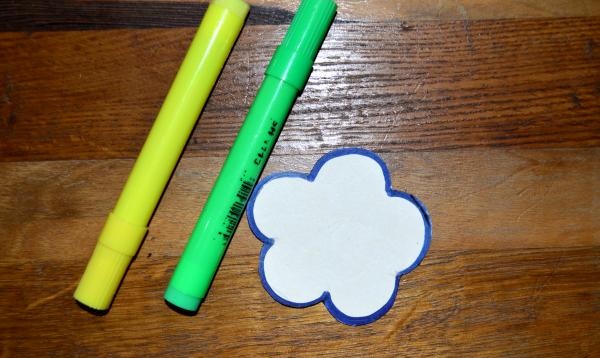
So that all the flowers in the game come out the same size, we need to cut out a template from cardboard. We trace this template with a pencil six times and we get six identical flowers.
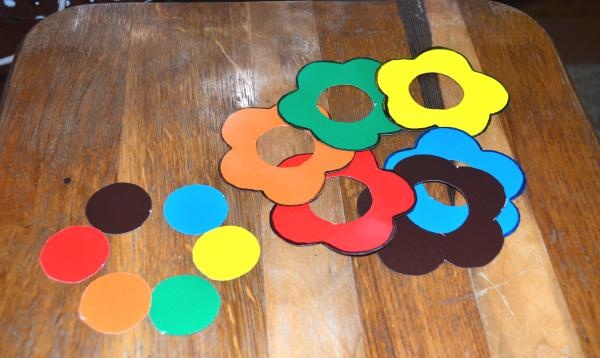
Step #3. Cut out the flowers.
Next, cut out the flowers and outline each one with a dark marker to highlight it.
Step #4.Cut out the centers of the flowers.
At this stage, we take the lid, place it on the flower in the middle and trace it. Cut out the outlined circle. We do this with all the flowers.
Step #5. We attach the flowers to the base.
Using glue, we attach the flowers evenly to the base (tablet).
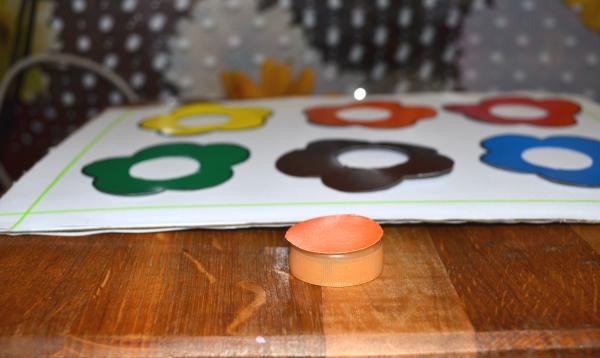
Step #6. We attach the centers to the lids.
We take glue for plastic and attach the centers of the flowers to the caps (you need to take glue for plastic, since it will be bad for paper to hold two different materials together).
Our game is ready. Your baby will definitely like it. Twenty minutes of time spent on making it cannot be compared with a child’s joy and gratitude. Have a good time!
To make it we will need:
1. Cardboard (six different colors);
2. Scissors;
3. Marker;
4. Pencil;
5. Glue;
6. Six lids (we select the lids to match the color of the cardboard).

Instructions for making the game.
Step #1. We make the basis of the game.
We need to take thick cardboard so that it bends minimally and cut out an A4 rectangle. Next, glue a white sheet onto this rectangle.
Why not just use white cardboard?
Regular cardboard is very thin and the backing will wear out quickly or a child could tear it.


Step #2. Making a flower template.
So that all the flowers in the game come out the same size, we need to cut out a template from cardboard. We trace this template with a pencil six times and we get six identical flowers.


Step #3. Cut out the flowers.
Next, cut out the flowers and outline each one with a dark marker to highlight it.
Step #4.Cut out the centers of the flowers.
At this stage, we take the lid, place it on the flower in the middle and trace it. Cut out the outlined circle. We do this with all the flowers.
Step #5. We attach the flowers to the base.
Using glue, we attach the flowers evenly to the base (tablet).

Step #6. We attach the centers to the lids.
We take glue for plastic and attach the centers of the flowers to the caps (you need to take glue for plastic, since it will be bad for paper to hold two different materials together).
Our game is ready. Your baby will definitely like it. Twenty minutes of time spent on making it cannot be compared with a child’s joy and gratitude. Have a good time!

Similar master classes
Particularly interesting
Comments (0)

