Motanka doll made of yarn
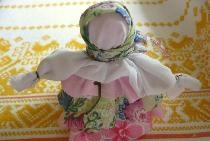
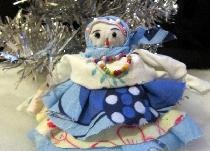
Motanka dolls are not just toys created for children to play with. These are amulets. They can be found in every culture around the world. Historians claim that the first ones appeared more than five centuries ago. These dolls differ from ordinary ones in that they do not have a face. According to the beliefs of the ancient Slavs, a soul enters a doll through its face, and it can be both good and evil. Motankas were made to protect the home and family members. They protected housing, children, farms, livestock and crops. The material for production was natural. Dolls, as a rule, were decorated with national ornaments and embroidery. People believed that the spirit of their ancestors lived in this amulet, capable of passing on experience from generation to generation. That this apotropaia is capable of bringing good luck and profit. There are many ways to make reels. This master class describes an example of making a doll from yarn.
To make a motanka doll you will need:
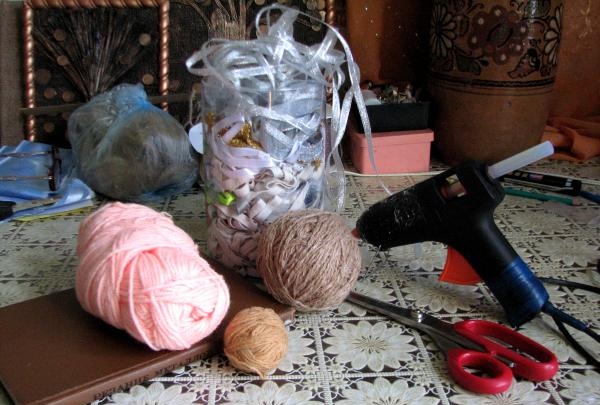
- acrylic yarn of two colors;
- hard cardboard or book;
- scissors;
- glue or glue gun;
- cardboard for the base;
- decor (ribbons, beads, beads, etc.);
- small pieces of fabric for clothing.
Stages of product creation:
Creating the torso
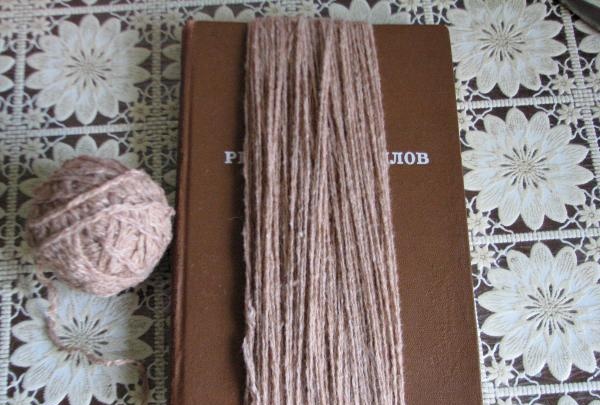
The height of the body depends on the height of the base (cardboard or book). Take a book and wind the yarn.
Having wound a sufficient amount, we cut the threads with scissors on one side and the other of the book.
Creating hair.
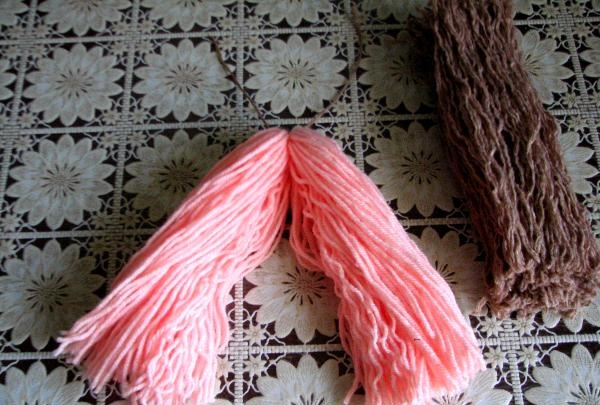
The hair will be long, so we use the same base for winding the threads. We wind the yarn. Cut on one side.
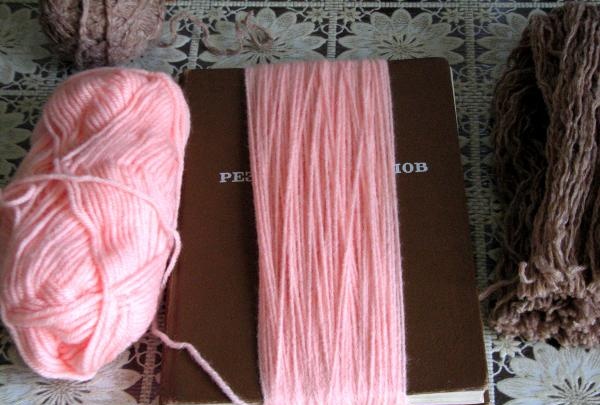
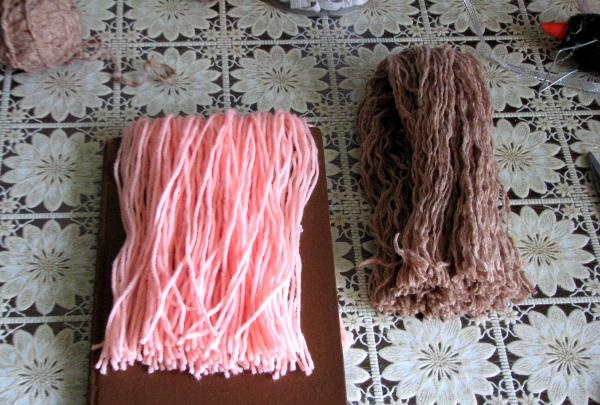
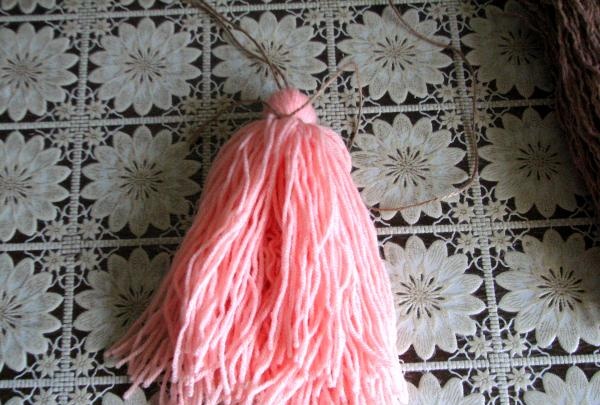
We tie a bunch of threads tightly in the middle. Fold it in half. We tie it around, as close to the edge as possible.
Let's create the head.
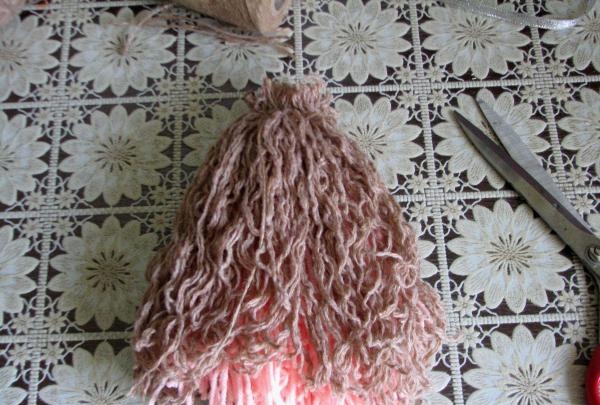
Around the bundle of yarn for creating hair, we evenly distribute the previously prepared yarn for the doll’s body. We tie it tightly. Carefully trim the edges with scissors. For more secure fixation, you can use glue.
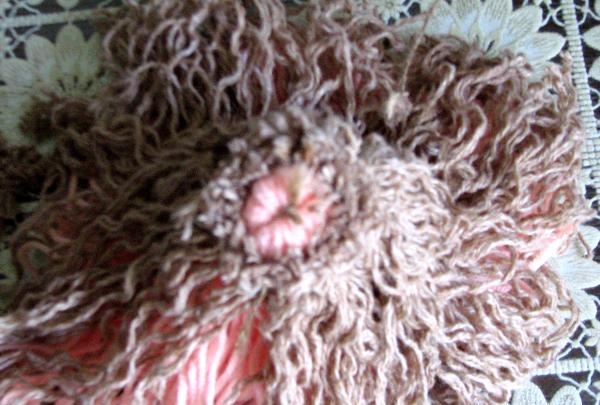
We turn the resulting bundle over and select the hair in one direction and the body in the other. You can tie your hair so it doesn't get in the way. Subsequently, they can be braided or styled in your hair.
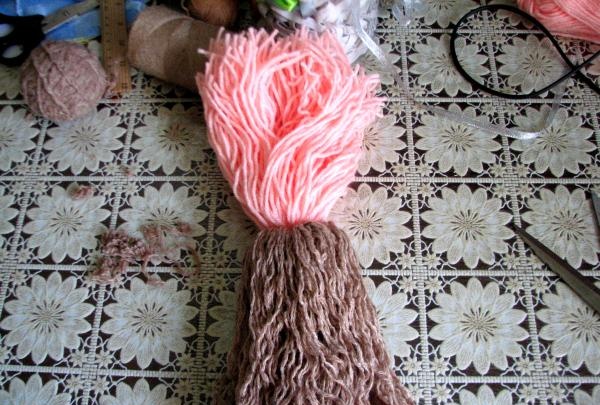
We tighten and fix the yarn to form the head and neck.
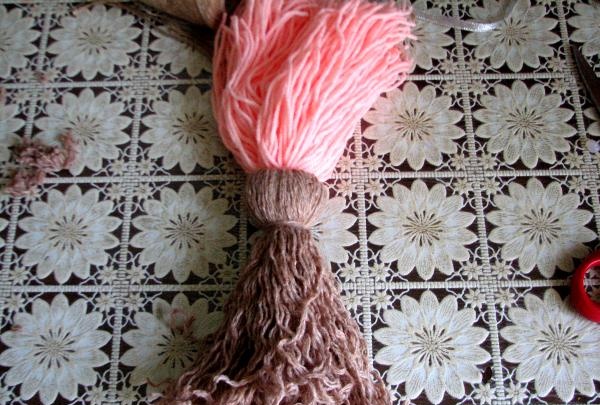
Forming hands.
We wind a slightly smaller amount of yarn of the color of the body onto the base. Cut on both sides. Pull it on one side as tightly as possible. We braid the braid. We fix it.
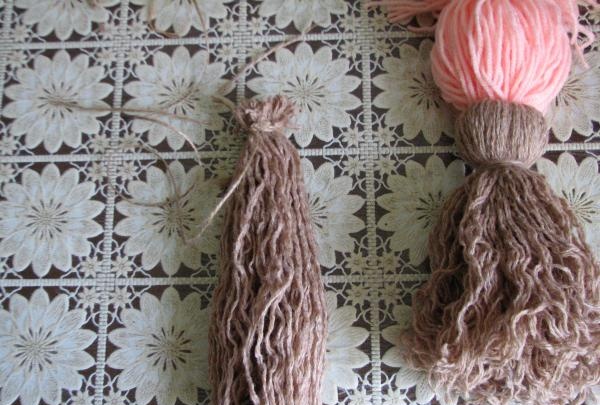
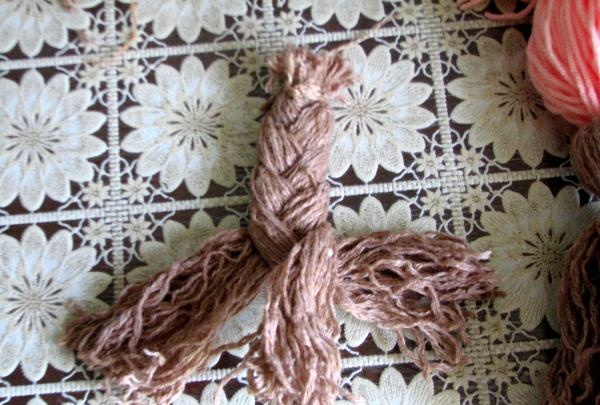
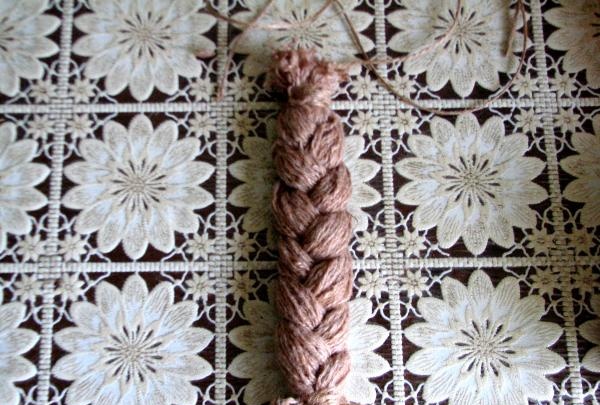
We divide the yarn of the doll blank into two equal parts. We insert our hands into the middle and secure them tightly with thread around the circumference.
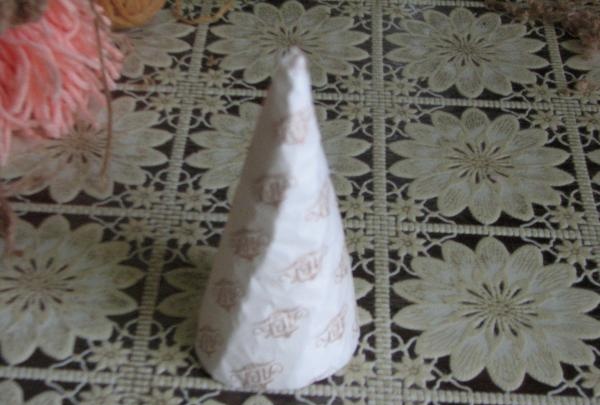
In order for the doll to stand, it must be placed on a rigid base using a glue gun. To do this, we make a cone out of cardboard or plastic.
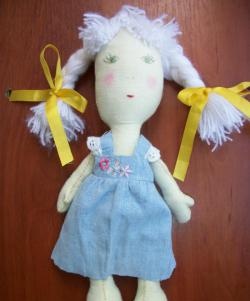
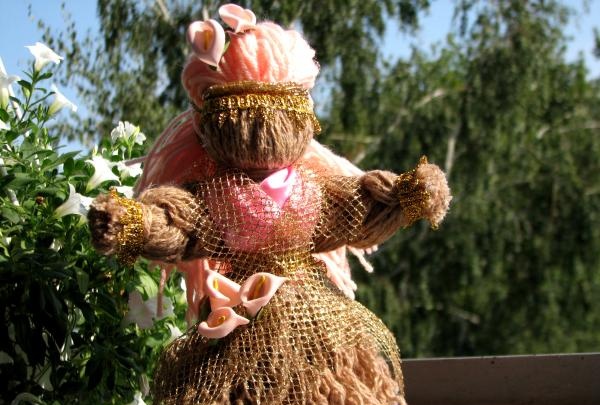
The doll is ready. All that remains is to dress and decorate her. Your imagination plays a role here. In this case, it is a shiny fabric in the form of a mesh, secured with a canvas of the corresponding color. The hair is styled using a beaded braid. The costume and hairstyle are decorated with flowers. You can dress the doll in a national costume or a modern trend. So that she would not be lonely - create a couple.
To make a motanka doll you will need:

- acrylic yarn of two colors;
- hard cardboard or book;
- scissors;
- glue or glue gun;
- cardboard for the base;
- decor (ribbons, beads, beads, etc.);
- small pieces of fabric for clothing.
Stages of product creation:
Creating the torso
The height of the body depends on the height of the base (cardboard or book). Take a book and wind the yarn.
Having wound a sufficient amount, we cut the threads with scissors on one side and the other of the book.

Creating hair.
The hair will be long, so we use the same base for winding the threads. We wind the yarn. Cut on one side.


We tie a bunch of threads tightly in the middle. Fold it in half. We tie it around, as close to the edge as possible.


Let's create the head.
Around the bundle of yarn for creating hair, we evenly distribute the previously prepared yarn for the doll’s body. We tie it tightly. Carefully trim the edges with scissors. For more secure fixation, you can use glue.


We turn the resulting bundle over and select the hair in one direction and the body in the other. You can tie your hair so it doesn't get in the way. Subsequently, they can be braided or styled in your hair.

We tighten and fix the yarn to form the head and neck.

Forming hands.
We wind a slightly smaller amount of yarn of the color of the body onto the base. Cut on both sides. Pull it on one side as tightly as possible. We braid the braid. We fix it.


We divide the yarn of the doll blank into two equal parts. We insert our hands into the middle and secure them tightly with thread around the circumference.
In order for the doll to stand, it must be placed on a rigid base using a glue gun. To do this, we make a cone out of cardboard or plastic.

The doll is ready. All that remains is to dress and decorate her. Your imagination plays a role here. In this case, it is a shiny fabric in the form of a mesh, secured with a canvas of the corresponding color. The hair is styled using a beaded braid. The costume and hairstyle are decorated with flowers. You can dress the doll in a national costume or a modern trend. So that she would not be lonely - create a couple.

Similar master classes
Particularly interesting
Comments (0)

