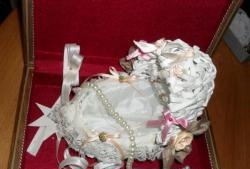
Handmade wedding invitations
Every girl dreams of a lush and luxurious wedding, one might even say since childhood. Therefore, when the moment finally comes when a girl is going to get married, it becomes especially exciting for her. There is a lot of fuss ahead. First of all, you need to sew or buy a wedding dress and accessories for it, choose a place to celebrate the occasion, order a car, hire a photographer and videographer, and, of course, find a cheerful and perky toastmaster who will make the wedding even more fun. Secondly, and perhaps this is the most important thing, is to send out invitations to the wedding to all guests. It would seem nonsense at first glance, but in reality it is not so. It is the entire wedding process that begins with these very invitations, so they should be very gentle and sophisticated, so to speak, with a twist. Here the bride herself can take care of this and make the invitations herself. They will look beautiful and romantic in technology scrapbooking, which will help us along with this master class.
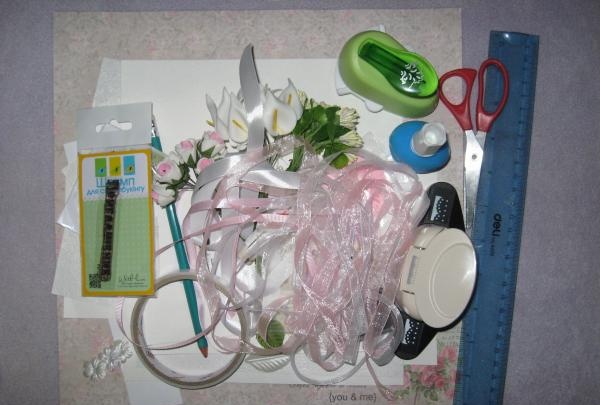
For work we will need:
• Watercolor paper for the base;
• A sheet of delicate scrappaper with small roses, sheet 30x30 cm;
• Pearlescent paper with floral embossing;
• Border hole punch lace;
• Pictures with newlyweds, three pictures 4.5*5.5 cm;
• Three white callas;
• White small stamens;
• White small flowers made of glued fabric;
• Pink organza ribbon 0.6 cm wide;
• “Invitation” stamp, dark pink ink;
• Pink butterflies from cutting, 3 pcs;
• Narrow grosgrain ribbon 0.5 cm wide;
• Openwork corner hole punch;
• Small half beads made of white pearls;
• Double-sided tape, glue, scissors, pencil, glue gun, ruler, thread and needle.
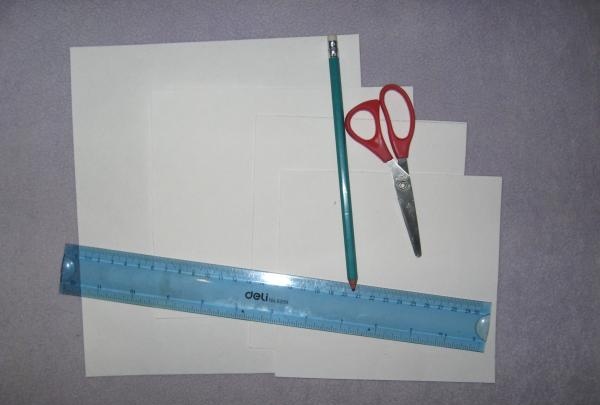
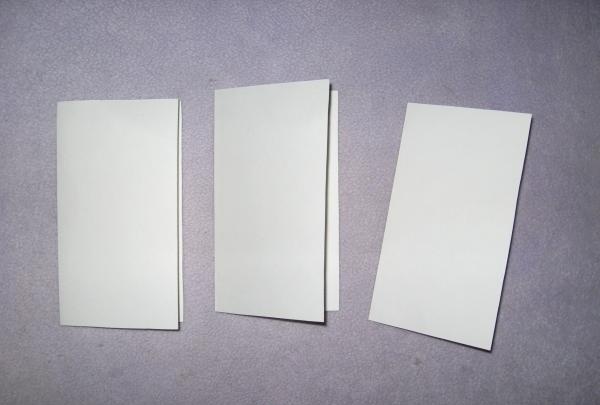
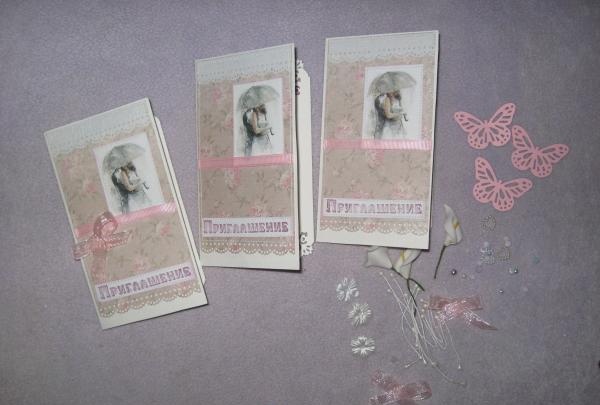
This master class is designed for making three wedding invitations, so the materials are prescribed for this quantity; the quantity can be changed if desired. The invitations are vertical. We take sheets of white watercolor and measure out three squares of 15*15 cm. Divide all three squares in half, make bending lines and fold three blanks. They are folded 7.5*15 cm.
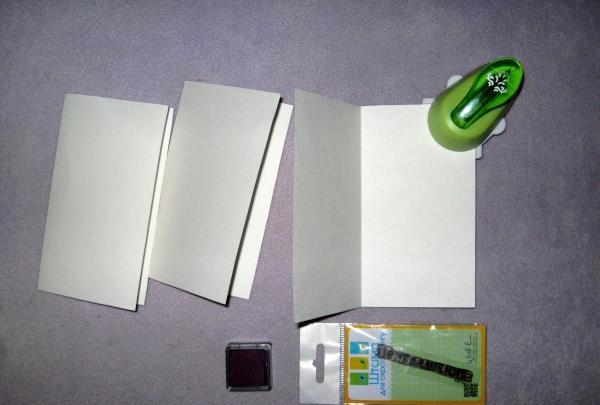
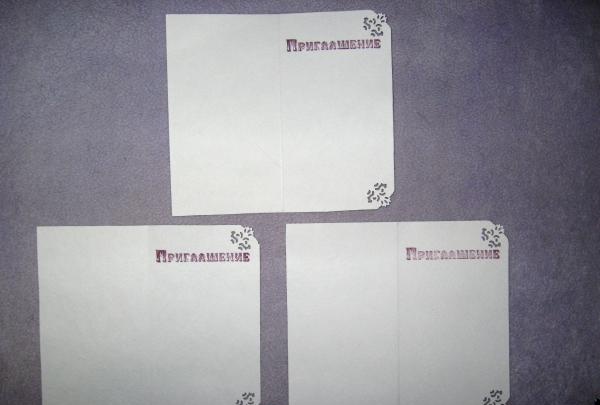
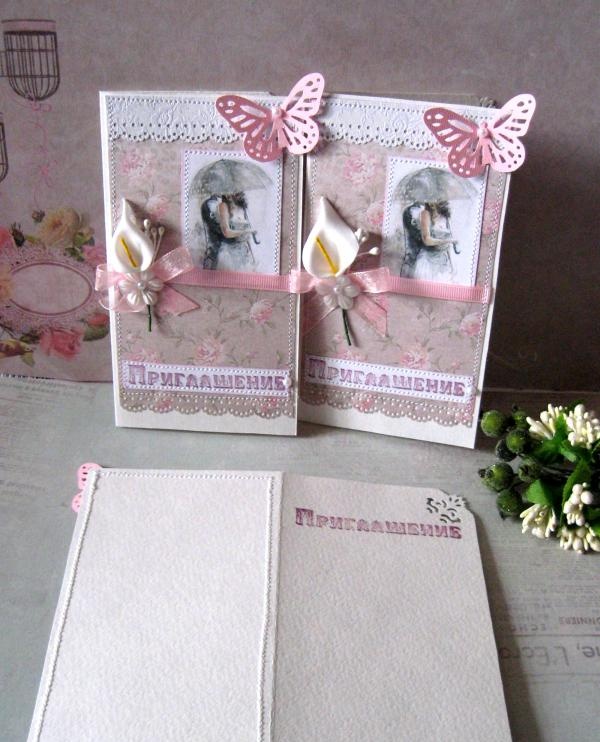
We open the blanks and make lace corners inside at the top and bottom. We make inscriptions at the top with a stamp, as in the photo.
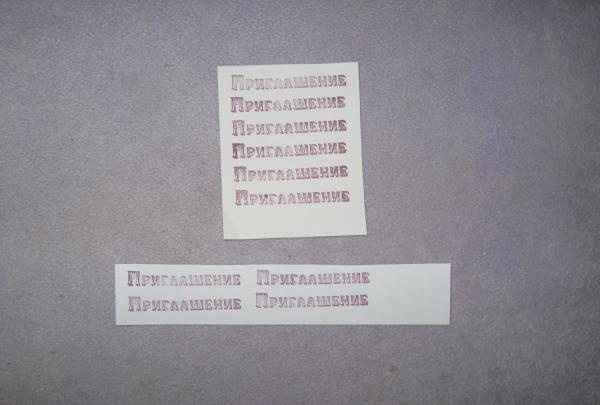
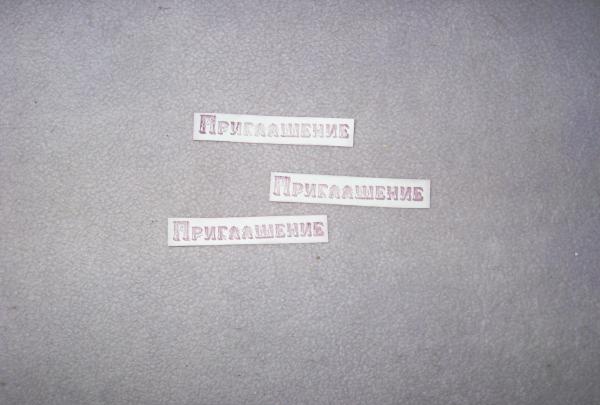
On white sheets of paper or not very thick cardboard we also make the inscription “invitation”. We cut out and lightly tint the edges with the same ink pad.
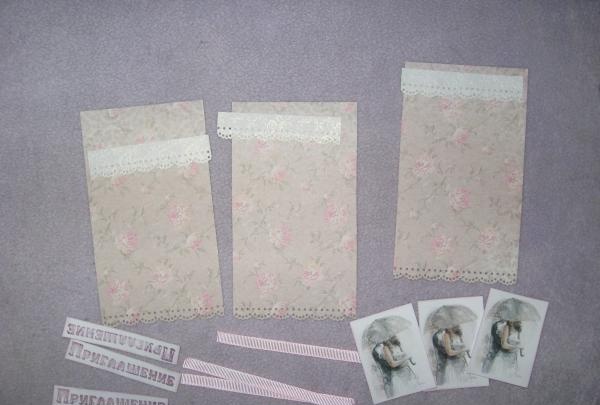
Preparing the top shell of the invitations. We take scrap paper and cut out three identical rectangles 7x14.5 cm. We cut out three strips of 3*7 cm from pearlescent paper. We take a border hole punch and make lace edges at the bottom of the rectangles, and also make openwork stripes.
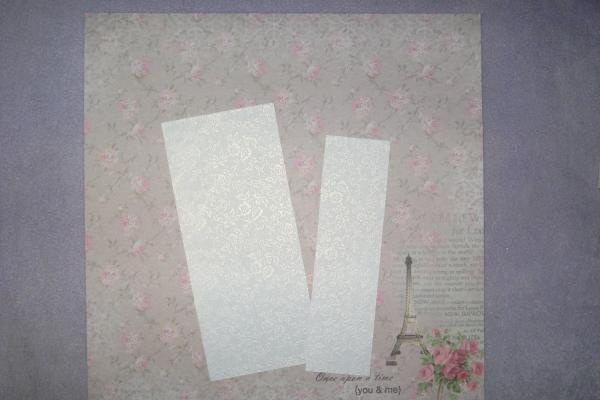
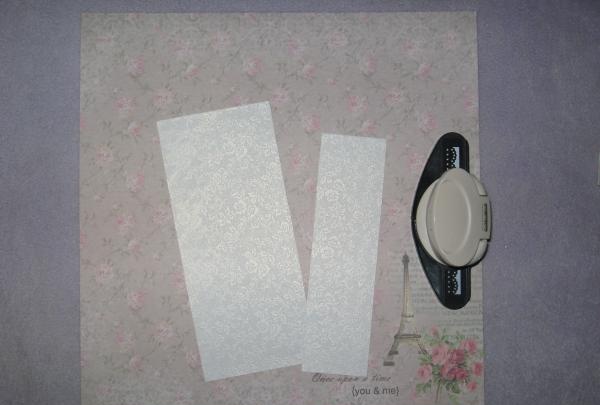
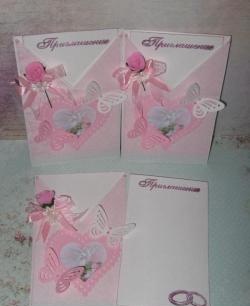
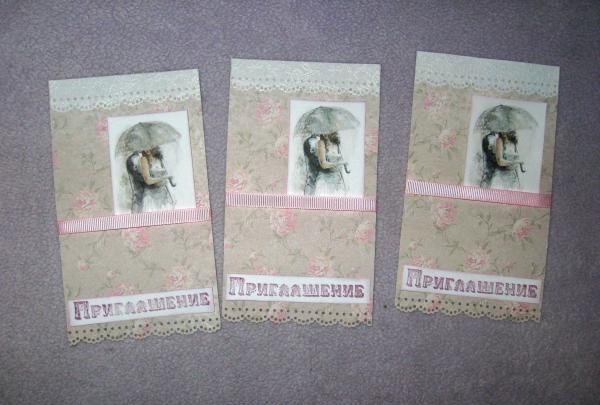
Let's start assembling. We glue the mother-of-pearl strips at the top, the inscription strips at the bottom, the pictures in the center to the right, and we wrap the grosgrain ribbon under the pictures.
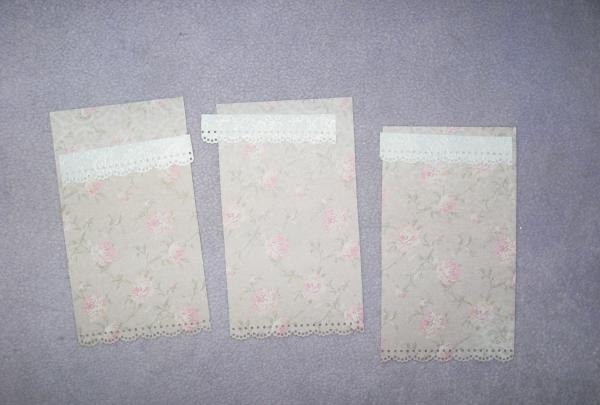
We sew all the elements by machine. Using small strips of tape, we glue the blanks to the bases.
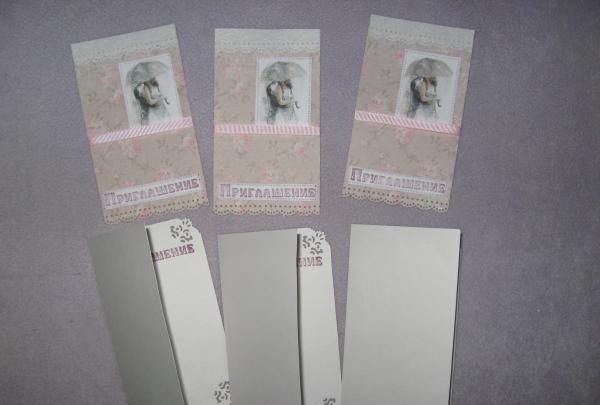
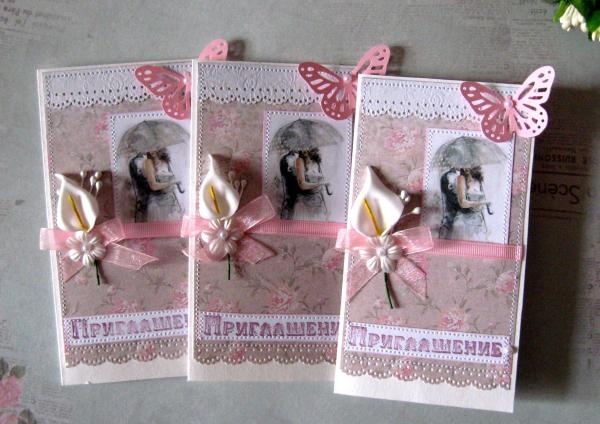
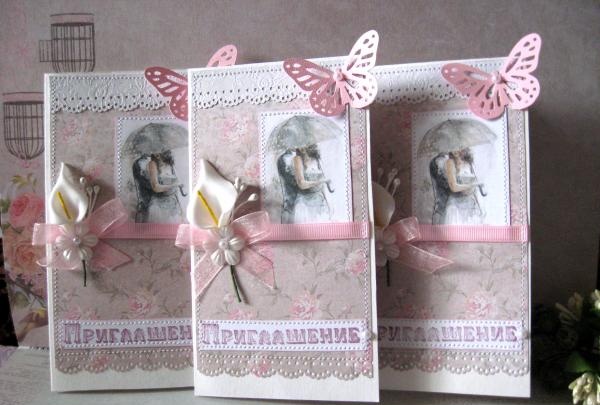
We machine sew the front parts of the invitation along the edges. We make bouquets of calla lilies with stamens, glue the glue gun to the left on the ribbon, then a white flower and a half bead. Glue the butterfly with a half bead at the top.
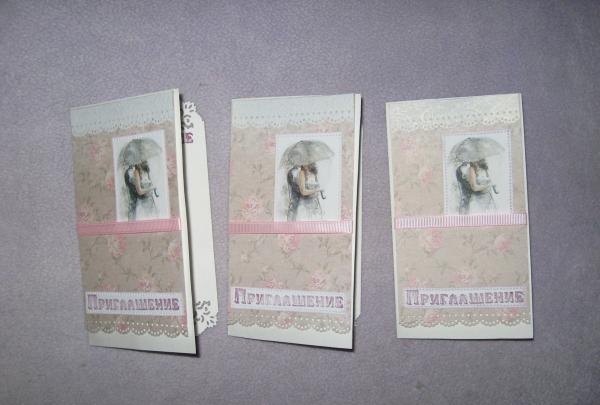
It turned out very gentle and harmonious!
For work we will need:
• Watercolor paper for the base;
• A sheet of delicate scrappaper with small roses, sheet 30x30 cm;
• Pearlescent paper with floral embossing;
• Border hole punch lace;
• Pictures with newlyweds, three pictures 4.5*5.5 cm;
• Three white callas;
• White small stamens;
• White small flowers made of glued fabric;
• Pink organza ribbon 0.6 cm wide;
• “Invitation” stamp, dark pink ink;
• Pink butterflies from cutting, 3 pcs;
• Narrow grosgrain ribbon 0.5 cm wide;
• Openwork corner hole punch;
• Small half beads made of white pearls;
• Double-sided tape, glue, scissors, pencil, glue gun, ruler, thread and needle.


This master class is designed for making three wedding invitations, so the materials are prescribed for this quantity; the quantity can be changed if desired. The invitations are vertical. We take sheets of white watercolor and measure out three squares of 15*15 cm. Divide all three squares in half, make bending lines and fold three blanks. They are folded 7.5*15 cm.


We open the blanks and make lace corners inside at the top and bottom. We make inscriptions at the top with a stamp, as in the photo.


On white sheets of paper or not very thick cardboard we also make the inscription “invitation”. We cut out and lightly tint the edges with the same ink pad.


Preparing the top shell of the invitations. We take scrap paper and cut out three identical rectangles 7x14.5 cm. We cut out three strips of 3*7 cm from pearlescent paper. We take a border hole punch and make lace edges at the bottom of the rectangles, and also make openwork stripes.


Let's start assembling. We glue the mother-of-pearl strips at the top, the inscription strips at the bottom, the pictures in the center to the right, and we wrap the grosgrain ribbon under the pictures.


We sew all the elements by machine. Using small strips of tape, we glue the blanks to the bases.


We machine sew the front parts of the invitation along the edges. We make bouquets of calla lilies with stamens, glue the glue gun to the left on the ribbon, then a white flower and a half bead. Glue the butterfly with a half bead at the top.


It turned out very gentle and harmonious!


Similar master classes
Particularly interesting
Comments (0)

