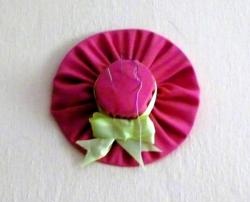
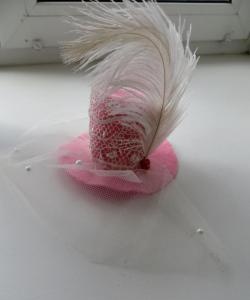
Christmas tree toy "Hat"
To make a New Year's tree toy in the form of a miniature hat, you will need the following materials and tools:
1. cardboard roller (cylinder),
2. a small piece of thick cardboard,
3. glue “Moment crystal”,
4. scissors,
5. simple pencil,
6. compass,
7. fabric for covering the hat,
8. threads in the color of the fabric,
9. needle for handwork,
10. beads, beads and lace to decorate the hat,
11. iron.
Cardboard rolls or cylinders are often used in manufacturing as a basis for winding textile materials, such as curtain tape, or the basis for adhesive tape. In a word, it’s easy to find such a blank for a hat at home, or ask at a fabric store, or simply glue it together from thick cardboard.
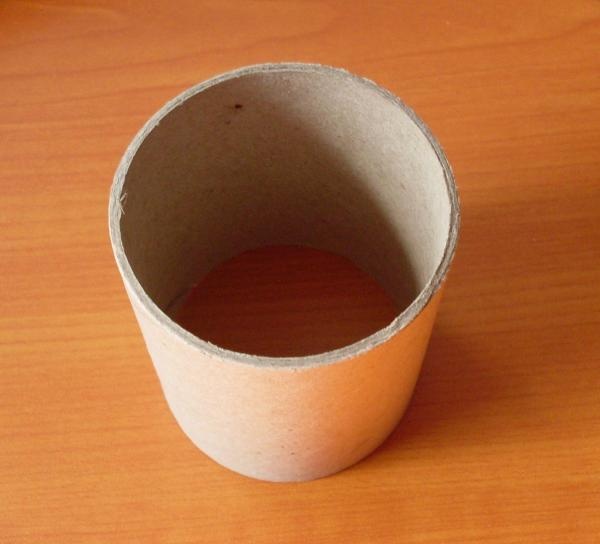
One of the end sides of the cylinder should be sealed with a cardboard bottom. You also need to cut out the brim for the future hat. It is important that they proportionally correspond to the size of the cylinder.
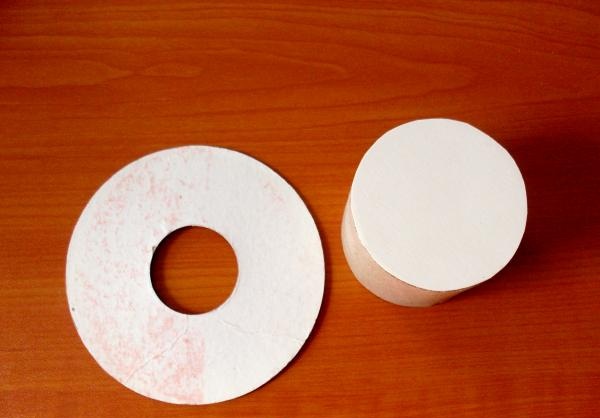
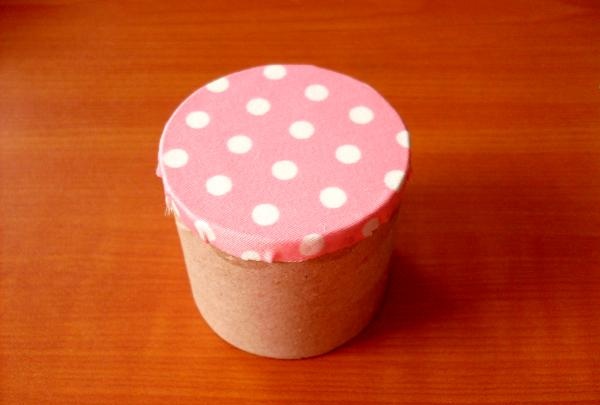
A fabric circle with a diameter exceeding the diameter of the cylinder by 2 cm should be glued on top of the bottom.
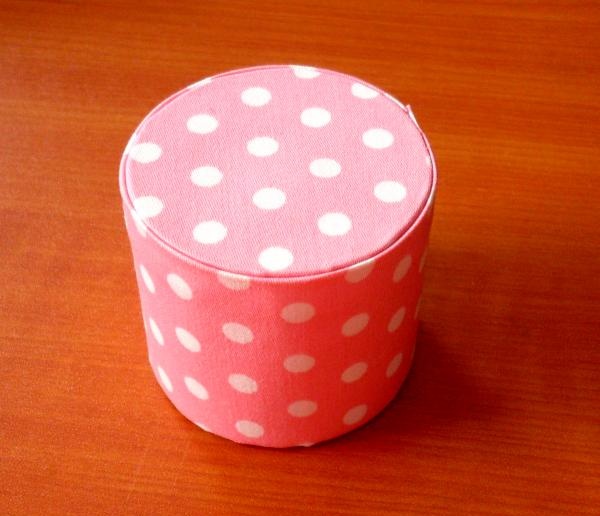
Then you need to cut out a rectangle, the length and height exceeding the linear dimensions of the cardboard cylinder by 2-3 cm. One long and one short edge of the fabric should be ironed 1 cm, the fabric blank should be glued to the cylinder, with the ironed edges overlapping the open cuts.
The brim of the hat is also covered with fabric. To do this, you need to cut a strip, the length of which will be equal to the length of the outer circumference of the cardboard fields + 2 cm, and the width will be equal to the width of the fields + 1 cm. One long section of the strip must be ironed 1 cm, and the short sides must be sewn together with a 1 cm seam.
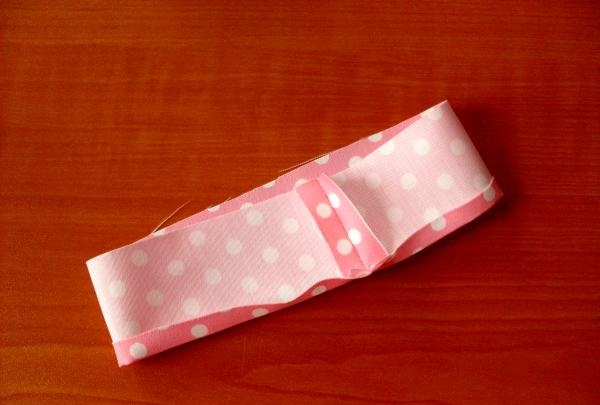
Use the ironed edge to glue the strip to the cardboard fields.
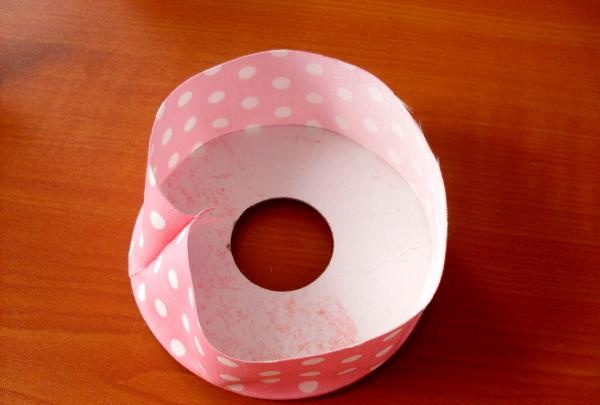
Using a thread and a needle, you should fix the flying edge of the strip of fabric, folded into uniform small folds.
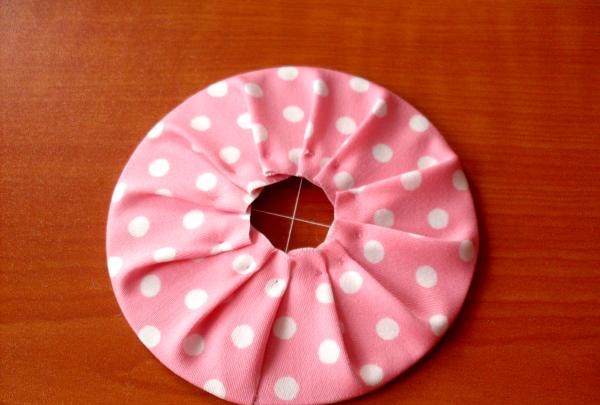
We glue the prepared cylinder and the brim of the cap together.
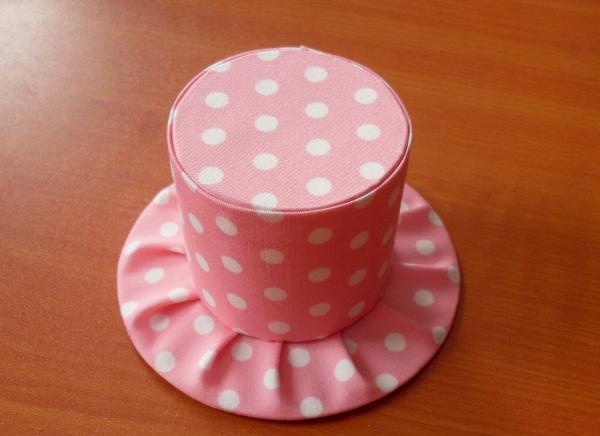
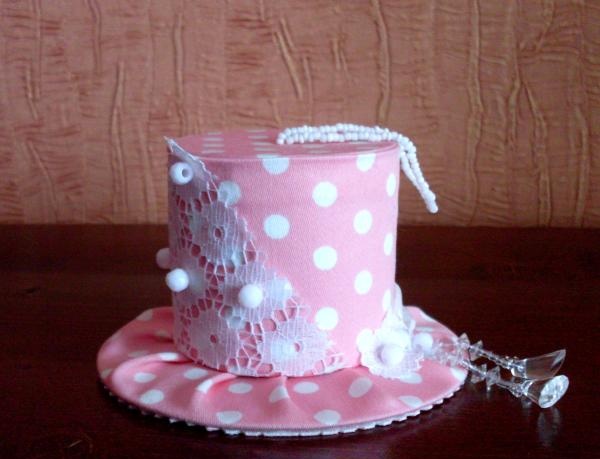
The finished hat can be decorated with lace and decorative beads. In addition, you need to make a long (at least 15 cm) loop from threads and beads in the upper part of the cylinder to hang the toy on a Christmas tree branch.
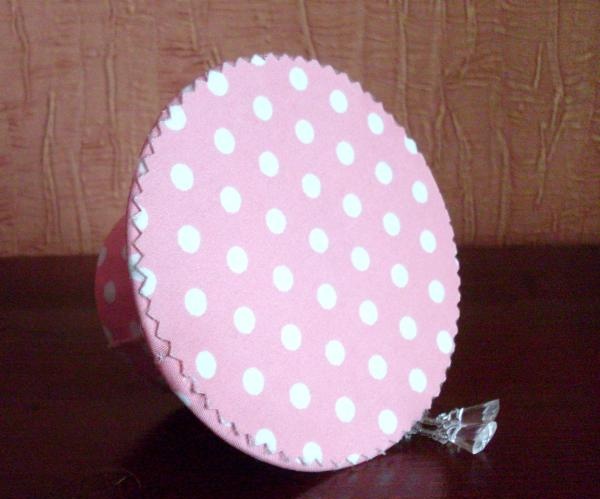
On the back side of the brim of the hat, you should glue a circle of fabric so that the toy looks neat from absolutely all sides.
The Christmas tree toy in the form of a miniature hat is ready!
1. cardboard roller (cylinder),
2. a small piece of thick cardboard,
3. glue “Moment crystal”,
4. scissors,
5. simple pencil,
6. compass,
7. fabric for covering the hat,
8. threads in the color of the fabric,
9. needle for handwork,
10. beads, beads and lace to decorate the hat,
11. iron.
Cardboard rolls or cylinders are often used in manufacturing as a basis for winding textile materials, such as curtain tape, or the basis for adhesive tape. In a word, it’s easy to find such a blank for a hat at home, or ask at a fabric store, or simply glue it together from thick cardboard.

One of the end sides of the cylinder should be sealed with a cardboard bottom. You also need to cut out the brim for the future hat. It is important that they proportionally correspond to the size of the cylinder.

A fabric circle with a diameter exceeding the diameter of the cylinder by 2 cm should be glued on top of the bottom.

Then you need to cut out a rectangle, the length and height exceeding the linear dimensions of the cardboard cylinder by 2-3 cm. One long and one short edge of the fabric should be ironed 1 cm, the fabric blank should be glued to the cylinder, with the ironed edges overlapping the open cuts.

The brim of the hat is also covered with fabric. To do this, you need to cut a strip, the length of which will be equal to the length of the outer circumference of the cardboard fields + 2 cm, and the width will be equal to the width of the fields + 1 cm. One long section of the strip must be ironed 1 cm, and the short sides must be sewn together with a 1 cm seam.

Use the ironed edge to glue the strip to the cardboard fields.

Using a thread and a needle, you should fix the flying edge of the strip of fabric, folded into uniform small folds.

We glue the prepared cylinder and the brim of the cap together.

The finished hat can be decorated with lace and decorative beads. In addition, you need to make a long (at least 15 cm) loop from threads and beads in the upper part of the cylinder to hang the toy on a Christmas tree branch.

On the back side of the brim of the hat, you should glue a circle of fabric so that the toy looks neat from absolutely all sides.

The Christmas tree toy in the form of a miniature hat is ready!
Similar master classes
Particularly interesting
Comments (0)


