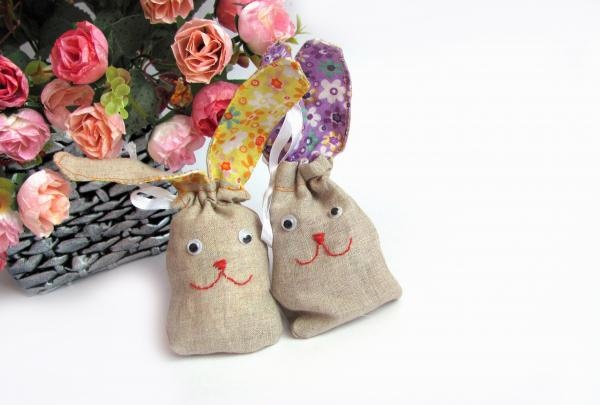
Candy bag in the shape of a bunny
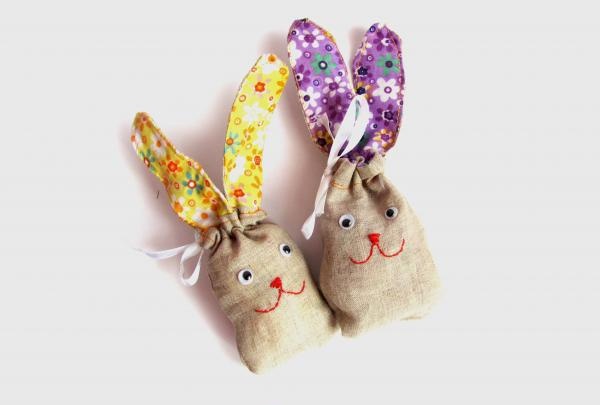
Which present bring children the most joy? Of course - toys and sweets! Let's try to combine them in one gift and sew a bunny bag for candy. By the way, it can also be used to wrap Easter treats.
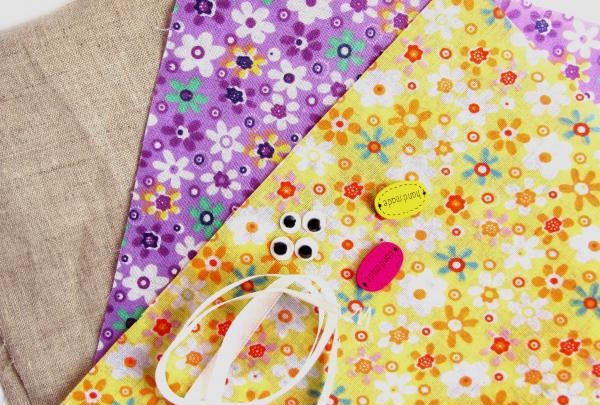
To make the bag we will need: linen for the outer bag, bright floral cotton for the lining, toy eyes, decorative buttons for decoration, and a ribbon or lace for tying.
We print the pattern on an A4 sheet at a scale of 1:1. From linen and cotton we cut out 2 parts of the bag and two parts of the ears.


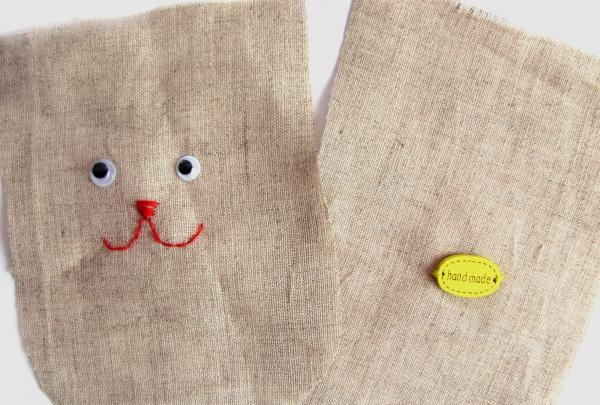
We glue the eyes to one of the linen parts and embroider the bunny's face, and to the second we sew a wooden button with the inscription “Hand-made”.
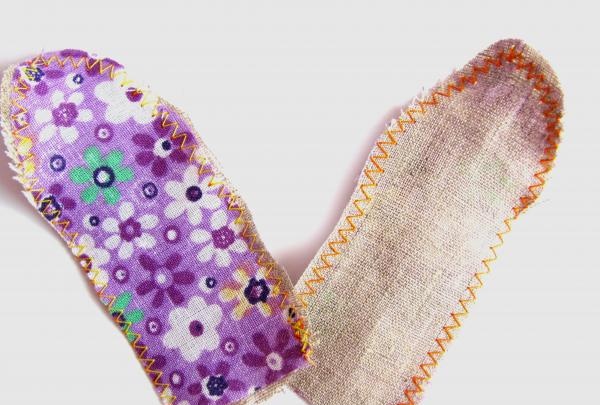
We take the details of the ears. We place a cotton piece on the linen piece so that the pattern is inside. We lay a zig-zag seam around the perimeter of the ear.
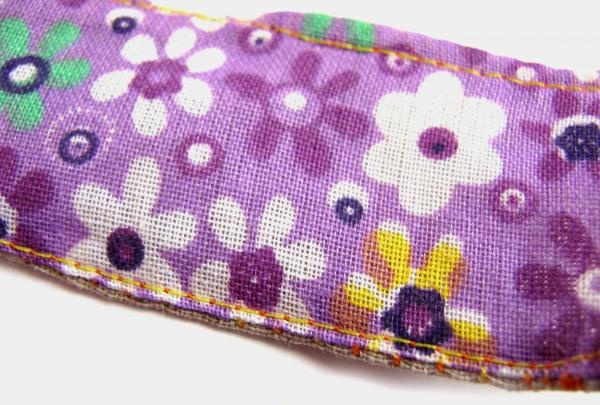
We turn the ears inside out, iron them and, stepping back 2 millimeters from the fold line, lay a straight line around the perimeter.
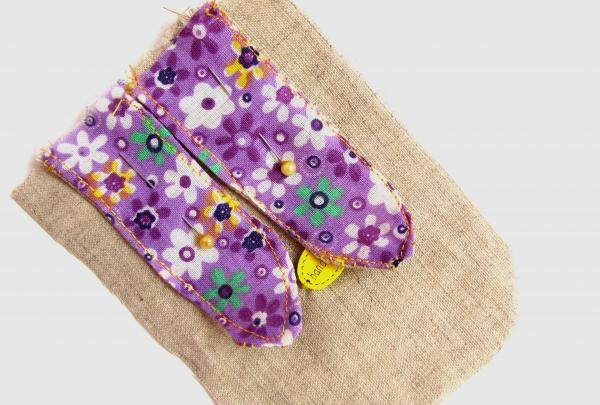
We take a linen piece with a button and tailor’s pins and pin the ears to it with the pattern facing up.
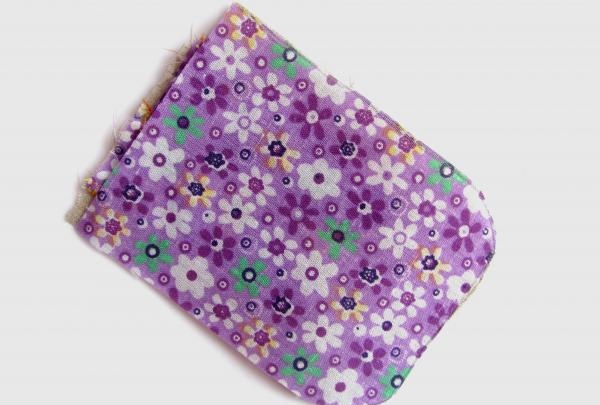
Cover the top of the product with a cotton pocket piece, wrong side down.We lay a straight line along the base of the bag.
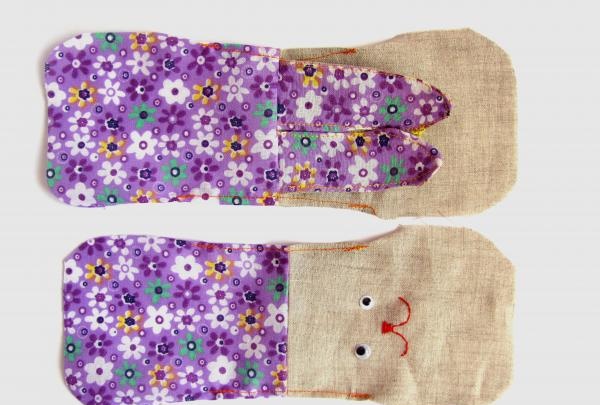
We perform similar actions with the second part of the bag. The end result should be something like this.
We retreat 5 cm in each direction from the fold line, fold the fabric inward and secure it with a straight stitch.

We decorate the edges of each part in this way. Place both pieces with right sides facing inward. We make sure that the cotton parts match with the cotton ones, and the linen parts with the linen ones. We fix the workpieces with pins.
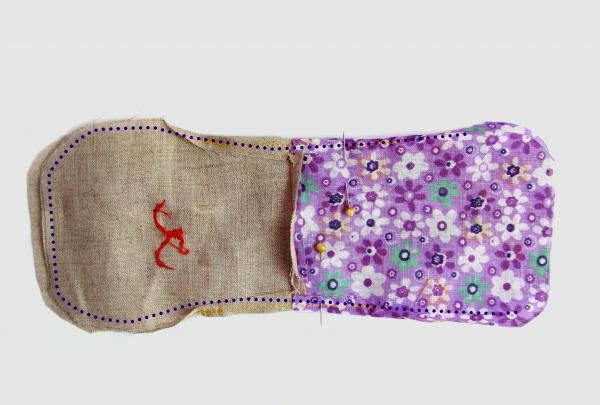
We lay a straight seam along two long and one short sides. We leave only the base of the cotton parts open. We turn the bag inside out through the unclosed hole, which we then close with a hidden seam. We insert the lining into the bag and, stepping back 1-1.5 cm from the edge, lay a straight line around the perimeter, thereby securing the drawstring.
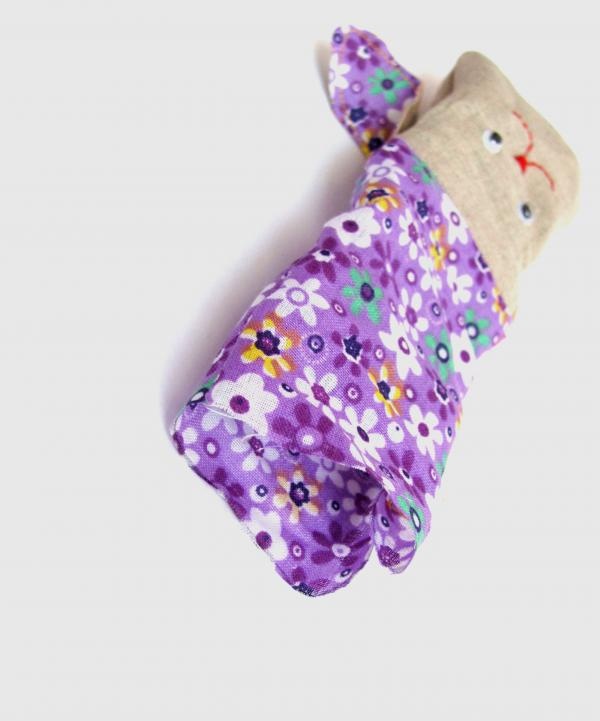
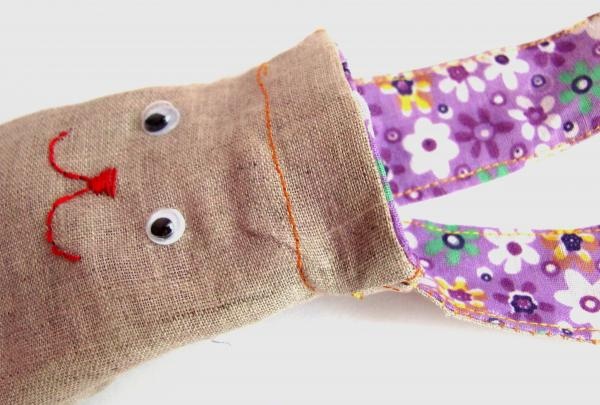
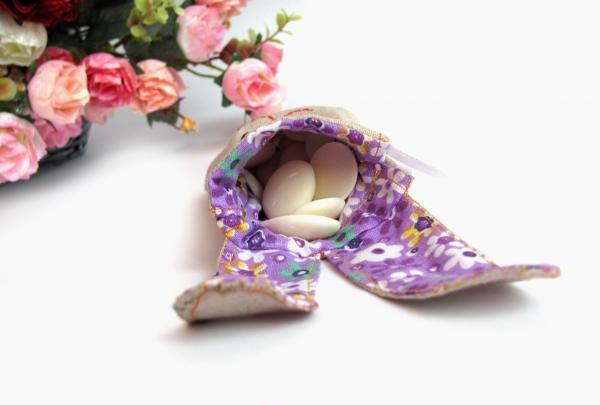
All that remains is to insert the ribbon tie and fill the bag with sweets.

To make the bag we will need: linen for the outer bag, bright floral cotton for the lining, toy eyes, decorative buttons for decoration, and a ribbon or lace for tying.

We print the pattern on an A4 sheet at a scale of 1:1. From linen and cotton we cut out 2 parts of the bag and two parts of the ears.


We glue the eyes to one of the linen parts and embroider the bunny's face, and to the second we sew a wooden button with the inscription “Hand-made”.

We take the details of the ears. We place a cotton piece on the linen piece so that the pattern is inside. We lay a zig-zag seam around the perimeter of the ear.

We turn the ears inside out, iron them and, stepping back 2 millimeters from the fold line, lay a straight line around the perimeter.

We take a linen piece with a button and tailor’s pins and pin the ears to it with the pattern facing up.

Cover the top of the product with a cotton pocket piece, wrong side down.We lay a straight line along the base of the bag.

We perform similar actions with the second part of the bag. The end result should be something like this.

We retreat 5 cm in each direction from the fold line, fold the fabric inward and secure it with a straight stitch.

We decorate the edges of each part in this way. Place both pieces with right sides facing inward. We make sure that the cotton parts match with the cotton ones, and the linen parts with the linen ones. We fix the workpieces with pins.

We lay a straight seam along two long and one short sides. We leave only the base of the cotton parts open. We turn the bag inside out through the unclosed hole, which we then close with a hidden seam. We insert the lining into the bag and, stepping back 1-1.5 cm from the edge, lay a straight line around the perimeter, thereby securing the drawstring.


All that remains is to insert the ribbon tie and fill the bag with sweets.


Similar master classes
Particularly interesting
Comments (0)


