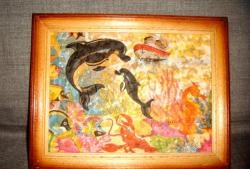
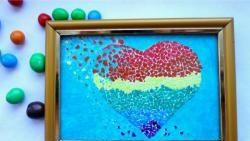
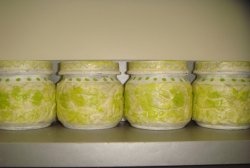
Eggshell frame
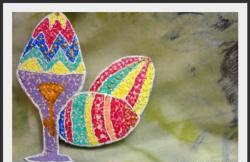
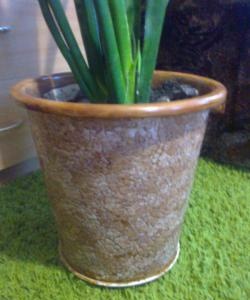
There is probably no refrigerator in which chicken eggs do not lie on a special shelf. Over time, they will turn into an omelet, scrambled eggs, eggnog, or become an ingredient in some salad. What about the shell? It will go in the trash can. But let’s not rush, in capable hands it will find a use. We offer an interesting option for decorating a photo frame using eggshells. This process is quite interesting and uncomplicated; you can involve children in creativity. Let's start with making the frame itself. We will need two rectangular shaped sheets of cardboard of different sizes. In the smaller sheet we make a small semicircular cutout on the short side.
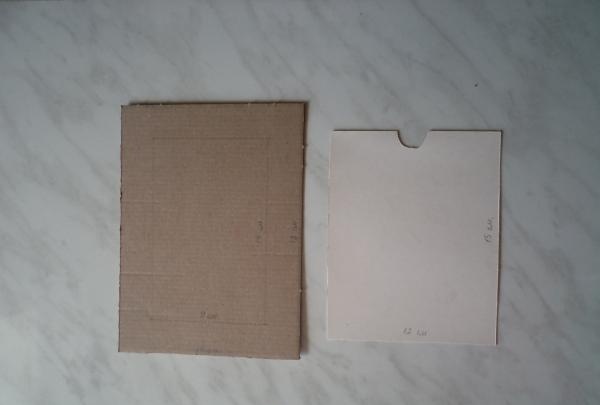
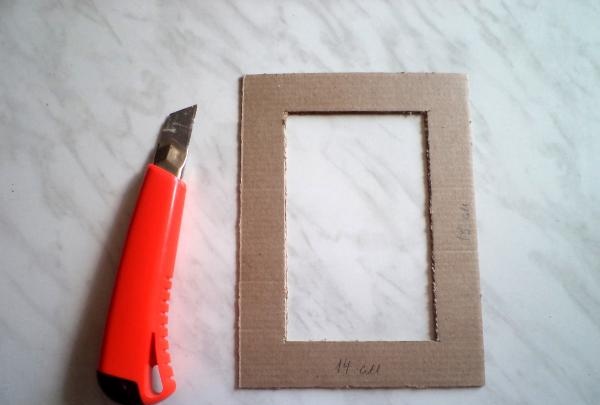
In the larger one, cut out the central part, departing 2.5 cm from the edges; you can use a stationery knife for this. The result was the basis of the future frame.
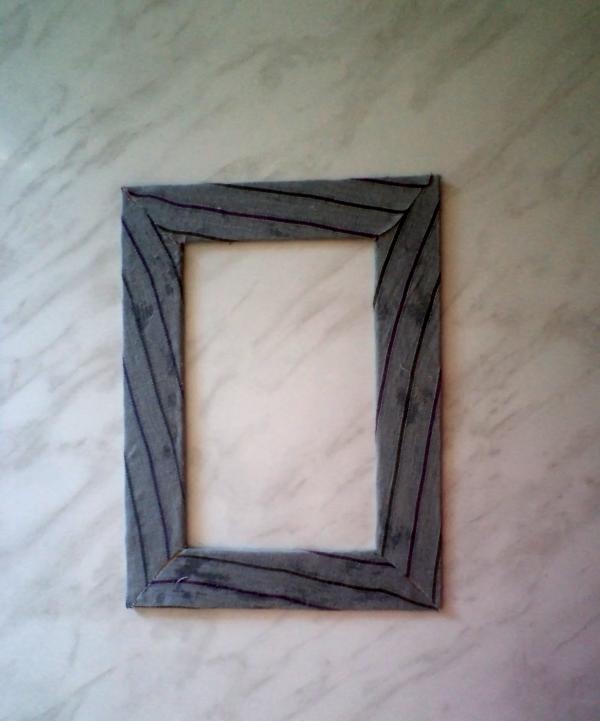
We cover the cardboard base with fabric. This is done to hide the cardboard cuts. Fabric can be replaced with paper.
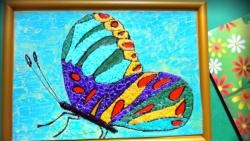
We have come to the most interesting step. We will need the shells of four or five eggs. It should be well dried, it is advisable to remove the inner film.Apply glue to a small area of the frame, take a piece of eggshell, apply it to the frame and gently press it with your finger. At the same time, the shell cracks, taking on the appearance of a mosaic.
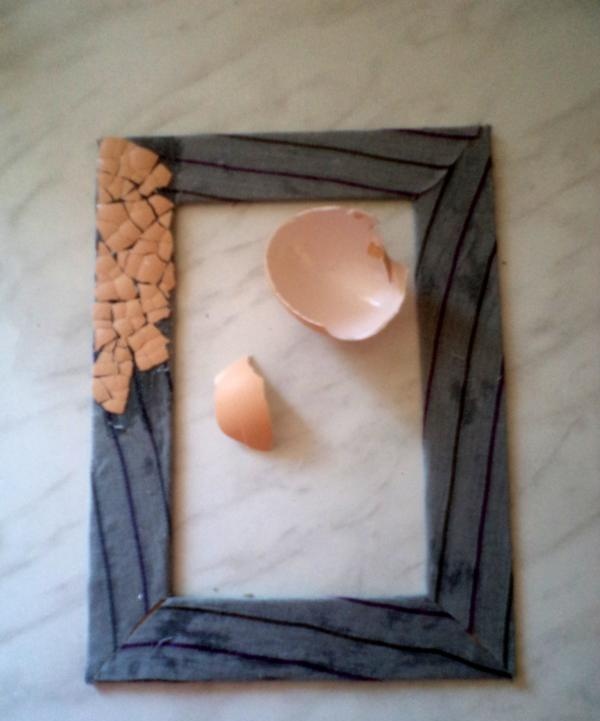
We paste it over the entire frame from the front side.
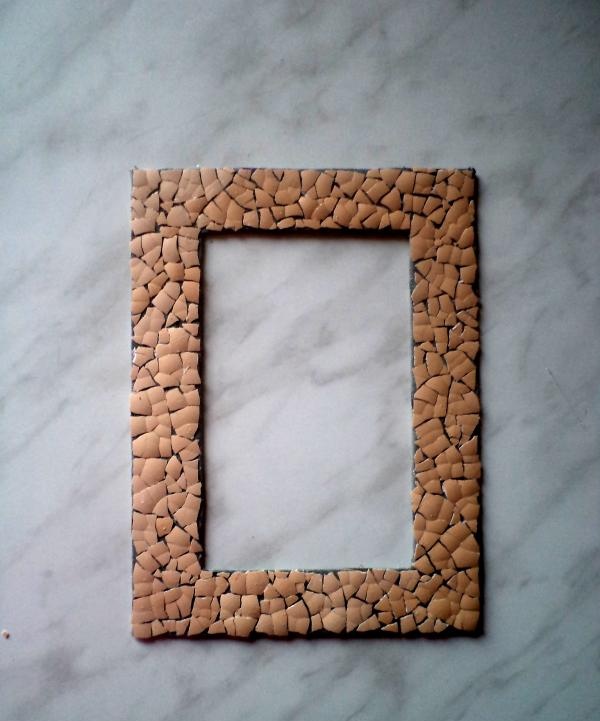
Now we will need gouache and a brush to paint our frame. We especially carefully paint the cracks and spaces between the shells. Use a damp cloth to wipe the surface of the shells to remove excess paint.
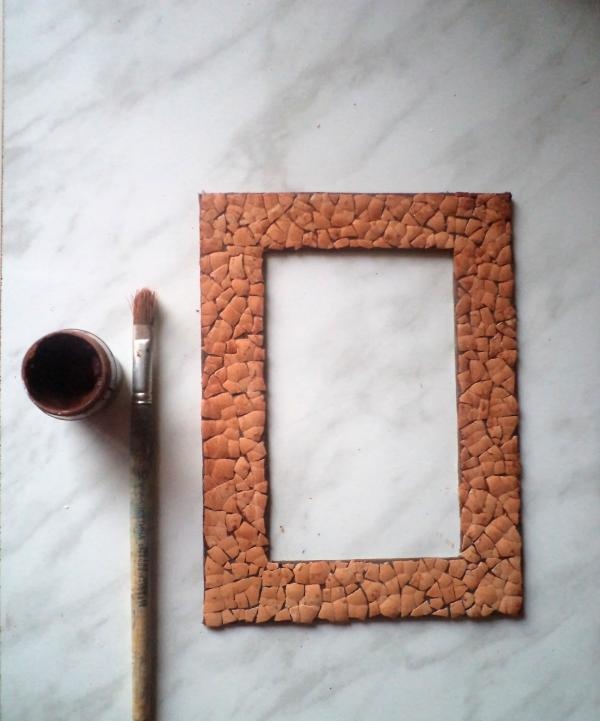
Apply varnish to the painted surface. The front side of the frame is ready.
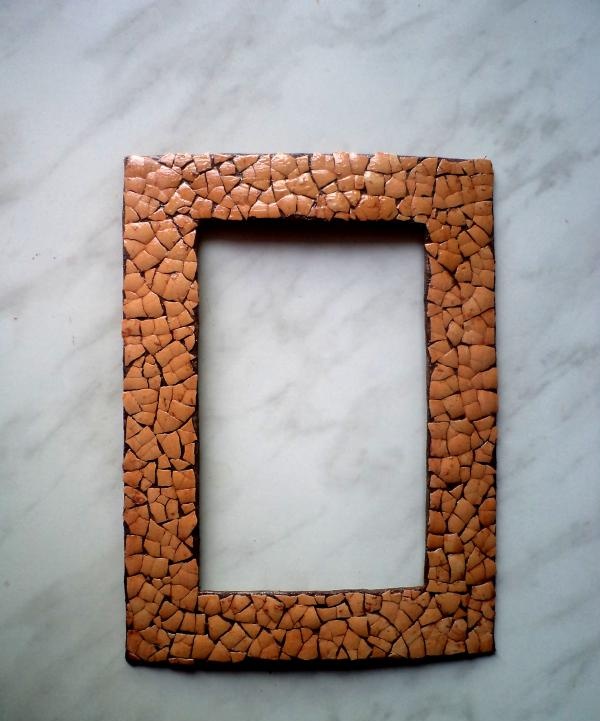
We turn the work over and glue a second sheet of cardboard on the back side in the middle, spreading glue on three sides along the edges. We leave the fourth one, with a semicircular cutout, not glued, it will be a pocket for a photo.
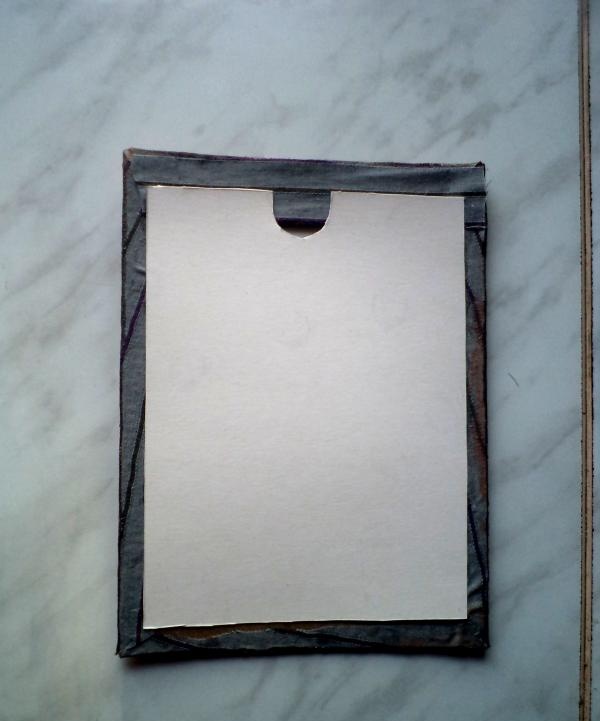
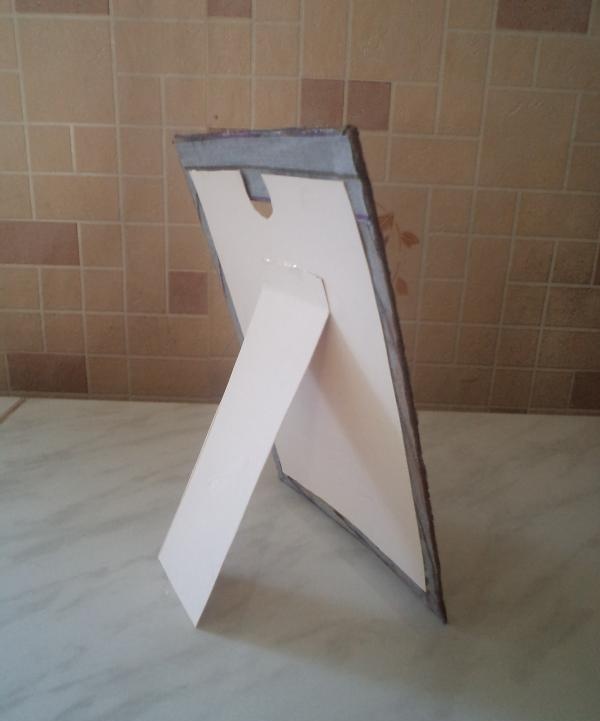
We glue a strip of cardboard to the back of the frame, which will serve as a support, or a loop if the frame will hang on the wall.
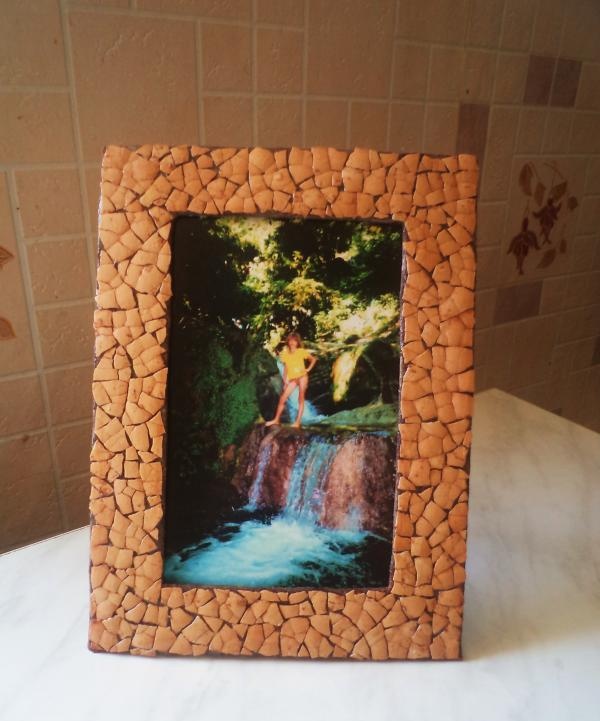
Place the photo in your pocket and admire your masterpiece!

In the larger one, cut out the central part, departing 2.5 cm from the edges; you can use a stationery knife for this. The result was the basis of the future frame.

We cover the cardboard base with fabric. This is done to hide the cardboard cuts. Fabric can be replaced with paper.

We have come to the most interesting step. We will need the shells of four or five eggs. It should be well dried, it is advisable to remove the inner film.Apply glue to a small area of the frame, take a piece of eggshell, apply it to the frame and gently press it with your finger. At the same time, the shell cracks, taking on the appearance of a mosaic.

We paste it over the entire frame from the front side.

Now we will need gouache and a brush to paint our frame. We especially carefully paint the cracks and spaces between the shells. Use a damp cloth to wipe the surface of the shells to remove excess paint.

Apply varnish to the painted surface. The front side of the frame is ready.

We turn the work over and glue a second sheet of cardboard on the back side in the middle, spreading glue on three sides along the edges. We leave the fourth one, with a semicircular cutout, not glued, it will be a pocket for a photo.

We glue a strip of cardboard to the back of the frame, which will serve as a support, or a loop if the frame will hang on the wall.

Place the photo in your pocket and admire your masterpiece!

Similar master classes
Particularly interesting
Comments (0)

