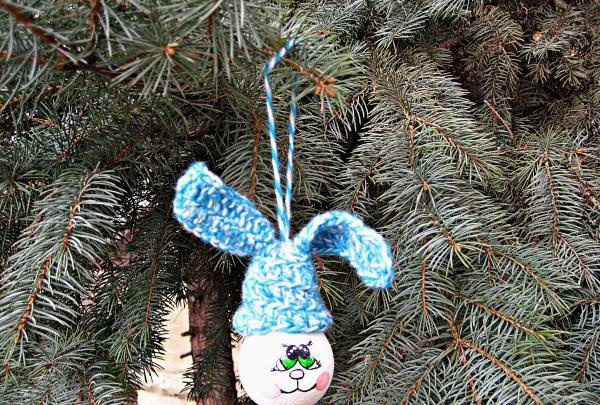
Christmas tree toy made from a light bulb “Bunny”
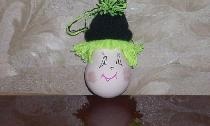
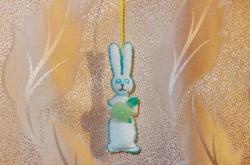
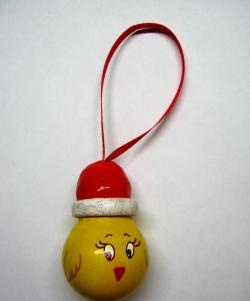
With the advent of the New Year, an acute problem arises - how to decorate the Christmas tree so that it is both fashionable and beautiful. The popularity of designer toys is increasing every year. There are many options in this direction. One of them are toys made from light bulbs, and from those that have already burned out. You can simply paint the light bulbs, decorate them using decoupage napkins, or you can make a light bulb in the shape of an animal. The toy - a hare - turns out to be very beautiful.
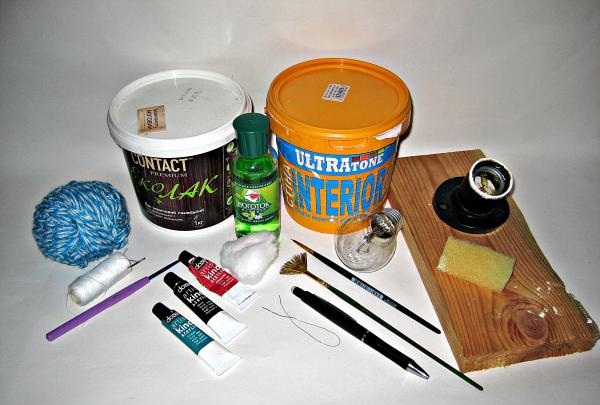
Let's prepare materials:
1.Light bulb.
2. Stand.
3.Acetone.
4. Cotton wool.
5. Sponge.
6. White acrylic paint (construction paint for painting walls).
7.A simple pencil.
8.Synthetic brush No. 0.
9. Fan brush.
10.Acrylic paints in red, green and black.
11. The varnish is silky matte.
12. Half-woolen threads.
13.Hook 2.5 mm.
14.Threads and needle.
15.Wire.
The process of making the base.
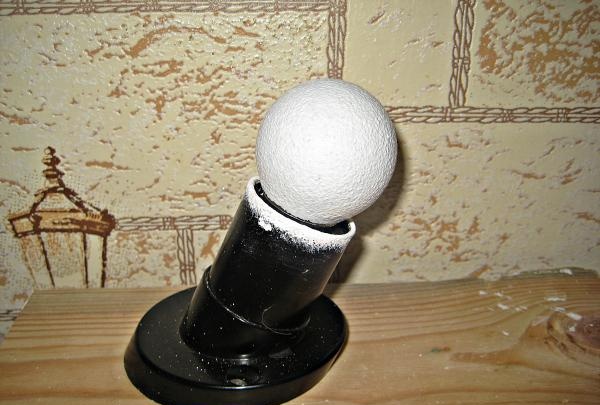
1.For convenience, install the light bulb in the stand.
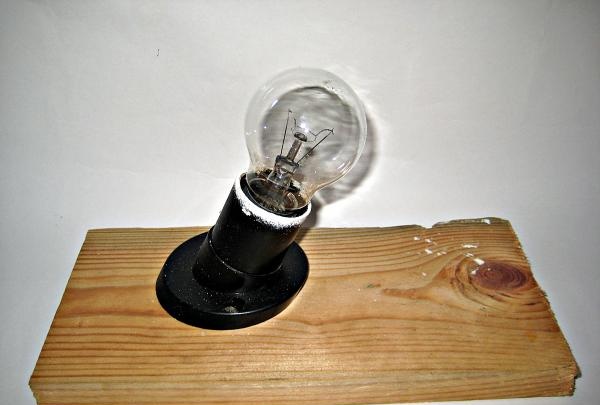
2.Then you should degrease the glass surface using acetone.
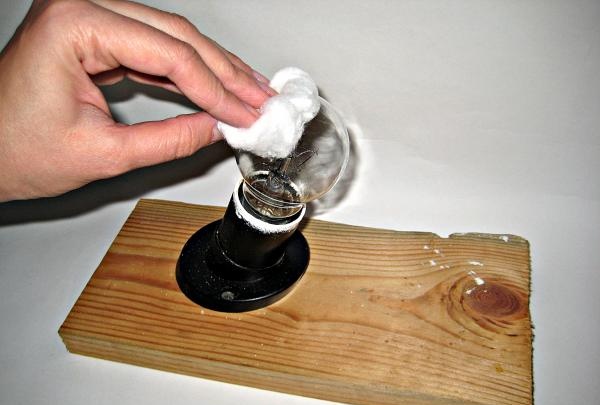
3.Then the light bulb should be primed. To do this, apply white acrylic paint to the light bulb with a sponge. Let the paint dry.
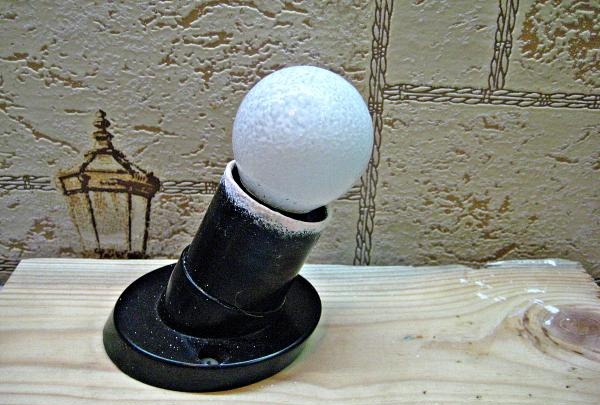
4. Since one layer of paint did not cover the surface and gaps are visible, paint application should be repeated. We wait until the paint dries.
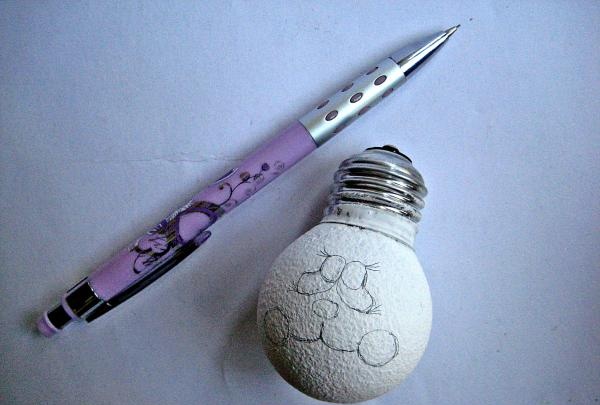
5.The main (glass) part of the light bulb will serve as the head of the hare. Let's draw the main lines of the bunny's face with a pencil.
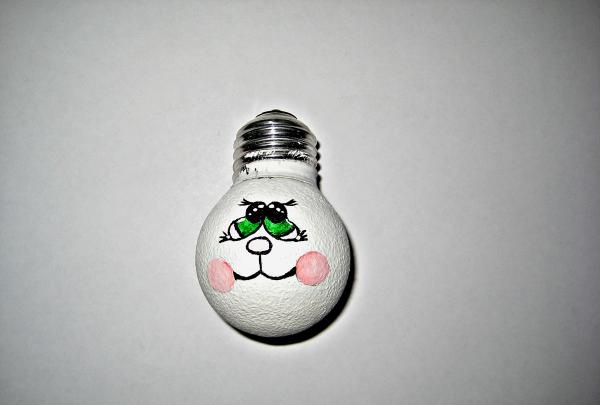
6.Using acrylic paints, paint the face.
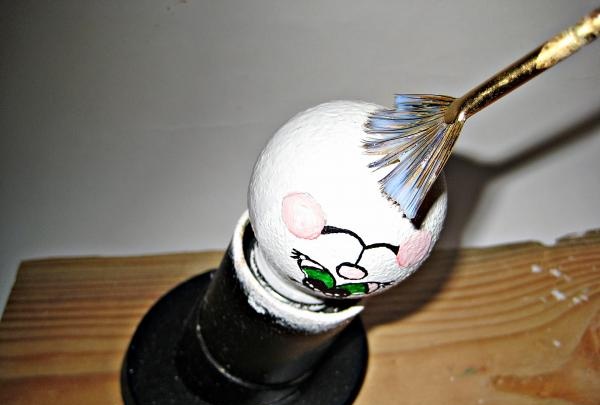
7.Finally, varnish the entire painted surface of the light bulb.
To hide the base and make the bunny more believable, we will knit a hat.
1.First of all, let’s crochet 4 air loops (VP).
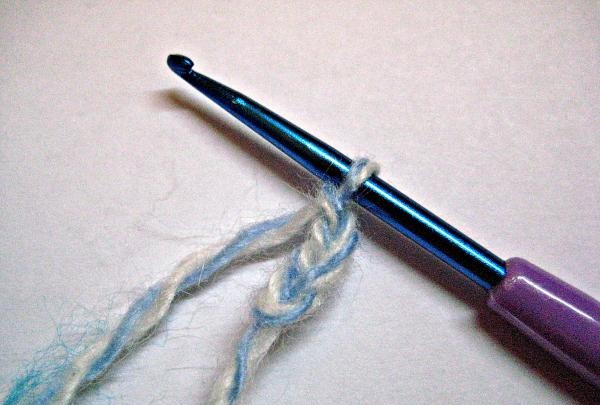
2. Connect the loops into a ring.
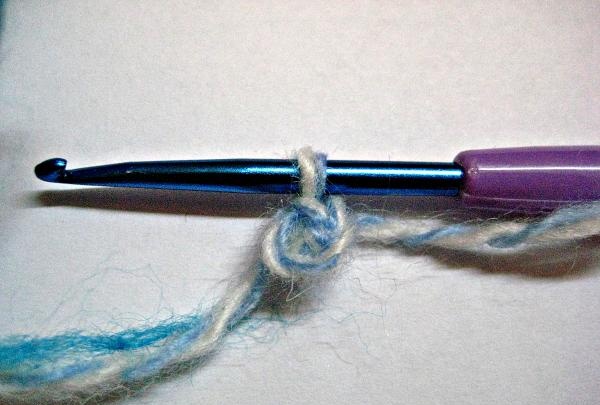
3.Then we cast on 2 VPs, make 2 double crochets (DC) in the loop of the previous row. We cast on one VP and from this moment repeat the cast on until the end of the row. Finally, we connect the row.
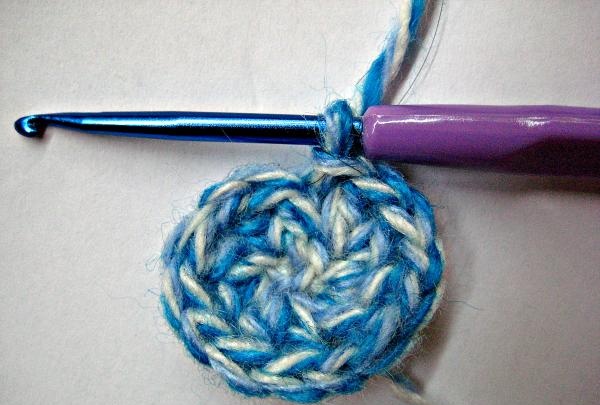
4.Then we knit in this way: we cast on 2 VPs, and then we make a set of dc in each loop of the previously knitted row.
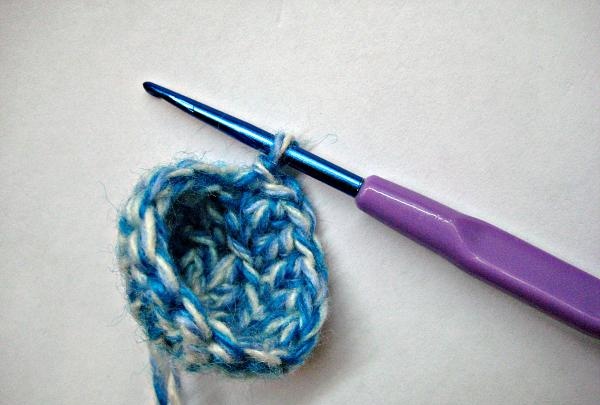
5.The next row will be knitted similarly to the previous one.
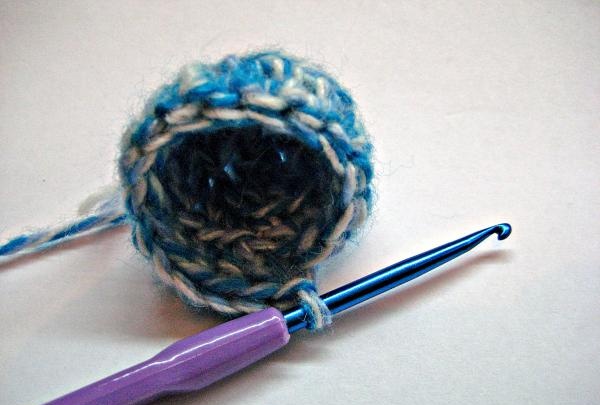
6. We knit the final row of the cap in the same way as the previous 2 rows.
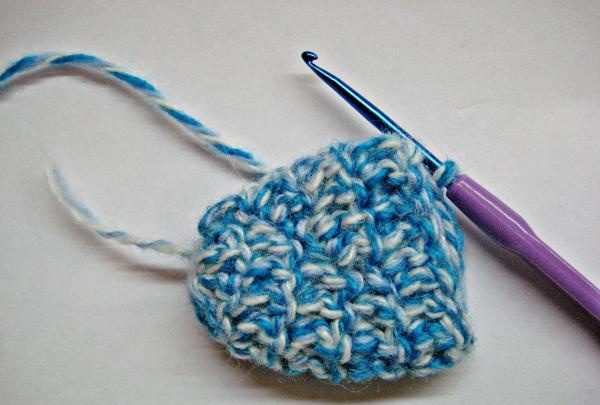
7. Turn the hat inside out.
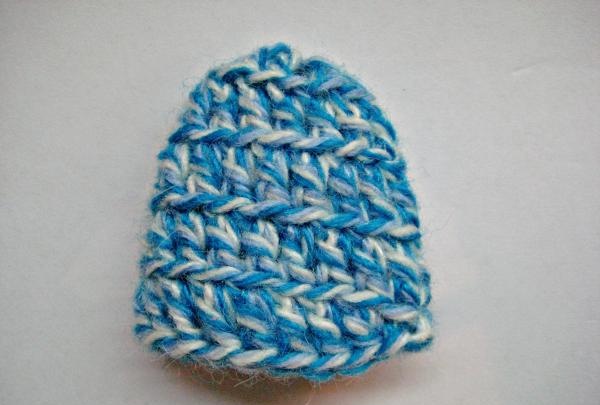
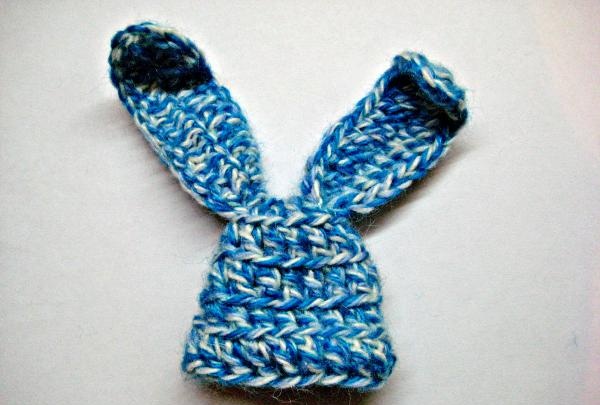
8.Then we start knitting the ears. To do this, we collect 14 VP.
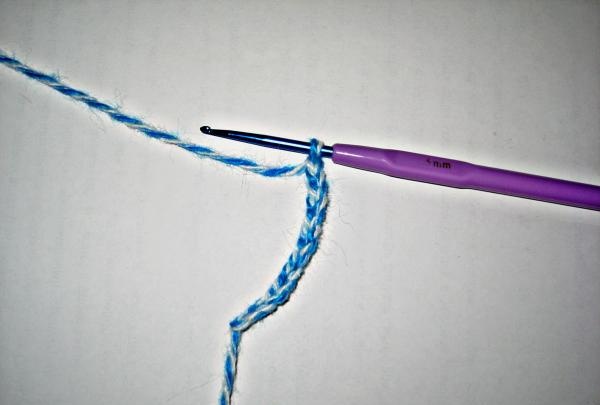
9. We begin to knit the dc, catching it under the 5th ch. We knit a dc to the last ch of the row. We make 3 dc under the outermost VP of the row. After which we dial 2 VP and again knit 3 SSN. Next, we repeat the set of CCHs in each VP.
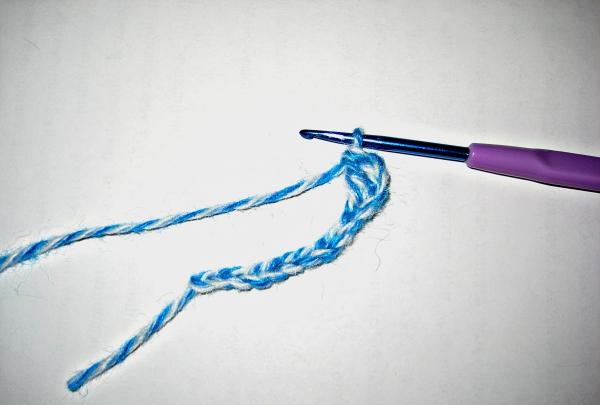
10.Cut the thread and fasten it. The ear is ready.
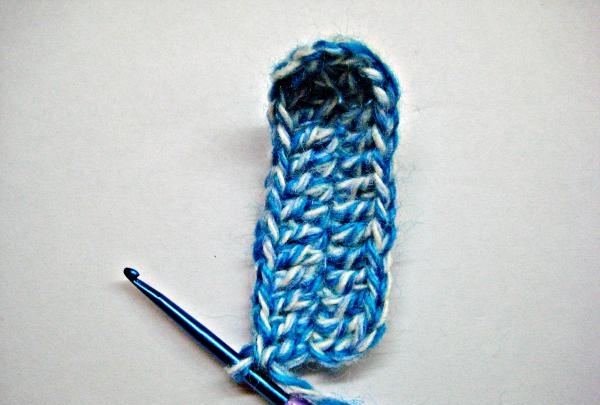
11.We knit the second ear in this way. The ears for the hat are ready.
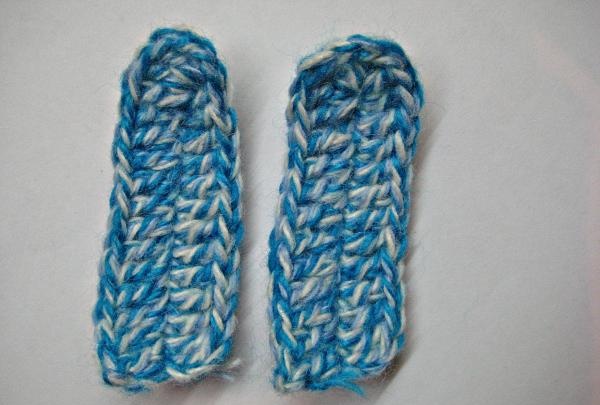
12. There are 3 header elements in total.
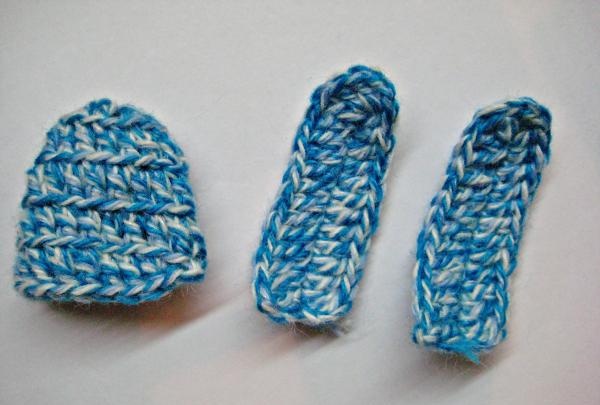
13.Now you need to sew the ears to the hat. To do this, we pull the bases of the ears into the top of the hat and sew them on the wrong side. The hat is ready.
Decoration of the toy.
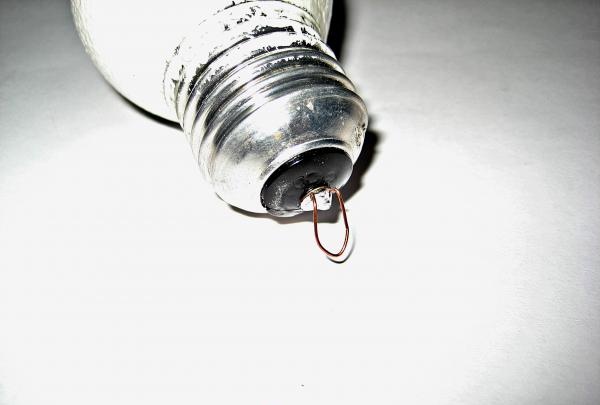
1. In order for the toy to hang on the Christmas tree, you need to make a loop. To do this, solder a small piece of wire to the base.
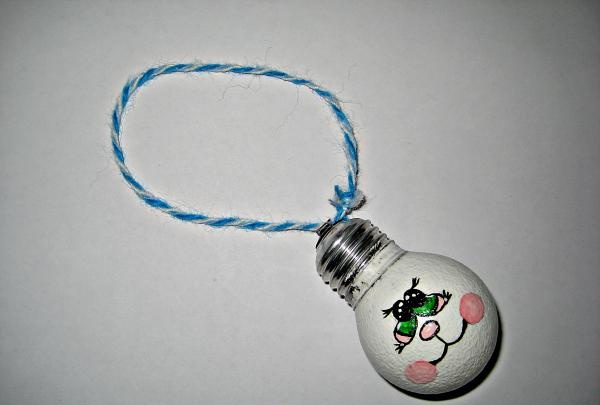
2. Pass the thread through the resulting loop and make a knot. Thus we get a suspension.
3.Then we pull the thread through the top of the cap. The toy is ready.
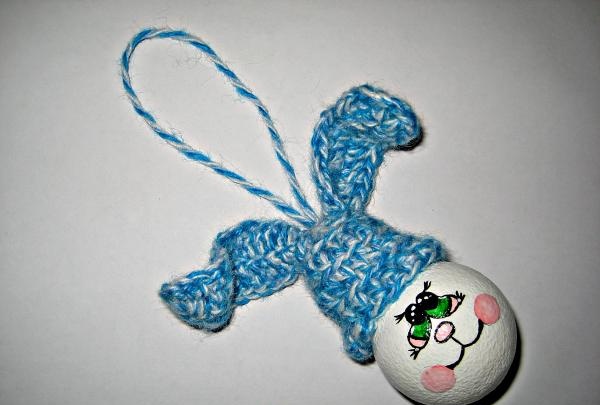
A toy made from an old light bulb in the shape of a hare will become an original decoration for the Christmas tree and even a pleasant gift.
Let's prepare materials:
1.Light bulb.
2. Stand.
3.Acetone.
4. Cotton wool.
5. Sponge.
6. White acrylic paint (construction paint for painting walls).
7.A simple pencil.
8.Synthetic brush No. 0.
9. Fan brush.
10.Acrylic paints in red, green and black.
11. The varnish is silky matte.
12. Half-woolen threads.
13.Hook 2.5 mm.
14.Threads and needle.
15.Wire.

The process of making the base.
1.For convenience, install the light bulb in the stand.

2.Then you should degrease the glass surface using acetone.

3.Then the light bulb should be primed. To do this, apply white acrylic paint to the light bulb with a sponge. Let the paint dry.

4. Since one layer of paint did not cover the surface and gaps are visible, paint application should be repeated. We wait until the paint dries.

5.The main (glass) part of the light bulb will serve as the head of the hare. Let's draw the main lines of the bunny's face with a pencil.

6.Using acrylic paints, paint the face.

7.Finally, varnish the entire painted surface of the light bulb.

To hide the base and make the bunny more believable, we will knit a hat.
1.First of all, let’s crochet 4 air loops (VP).

2. Connect the loops into a ring.

3.Then we cast on 2 VPs, make 2 double crochets (DC) in the loop of the previous row. We cast on one VP and from this moment repeat the cast on until the end of the row. Finally, we connect the row.

4.Then we knit in this way: we cast on 2 VPs, and then we make a set of dc in each loop of the previously knitted row.

5.The next row will be knitted similarly to the previous one.

6. We knit the final row of the cap in the same way as the previous 2 rows.

7. Turn the hat inside out.

8.Then we start knitting the ears. To do this, we collect 14 VP.

9. We begin to knit the dc, catching it under the 5th ch. We knit a dc to the last ch of the row. We make 3 dc under the outermost VP of the row. After which we dial 2 VP and again knit 3 SSN. Next, we repeat the set of CCHs in each VP.

10.Cut the thread and fasten it. The ear is ready.

11.We knit the second ear in this way. The ears for the hat are ready.

12. There are 3 header elements in total.

13.Now you need to sew the ears to the hat. To do this, we pull the bases of the ears into the top of the hat and sew them on the wrong side. The hat is ready.

Decoration of the toy.
1. In order for the toy to hang on the Christmas tree, you need to make a loop. To do this, solder a small piece of wire to the base.

2. Pass the thread through the resulting loop and make a knot. Thus we get a suspension.

3.Then we pull the thread through the top of the cap. The toy is ready.

A toy made from an old light bulb in the shape of a hare will become an original decoration for the Christmas tree and even a pleasant gift.

Similar master classes
Particularly interesting
Comments (0)

