Beaded spruce branch
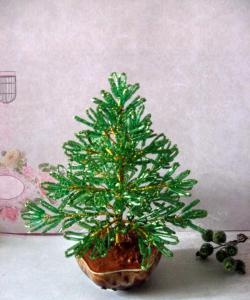
More and more often, people refuse a living tree for the New Year, wanting to preserve nature. But what are the New Year holidays without a Christmas tree or pine tree, their main symbol? Beautiful artificial Christmas trees often cost exorbitant sums, and they seem too banal. You can create an original decoration for your home and even a small Christmas tree by hand, spending a small amount on materials, as well as spending a little time and patience.
To create a small spruce branch from beads we need:
- 20–25 grams of green beads;
- a coil of wire;
- threads or floral tape (for wrapping the trunk);
- scissors or nippers.
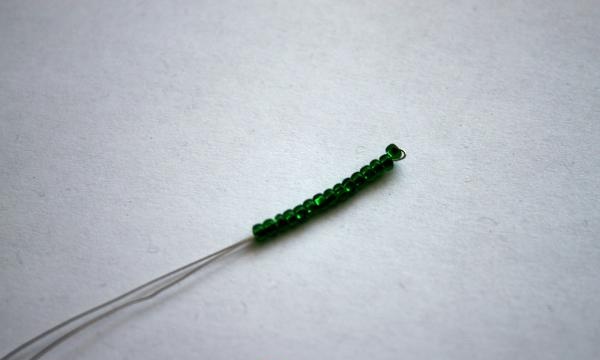
Take a piece of wire about 30–40 centimeters long. We collect one bead and place it approximately in the middle, fold the wire in half so that the bead is on the bend and pass both ends of the wire through 14 beads. The number of beads can be any, depending on how long you want the needles to be. We pull the beads to the first bead, and here is our first needle.
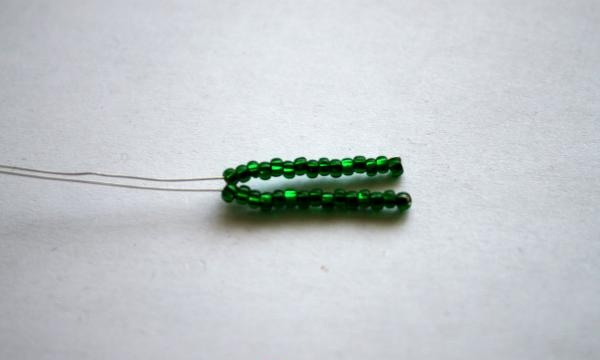
Take one end and collect 15 beads.We do not touch the last collected bead, but return it to the rest with wire, creating a second needle. This is what should happen.
In the same way we make two or three more needles to make a “foot”.
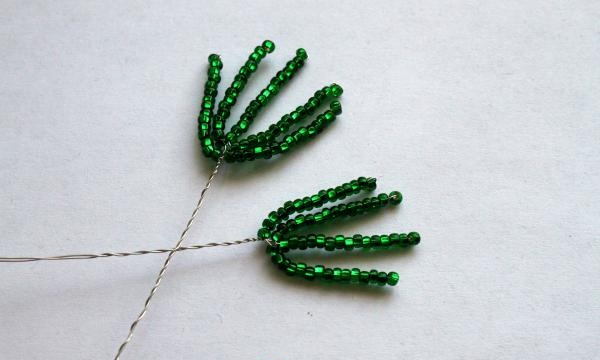
For the tops of the branches I make legs with five needles, in other cases - with four. You can make needles separately, later collecting them into paws or directly into branches, but I don’t like this method, because the branches turn out to be too voluminous due to the large amount of wire, and they are inconvenient to work with.
Having made at least five “legs”, try to fold them into a twig. I’m used to collecting twigs according to a pattern, adding one paw to each “tier” (that is, at the top of the twig there will be one with five needles, then two with four needles, then three, and so on). If you don't like this option, experiment!
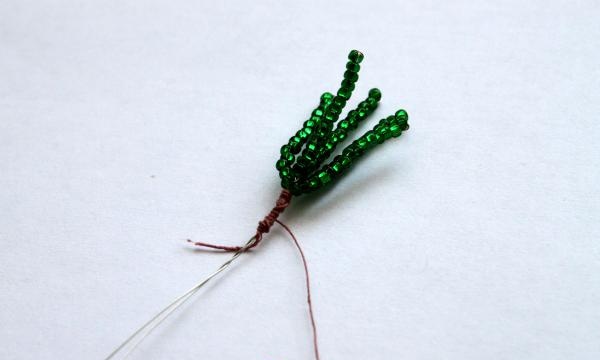
Having chosen the ideal way to arrange the elements in the branch and created a sufficient number of “legs”, we proceed to the connection. You can simply twist everything together, but in Christmas trees I don’t like the shine of the wire from under the lush green needles. In order to hide the color of the wire and securely hold the pieces of the branch together, I use thread or floral tape. There will be several small ones in my branch and it’s worth wrapping them separately, starting from the top.
The branches are ready and it’s time to start forming a large branch.
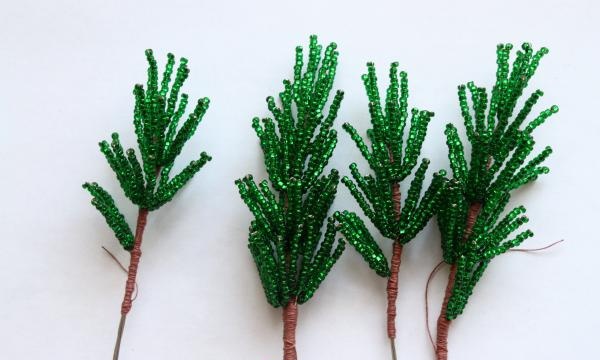
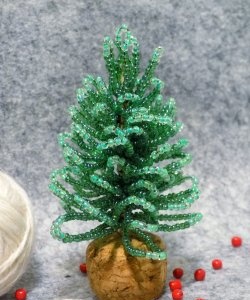
An interesting result will be obtained if small branches are fastened into a kind of bouquet and placed in a vase - from a distance it looks like a miniature copy of a real coniferous tree. I prefer to fasten the branches at different levels. Take your time when twisting the branches together - the thread can easily get tangled in the needles. A little more patience - and voila, our branch is ready!
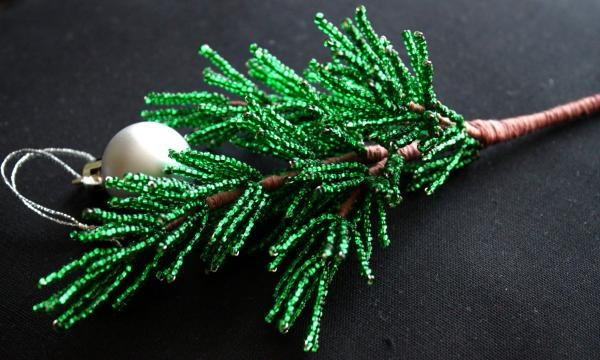
The technique I told you is called “needle weaving”. With its help, you can not only create a small New Year tree or an Christmas wreath, but also complement a simple decoration or decorate a small handbag. The main thing is to be creative and don’t be afraid to experiment!
To create a small spruce branch from beads we need:
- 20–25 grams of green beads;
- a coil of wire;
- threads or floral tape (for wrapping the trunk);
- scissors or nippers.
Take a piece of wire about 30–40 centimeters long. We collect one bead and place it approximately in the middle, fold the wire in half so that the bead is on the bend and pass both ends of the wire through 14 beads. The number of beads can be any, depending on how long you want the needles to be. We pull the beads to the first bead, and here is our first needle.

Take one end and collect 15 beads.We do not touch the last collected bead, but return it to the rest with wire, creating a second needle. This is what should happen.

In the same way we make two or three more needles to make a “foot”.

For the tops of the branches I make legs with five needles, in other cases - with four. You can make needles separately, later collecting them into paws or directly into branches, but I don’t like this method, because the branches turn out to be too voluminous due to the large amount of wire, and they are inconvenient to work with.
Having made at least five “legs”, try to fold them into a twig. I’m used to collecting twigs according to a pattern, adding one paw to each “tier” (that is, at the top of the twig there will be one with five needles, then two with four needles, then three, and so on). If you don't like this option, experiment!
Having chosen the ideal way to arrange the elements in the branch and created a sufficient number of “legs”, we proceed to the connection. You can simply twist everything together, but in Christmas trees I don’t like the shine of the wire from under the lush green needles. In order to hide the color of the wire and securely hold the pieces of the branch together, I use thread or floral tape. There will be several small ones in my branch and it’s worth wrapping them separately, starting from the top.

The branches are ready and it’s time to start forming a large branch.

An interesting result will be obtained if small branches are fastened into a kind of bouquet and placed in a vase - from a distance it looks like a miniature copy of a real coniferous tree. I prefer to fasten the branches at different levels. Take your time when twisting the branches together - the thread can easily get tangled in the needles. A little more patience - and voila, our branch is ready!

The technique I told you is called “needle weaving”. With its help, you can not only create a small New Year tree or an Christmas wreath, but also complement a simple decoration or decorate a small handbag. The main thing is to be creative and don’t be afraid to experiment!
Similar master classes
Particularly interesting
Comments (0)

