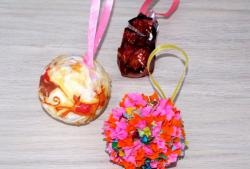
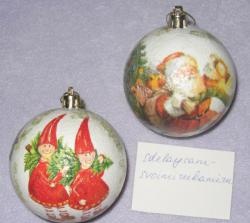
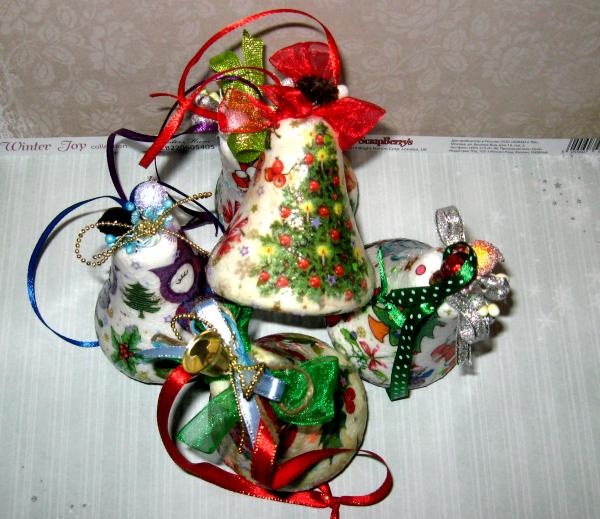
Decoupage of foam bells
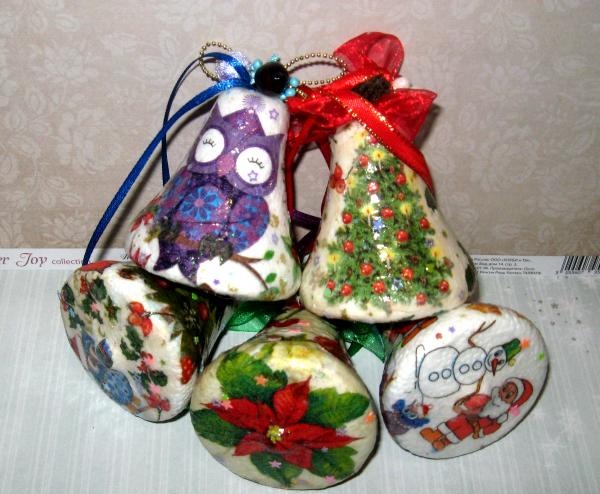
There is already a minimum of time left to prepare for the New Year, and there is still so much to do. The first thing you need to do is stock up on beautiful New Year's tree decorations so that your winter guest will be the most beautiful and brightest at this holiday. You always want something new, even though you already have a lot of balls, at least a couple of balls must be new. So, in order not to run around the shops and look for them once again, you can do everything at home with your own hands. Moreover, they will turn out to be very beautiful and interesting, so that they can be used as a gift for the New Year. There will be a nice souvenir and attention to the person for whom it is intended. So we will take interesting napkins, foam bells and make very beautiful Christmas tree decorations using the technique decoupage. What's good about these techniques? You can transfer any picture you like to absolutely any blank.
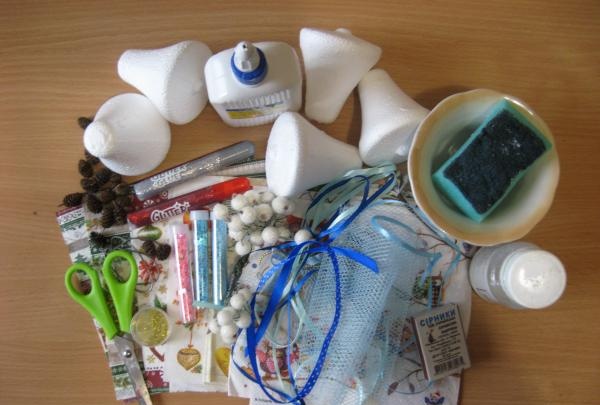
So, we can safely begin and for the process we will need:
• Five foam bells 8.5 cm high;
• Five to six different napkins with beautiful pictures;
• PVA glue;
• Decoupage acrylic varnish;
• Ceramic bowl;
• Foam sponge;
• Dry glitter;
• Berries in achar of different colors, sugar stamens;
• Ribbons are red, blue, light blue, green;
• Metal bells;
• Scissors, lighter;
• Small decorative cones;
• Wire cutters and wire.
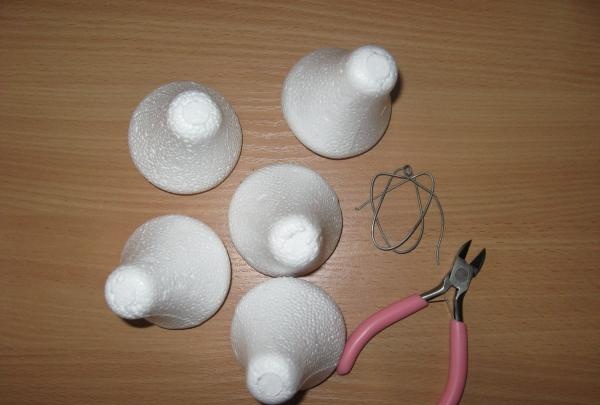
The first thing we do is, for convenience, we need hooks for each bell so that they can be hung when they dry. So, with wire cutters we bite off five pieces of 4 cm each and bend each into a loop.
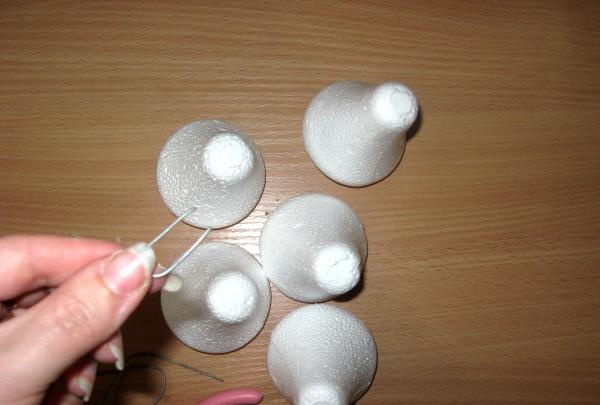
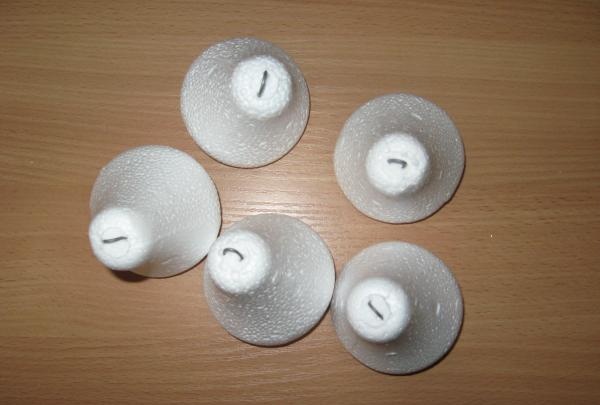
Now we insert each loop at the top into each bell.
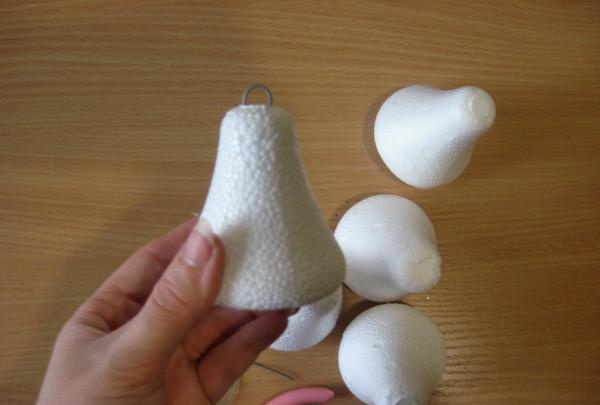
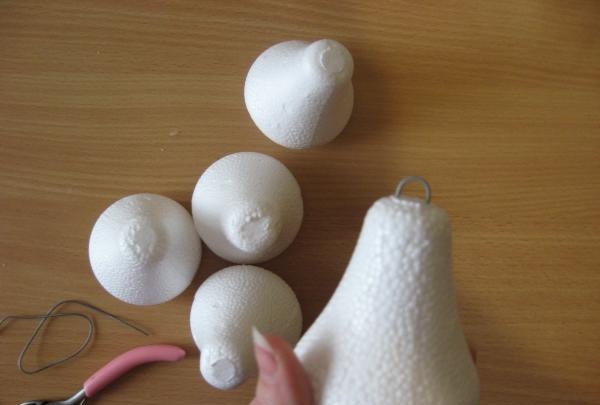
We have prepared, now we can prepare the pictures with which we will decorate the bells.
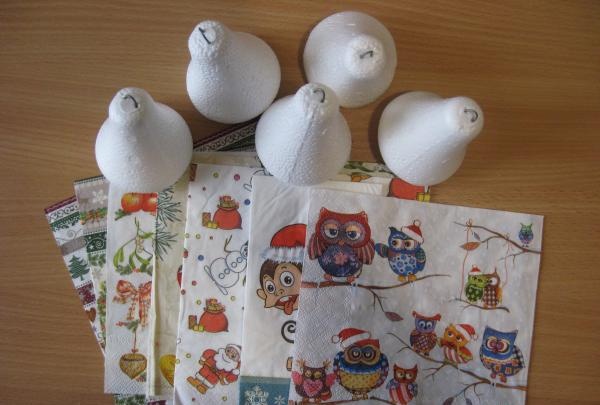
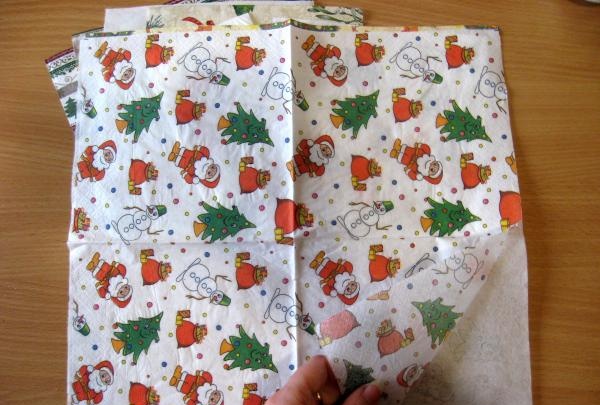
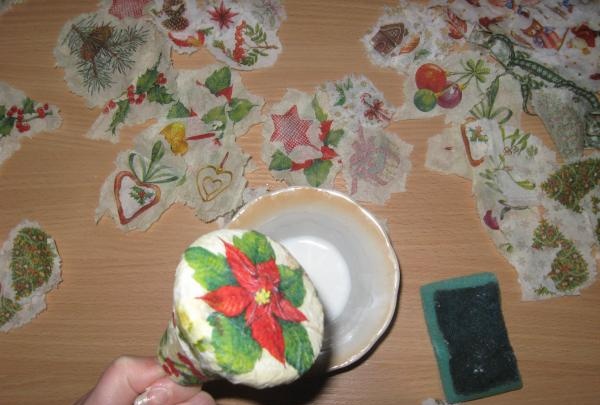
Take napkins and carefully remove the top layer from each one. We make sure that only the top layer remains. Now we take a variety of pictures from each napkin. It is better to cut off the pictures rather than crop them, the effect will be more interesting.
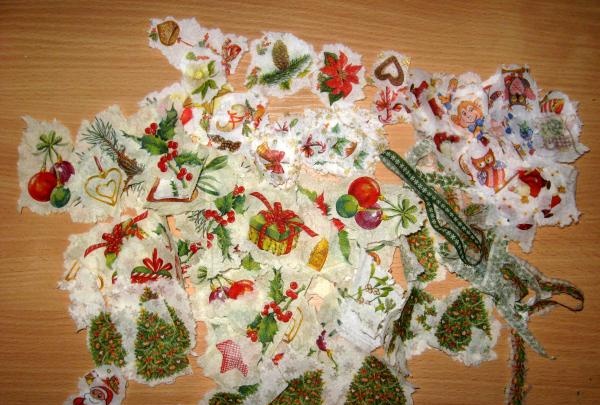
Decor ready, you can proceed directly to decoupage. Pour water and PVA glue into a bowl in the same ratio. Mix thoroughly. We take a small picture and attach it to the bell.
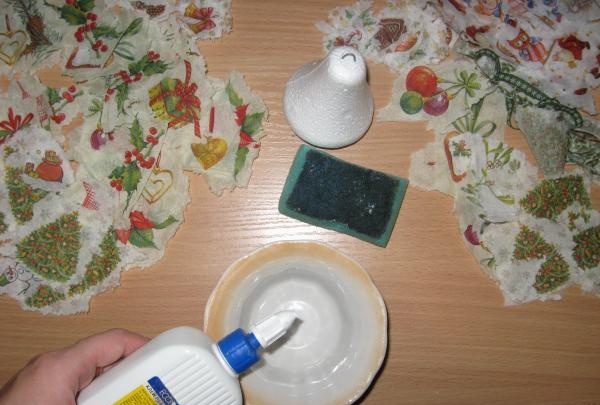
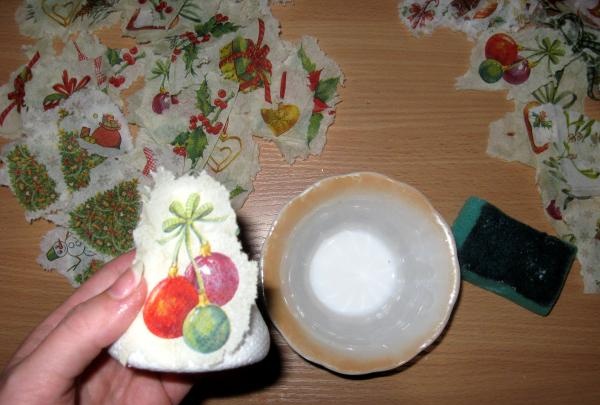
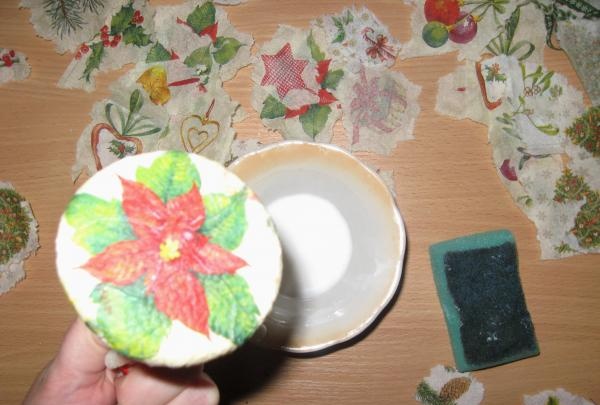
Dipping a foam sponge into the adhesive mixture, glue this picture to the bell. Then we apply the next one, glue it and decorate the whole bell. We thread a ribbon through the loop and hang the bell in a convenient place until it dries completely. We take the rest of the bells and do the same with them. We dry each one separately.
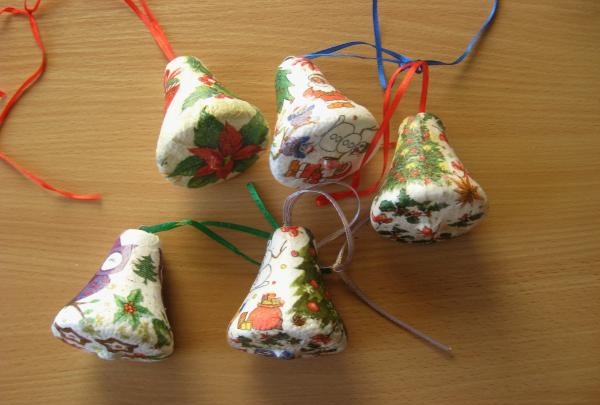
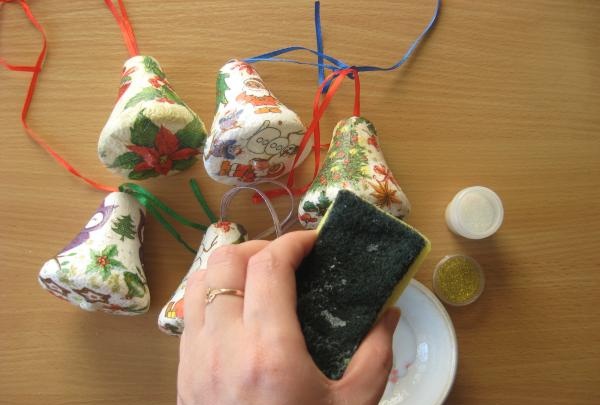
When all the bells are dry, we begin to cover them with layers of varnish. First one, dry, then the second, dry, and so on for a total of five, preferably more layers of varnish. In the penultimate layer, you can pour dry glitter directly into the varnish and open the bells with this mixture.
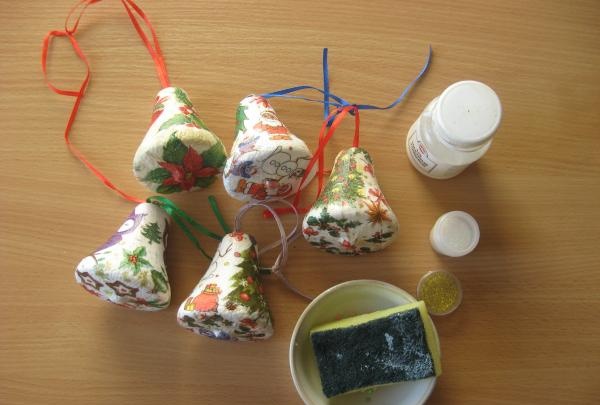
Now we need to close the loops with different decor. We take berries, stamens and ribbons and tie bows and make bouquets.
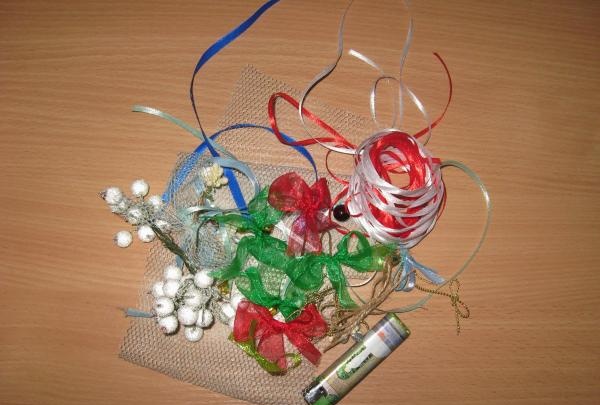
We insert the loops deep and glue the decor at the top of the bells.
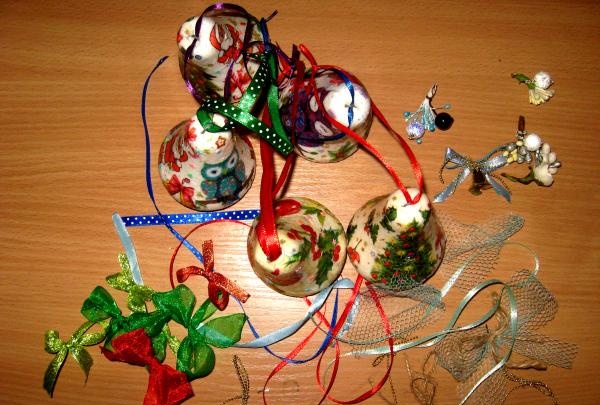
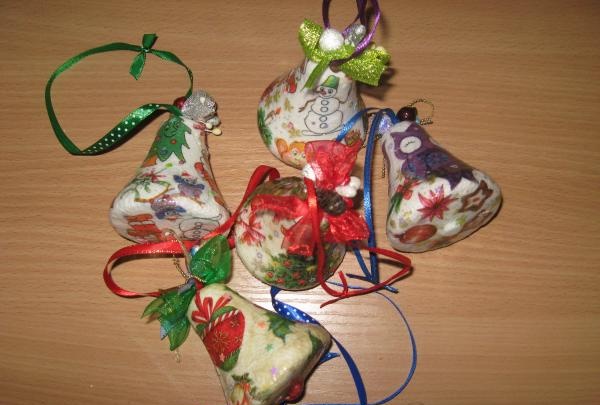
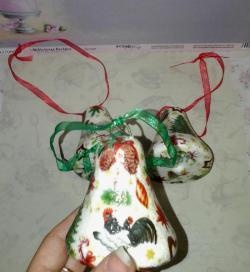
The bells are ready, you can decorate your New Year's guest. Thank you for your attention!
So, we can safely begin and for the process we will need:
• Five foam bells 8.5 cm high;
• Five to six different napkins with beautiful pictures;
• PVA glue;
• Decoupage acrylic varnish;
• Ceramic bowl;
• Foam sponge;
• Dry glitter;
• Berries in achar of different colors, sugar stamens;
• Ribbons are red, blue, light blue, green;
• Metal bells;
• Scissors, lighter;
• Small decorative cones;
• Wire cutters and wire.


The first thing we do is, for convenience, we need hooks for each bell so that they can be hung when they dry. So, with wire cutters we bite off five pieces of 4 cm each and bend each into a loop.


Now we insert each loop at the top into each bell.


We have prepared, now we can prepare the pictures with which we will decorate the bells.


Take napkins and carefully remove the top layer from each one. We make sure that only the top layer remains. Now we take a variety of pictures from each napkin. It is better to cut off the pictures rather than crop them, the effect will be more interesting.


Decor ready, you can proceed directly to decoupage. Pour water and PVA glue into a bowl in the same ratio. Mix thoroughly. We take a small picture and attach it to the bell.


Dipping a foam sponge into the adhesive mixture, glue this picture to the bell. Then we apply the next one, glue it and decorate the whole bell. We thread a ribbon through the loop and hang the bell in a convenient place until it dries completely. We take the rest of the bells and do the same with them. We dry each one separately.


When all the bells are dry, we begin to cover them with layers of varnish. First one, dry, then the second, dry, and so on for a total of five, preferably more layers of varnish. In the penultimate layer, you can pour dry glitter directly into the varnish and open the bells with this mixture.


Now we need to close the loops with different decor. We take berries, stamens and ribbons and tie bows and make bouquets.


We insert the loops deep and glue the decor at the top of the bells.


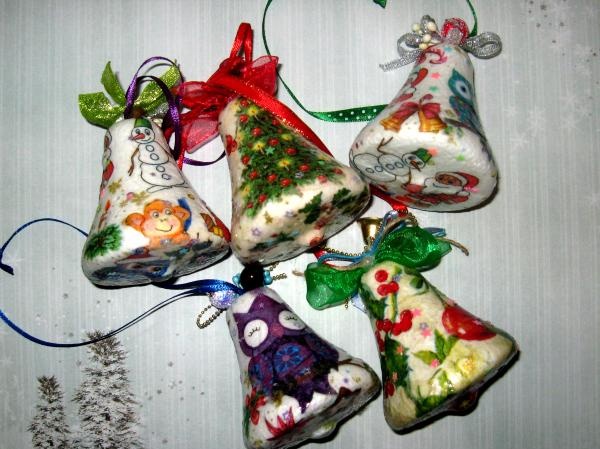
The bells are ready, you can decorate your New Year's guest. Thank you for your attention!


Similar master classes
Particularly interesting
Comments (1)

