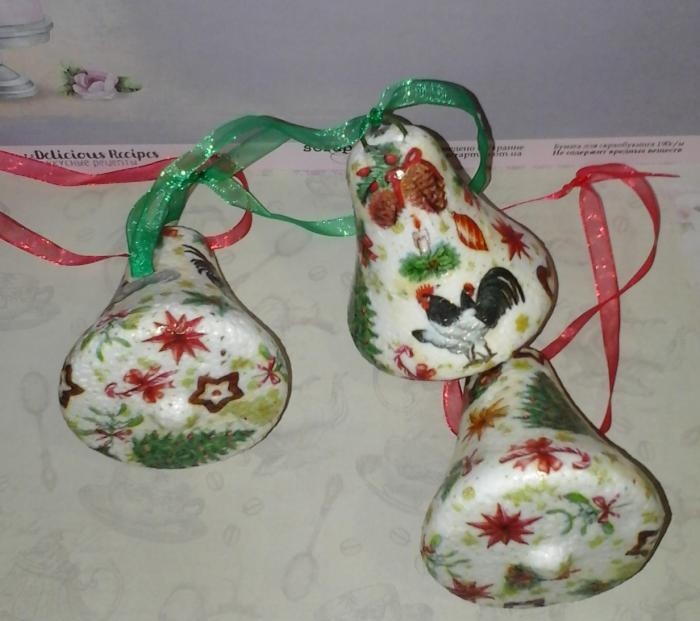
Bells with cockerel
The month of December has already arrived, and there is nothing left until the New Year, and there are still so many things ahead of us. The New Year's bustle is always pleasant, albeit troublesome. There is so much to do. First of all, come up with a New Year's menu, buy all the necessary products, decorate your home beautifully and elegantly, and most importantly, decorate a Christmas tree under which all wishes and gifts will be placed. Everyone knows quite well that 2017 will be the Year of the Rooster. With the advent of the New Year, changes always occur in the life of every person, no matter good or bad, it is always a change in life positions, so you need to set yourself up only for the positive, expect only the best from the next year, and, of course, first of all, set up at this yourself. It is accepted and there is such a sign that the New Year's beauty must have at least one toy on which will be the symbol of the next year, so it must be a cockerel. In order not to run around the shops for a long time and not look for such a toy, although this is not a problem now, it will be better and more interesting if you make a Christmas tree decoration with a cockerel with your own hands.Firstly, it is very interesting, and you can also make not one, but several toys and give them to your friends.
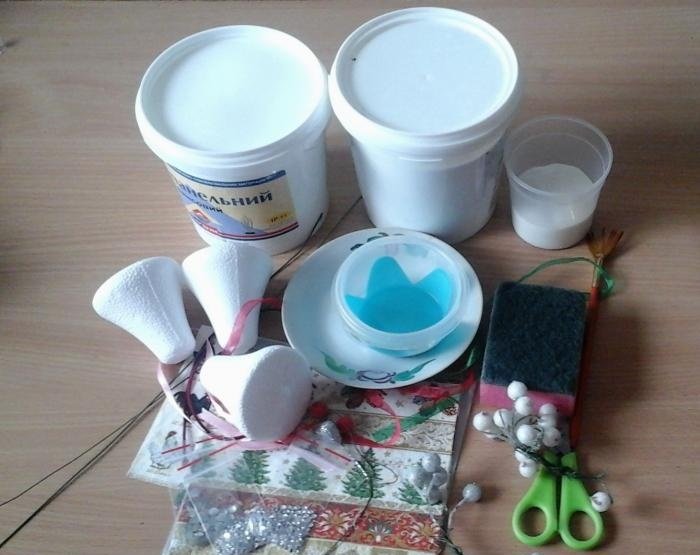
Right now, together with you, we will consider such a master class, with the help of which we will learn how to make Christmas tree bells with a cockerel using the technique decoupage. For production we take:
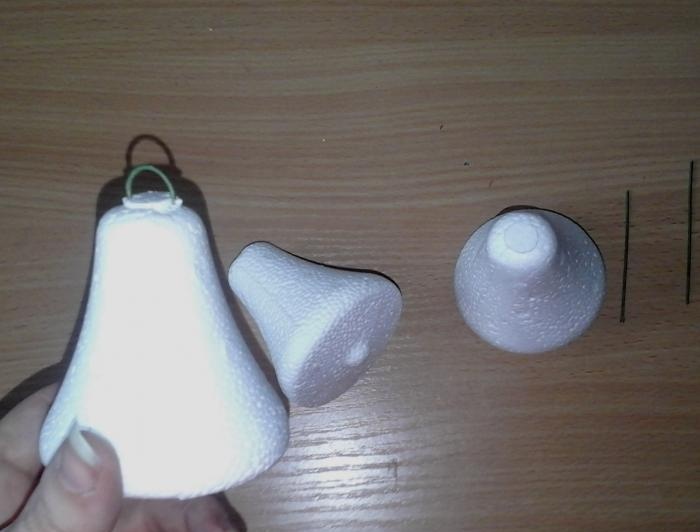
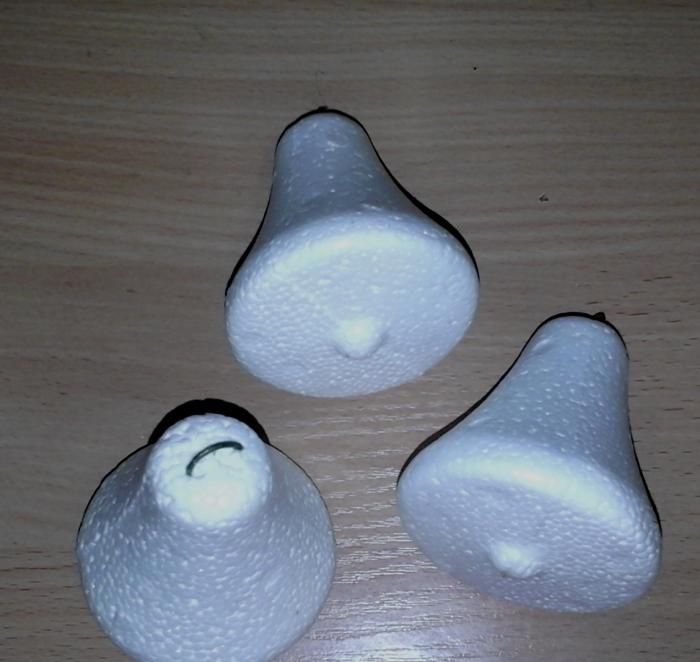
First of all, we need to make loops on top of the bells to hang them when drying, and at the end attach ribbons. Using wire cutters, bite off three pieces of wire, 6-7 cm each.
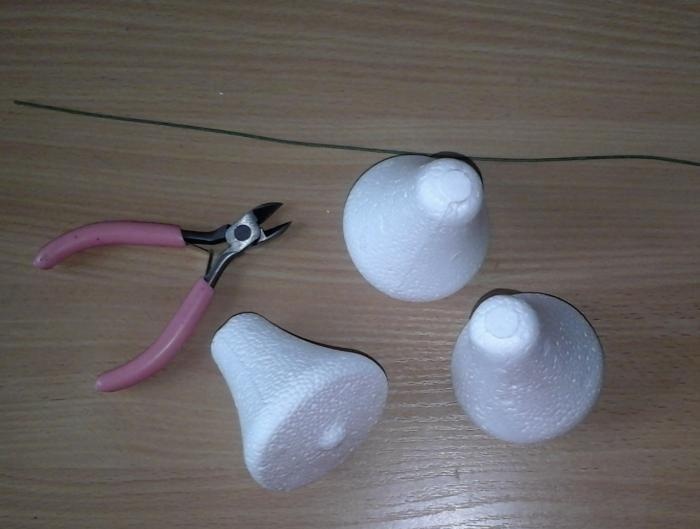

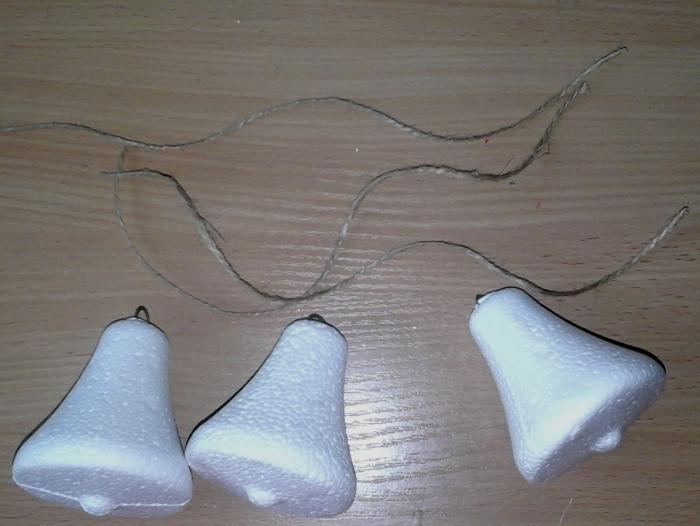
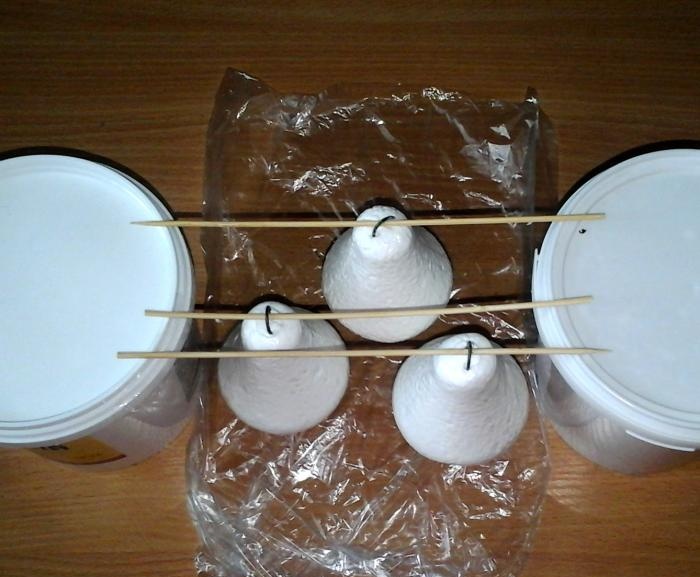
We bend and insert these loops into the bells from above, now we thread the twine through them so that we can then hang the toys to dry.
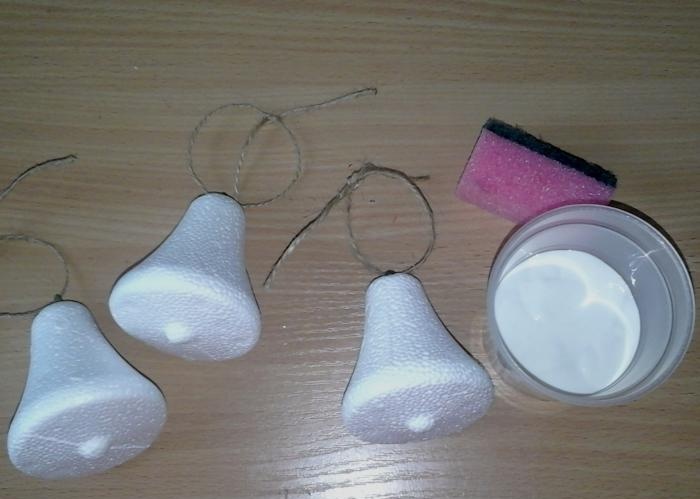
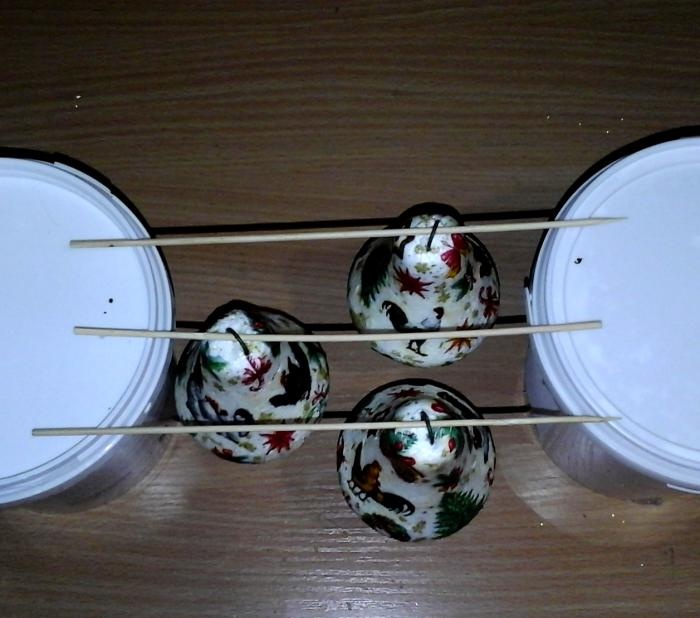
Pour PVA into the container. Cut off a piece of sponge and use the sponge to cover all three bells with glue. We make a stand like this and hang the bells to dry.
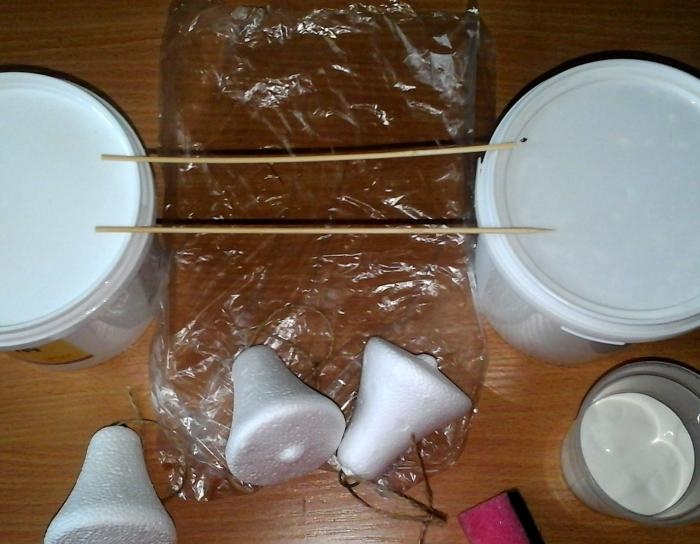
We are waiting for it to dry completely.
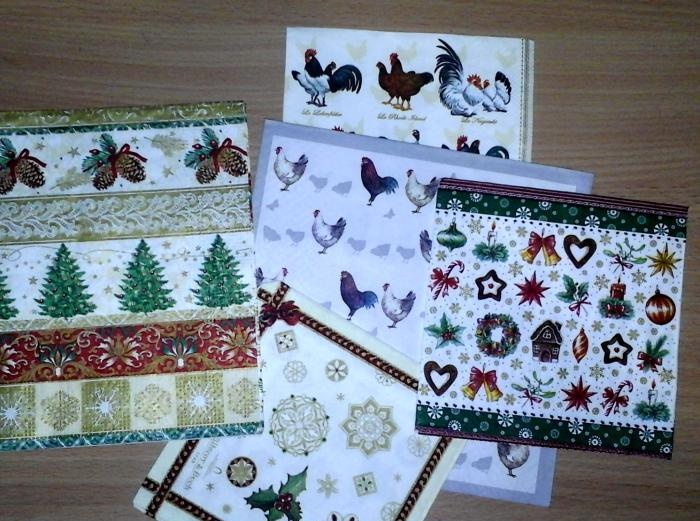
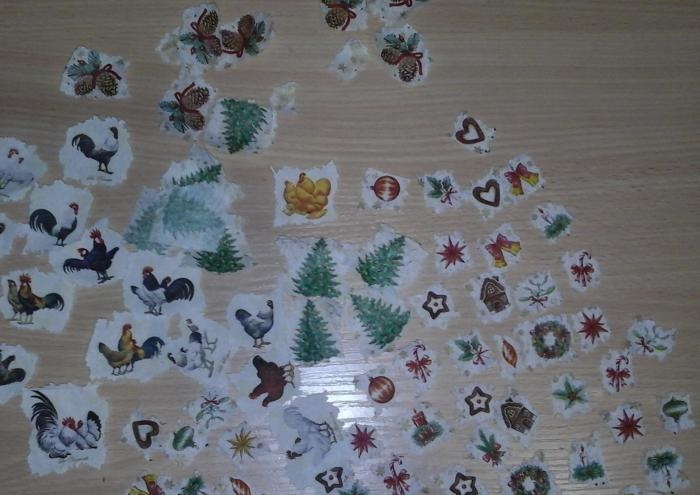
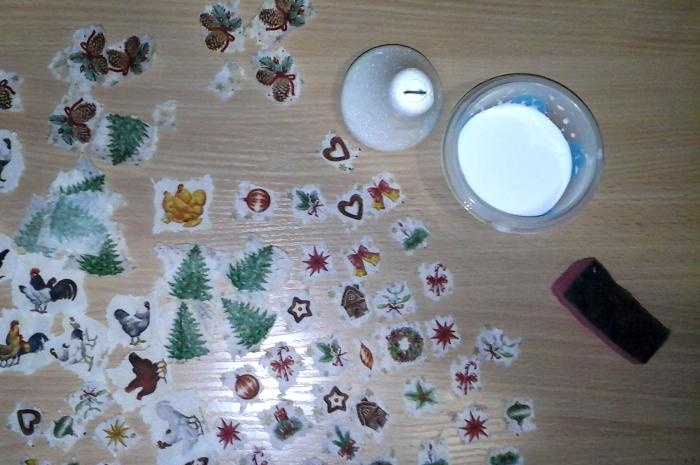
Now we take napkins, remove the top layer from all of them and carefully tear up individual fragments. The smaller the drawings, the better, more beautiful and easier it is to work with them.
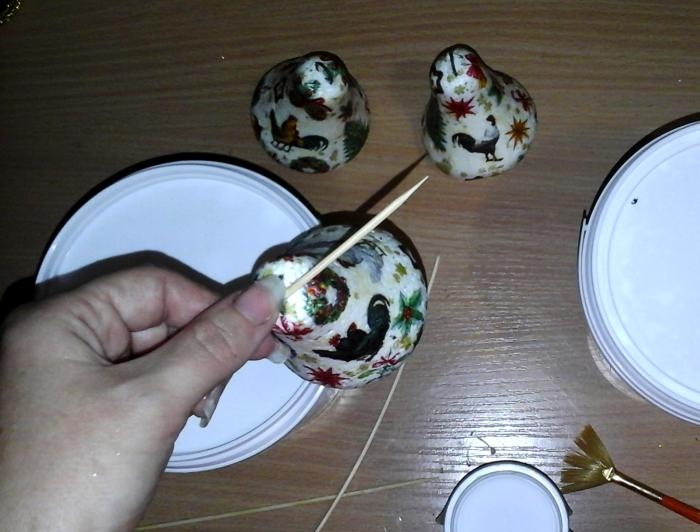
Now we take the bells, and attach our pictures picture by picture using the adhesive mixture.Our adhesive mixture consists of equal proportions of PVA glue and water, everything is thoroughly mixed. We hang the bells again to dry.
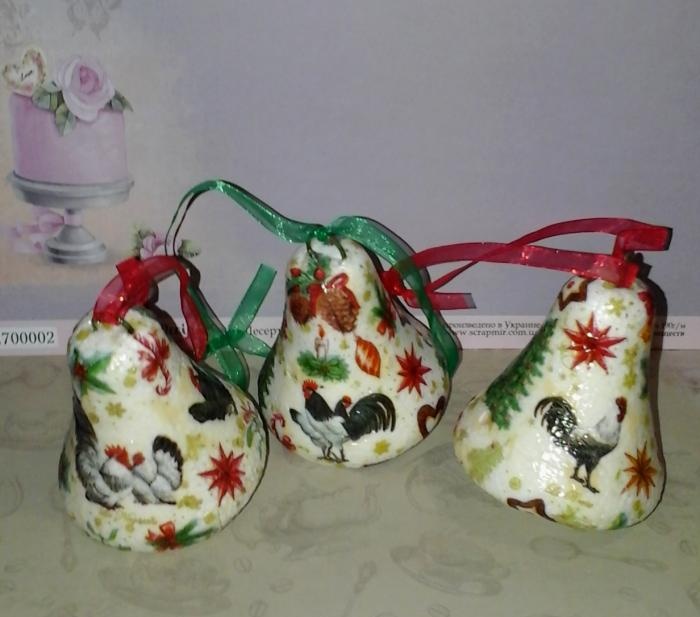
Now we cover our bells with at least five layers of varnish. We dry each one separately. Now we thread the ribbons and everything is ready. These are the bright New Year's toys we got. Thank you for your attention! Good luck to all!
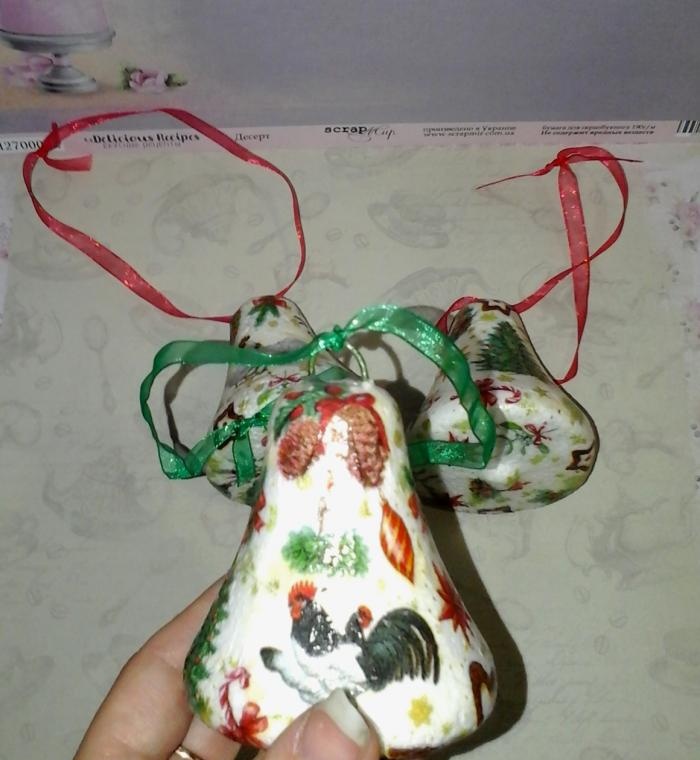
Right now, together with you, we will consider such a master class, with the help of which we will learn how to make Christmas tree bells with a cockerel using the technique decoupage. For production we take:
- Three large foam bells;
- Napkins for decoupage with a rooster and other New Year's elements; we take napkins with small designs so that they are easy to apply and look beautiful on the bells;
- PVA glue;
- Glossy varnish (we use acrylic construction varnish, which is non-toxic and has no pungent odor);
- Kitchen sponge;
- Floral wire;
- Craft nippers;
- Fan brush for applying varnish;
- Twine cord;
- Wooden sticks;
- Organza ribbons in red and green colors;
- Scissors;
- A bowl for pouring glue and varnish;
- If you have dry glitter, sugared berries can be used to decorate our bells at the end.


First of all, we need to make loops on top of the bells to hang them when drying, and at the end attach ribbons. Using wire cutters, bite off three pieces of wire, 6-7 cm each.


We bend and insert these loops into the bells from above, now we thread the twine through them so that we can then hang the toys to dry.


Pour PVA into the container. Cut off a piece of sponge and use the sponge to cover all three bells with glue. We make a stand like this and hang the bells to dry.


We are waiting for it to dry completely.


Now we take napkins, remove the top layer from all of them and carefully tear up individual fragments. The smaller the drawings, the better, more beautiful and easier it is to work with them.


Now we take the bells, and attach our pictures picture by picture using the adhesive mixture.Our adhesive mixture consists of equal proportions of PVA glue and water, everything is thoroughly mixed. We hang the bells again to dry.


Now we cover our bells with at least five layers of varnish. We dry each one separately. Now we thread the ribbons and everything is ready. These are the bright New Year's toys we got. Thank you for your attention! Good luck to all!


Similar master classes
Particularly interesting
Comments (0)


