DIY topiary made from plastic bottles
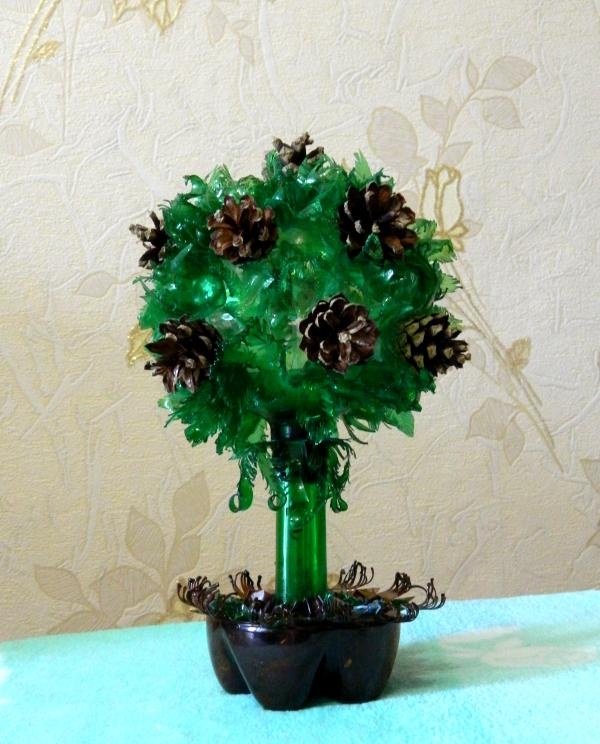
Topiary is a favorite home decoration for many needlewomen. The decorative tree is made from coffee beans, napkins, fabric and other materials. I will show you an example of creating a topiary from plastic bottles and pine cones.
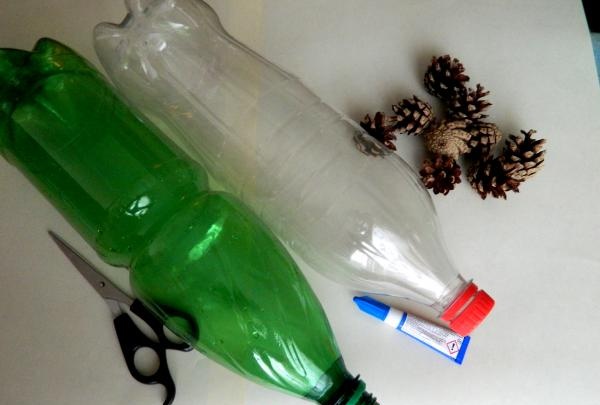
For crafts preparing:
- glue for plastic
- the bottles themselves (necessarily green and brown)
- small cones (up to 10 pieces)
- candle (gas burner).
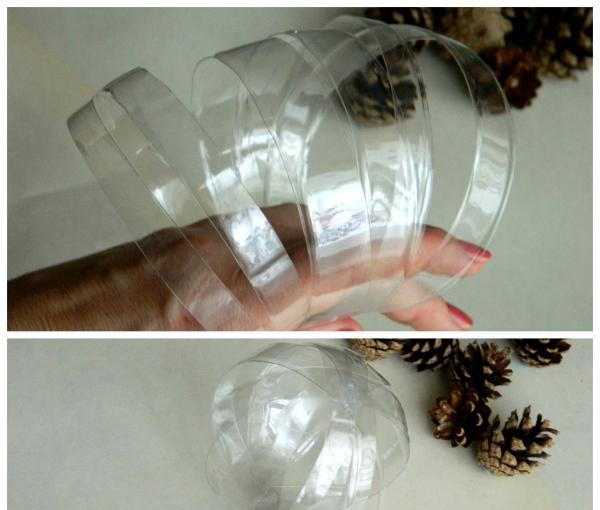
First we need to make a circle - a trunk, to which the green branches will stick. From a transparent white bottle, cut out several rings of equal width and, using glue, form a circle out of them.
Now we will cut out stars, rhombuses and flowers of different configurations and sizes from green plastic. We cut the edges of the workpieces into narrow strips (1 mm), and then carefully melt them over the fire. The stripes will take on a crystal effect. All we have to do is bend the individual leaves at the base upward, that is, collect the blossoming flower into a bud.
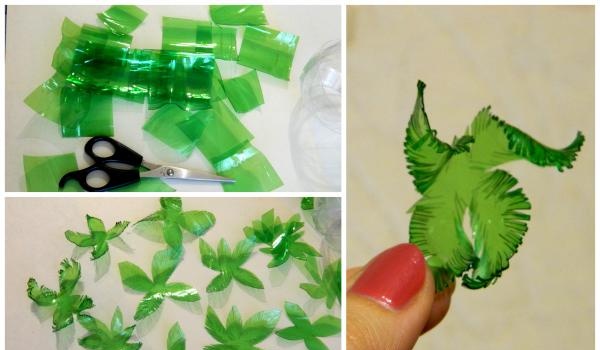
If necessary, break off the tails of the pine cones, otherwise attaching them to smooth plastic will be problematic.By the way, to facilitate the process of gluing parts, you can use pieces of foam rubber. First, we glue the porous material to the base of the cone, and then the cone to the trunk of the topiary.
This is our wealth - the result of painstaking half-hour work. The colors are very harmonious with one another.
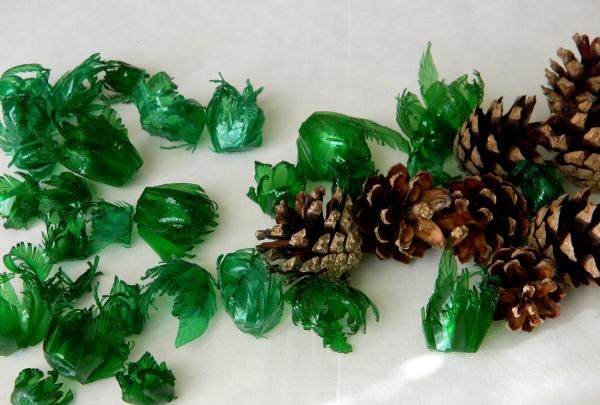
Let's start work from the top of the tree. It will be decorated with the biggest bump. Then we spread a row of emerald greenery in a circle, and next to it we begin to dilute the leaves with brown cones.
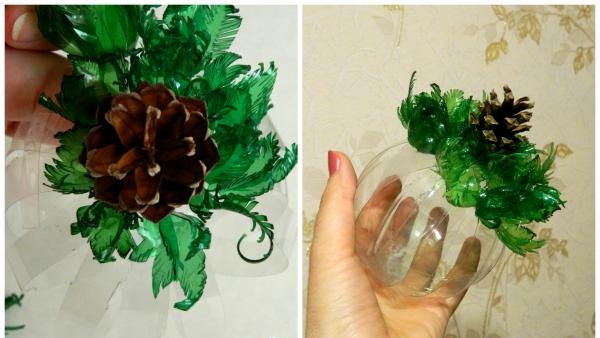
After pasting half the circle, we stop work. We set the craft aside and give it the opportunity to dry. At the same time, we take on the design of the lower part of the trunk.
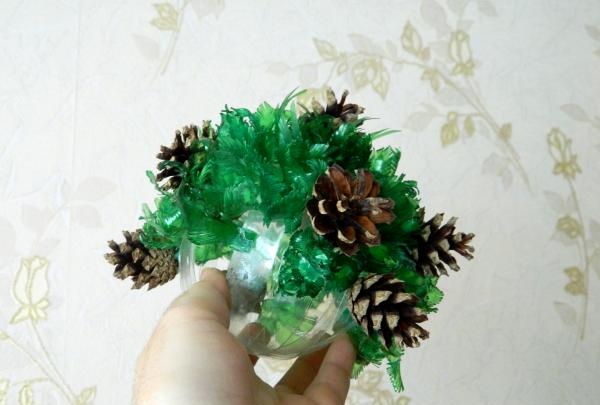
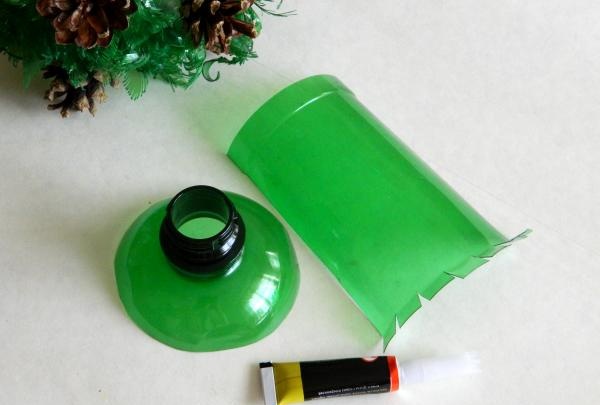
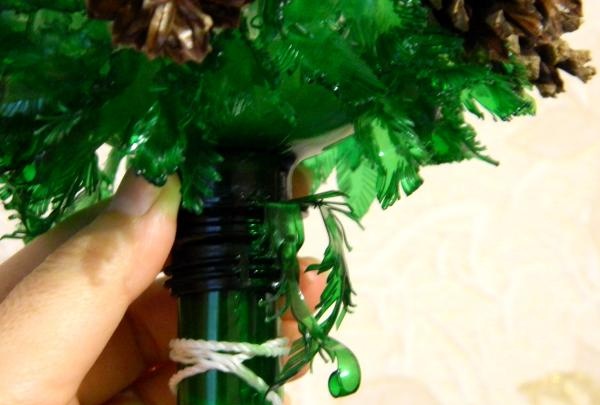
We took a green neck and a rectangle (10x5 cm) cut from the middle part of the bottle. We rolled the rectangle into a tube and stuck it into the neck. The bottom of the tube was cut into centimeter strips. The inside of the barrel was treated with glue. In order not to hold the plastic with our fingers (during the gluing period), we simply tied it with a strong thread.
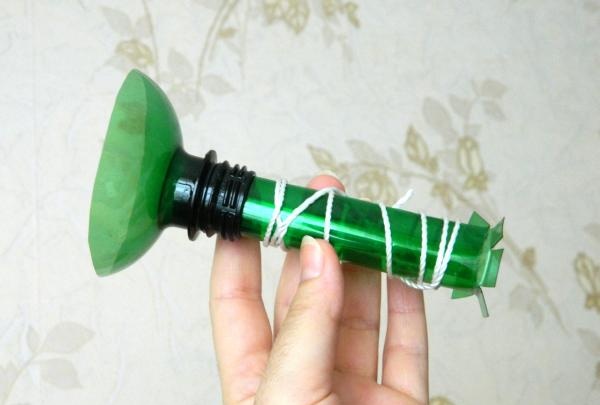
The time has come to glue the trunk to the crown of the tree. After this, you can finish decorating the leaves and cones.
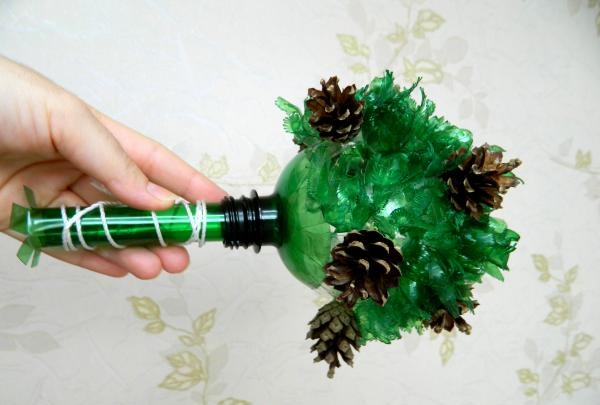
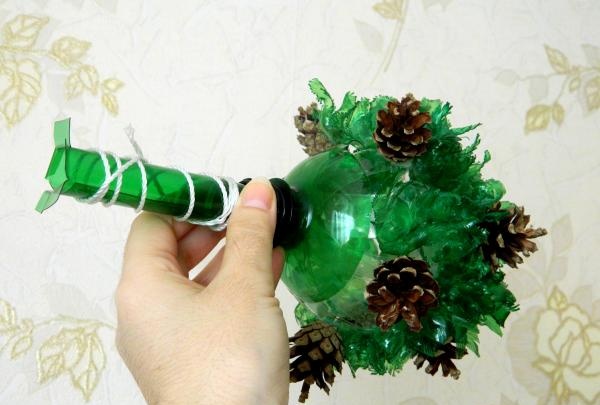
Lightly cover the thread on the neck. This makes the topiary look much better.
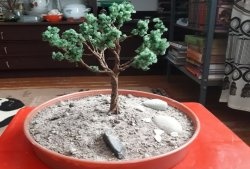
Let's plant (glue) an emerald tree into a bowl cut from the bottom of a brown bottle. Lightly decorate the bowl with melted curls in advance.
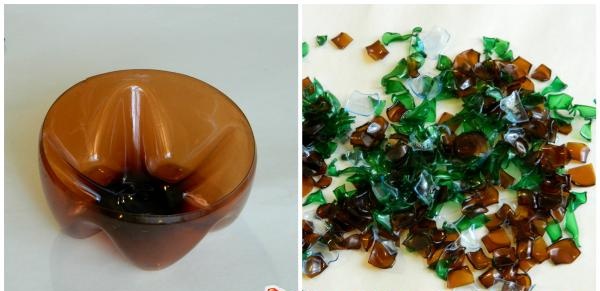
Place colorful pebbles on top of the roots. Decor made from plastic scraps left over from cutting out topiary parts, particularly leaves. Small squares and triangles are flamed. All elements are well glued.
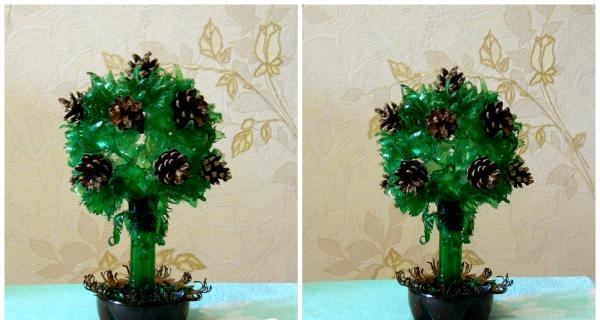
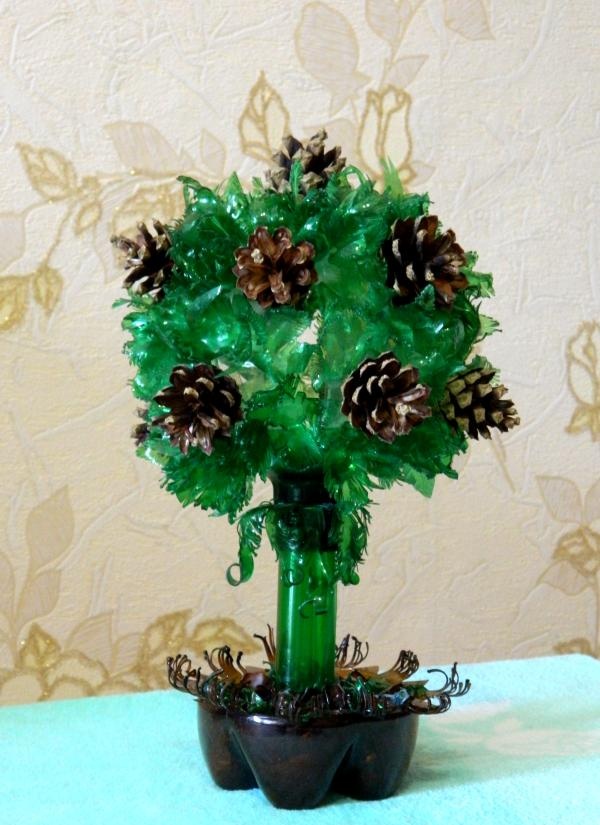
Well, work on a craft made from plastic bottles has come to an end. The tree turned out wonderful.

For crafts preparing:
- glue for plastic
- the bottles themselves (necessarily green and brown)
- small cones (up to 10 pieces)
- candle (gas burner).

First we need to make a circle - a trunk, to which the green branches will stick. From a transparent white bottle, cut out several rings of equal width and, using glue, form a circle out of them.

Now we will cut out stars, rhombuses and flowers of different configurations and sizes from green plastic. We cut the edges of the workpieces into narrow strips (1 mm), and then carefully melt them over the fire. The stripes will take on a crystal effect. All we have to do is bend the individual leaves at the base upward, that is, collect the blossoming flower into a bud.

If necessary, break off the tails of the pine cones, otherwise attaching them to smooth plastic will be problematic.By the way, to facilitate the process of gluing parts, you can use pieces of foam rubber. First, we glue the porous material to the base of the cone, and then the cone to the trunk of the topiary.
This is our wealth - the result of painstaking half-hour work. The colors are very harmonious with one another.

Let's start work from the top of the tree. It will be decorated with the biggest bump. Then we spread a row of emerald greenery in a circle, and next to it we begin to dilute the leaves with brown cones.

After pasting half the circle, we stop work. We set the craft aside and give it the opportunity to dry. At the same time, we take on the design of the lower part of the trunk.

We took a green neck and a rectangle (10x5 cm) cut from the middle part of the bottle. We rolled the rectangle into a tube and stuck it into the neck. The bottom of the tube was cut into centimeter strips. The inside of the barrel was treated with glue. In order not to hold the plastic with our fingers (during the gluing period), we simply tied it with a strong thread.


The time has come to glue the trunk to the crown of the tree. After this, you can finish decorating the leaves and cones.


Lightly cover the thread on the neck. This makes the topiary look much better.

Let's plant (glue) an emerald tree into a bowl cut from the bottom of a brown bottle. Lightly decorate the bowl with melted curls in advance.


Place colorful pebbles on top of the roots. Decor made from plastic scraps left over from cutting out topiary parts, particularly leaves. Small squares and triangles are flamed. All elements are well glued.

Well, work on a craft made from plastic bottles has come to an end. The tree turned out wonderful.
Similar master classes
Particularly interesting
Comments (0)


