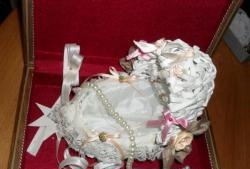
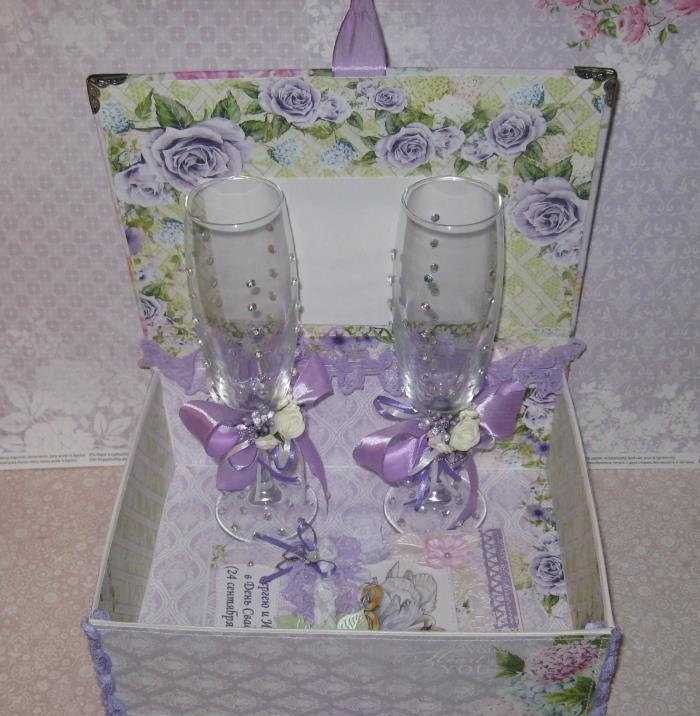
Box for wedding glasses
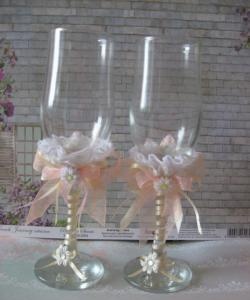
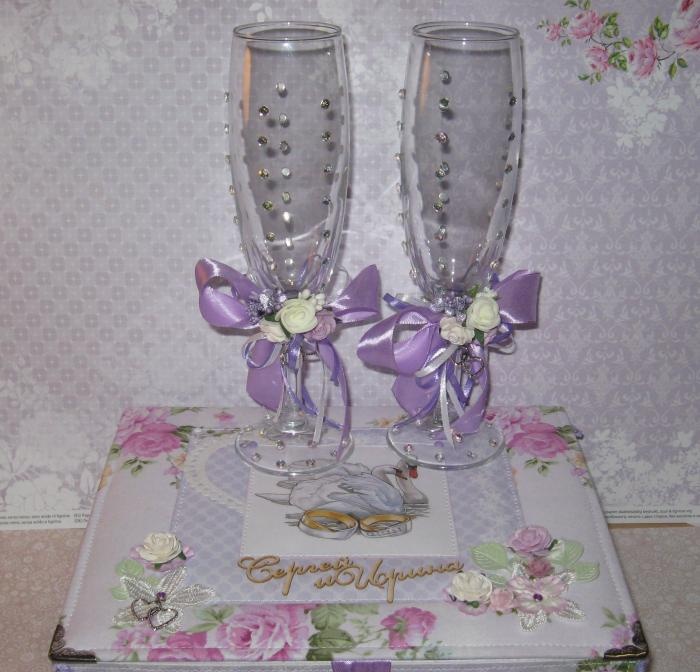
The most long-awaited, important, romantic and responsible day in the life of every young couple is the celebration of their marriage. A wedding is generally considered a celebration once and for a lifetime. Therefore, accordingly, everything should not only go beautifully, elegantly and richly, but you definitely need to give your all 100% so that, as you have, no one else has. Important attributes of a wedding celebration are wedding glasses. You can buy them ready-made or decorate them beautifully yourself. But most importantly, they still need to be carefully carried with you throughout the celebration, and then preserved in their entirety for the rest of their life together. To preserve them, you can make a wonderful handmade box in which you can store glasses and other wedding accessories.
To make a wedding box we take:
• 20 by 25 cm, four sheets of thick binding cardboard;
• Sintepon 100 sheets;
• Lilac fabric with floral print, Korean 100% cotton;
• Lilac satin ribbon 25 mm wide;
• Picture with a pair of swans;
• Scrappaper in mint-lilac color, three sheets measuring 30.5 by 30.5 cm;
• Die cut white heart;
• Die-cut turquoise flowers from mother-of-pearl cardboard;
• White fabric flowers;
• Brads with purple stones;
• Chipboard named “Sergey and Irina”;
• Paper roses are white, lilac and purple;
• Curb hole punch;
• Pendant metal pair of hearts;
• Large metal corners;
• Transparent corners for photos;
• White cardboard;
• Sheet of watercolor paper A1 format;
• Violet metal brads;
• Hydrangea flowers light lilac 2.5 cm;
• Glue stick;
• Double-sided tape;
• Purple lace with elastic;
• Pencil, ruler, adhesive tape effect;
• Scissors, lighter.
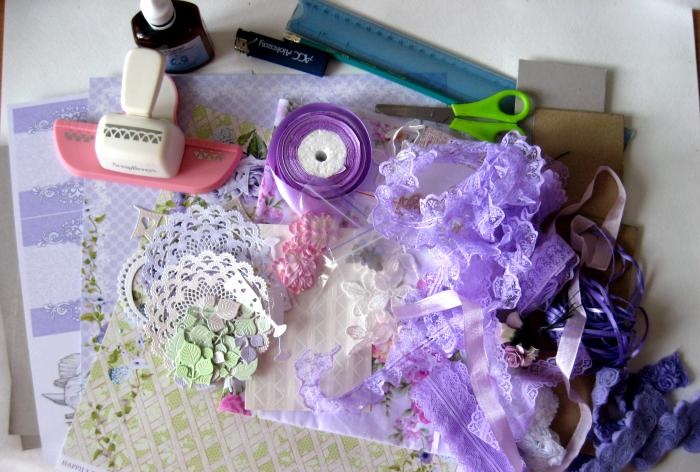
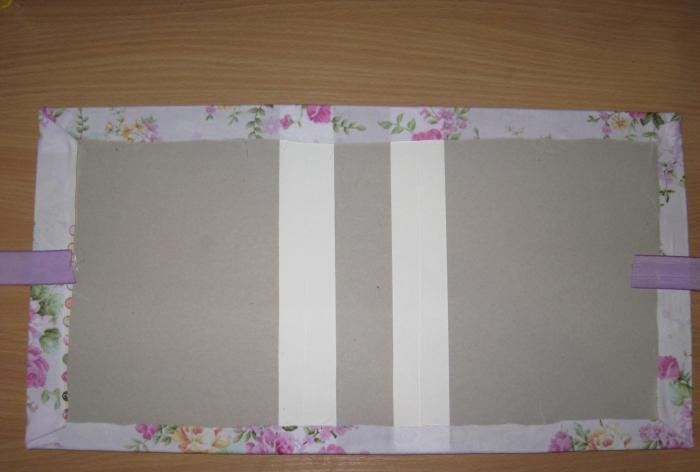
We take sheets of cardboard 20 by 25 cm, cut another 8 by 25 cm, and also cut two strips of cardboard 4 by 25 cm.
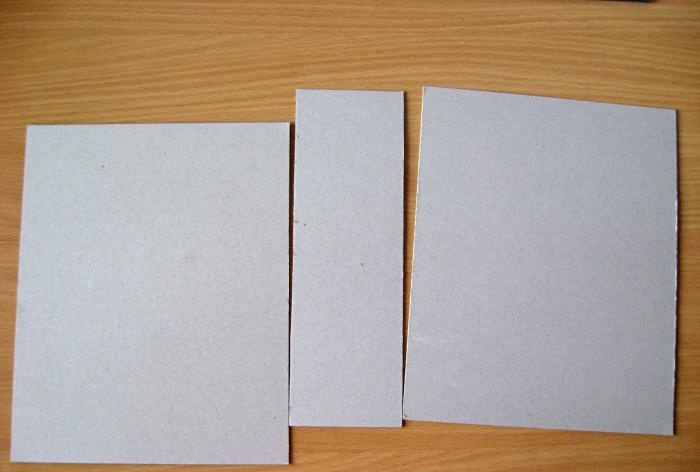
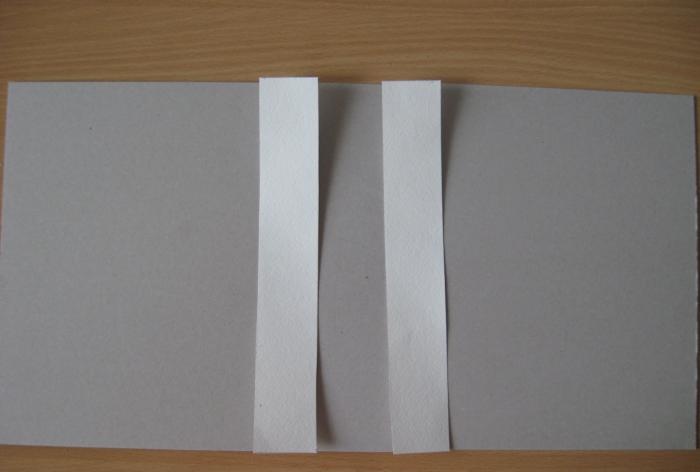
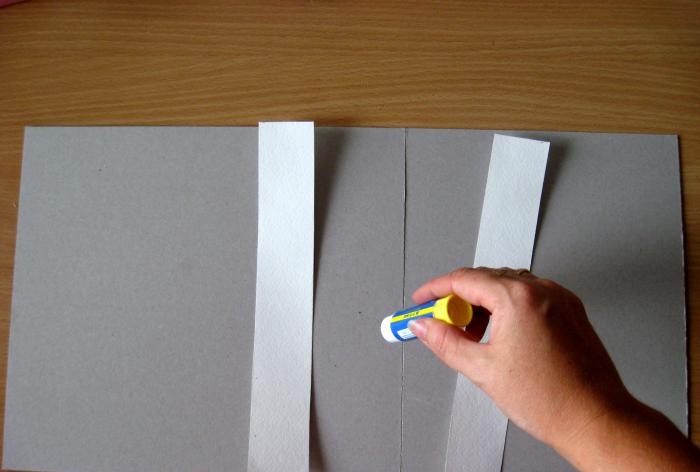
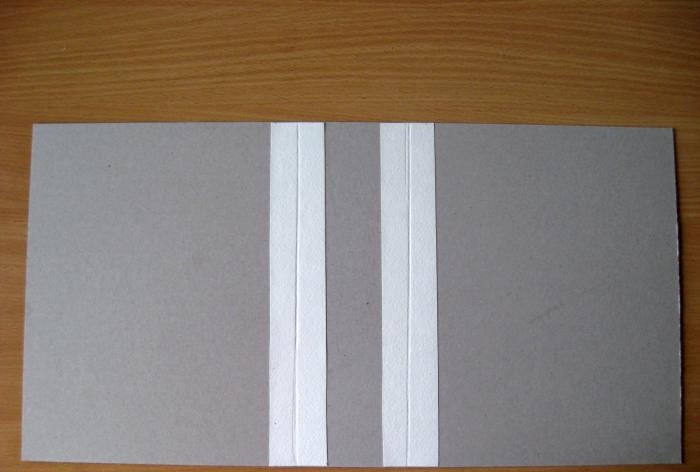
We lay out the binding parts tightly together and glue them into one single piece using a glue stick. We spread strips of cardboard and glue them to the joints and smooth them well. Now we draw creasing lines with scissors so that the base folds.
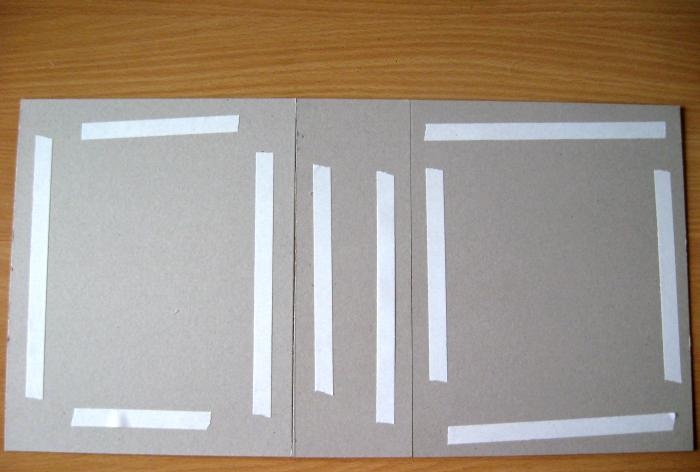
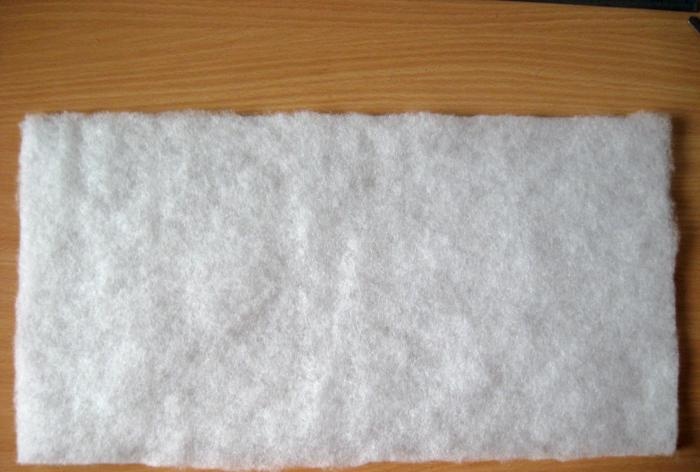
We turn the workpiece over and cover it with strips of double-sided tape, and glue the padding polyester.
Now we cut the fabric for the entire workpiece with reserves on all sides for tucking. We also cut two strips of tape.
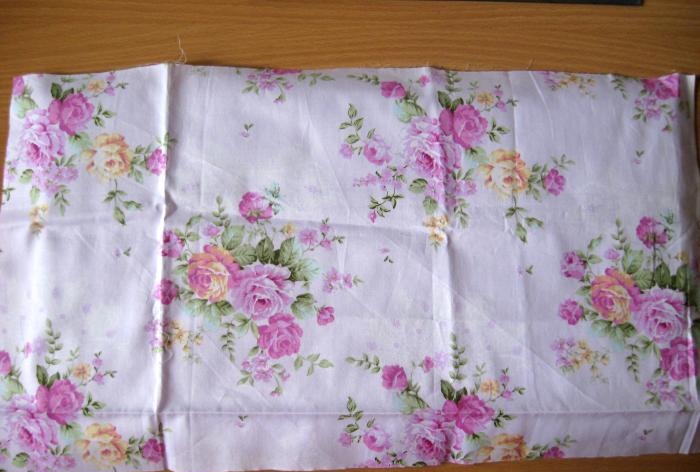
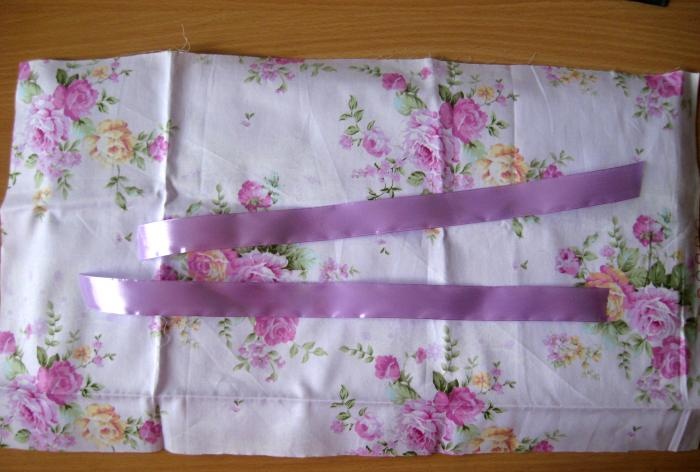
We iron the fabric and ribbons under the parka, place the fabric with the picture down, place a blank cover on it and smear the corners with a glue stick.
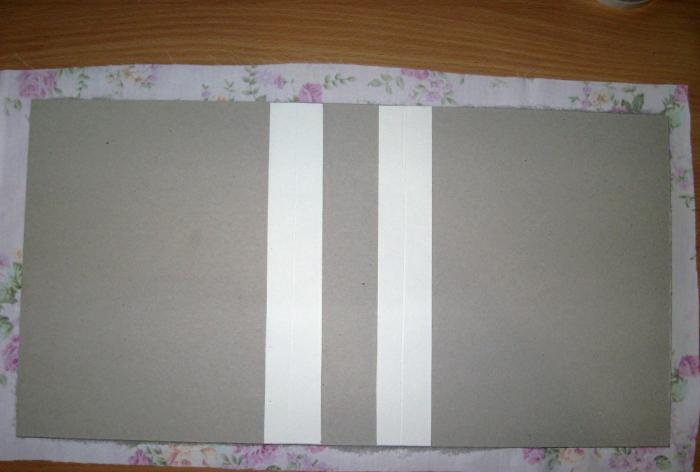
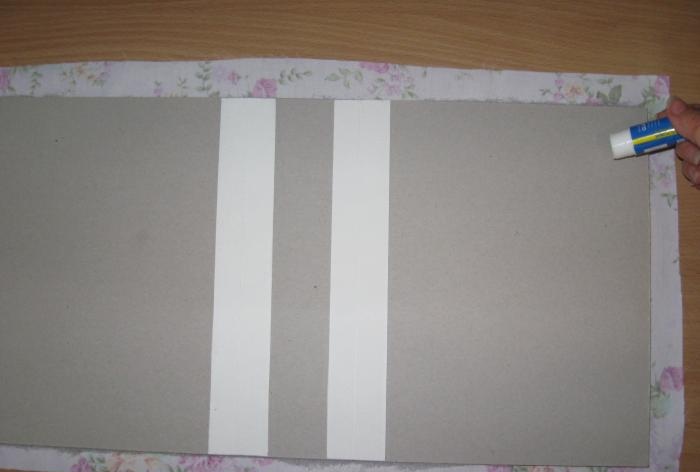
We wrap and fix first the corners evenly and beautifully, and then all the sides. Glue strips of tape in the middle.
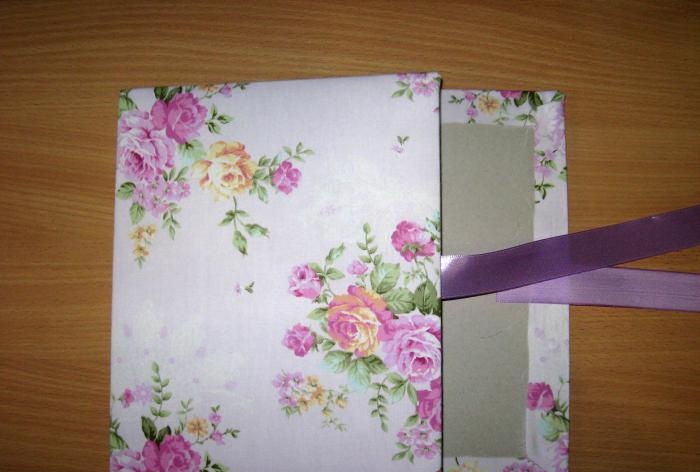
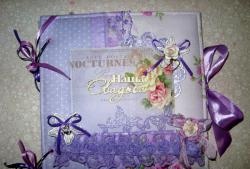
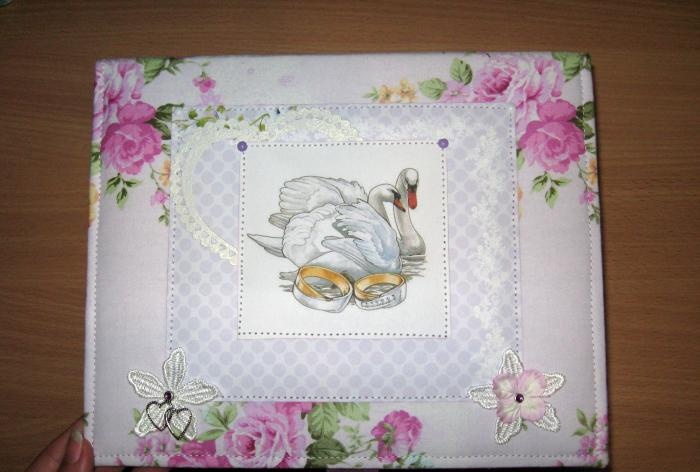
We fold and try on the paper, picture and cutting on the cover. We sew a rectangle, then glue a heart onto it, and on top of the heart we sew a picture with swans.
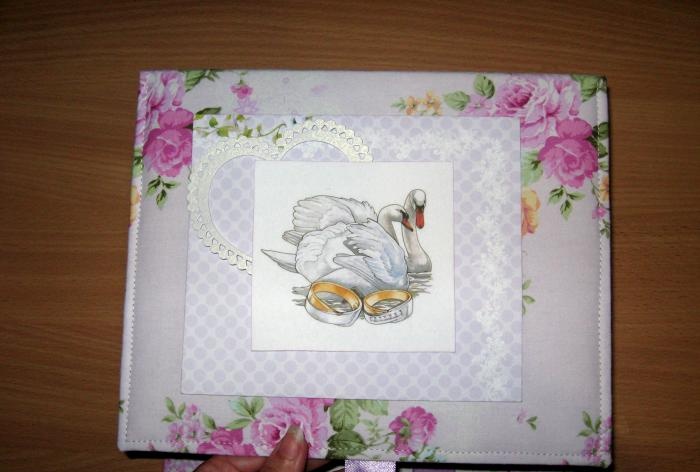
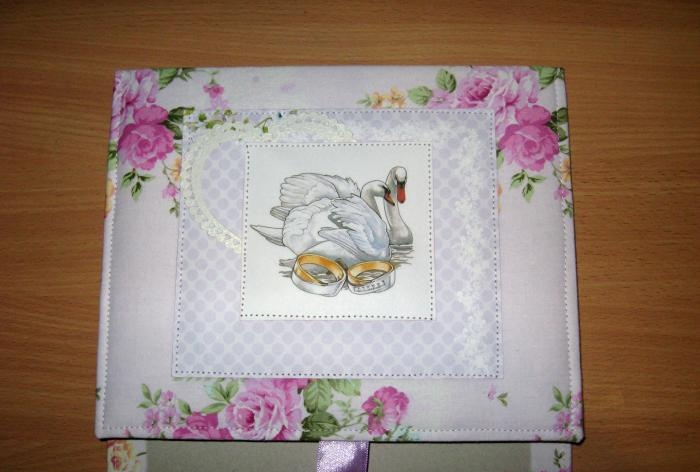
We attach the flowers and pendant using brads. Now we cut out the base of the box from watercolor paper.We divide on both sides into parts 7 by 8 by 19.5 by 8 by 7 cm, and from the other two 7 by 8 by 24.5 by 8 by 7 cm. We draw bend lines, cut off the excess at the corners and add a watercolor base.
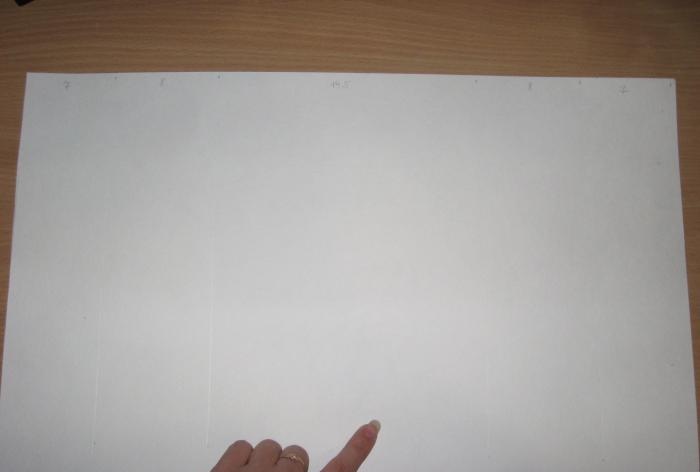
Now we need to glue binding strips onto three edges to make the box hard. We cut two strips 7.5 by 19 cm and one 7.5 by 24 cm. We glue them on the inside with double-sided tape and stitch them on the outside. Inside the workpiece we glue a scrap rectangle 19 by 24 cm.
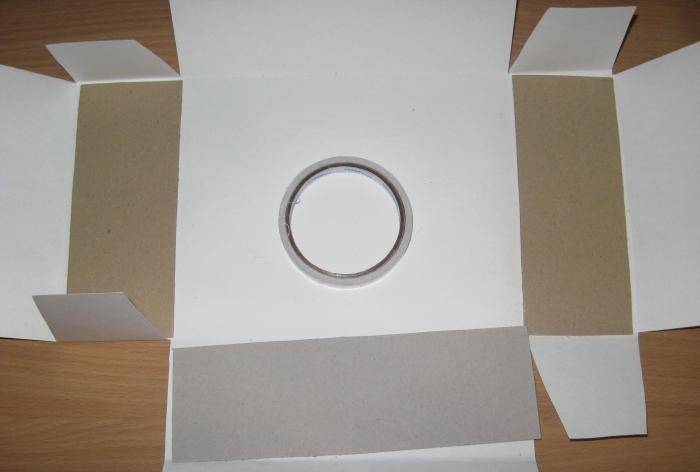

We also sew on the rectangle itself.
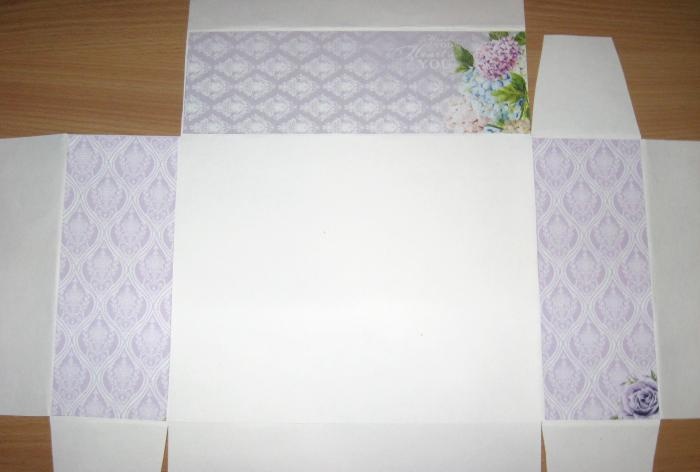
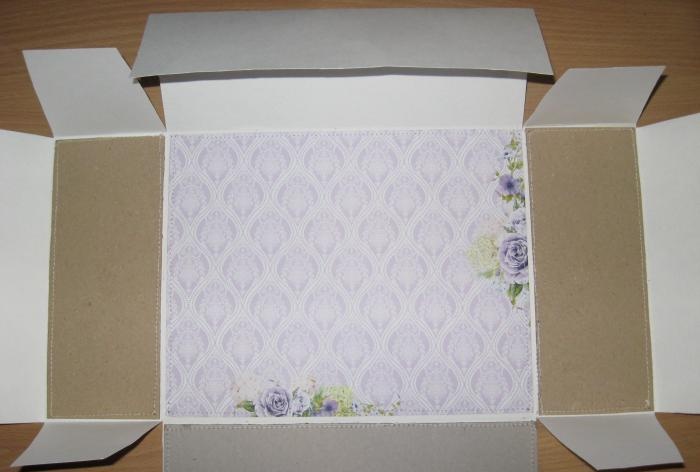
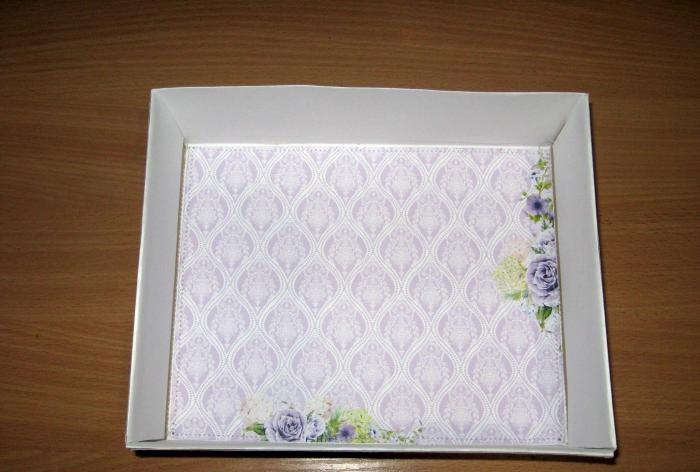
Now we assemble and glue the box. Now we need to glue this box into the cover. Close the box and put something not too heavy so that the glue will set well. We also cover the inside of the box with strips of scrap paper.
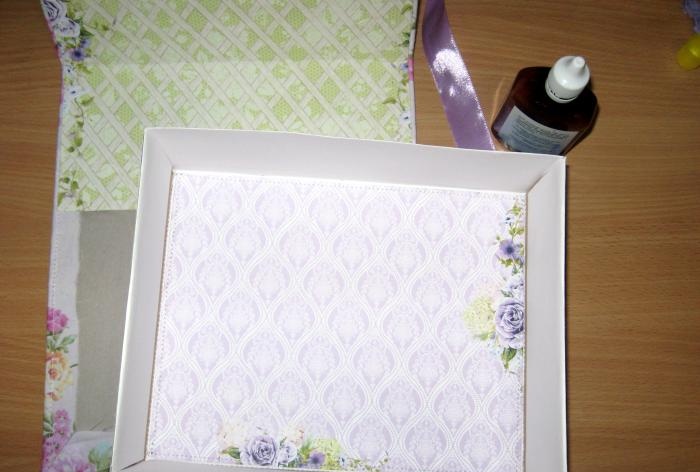
Now we glue the personalized chipboard, as well as leaves and flowers.
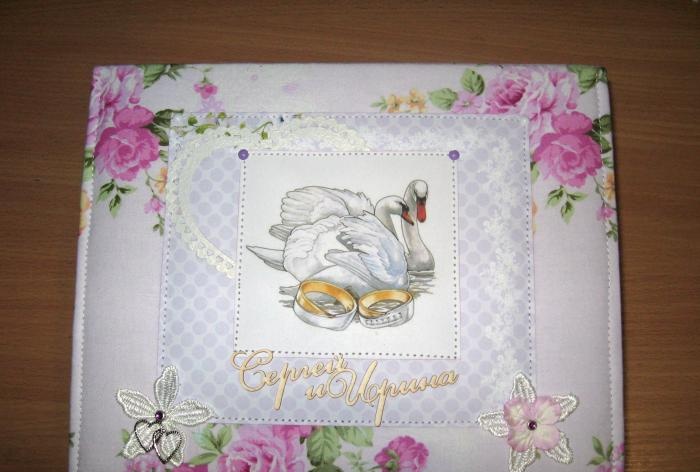
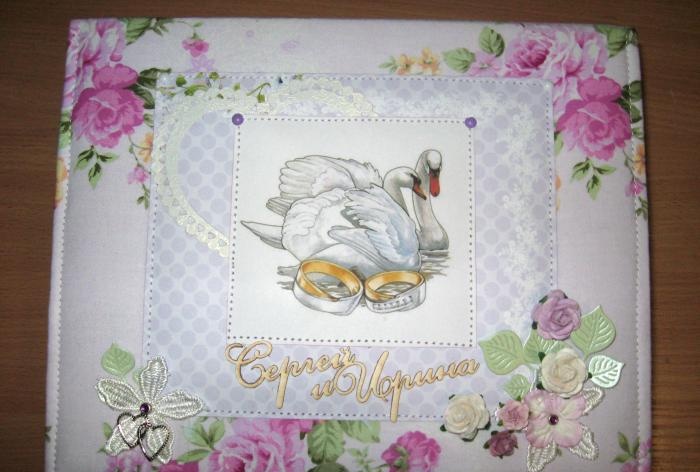
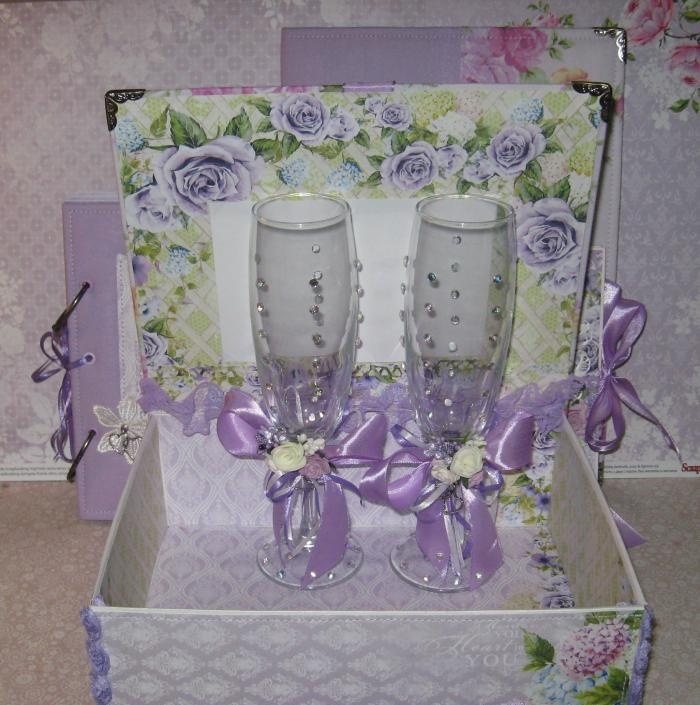
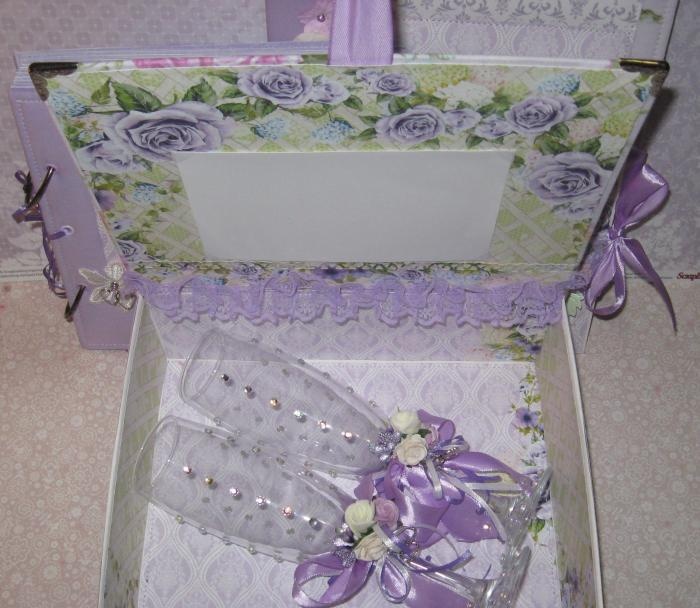
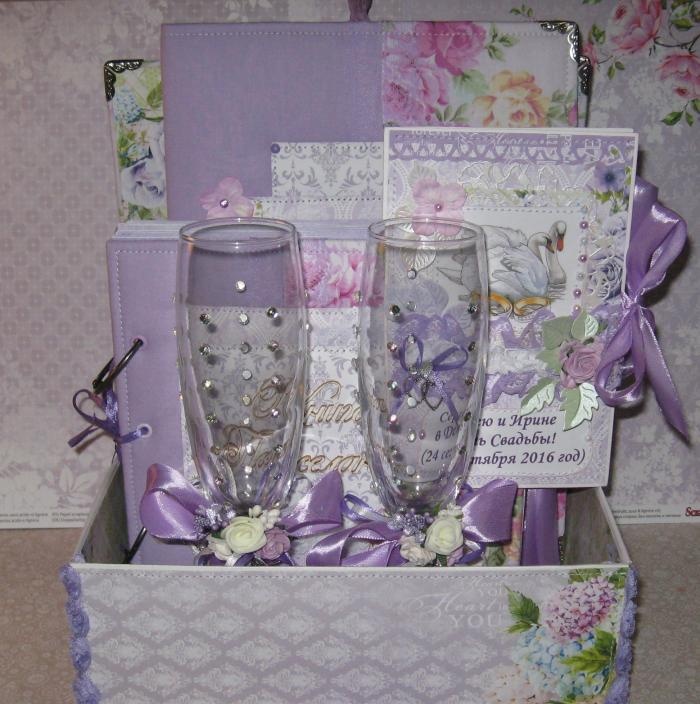
The box is ready, we put glasses and other wedding small things into it. Thank you for your attention, good luck to everyone and see you!
To make a wedding box we take:
• 20 by 25 cm, four sheets of thick binding cardboard;
• Sintepon 100 sheets;
• Lilac fabric with floral print, Korean 100% cotton;
• Lilac satin ribbon 25 mm wide;
• Picture with a pair of swans;
• Scrappaper in mint-lilac color, three sheets measuring 30.5 by 30.5 cm;
• Die cut white heart;
• Die-cut turquoise flowers from mother-of-pearl cardboard;
• White fabric flowers;
• Brads with purple stones;
• Chipboard named “Sergey and Irina”;
• Paper roses are white, lilac and purple;
• Curb hole punch;
• Pendant metal pair of hearts;
• Large metal corners;
• Transparent corners for photos;
• White cardboard;
• Sheet of watercolor paper A1 format;
• Violet metal brads;
• Hydrangea flowers light lilac 2.5 cm;
• Glue stick;
• Double-sided tape;
• Purple lace with elastic;
• Pencil, ruler, adhesive tape effect;
• Scissors, lighter.


We take sheets of cardboard 20 by 25 cm, cut another 8 by 25 cm, and also cut two strips of cardboard 4 by 25 cm.


We lay out the binding parts tightly together and glue them into one single piece using a glue stick. We spread strips of cardboard and glue them to the joints and smooth them well. Now we draw creasing lines with scissors so that the base folds.


We turn the workpiece over and cover it with strips of double-sided tape, and glue the padding polyester.


Now we cut the fabric for the entire workpiece with reserves on all sides for tucking. We also cut two strips of tape.


We iron the fabric and ribbons under the parka, place the fabric with the picture down, place a blank cover on it and smear the corners with a glue stick.


We wrap and fix first the corners evenly and beautifully, and then all the sides. Glue strips of tape in the middle.


We fold and try on the paper, picture and cutting on the cover. We sew a rectangle, then glue a heart onto it, and on top of the heart we sew a picture with swans.


We attach the flowers and pendant using brads. Now we cut out the base of the box from watercolor paper.We divide on both sides into parts 7 by 8 by 19.5 by 8 by 7 cm, and from the other two 7 by 8 by 24.5 by 8 by 7 cm. We draw bend lines, cut off the excess at the corners and add a watercolor base.


Now we need to glue binding strips onto three edges to make the box hard. We cut two strips 7.5 by 19 cm and one 7.5 by 24 cm. We glue them on the inside with double-sided tape and stitch them on the outside. Inside the workpiece we glue a scrap rectangle 19 by 24 cm.


We also sew on the rectangle itself.


Now we assemble and glue the box. Now we need to glue this box into the cover. Close the box and put something not too heavy so that the glue will set well. We also cover the inside of the box with strips of scrap paper.


Now we glue the personalized chipboard, as well as leaves and flowers.


The box is ready, we put glasses and other wedding small things into it. Thank you for your attention, good luck to everyone and see you!


Similar master classes
Particularly interesting
Comments (0)

