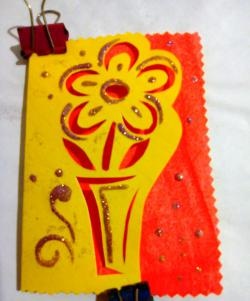
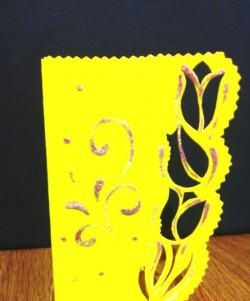
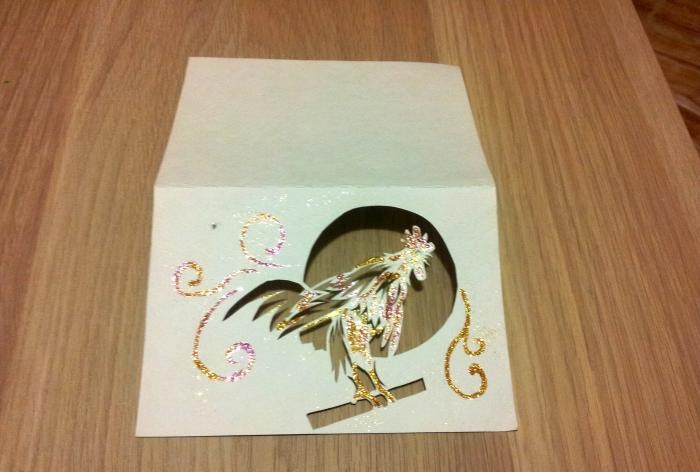
New Year's card "Golden Cockerel"
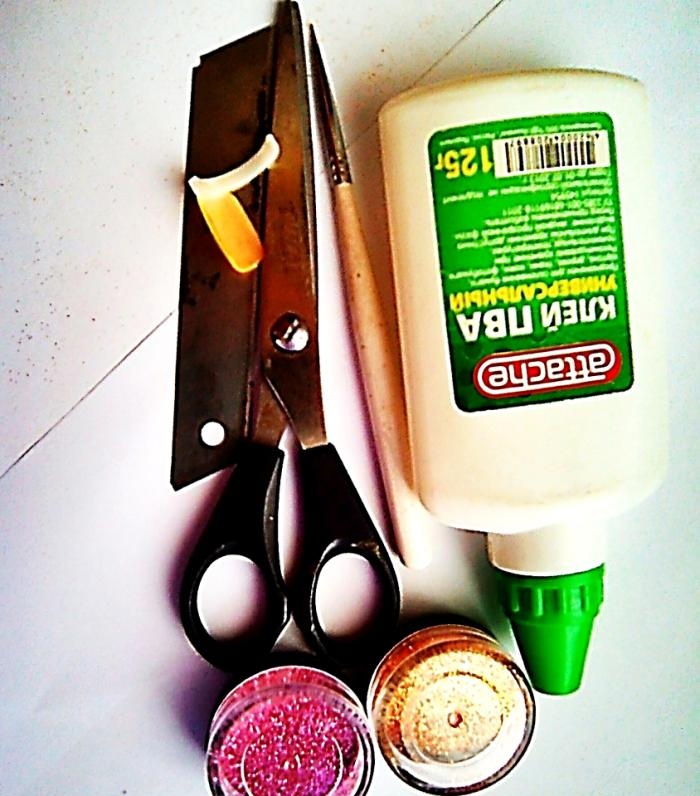
Materials used:
A handmade card is not just part of a gift, it is proof of a serious approach to choosing a present. Such things are always individual and unique. Therefore, it is worth thinking about what you will make the postcard from. As a base, you can use a simple landscape sheet or special double-sided paper, which is colored on each side in a different color. I would like to note that postcards made using the figured cutting technique look most impressive on such paper. However, if you do not have the opportunity to purchase such materials, and simple sheets from a sketchbook are not thick enough or look too simple, you can use watercolor paper, as done in this master class.
Watercolor paper is a little denser than landscape paper, has a pleasant porous structure and, in addition, you can paint it yourself in different colors without fear of deformation.Among other things, cutting out parts from such paper is quite simple, unlike cardboard, which is too dense for this technique.
You can use any glitter, but preferably small or medium. A combination of several colors will look beautiful. Don’t forget that the symbol of 2017 is a fiery rooster, so we select the appropriate color scheme. In addition, for the sparkles we will need a spatula or something that will be convenient to carefully pour them onto the paper.
The PVA glue should be thick enough and not spread, and the brush for applying it should be thin enough to be able to apply the intended pattern.
I would also like to say something about the cutting knife. It is best to use a special one - a breadboard one, but even a simple stationery one, or even a blade from it, will do. However, using a blade without a knife is quite dangerous, and if it so happens that the knife is broken and you urgently need to cut, be careful!
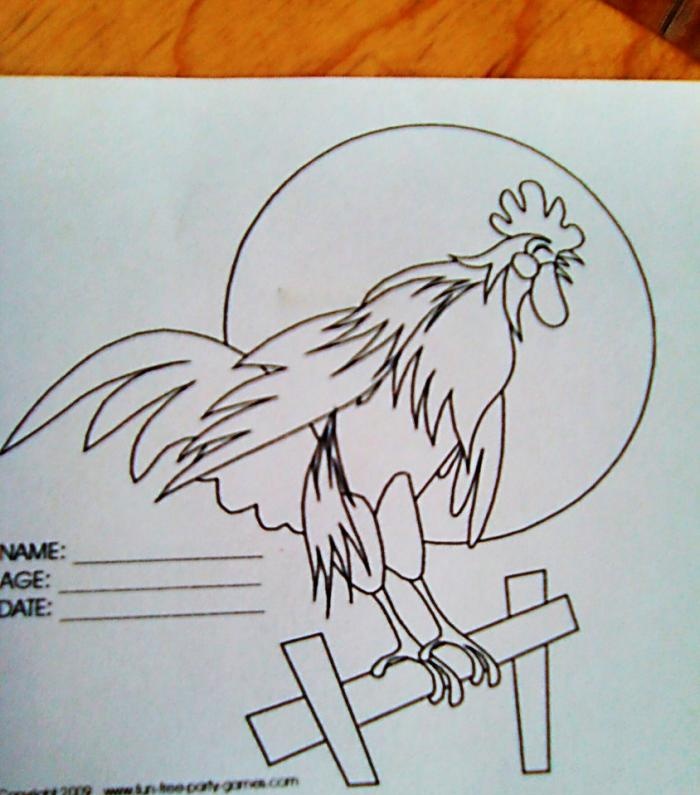
First, we come up with and draw a suitable picture or simply print it out on plain office paper.
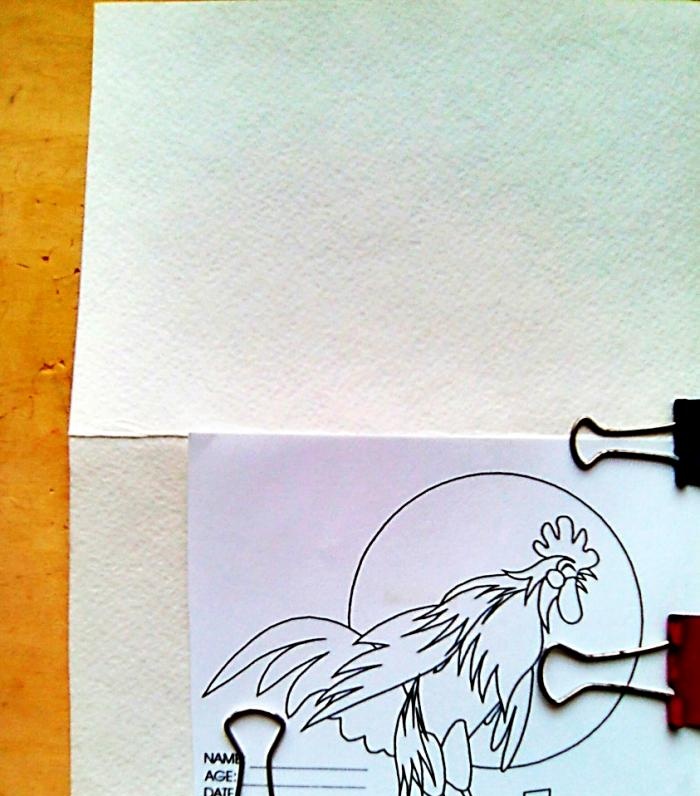
Then we prepare the base for the postcard. To do this, take paper of a suitable format, bend it in half, and, if necessary, cut it with simple or curly scissors.
After that, we securely attach the resulting drawing to the postcard.
We shade the cutting area and check carefully so as not to cut off too much.
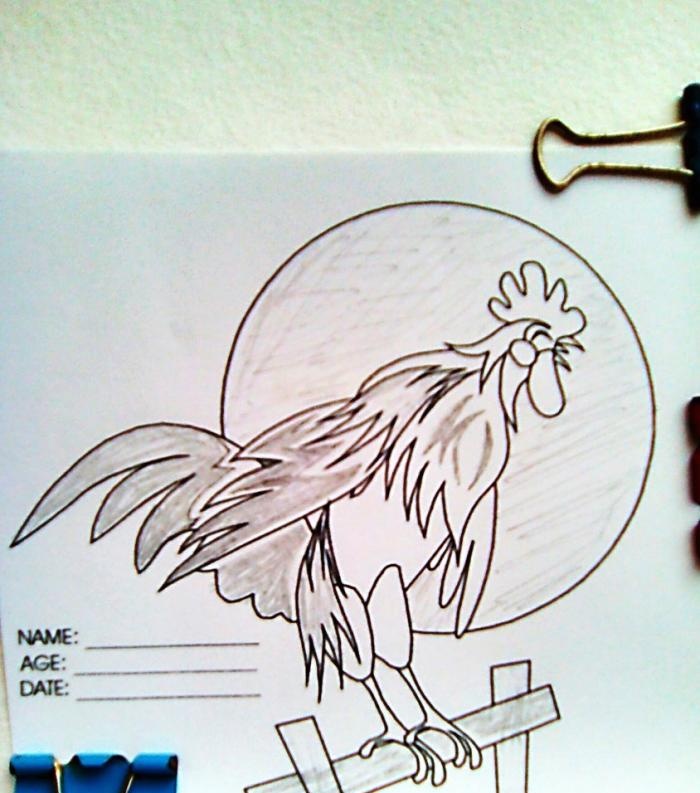
Let's start cutting. Naturally, you need to do all this while sitting at a table with good lighting and place a wooden board or an old magazine under the postcard.
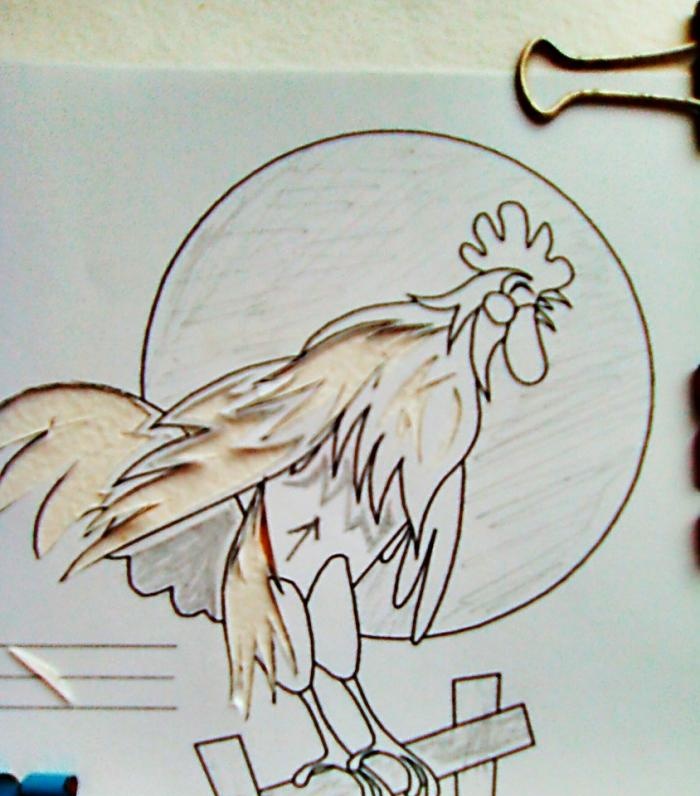
We remove the clips, carefully separate the sheet with the picture from the postcard, and squeeze out the resulting elements.
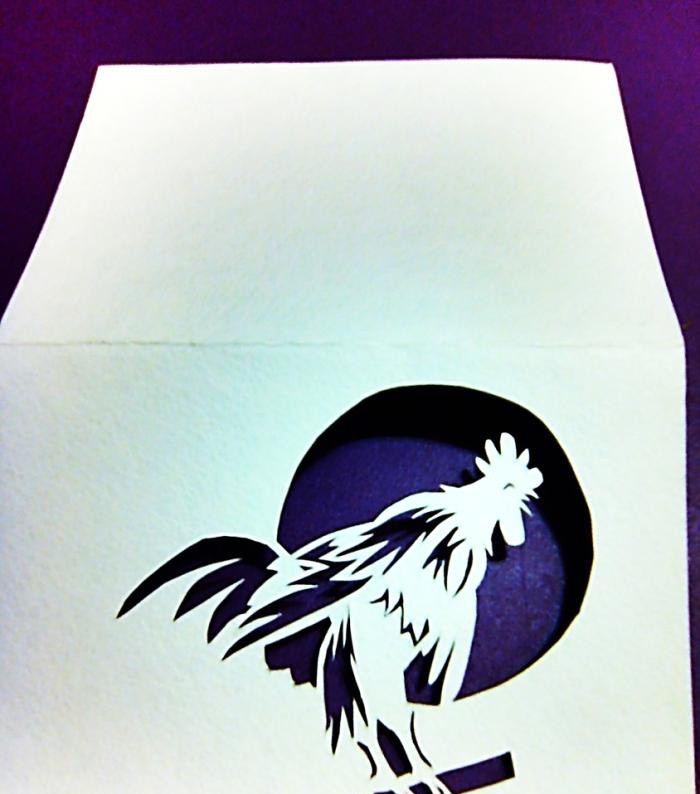
We come up with a pattern for applying glitter, apply glue to selected areas using a thin brush.
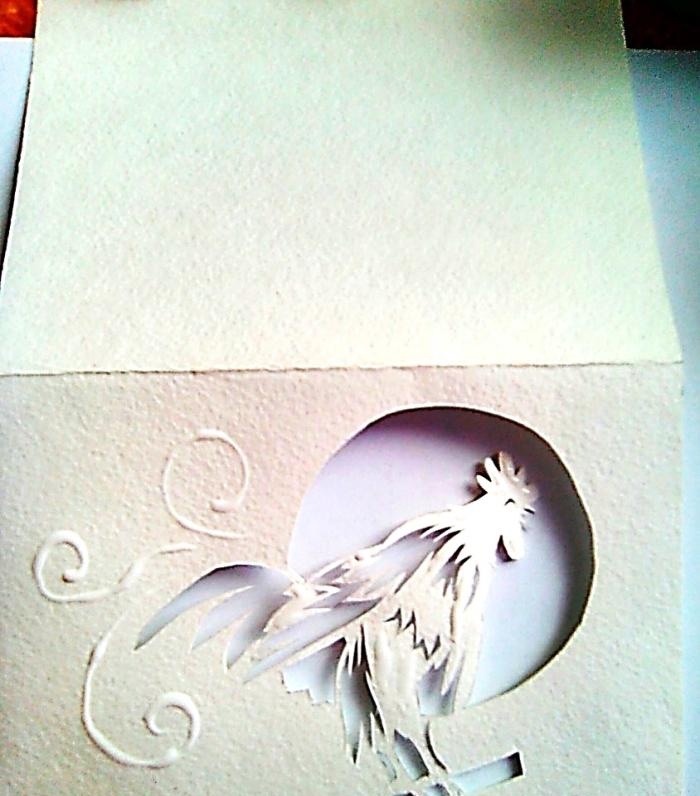
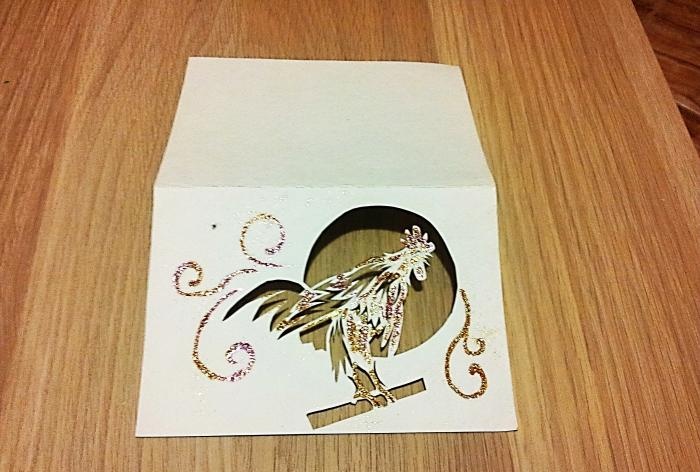
Using a spatula or available tools, sprinkle glitter of different colors one by one. It’s very convenient to do this on a clean sheet of paper, then you can simply shake off the excess glitter back into the jar.
- Thick paper;
- Sequins;
- PVA glue;
- Thin brush;
- A stationery knife (or at least a blade);
- Paper clips;
- Pen or pencil;
- A spatula for sprinkling glitter (here I used a nail tip).

Selection of materials
A handmade card is not just part of a gift, it is proof of a serious approach to choosing a present. Such things are always individual and unique. Therefore, it is worth thinking about what you will make the postcard from. As a base, you can use a simple landscape sheet or special double-sided paper, which is colored on each side in a different color. I would like to note that postcards made using the figured cutting technique look most impressive on such paper. However, if you do not have the opportunity to purchase such materials, and simple sheets from a sketchbook are not thick enough or look too simple, you can use watercolor paper, as done in this master class.
Watercolor paper is a little denser than landscape paper, has a pleasant porous structure and, in addition, you can paint it yourself in different colors without fear of deformation.Among other things, cutting out parts from such paper is quite simple, unlike cardboard, which is too dense for this technique.
You can use any glitter, but preferably small or medium. A combination of several colors will look beautiful. Don’t forget that the symbol of 2017 is a fiery rooster, so we select the appropriate color scheme. In addition, for the sparkles we will need a spatula or something that will be convenient to carefully pour them onto the paper.
The PVA glue should be thick enough and not spread, and the brush for applying it should be thin enough to be able to apply the intended pattern.
I would also like to say something about the cutting knife. It is best to use a special one - a breadboard one, but even a simple stationery one, or even a blade from it, will do. However, using a blade without a knife is quite dangerous, and if it so happens that the knife is broken and you urgently need to cut, be careful!
Progress
First, we come up with and draw a suitable picture or simply print it out on plain office paper.

Then we prepare the base for the postcard. To do this, take paper of a suitable format, bend it in half, and, if necessary, cut it with simple or curly scissors.
After that, we securely attach the resulting drawing to the postcard.

We shade the cutting area and check carefully so as not to cut off too much.

Let's start cutting. Naturally, you need to do all this while sitting at a table with good lighting and place a wooden board or an old magazine under the postcard.

We remove the clips, carefully separate the sheet with the picture from the postcard, and squeeze out the resulting elements.

We come up with a pattern for applying glitter, apply glue to selected areas using a thin brush.

Using a spatula or available tools, sprinkle glitter of different colors one by one. It’s very convenient to do this on a clean sheet of paper, then you can simply shake off the excess glitter back into the jar.


Similar master classes
Particularly interesting
Comments (0)

