How to make a dart dart with your own hands
Throwing darts is a great way to have fun for both children and adults. You can hang a target and practice your accuracy in your apartment, office, courtyard, or nightclub. But ready-made game sets of this type go on sale, equipped with three, maximum five “shells”. However, there is always a possibility that the dart will be lost or broken. What to do in this case, run to the store? Not necessary. You can do everything yourself.
In order to make a dart for darts with your own hands, when starting work, you must first prepare the following consumables:
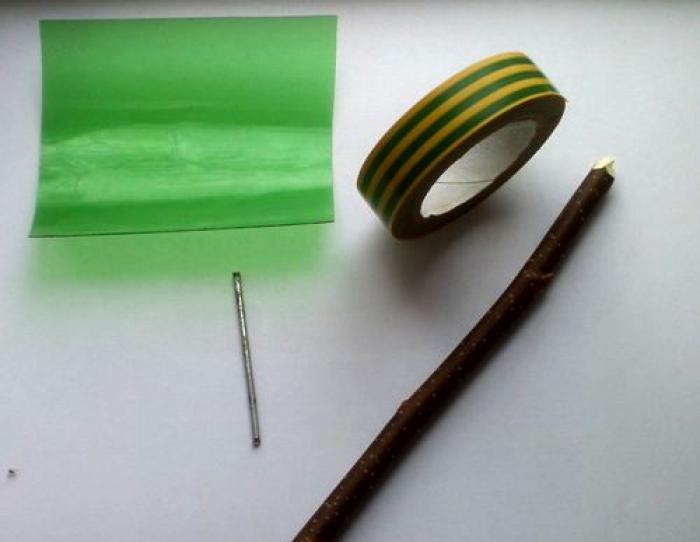
Ideal tools:
The manufacturing process takes no more than 20 minutes.
In the first step, we cut off a fragment 8-10 centimeters long from the prepared branch, after which we remove the bark.You don't have to do the latter, but there is a chance that the dart will become deformed as it dries. An additional problem may be peeling of the bark, which will lead to disruption of the aerodynamic properties of the product and a deterioration in the degree of accuracy when throwing.
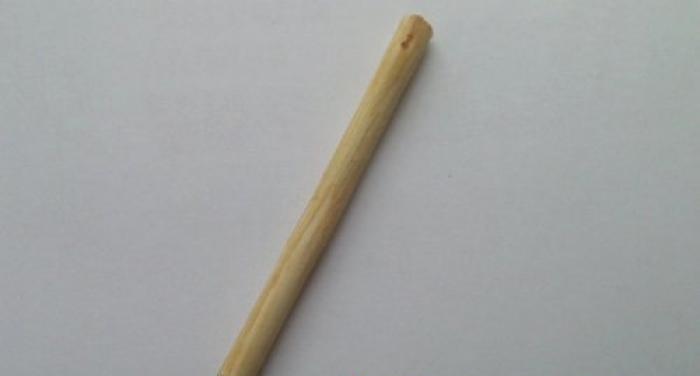
The next step is to wrap the insulating tape on one edge of the wooden fragment, as well as in the middle.

Next, it is necessary, starting from the end where there is no insulation, to make two perpendicular cuts up to 3 centimeters deep into the branch. The wings of the product will subsequently be inserted into them.
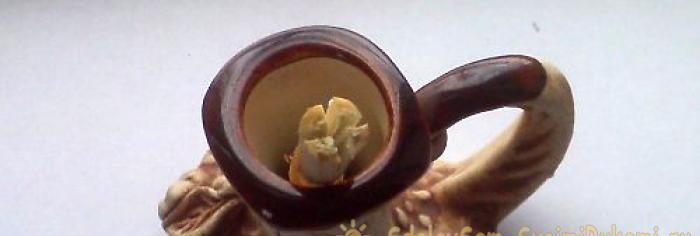
We proceed to making the “plumage” from a piece of plastic bottle prepared in advance. You need to cut out a couple of elements, giving them the shape as in the picture below.
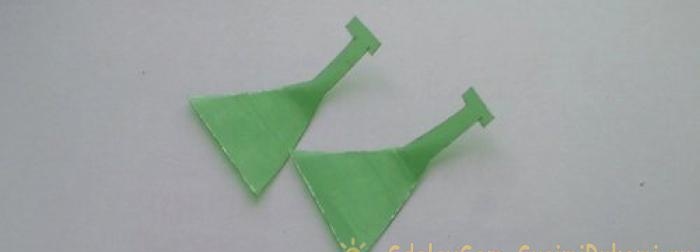
In the next step, bend the wings in the middle, achieving an angle of 90 degrees.
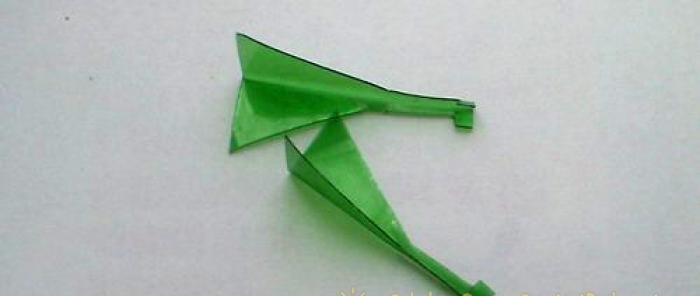
Gently tapping, immerse the knitting needle or nail into the wood. This is done on the side where the insulating tape is wound.
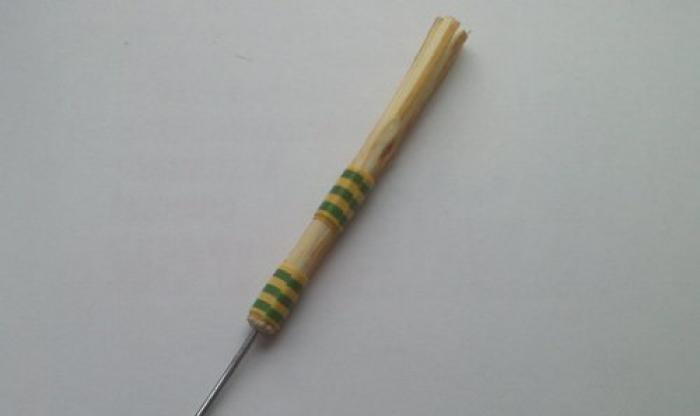
Next step: insert the plumage elements. The following photo demonstrates how to do this.
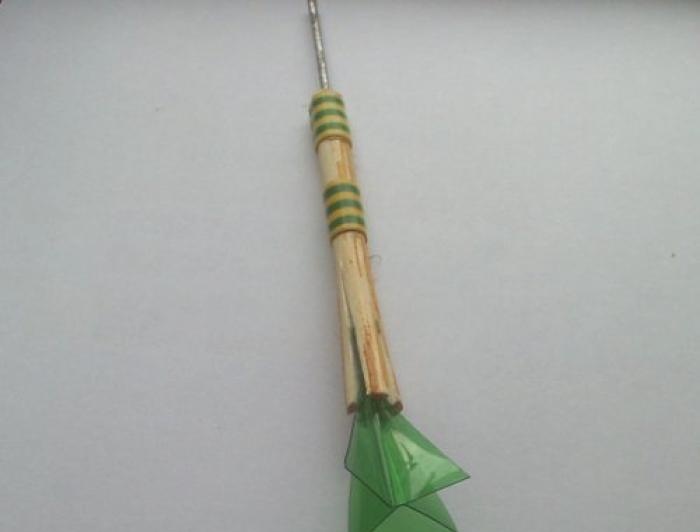
Now we wrap the tail edge of the dart with electrical tape. The wound tape will tightly tighten the cut end, and the tendrils on the plastic will not allow the “feathers” to jump out.
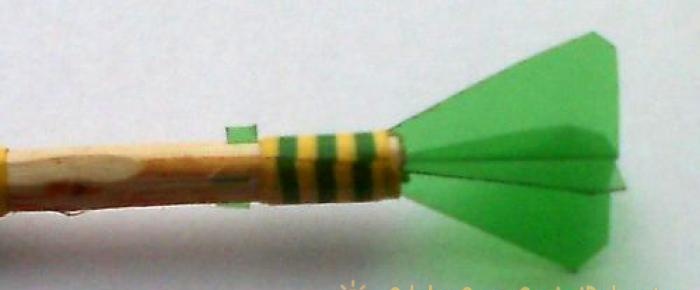
The last thing is sharpening the tip using an existing abrasive in the form of sandpaper, a block, a file, a grinder or a machine.

In this way, you can make as many darts as you like without spending a penny.
What materials and tools will be needed
In order to make a dart for darts with your own hands, when starting work, you must first prepare the following consumables:
- A straight tree branch, preferably elm;
- Insulating tape;
- Plastic bottle;
- A small bicycle spoke or nail, for example, 50 millimeters in length.

Ideal tools:
- Knife;
- Stationery scissors;
- Pliers;
- Some kind of abrasive for sharpening.
The manufacturing process takes no more than 20 minutes.
Step-by-step instruction
In the first step, we cut off a fragment 8-10 centimeters long from the prepared branch, after which we remove the bark.You don't have to do the latter, but there is a chance that the dart will become deformed as it dries. An additional problem may be peeling of the bark, which will lead to disruption of the aerodynamic properties of the product and a deterioration in the degree of accuracy when throwing.

The next step is to wrap the insulating tape on one edge of the wooden fragment, as well as in the middle.

Next, it is necessary, starting from the end where there is no insulation, to make two perpendicular cuts up to 3 centimeters deep into the branch. The wings of the product will subsequently be inserted into them.

We proceed to making the “plumage” from a piece of plastic bottle prepared in advance. You need to cut out a couple of elements, giving them the shape as in the picture below.

In the next step, bend the wings in the middle, achieving an angle of 90 degrees.

Gently tapping, immerse the knitting needle or nail into the wood. This is done on the side where the insulating tape is wound.

Next step: insert the plumage elements. The following photo demonstrates how to do this.

Now we wrap the tail edge of the dart with electrical tape. The wound tape will tightly tighten the cut end, and the tendrils on the plastic will not allow the “feathers” to jump out.

The last thing is sharpening the tip using an existing abrasive in the form of sandpaper, a block, a file, a grinder or a machine.

In this way, you can make as many darts as you like without spending a penny.
Similar master classes
Particularly interesting
Comments (1)

