Hemisphere shelf
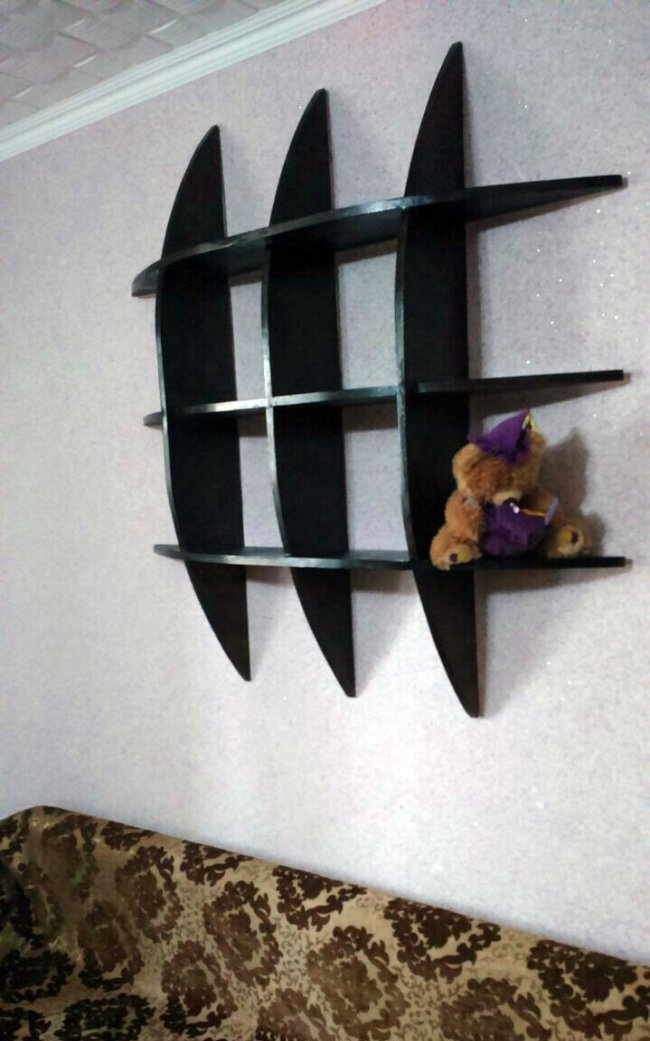
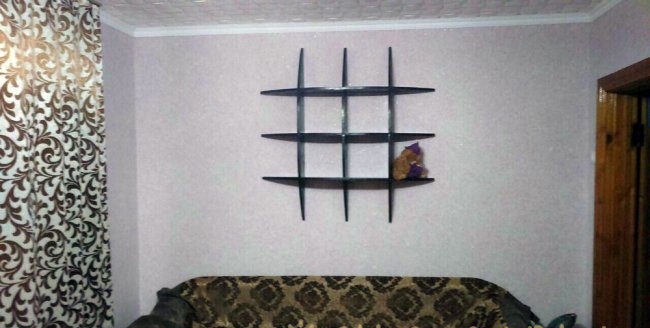
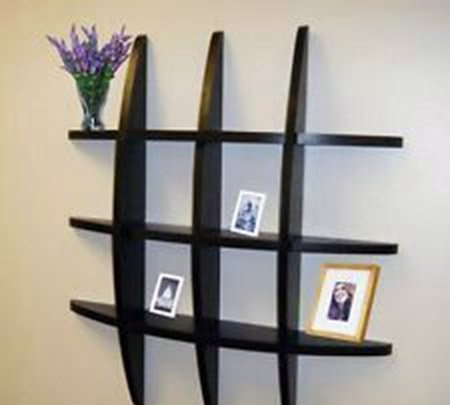
Such a shelf will fit perfectly into the middle of a bare wall, remove the appearance of emptiness and make your home more comfortable and functional.
You can put books, photo frames, various figurines and much more on the shelf.
The shelf has zoning, so you can put everything in a row and it won’t look like a mess.
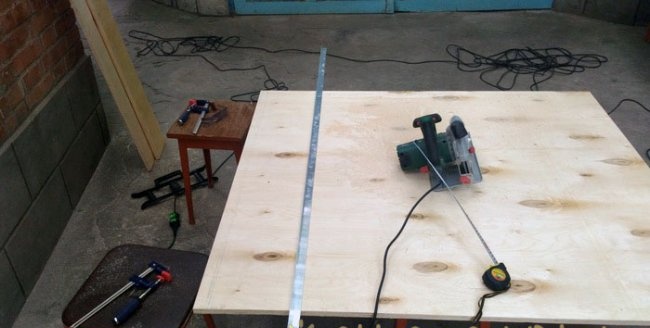
For work we need a sheet of plywood and woodworking tools. Nothing is in short supply, everything can be found in almost any garage.
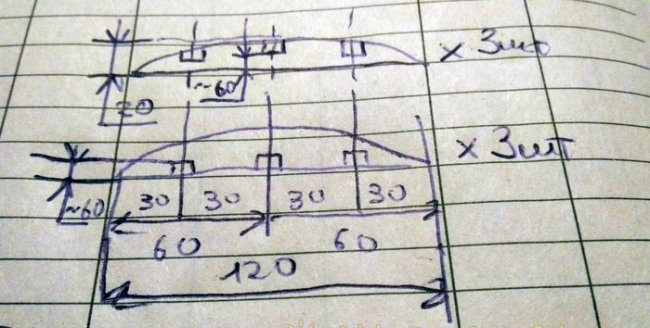
We mark the sheet of plywood according to the sketch I made earlier. I took all the sizes by eye, according to my idea. So look and change as you want, you may not like such a large size, but I took it.
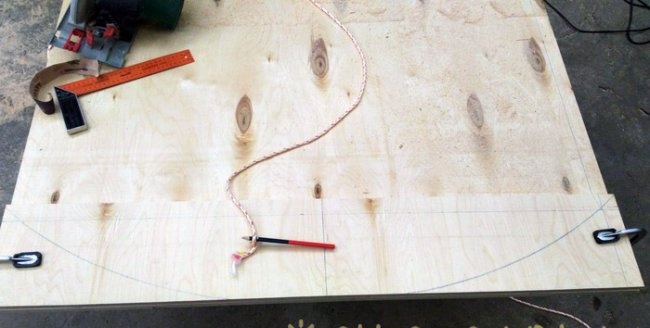
We cut the sheet into strips of the width we need. Then we draw a hemispherical surface. I used a rope and a simple pencil as a compass.
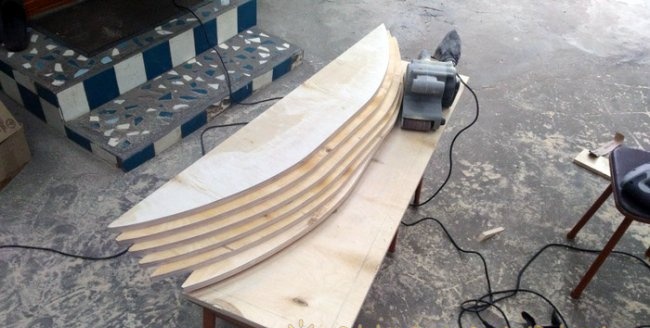
We cut out six identical elements.
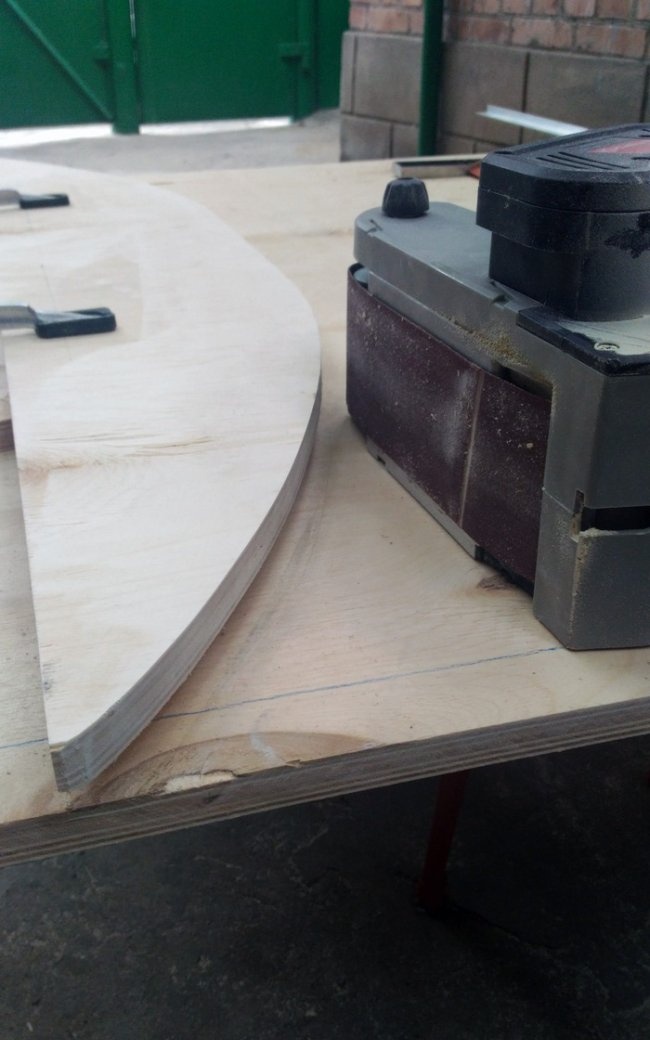
Then we align the edges and remove any unevenness and burrs with a grinding machine.
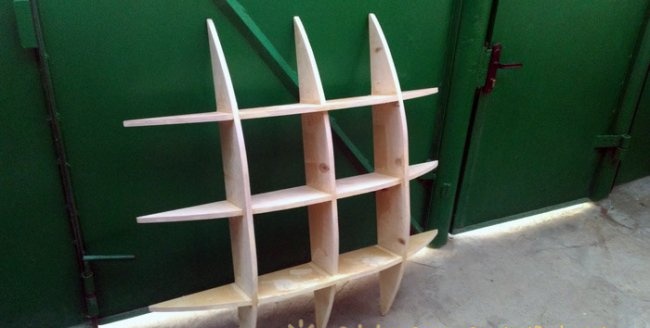
I cut out the grooves with a jigsaw. We are trying to assemble a shelf. If everything is fine and nothing interferes or sticks out, we disassemble it. Lubricate the joints with glue and reassemble the entire structure.
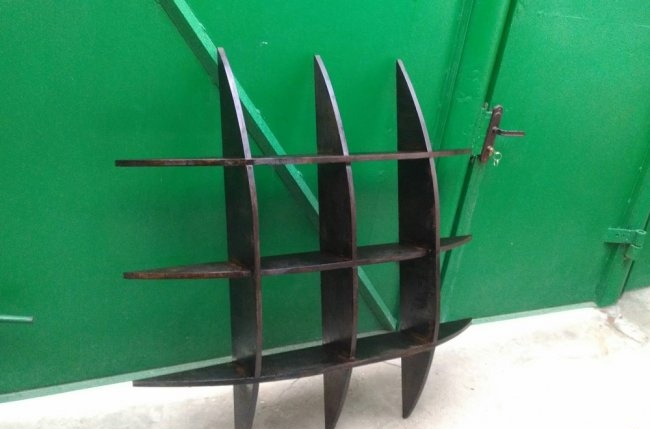
Then we paint. You can apply stain in a couple of layers, and varnish on top.Or you can immediately varnish with dye.
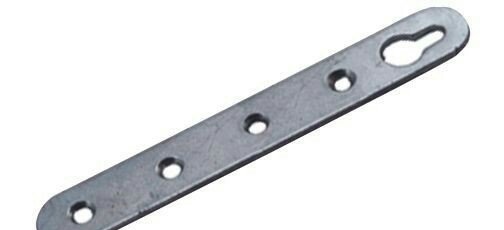
The shelf is attached to the wall using these fasteners, which can be bought without any problems at any store that sells fasteners.
Two fasteners will be quite enough.
I took black enamel, so in my opinion it looks a little different from what I would like, too strict. Although the idea seems quite interesting to me. Thank you all for your attention.
You can put books, photo frames, various figurines and much more on the shelf.
The shelf has zoning, so you can put everything in a row and it won’t look like a mess.

For work we need a sheet of plywood and woodworking tools. Nothing is in short supply, everything can be found in almost any garage.
We mark the sheet of plywood according to the sketch I made earlier. I took all the sizes by eye, according to my idea. So look and change as you want, you may not like such a large size, but I took it.
We cut the sheet into strips of the width we need. Then we draw a hemispherical surface. I used a rope and a simple pencil as a compass.
We cut out six identical elements.
Then we align the edges and remove any unevenness and burrs with a grinding machine.
I cut out the grooves with a jigsaw. We are trying to assemble a shelf. If everything is fine and nothing interferes or sticks out, we disassemble it. Lubricate the joints with glue and reassemble the entire structure.
Then we paint. You can apply stain in a couple of layers, and varnish on top.Or you can immediately varnish with dye.
The shelf is attached to the wall using these fasteners, which can be bought without any problems at any store that sells fasteners.
Two fasteners will be quite enough.

I took black enamel, so in my opinion it looks a little different from what I would like, too strict. Although the idea seems quite interesting to me. Thank you all for your attention.
Similar master classes
Particularly interesting
Comments (0)

