Simple spot welding machine
In amateur radio practice, resistance welding is not often used, but it still happens. And when such a case comes, but there is neither the desire nor the time to make a good and large machine for spot welding. Yes, even if you do it, then later it will lie idle, since its next use may not come.
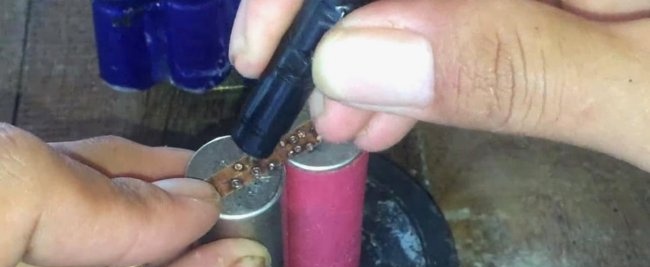
For example, you need to connect several batteries in a circuit. They are connected with a thin metal strip, without soldering, since batteries are generally not recommended for soldering. For such purposes, I will show you how to assemble a simple spot welding machine with your own hands in about 30 minutes.
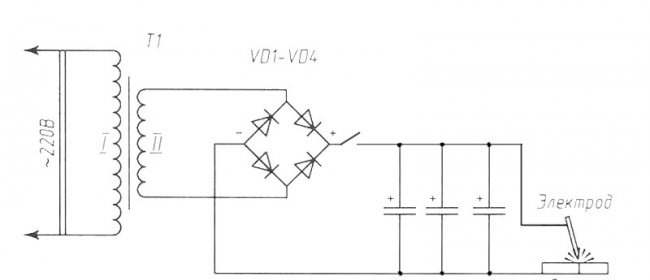
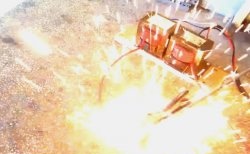
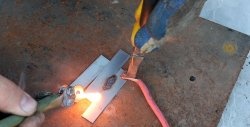
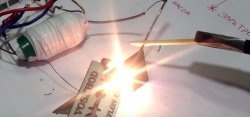
The operation of the device is very simple.When you press the button installed on the welding fork, the capacitors are charged to 30 V. After this, a potential appears on the welding fork, since the capacitors are connected in parallel to the fork. In order to weld metals, we connect them and press them with a fork. When the contacts are closed, a short circuit occurs, as a result of which sparks jump and the metals are welded together.
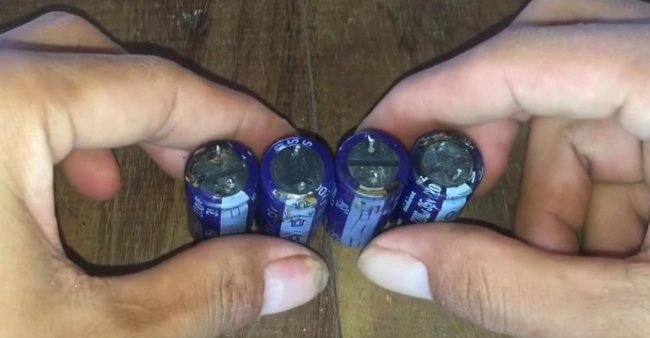
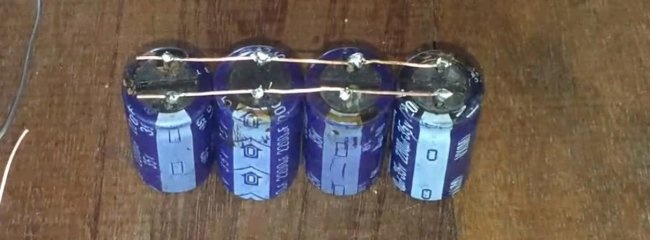
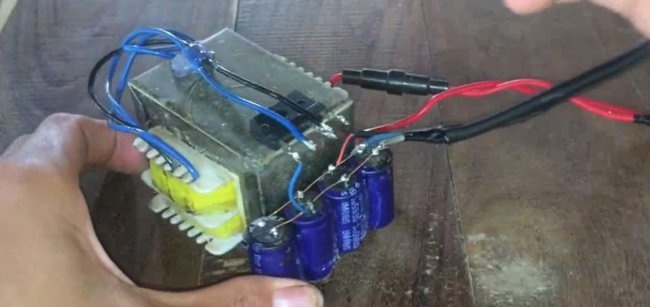
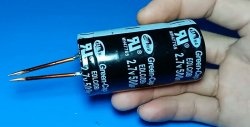
Solder the capacitors together.
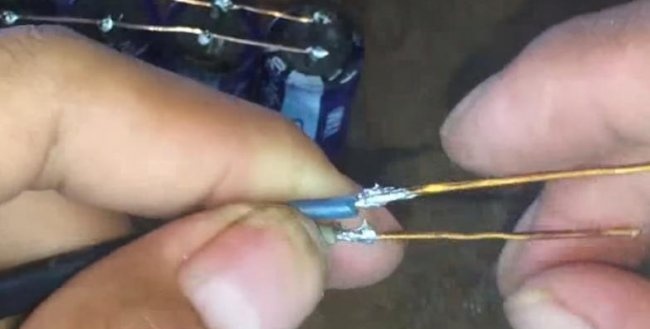
Making a welding fork. To do this, take two pieces of thick copper wire. And solder it to the wires, insulating the soldering points with electrical tape.
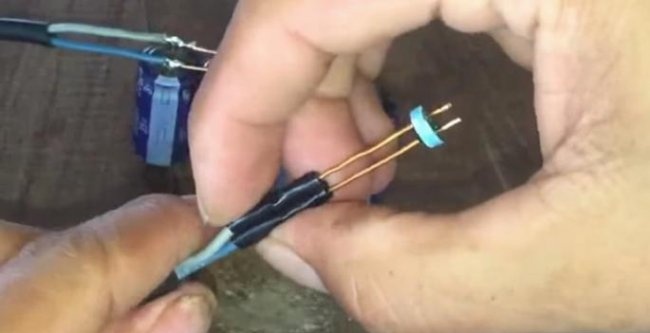
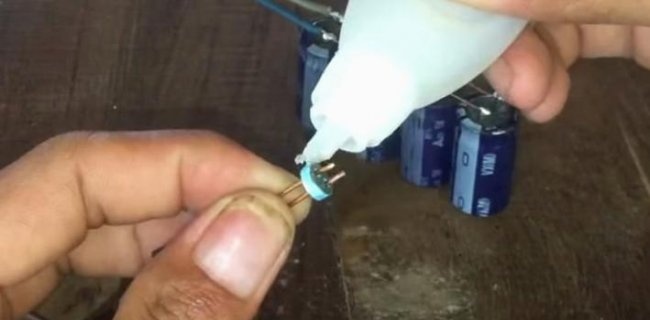
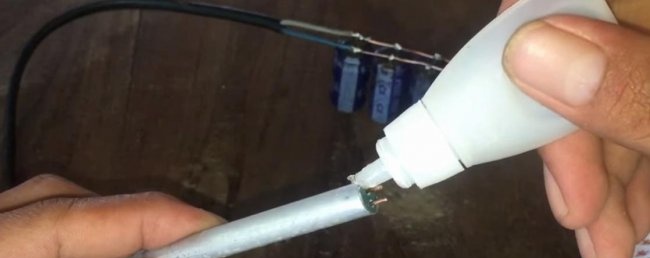
The body of the plug will be an aluminum tube with a plastic plug through which the welding leads will stick out. To prevent the leads from falling through, we place them on glue.
We also place a plug on the glue.
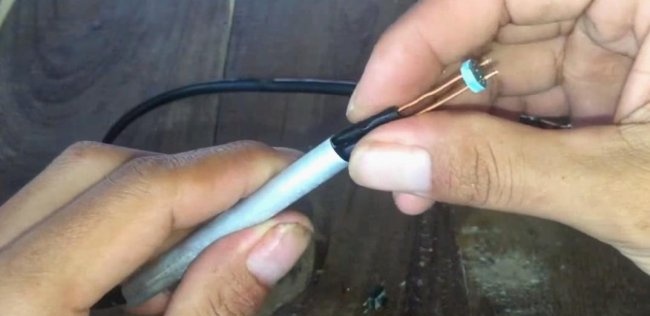
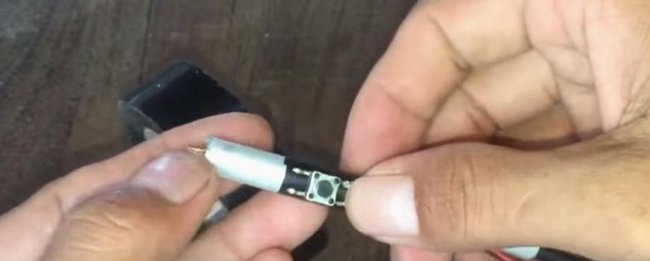
Solder the wires to the button and attach the button to the plug. We wrap everything with electrical tape.
That is, four wires go to the welding plug: two for welding electrodes and two for the button.
We assemble the device, solder the plug and button.
Turn it on and press the charge button. The capacitors are charging.
We measure the voltage on the capacitors. It is approximately 30 V, which is quite acceptable.
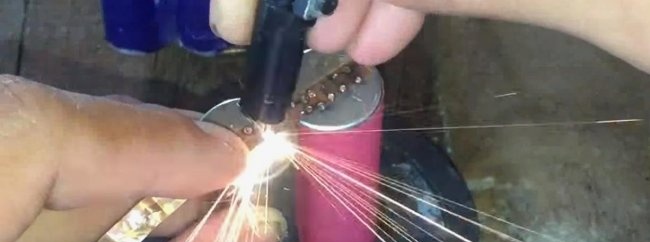
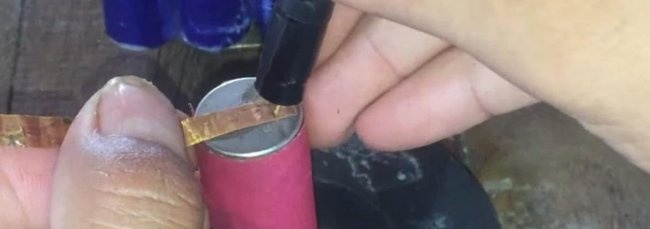
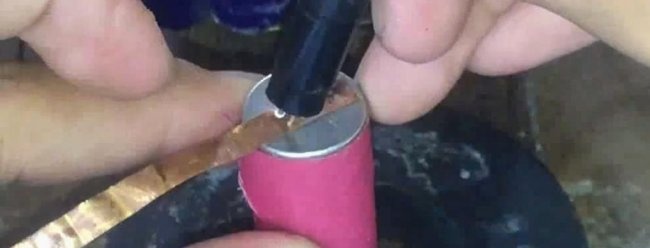
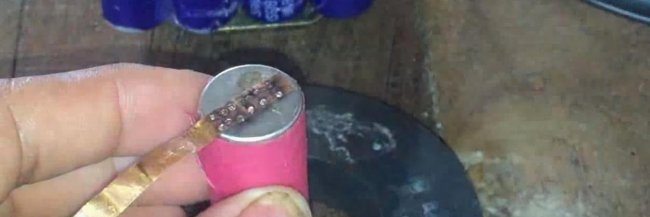
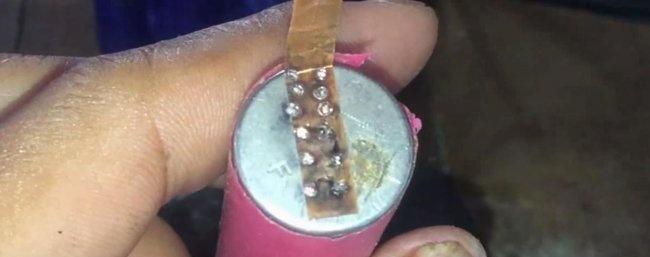
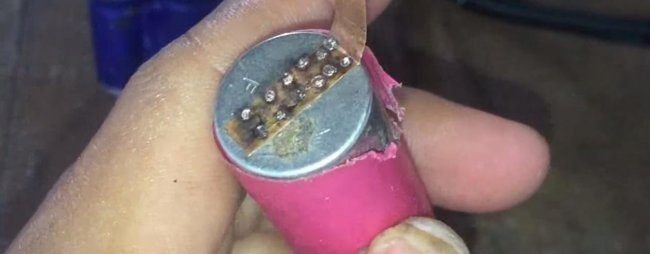
Let's try to weld metals. In principle, it is tolerable, considering that I did not take completely new capacitors. The tape holds up pretty well.
But if you need more power, then you can modify the circuit like this.
The first thing that catches your eye is the larger number of capacitors, which significantly increases the power of the entire device.
Next, instead of a button - a resistor with a resistance of 10-100 Ohms. I decided that I’d stop fiddling with the button - everything charges itself in 1-2 seconds. Plus, the button does not stick. After all, the instantaneous charge current is also decent.
And the third is the choke in the fork circuit, consisting of 30-100 turns of thick wire on a ferrite core. Thanks to this choke, the instantaneous welding time will be increased, which will improve its quality, and the life of the capacitors will be extended.
Capacitors used in such a resistance welding machine are doomed to early failure, since such overloads are not desirable for them. But they are more than enough for several hundred welding joints.
For example, you need to connect several batteries in a circuit. They are connected with a thin metal strip, without soldering, since batteries are generally not recommended for soldering. For such purposes, I will show you how to assemble a simple spot welding machine with your own hands in about 30 minutes.
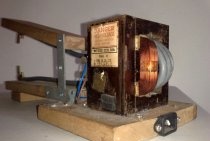
- We need an AC transformer with a secondary winding voltage of 15-25 Volts. Load capacity doesn't matter.
- Capacitors. I took 2200 uF - 4 pieces. You can have more, depending on the power you need to get.
- Any button.
- Wires.
- Copper wire.
- Diode assembly for rectification. You can also use one diode for half-wave rectification.
Diagram of a resistance spot welding machine
The operation of the device is very simple.When you press the button installed on the welding fork, the capacitors are charged to 30 V. After this, a potential appears on the welding fork, since the capacitors are connected in parallel to the fork. In order to weld metals, we connect them and press them with a fork. When the contacts are closed, a short circuit occurs, as a result of which sparks jump and the metals are welded together.
Assembling the welding machine
Solder the capacitors together.
Making a welding fork. To do this, take two pieces of thick copper wire. And solder it to the wires, insulating the soldering points with electrical tape.
The body of the plug will be an aluminum tube with a plastic plug through which the welding leads will stick out. To prevent the leads from falling through, we place them on glue.
We also place a plug on the glue.
Solder the wires to the button and attach the button to the plug. We wrap everything with electrical tape.
That is, four wires go to the welding plug: two for welding electrodes and two for the button.
We assemble the device, solder the plug and button.
Turn it on and press the charge button. The capacitors are charging.
We measure the voltage on the capacitors. It is approximately 30 V, which is quite acceptable.
Let's try to weld metals. In principle, it is tolerable, considering that I did not take completely new capacitors. The tape holds up pretty well.
But if you need more power, then you can modify the circuit like this.
The first thing that catches your eye is the larger number of capacitors, which significantly increases the power of the entire device.
Next, instead of a button - a resistor with a resistance of 10-100 Ohms. I decided that I’d stop fiddling with the button - everything charges itself in 1-2 seconds. Plus, the button does not stick. After all, the instantaneous charge current is also decent.
And the third is the choke in the fork circuit, consisting of 30-100 turns of thick wire on a ferrite core. Thanks to this choke, the instantaneous welding time will be increased, which will improve its quality, and the life of the capacitors will be extended.
Capacitors used in such a resistance welding machine are doomed to early failure, since such overloads are not desirable for them. But they are more than enough for several hundred welding joints.
Watch the assembly and testing video
Similar master classes
Particularly interesting

Cable antenna for digital TV in 5 minutes

A selection of simple and effective schemes.

Three-phase voltage from single-phase in 5 minutes

Starting a three-phase motor from a single-phase network without a capacitor

Eternal flashlight without batteries

How to make an inexpensive but very powerful LED lamp
Comments (11)

