Easter magnets made of plaster
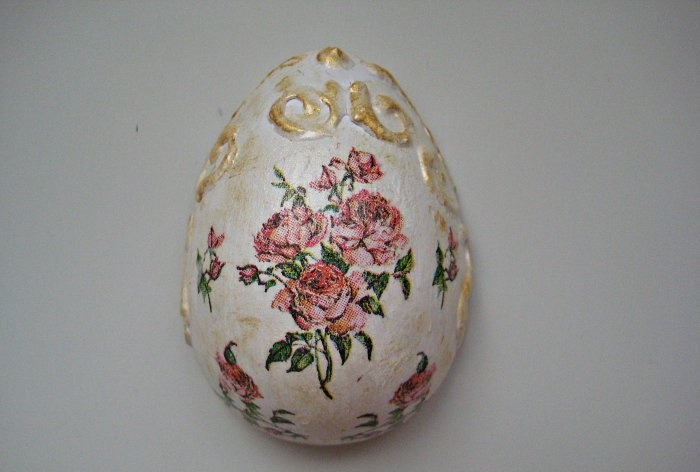
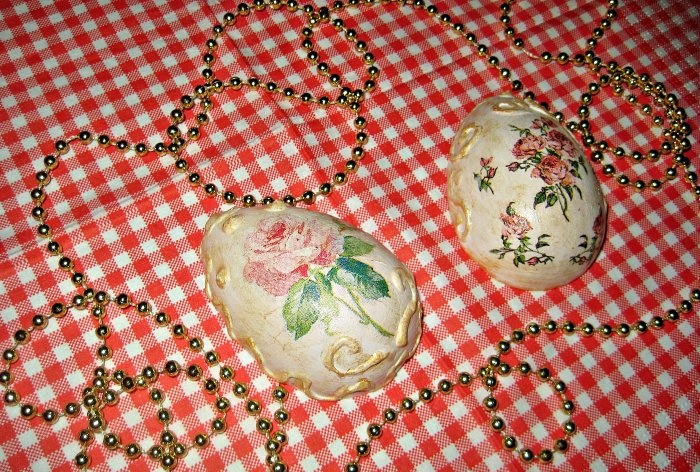
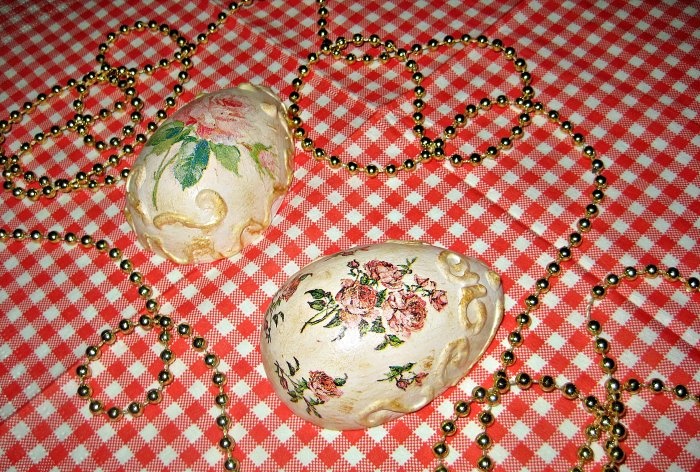
On this wonderful and bright holiday - Easter, I want to give my loved ones not only a good mood, but also spiritual present. And what could be better than a handmade gift? A magnet in the shape of an Easter egg will be a beautiful and memorable gift.
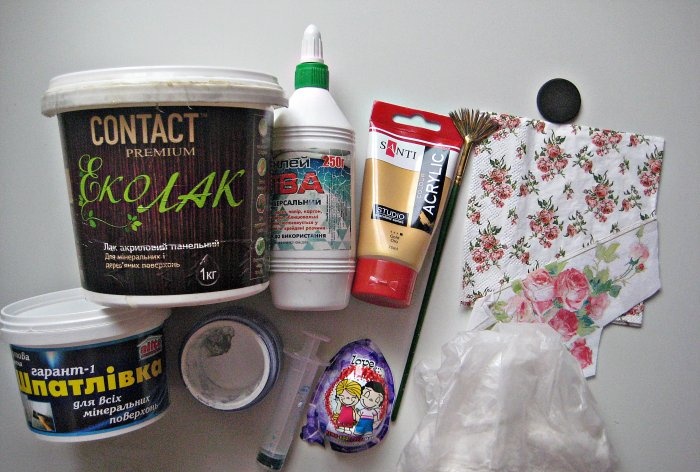
To make a magnet you will need the following materials:
Process of making Easter magnets:
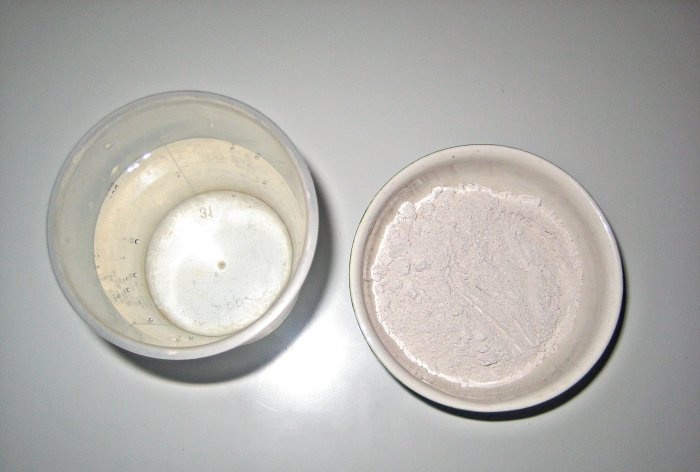
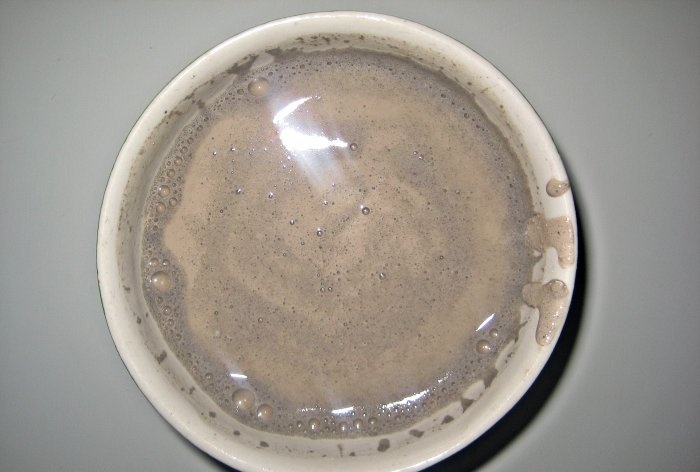
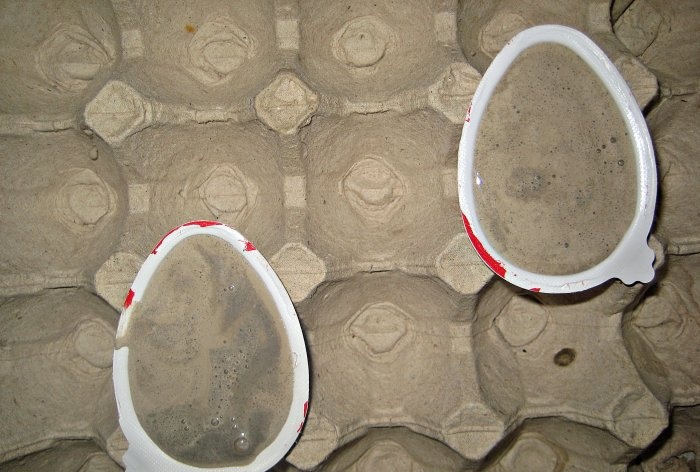
1. First of all, you need to prepare plaster and water. Mix the components so that a liquid gypsum mass is obtained.
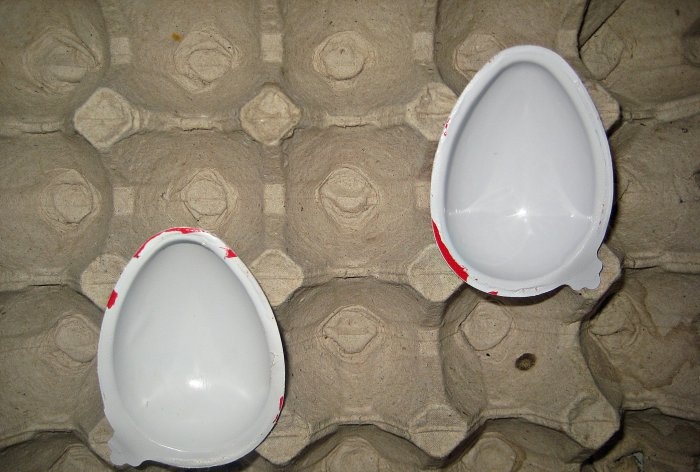
2. Next, prepare the forms for the magnets. At the same time we will make 2 types of magnets, since we have 2 halves from Kinder. To make the shape easier, place it in an egg tray. Then pour the plaster into the molds.
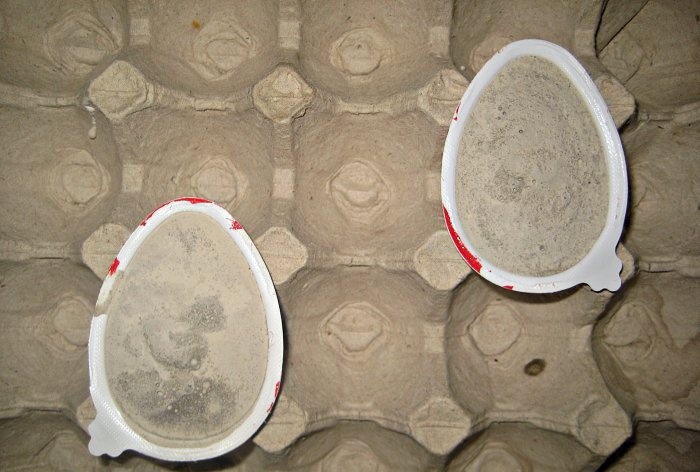
3. Plaster hardens quickly. But, you need to make sure it is completely dry by pressing on an arbitrary area with a sharp object. If there is no trace, then the plaster has hardened.
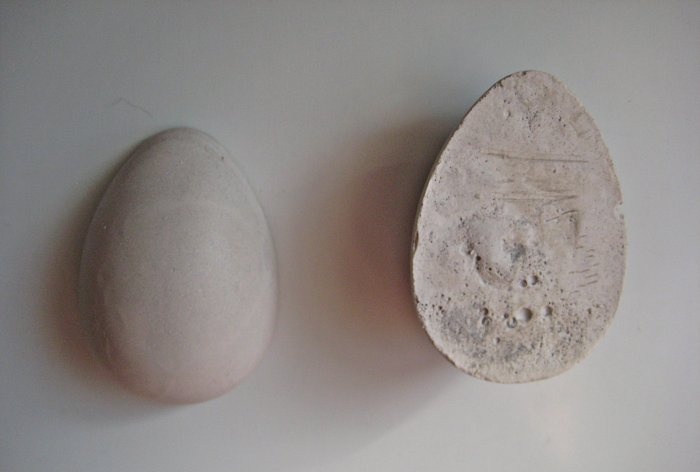
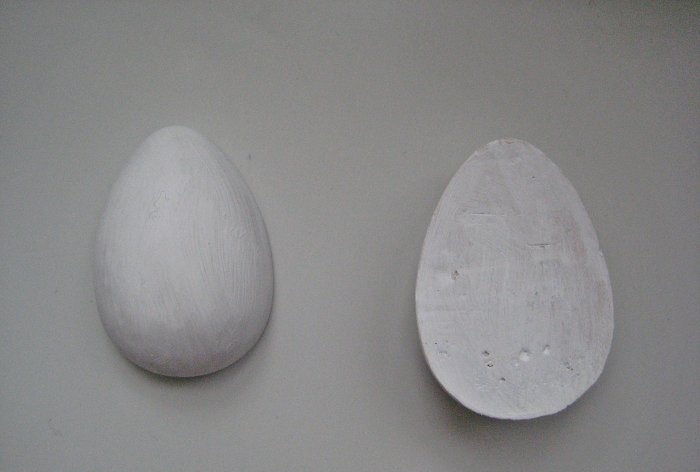
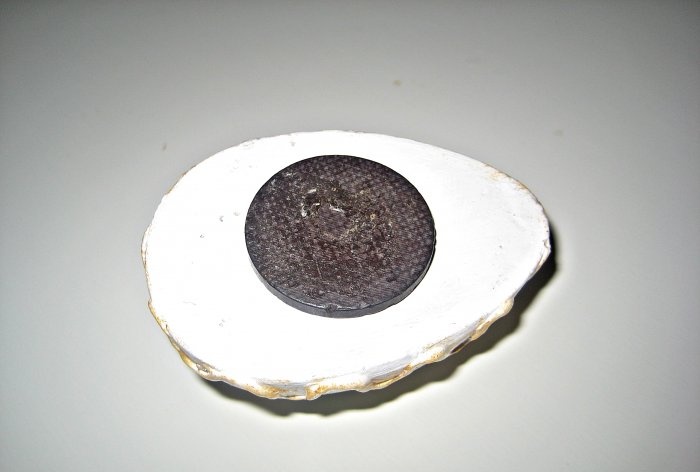
4. Carefully remove the molds from the plaster blanks.The front side of the workpieces is smooth, and the back side has some errors. This is not scary, since the reverse side of the product will not be visible in the future.
5. Prime both sides of the blanks using white acrylic paint.
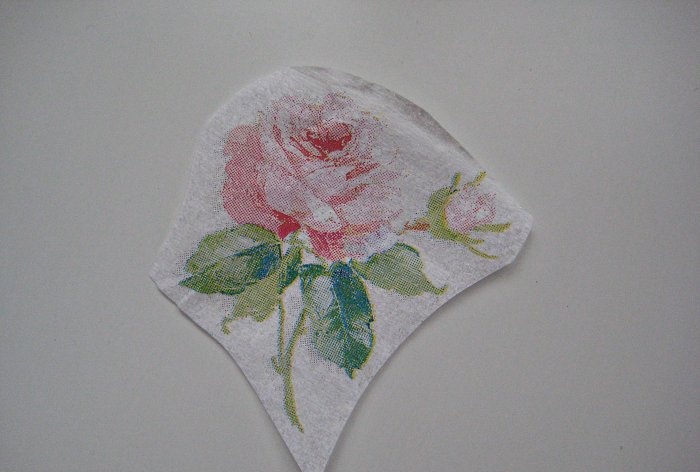
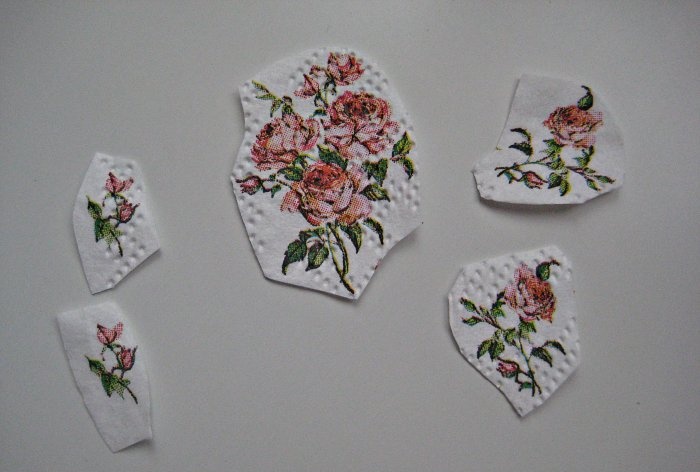
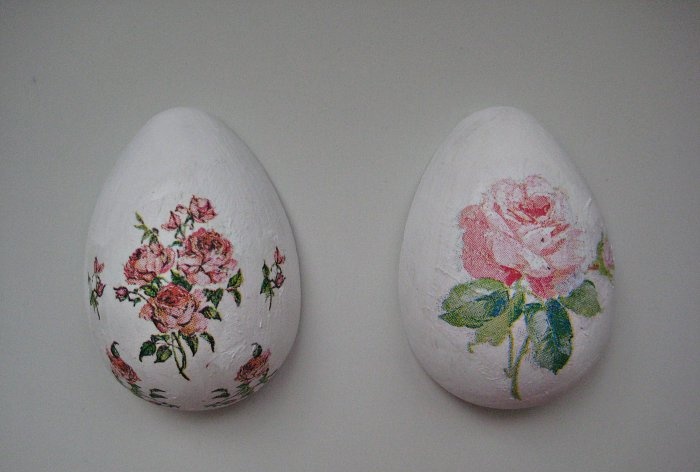
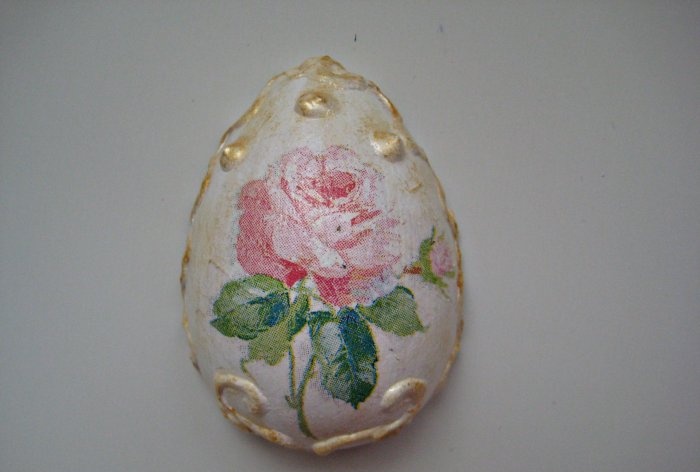
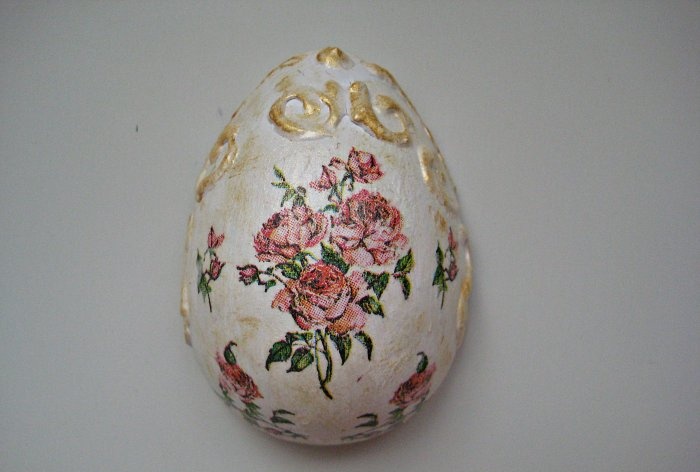
6. Decorate magnets using technology decoupage. To do this, we will prepare motifs from napkins. Cut out the elements you like and separate the 2 bottom layers of the napkin, leaving only the top layer with the pattern. For the first magnet we will use a motif with one large rose. For the second magnet - with many small roses.
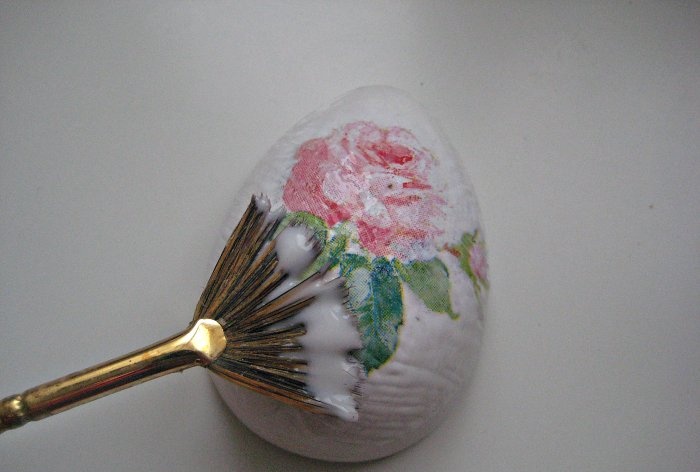
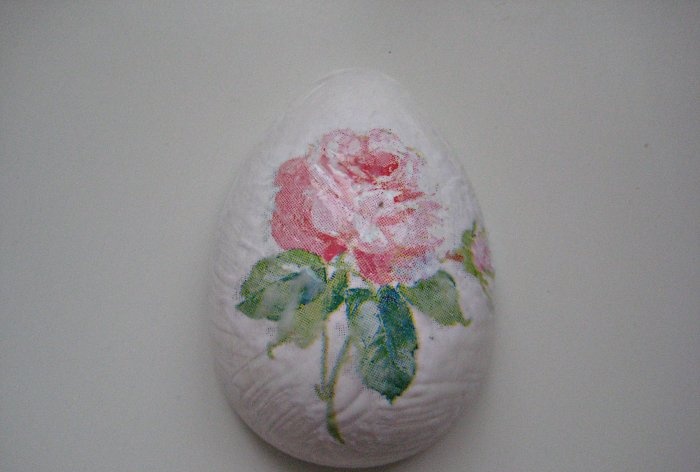
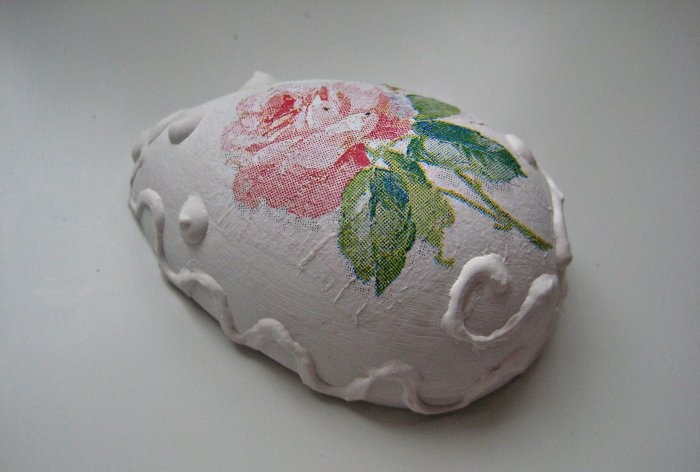
7. Take the first blank and attach an element with a large rose to the center. Glue the rose using PVA glue. Let the workpiece dry.
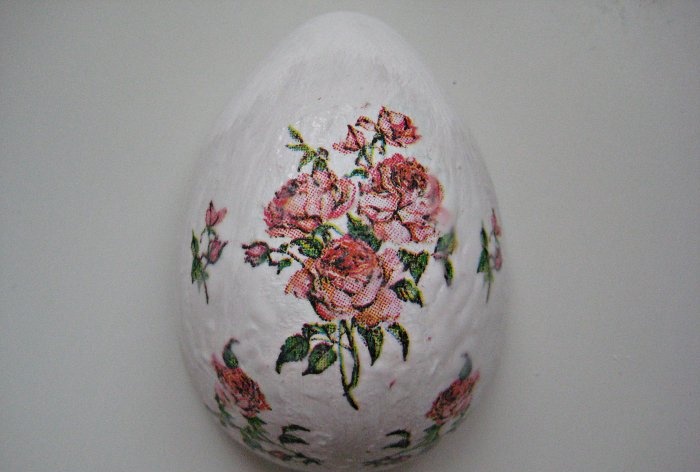
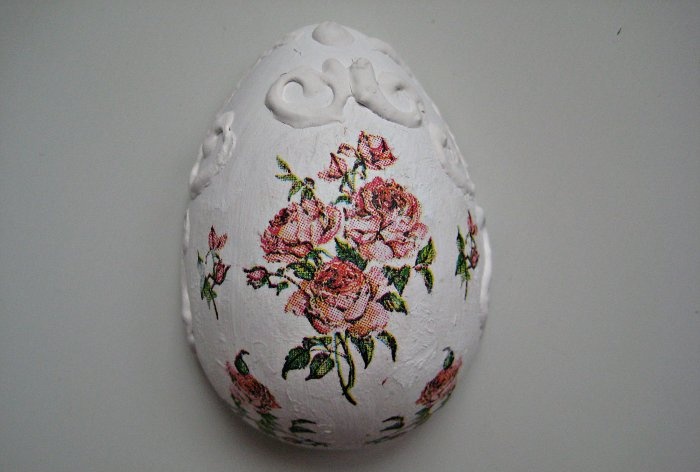
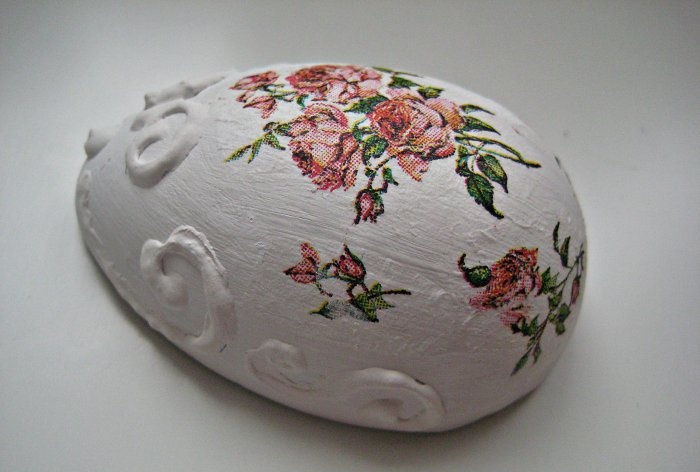
8. On the second blank we glue roses of different sizes.
9. The glue dries quickly and the workpieces are ready for further work.
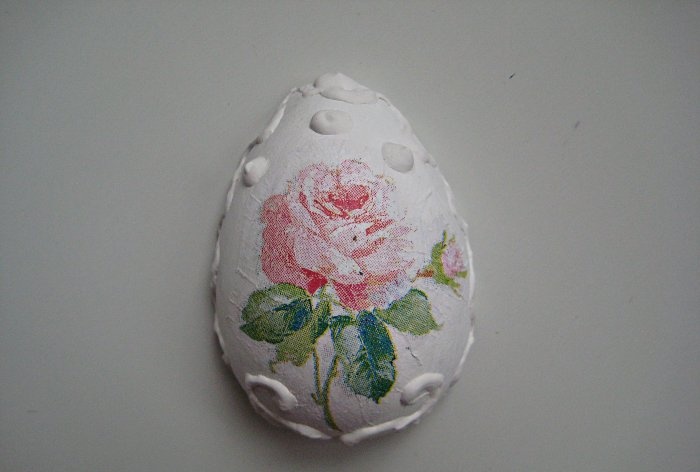
10. Next we perform volumetric decor. To do this we will use putty and a syringe. We decorate the first magnet with putty along the edge in the form of a continuous winding line.
11. On the second magnet we make random patterns along the edge and in the upper part of the egg.
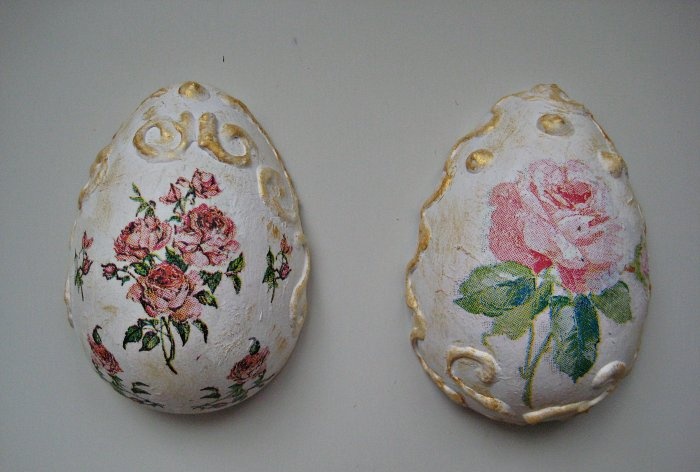
12. Next, take golden paint and carefully go over the volumetric parts of the eggs, and also slightly gold the central part of each workpiece.
13. Then we coat the workpieces with varnish on both sides.
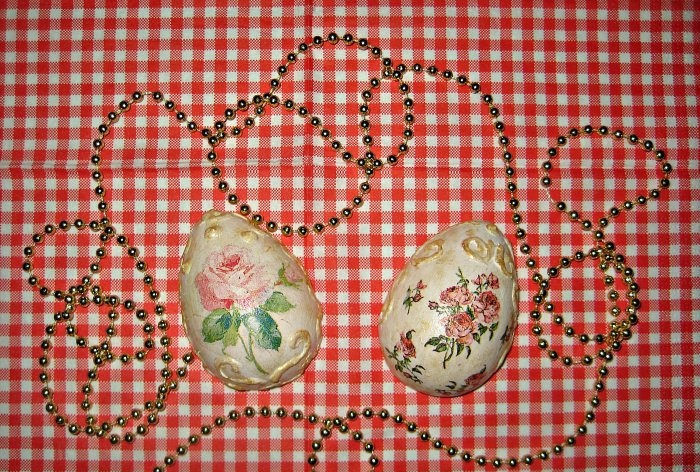
14. Finally, glue the magnets. Magnets are ready for Easter!
Will need
To make a magnet you will need the following materials:
- Plastic form from Kinder Surprise.
- Gypsum.
- White and gold acrylic paints.
- Napkins for decoupage with rose motifs.
- Brush.
- PVA glue.
- Putty.
- Syringe.
- Varnish.
- Magnets.
Let's make Easter magnets from plaster
Process of making Easter magnets:
1. First of all, you need to prepare plaster and water. Mix the components so that a liquid gypsum mass is obtained.
2. Next, prepare the forms for the magnets. At the same time we will make 2 types of magnets, since we have 2 halves from Kinder. To make the shape easier, place it in an egg tray. Then pour the plaster into the molds.
3. Plaster hardens quickly. But, you need to make sure it is completely dry by pressing on an arbitrary area with a sharp object. If there is no trace, then the plaster has hardened.
4. Carefully remove the molds from the plaster blanks.The front side of the workpieces is smooth, and the back side has some errors. This is not scary, since the reverse side of the product will not be visible in the future.
5. Prime both sides of the blanks using white acrylic paint.
6. Decorate magnets using technology decoupage. To do this, we will prepare motifs from napkins. Cut out the elements you like and separate the 2 bottom layers of the napkin, leaving only the top layer with the pattern. For the first magnet we will use a motif with one large rose. For the second magnet - with many small roses.
7. Take the first blank and attach an element with a large rose to the center. Glue the rose using PVA glue. Let the workpiece dry.
8. On the second blank we glue roses of different sizes.
9. The glue dries quickly and the workpieces are ready for further work.
10. Next we perform volumetric decor. To do this we will use putty and a syringe. We decorate the first magnet with putty along the edge in the form of a continuous winding line.
11. On the second magnet we make random patterns along the edge and in the upper part of the egg.
12. Next, take golden paint and carefully go over the volumetric parts of the eggs, and also slightly gold the central part of each workpiece.
13. Then we coat the workpieces with varnish on both sides.
14. Finally, glue the magnets. Magnets are ready for Easter!
Similar master classes
Particularly interesting
Comments (0)

