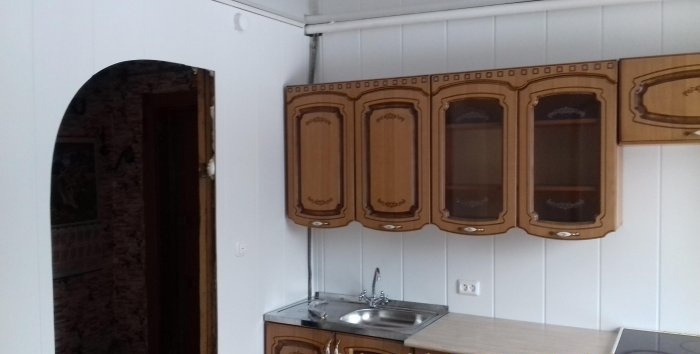
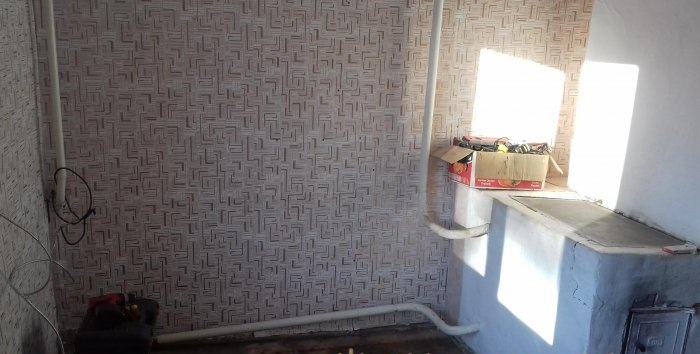
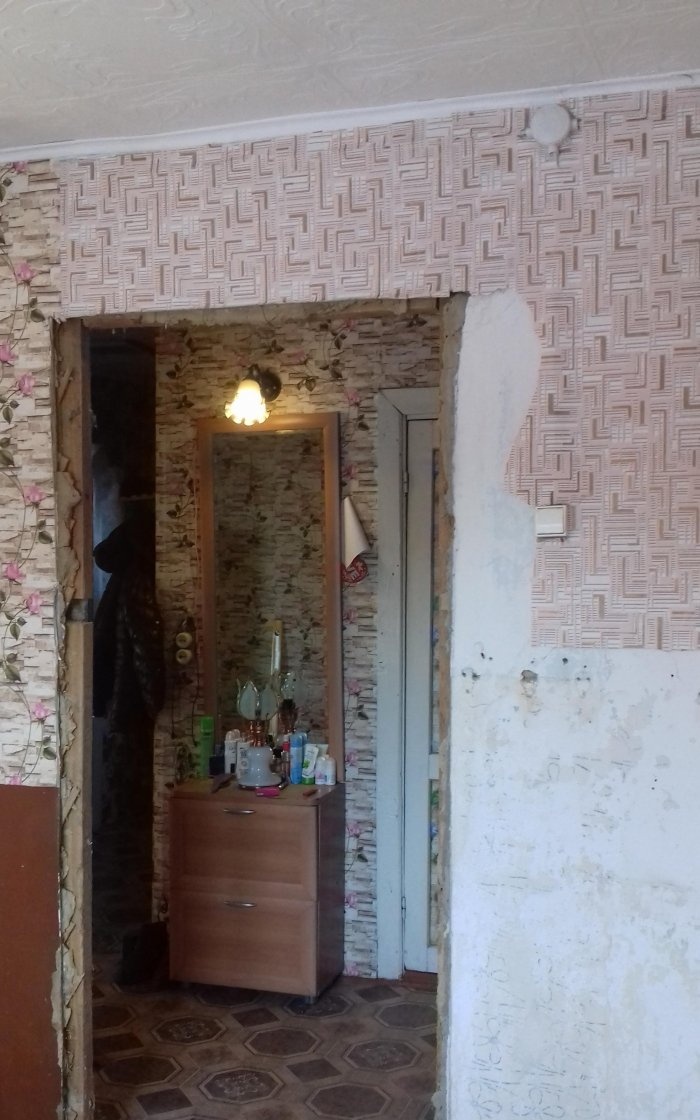
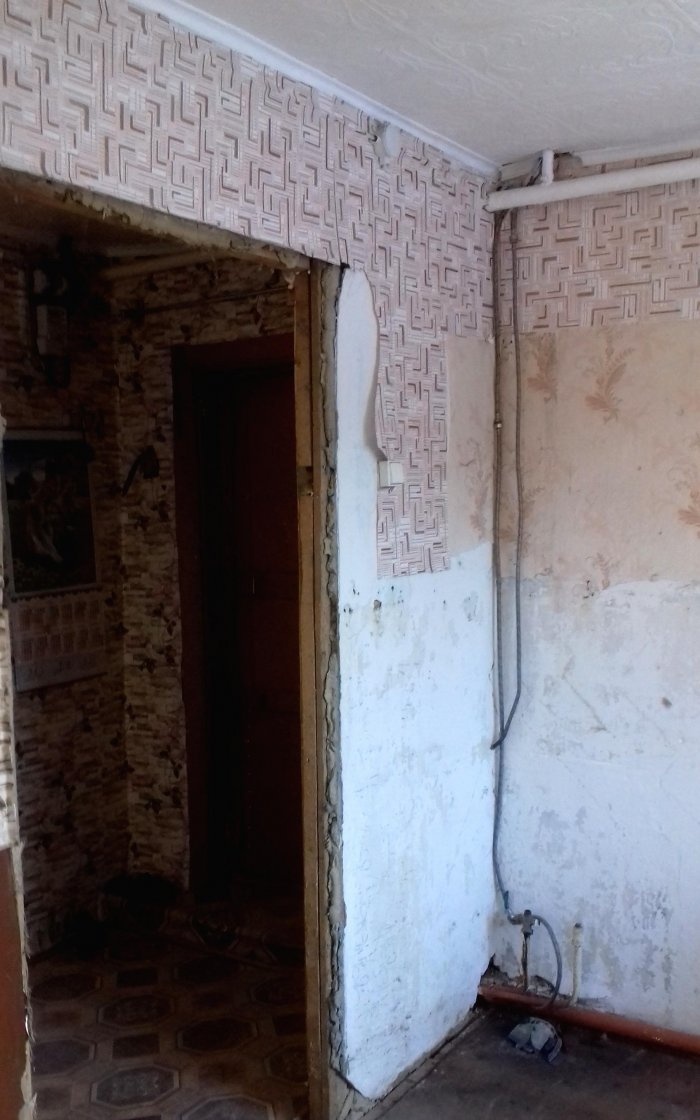
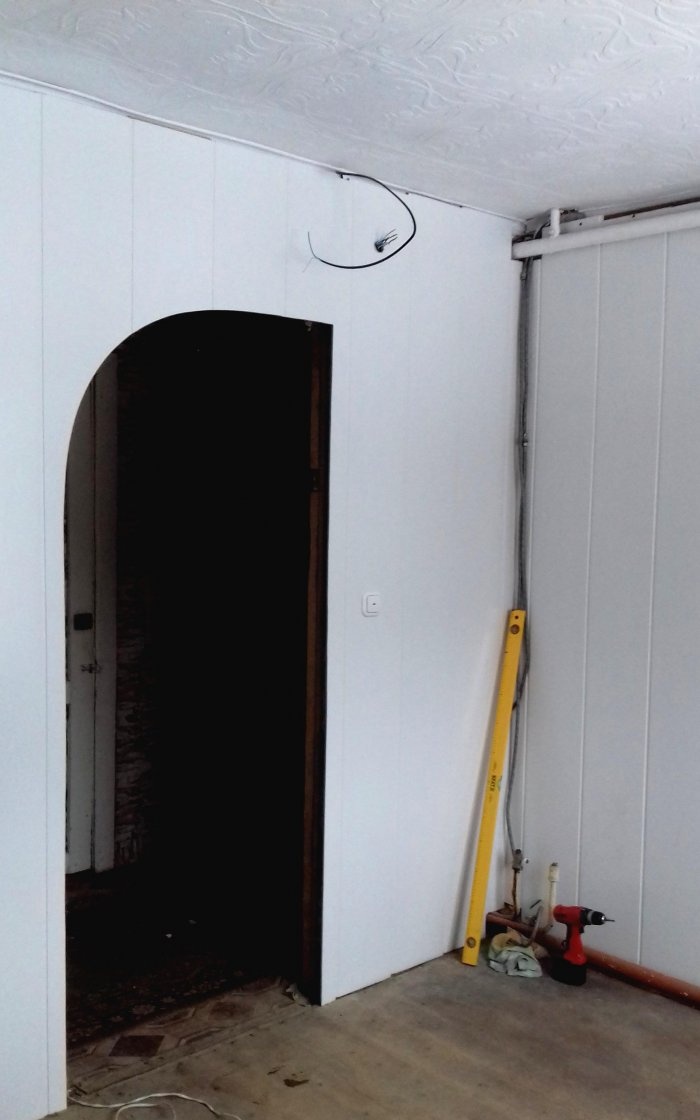
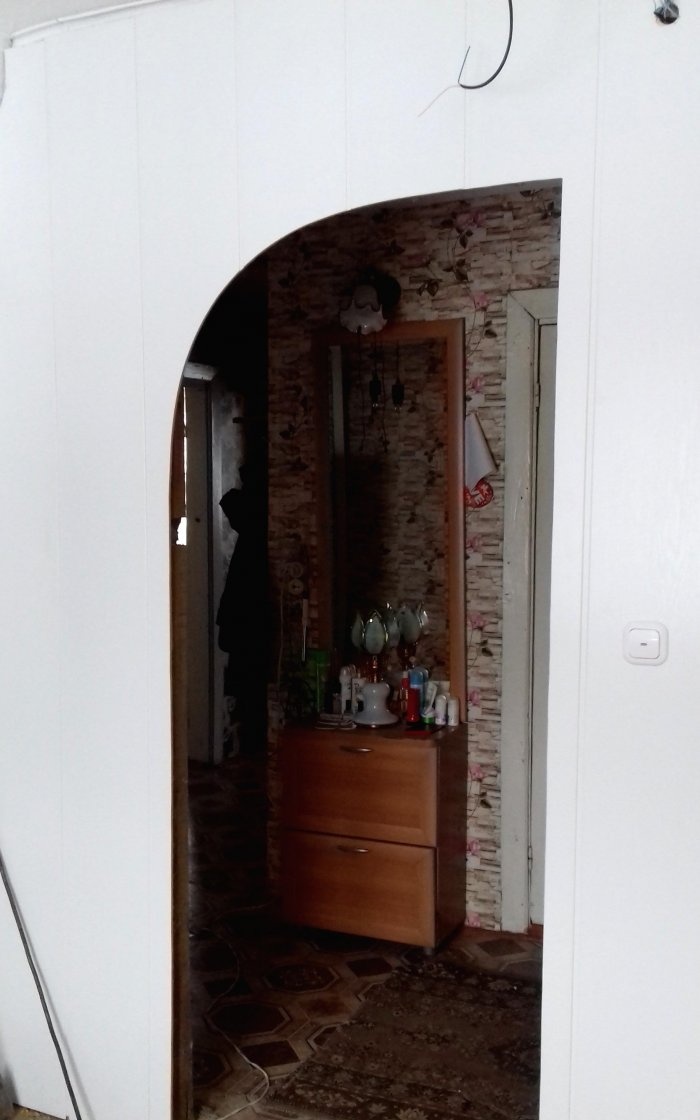
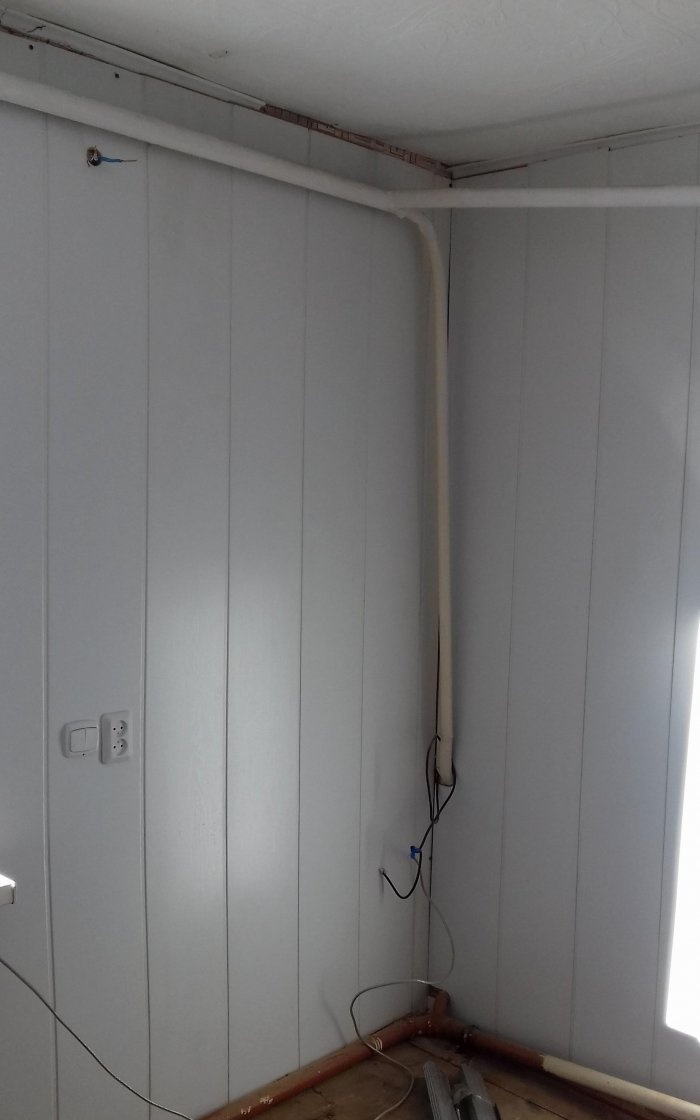
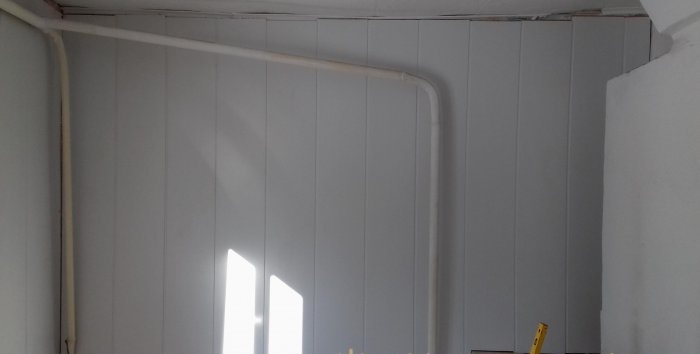
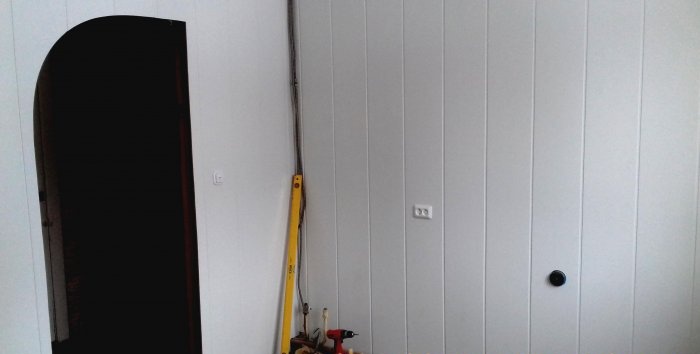
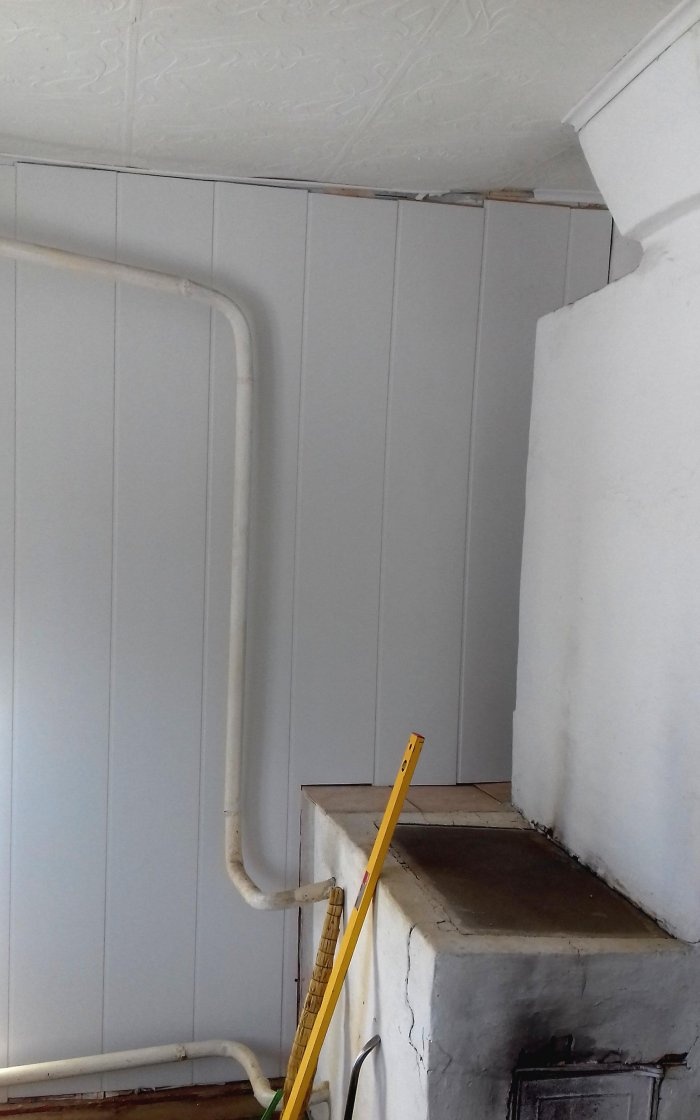
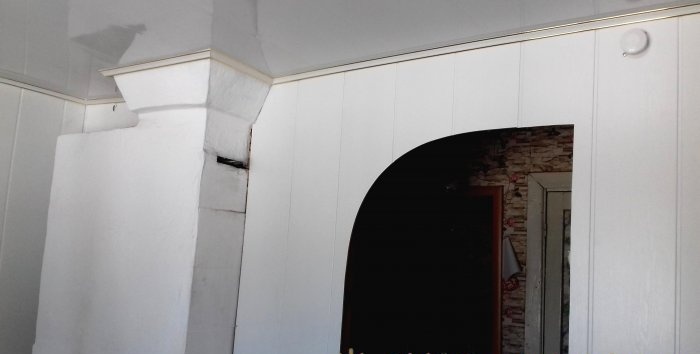
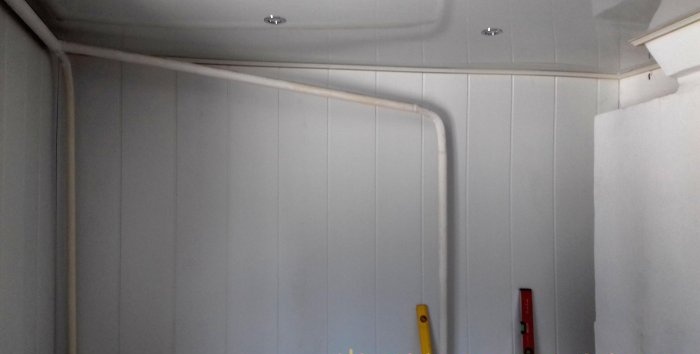
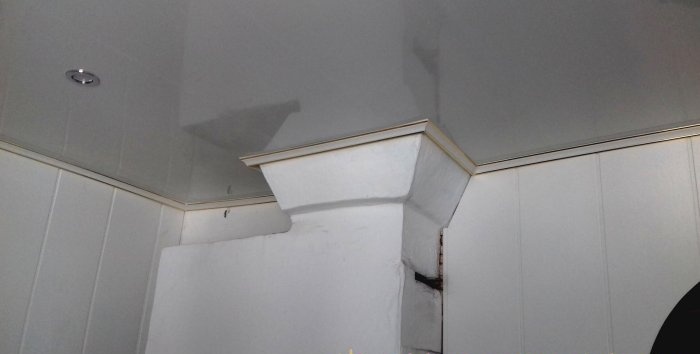
Kitchen finishing with plastic panels
The kitchen should be conducive to eating and pleasant evening conversations, so you want this room to be cozy and comfortable. Undertaking expensive and lengthy repairs is not always advisable, and sometimes quite expensive. In this case, plastic panels for wall decoration will come to the rescue; even a non-professional can master the work with them.
Plastic panels have a number of advantages. They are waterproof, have good sound insulation, do not emit toxic substances into the air, are easy to maintain, and are also designed taking into account fire safety requirements. Such panels are not flammable. The disadvantages include the relatively easy damage of the panels and the fading of bright colors in the sun.
Needed for work
To work you will need the following tools:
- level,
- folding ruler,
- pencil,
- scissors,
- drill.
Finishing with plastic panels
Installation can be carried out using frame or frameless methods. The first is acceptable if the surface of the wall is perfectly flat; for this, it is carefully puttied and primed. The second method is used more often, so let’s consider it in more detail.
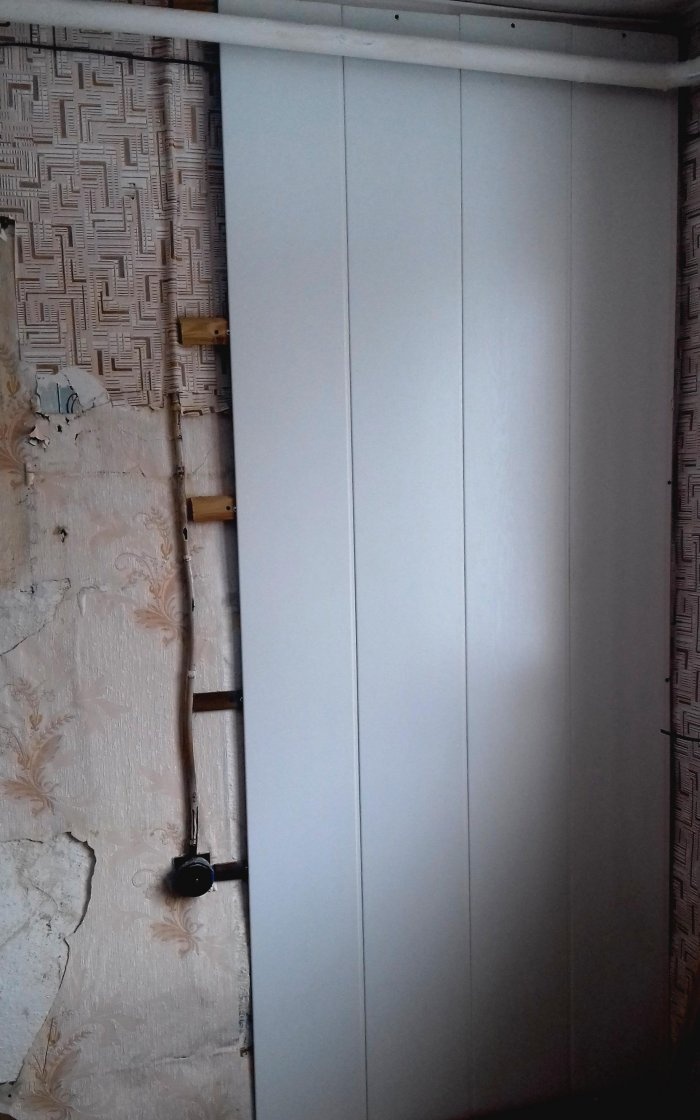
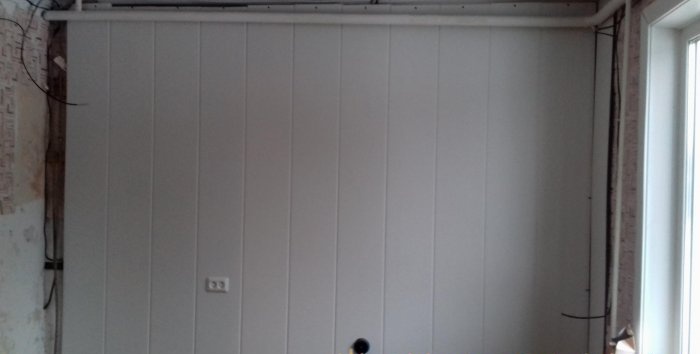
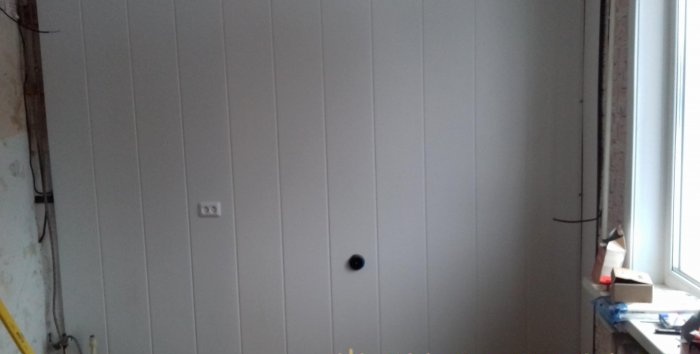
The frame is constructed using wooden, plastic or metal slats. The slats are secured strictly perpendicular to the floor and each other using dowels. You'll need a level here. The minimum distance between frame slats is 50cm. At this stage, the fittings are installed. Then the panel is cut to the desired size. The first panel begins to be mounted from the corner; screws or staples are used for fixation. Particular attention is paid to the quality of fastening of the first panel, since all subsequent panels will be aligned with it; these panels are inserted into the grooves.
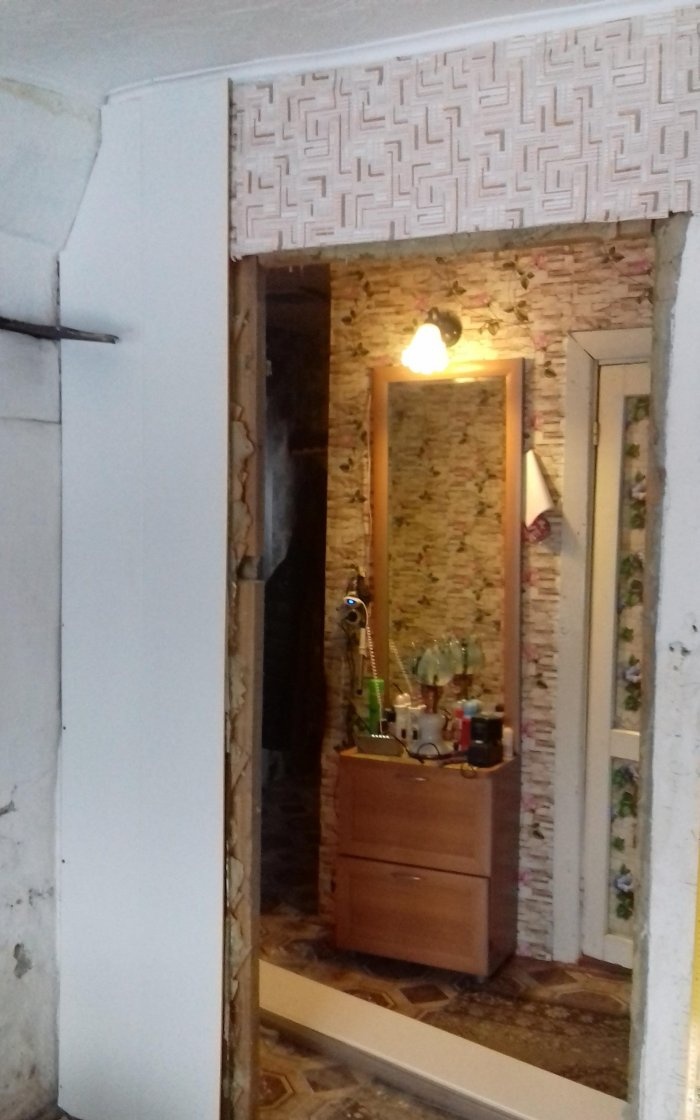
Using plastic panels, you can make a beautiful apron for your kitchen set by choosing the appropriate style. But you should avoid the area above the hob. Pipes and risers can be hidden by taking care of a special door.
Similar master classes
Particularly interesting
Comments (0)

