Soldering iron stand
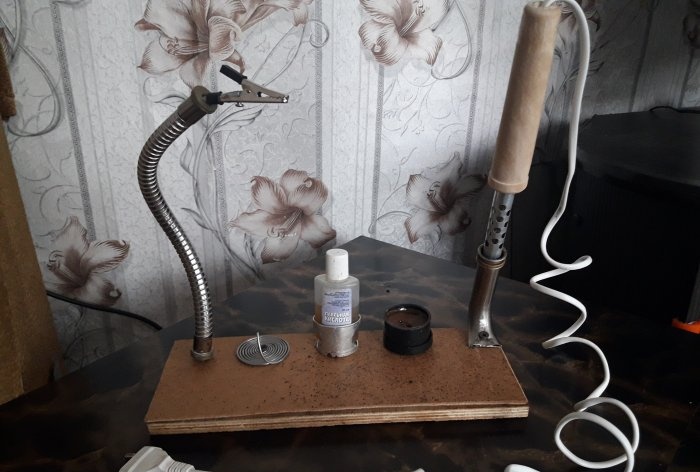
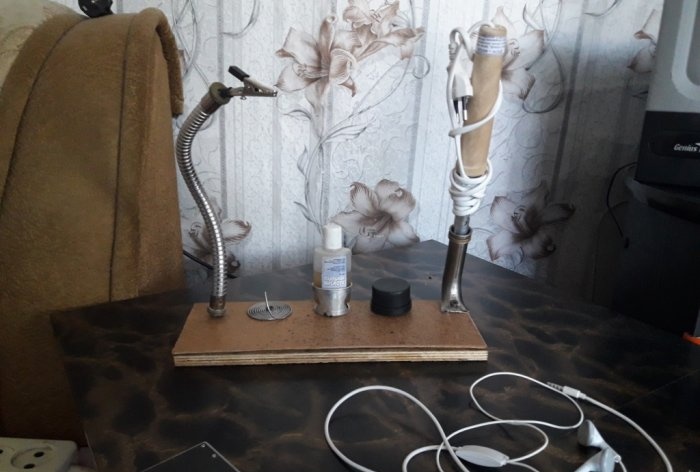
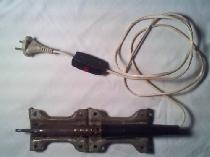
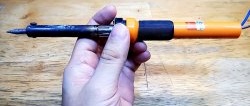
Keeping an electric soldering iron clean and tidy is not a difficult task. However, along with a soldering iron, we always use consumables such as tin-lead solder, soldering flux, rosin, soldering oil and similar accessories. You can, of course, store all this in some kind of box, or a special shopping bag for a soldering iron. But you can also make a special stand. It will serve not only as a place to store all the necessary consumables, but also as a kind of workplace, since we will also adapt here the so-called “third hand” for the convenience of the work performed.
Will need
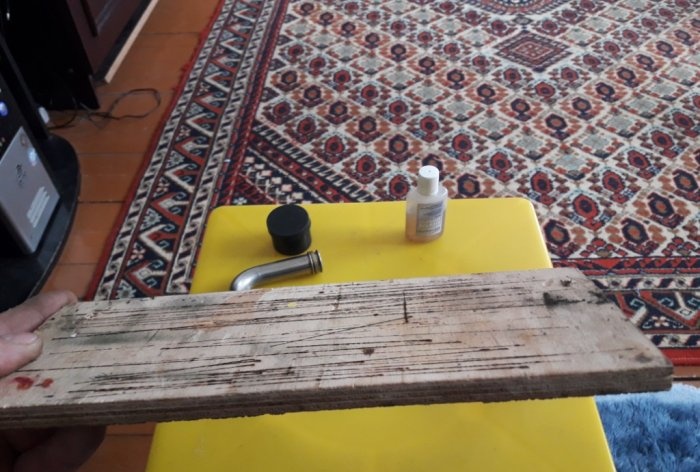
- 1 – Plywood 10×250×100 mm. (thickness, length, width)
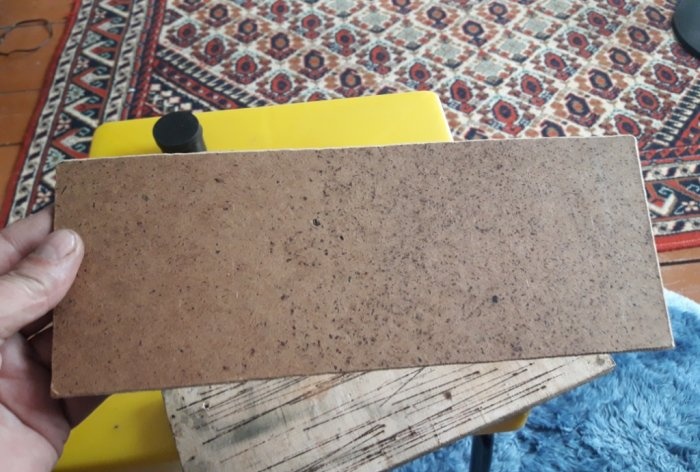
- 2 – fiberboard of the same parameters.
- 3 – A 100 mm piece of metal tube, with an internal diameter slightly larger than the thickness of the soldering iron.
- 4 – Wood screws, 10mm.
- 5 – Old metal corrugation with a diameter of 15 mm. (from the soul)
- 6 – Aluminum wire, 4-5 mm thick.
- 7 – Metal crocodile clothespin, 1 pc.
Tool
- 1 – Hammer.
- 2 – Drill.
- 3 – Sander.
- 4 – Screwdriver.
- 5 – Pliers.
Making a stand
As a basis, we will take plywood with fiberboard placed on top.
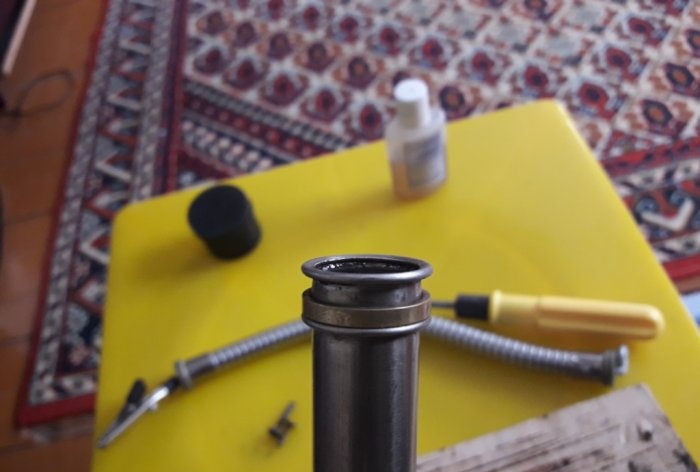
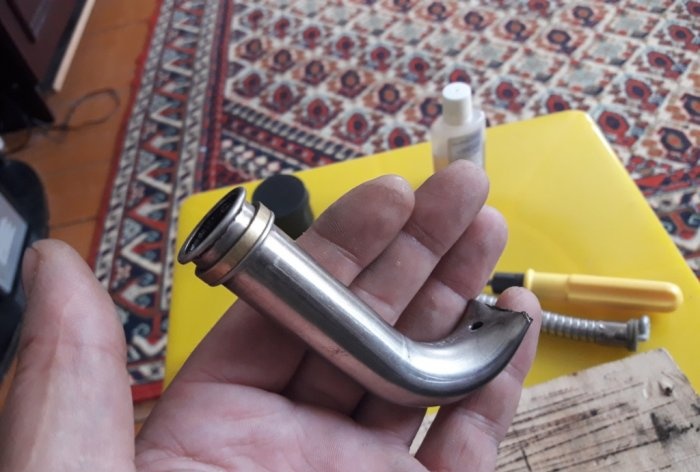
This is so that you can always change the working surface of the stand, which has become greasy and contaminated over time, and thus always have a clean workplace. You can sew the fiberboard with a stapler, but, in my opinion, those screws that we will soon need are quite enough. Now let's make a holder for the soldering iron. To do this, take the prepared tube, flatten one end with a hammer, bend it at the angle you need and drill a hole in it for the screw.
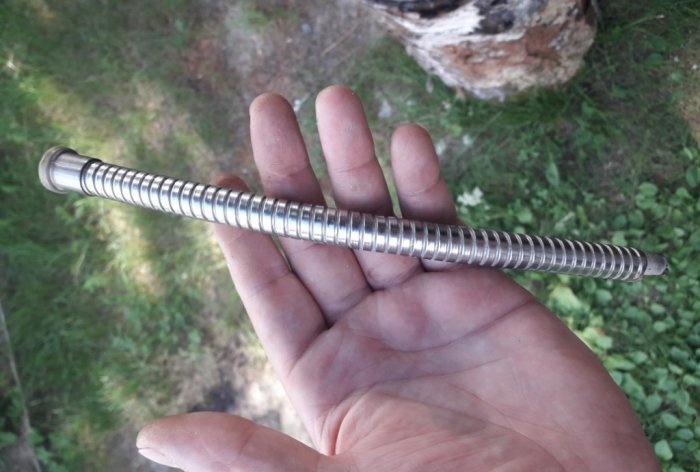
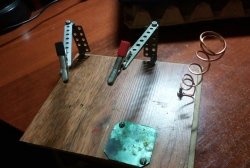
Screw the holder to the base of the stand, on top of the fiberboard sheet. Next we will make the “third hand”. Using a grinder, cut a piece of metal corrugation to the required length.
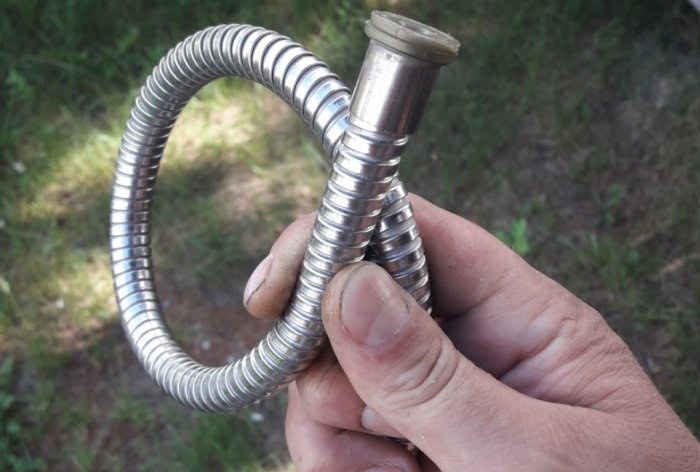
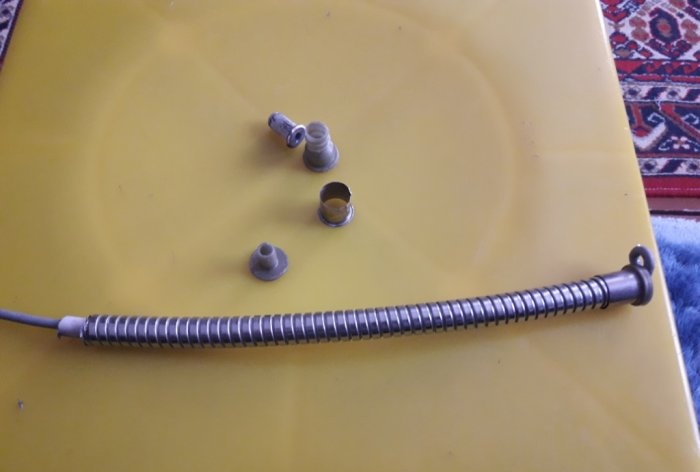
If there is a rubber hose inside, leave that too. For each such corrugation, both ends are disassembled, so we remove them from unnecessary segments and rearrange them onto our fragment.
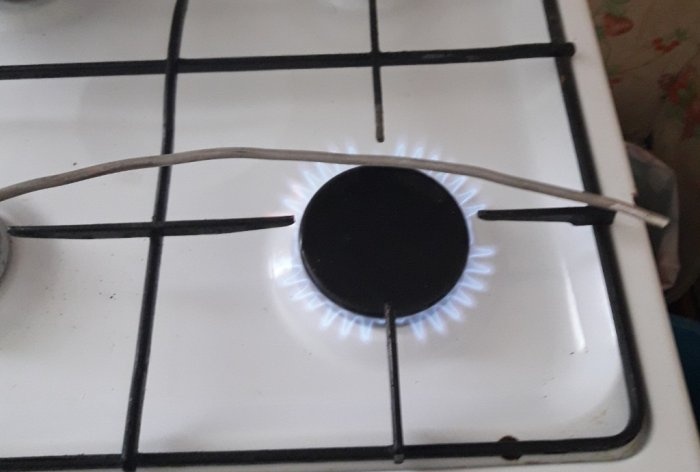
The basis of the “third hand” will be 5 mm aluminum wire. To make it softer, more flexible and pliable, it must be heated over a fire, without letting it turn red, and allowed to cool on its own.
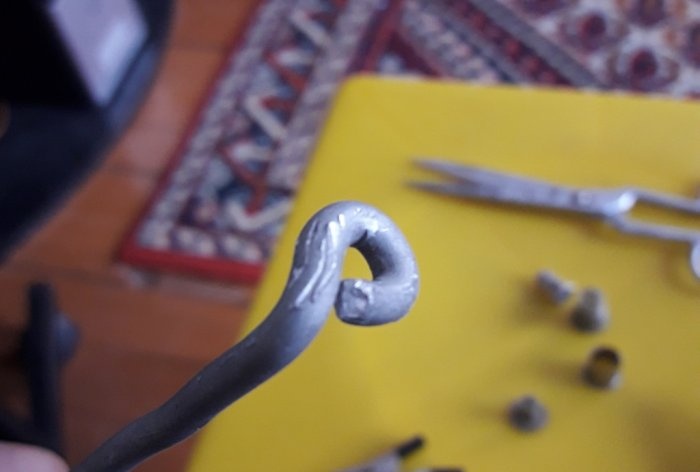
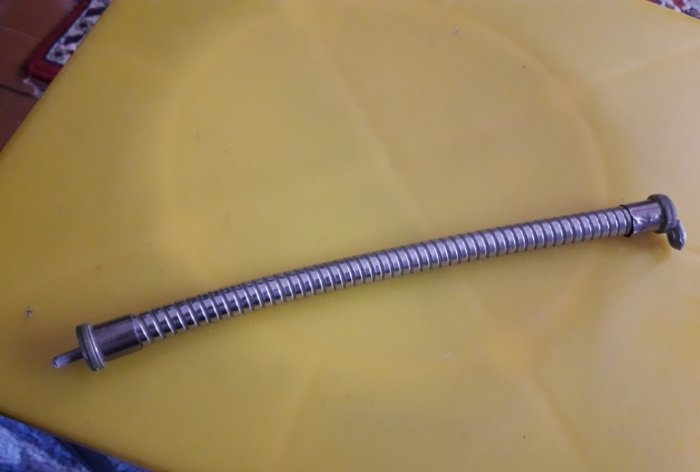
Now at one end of the wire we make a small loop with pliers and bend it to the side; the screw thread will go into this loop later, and we thread the wire into a piece of corrugation.
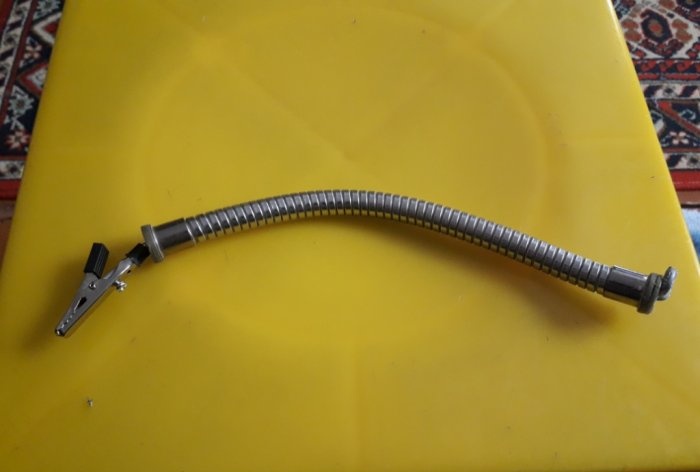
We squeeze the entire corrugation down to the loop, attach a crocodile clip to the second end of the wire and release the corrugation so that it spreads along the entire length of the wire.
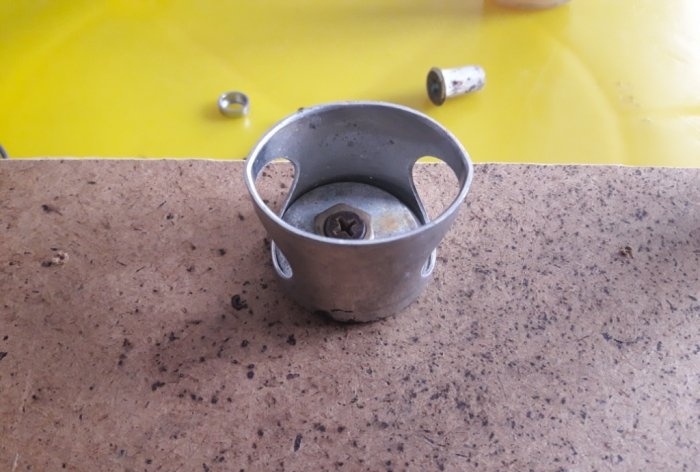
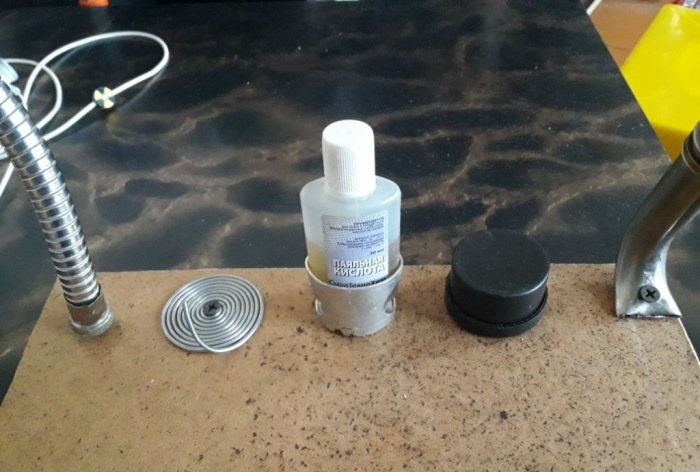
We thread a screw through the loop and attach the “third arm” to the stand. And, further, we attach to the stand all the consumables that you use when working with a soldering iron. We roll the tin-lead solder into a spiral and screw its center to the stand, in any place convenient for you.Now remove the lid from the rosin packaging and, in the same way, screw it to the stand, edges up. We put the package of rosin on the lid - the rosin cannot fall out, since it was poured into the package in liquid form and froze there. Now the holder for the flux. Let's take any plastic or metal jar, shape, frame into which a bottle of flux will fit and screw it to the stand.
We insert the bottle with flux into the place prepared for it. If the bottle dangles inside this holder, wrap the bottle with electrical tape to the required thickness. In general, in this way, you can screw everything that you usually use when soldering to the stand.
Now all the necessary materials will always be in sight, and you won’t have to rummage through a box or bag, looking for what you need.
Similar master classes
Particularly interesting

Cable antenna for digital TV in 5 minutes

A selection of simple and effective schemes.

Three-phase voltage from single-phase in 5 minutes

Starting a three-phase motor from a single-phase network without a capacitor

Eternal flashlight without batteries

How to make an inexpensive but very powerful LED lamp
Comments (0)

