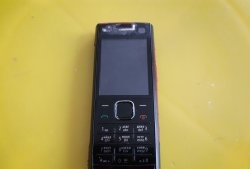
How to revive a smartphone with a “dead” battery
A touchscreen phone is a fairly common gadget that almost every person has. However, its second most popular failure, after a broken screen, is battery failure. “Reviving” a gadget with a failed battery is not a problem.
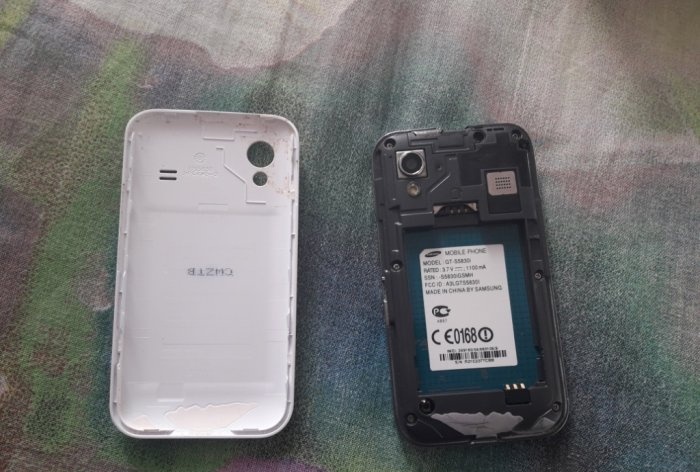
There is only one drawback to this solution to the problem: after the so-called modernization, it can only be used at home... But as a video player, for example, cartoons for children, or a game console, or, as a last resort, if your phone fails until you purchase a new one, quite suitable for use at home, for accessing the network, for example... You can, of course, buy a “original” battery for a certain model, but such products are not always on sale. Especially if the smartphone model is outdated for quite some time, as in my case. The phone is still fully functional. Everything works, it “understands” quite well for its model, but there is no battery. This problem can be easily fixed on your own.
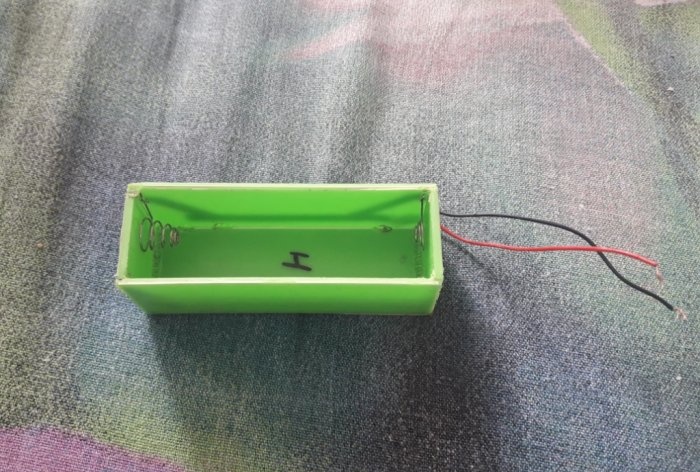
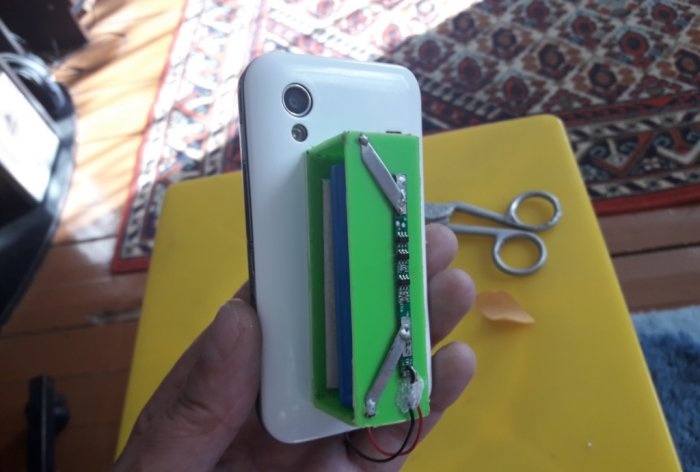
So, first we will make a box for the battery. We take measurements from the 18650 battery (height and width) and using these measurements we cut out blanks from plastic with scissors. If the plastic is no more than two mm thick, then good scissors will handle it. Next, we solder the resulting parts using a burner. On one back end, using second glue, we install a spring (this will be a minus) and bring the contact out, and on the second back end we install a tin plate into which the plus of the battery will rest, and we also bring it out to the front side of the box.
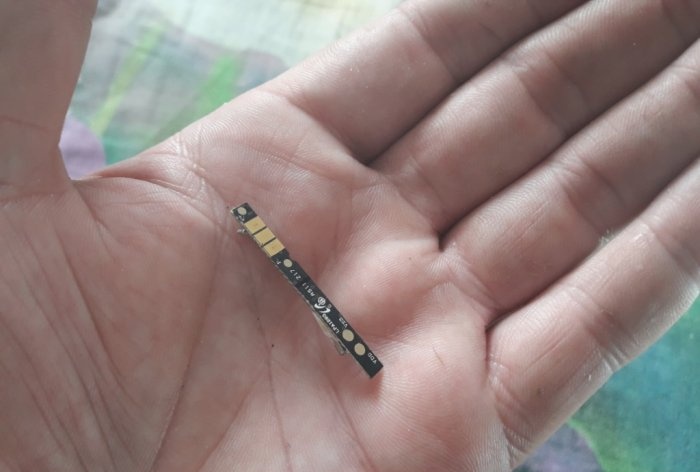
Next, remove the charge controller from the old battery.
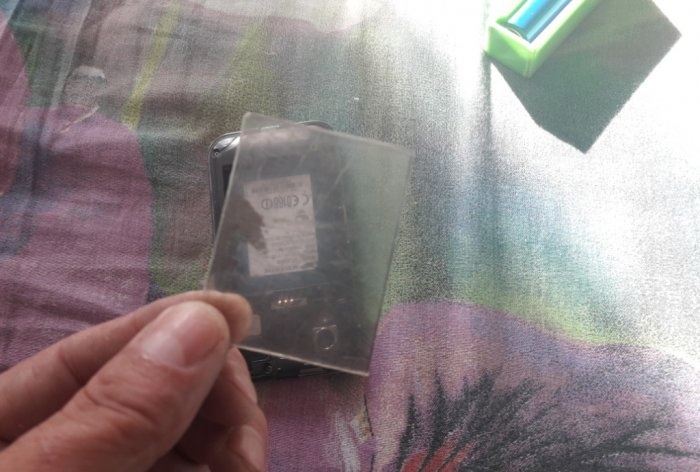
We do this as carefully as possible! Don't forget about safety glasses and rubber gloves! This controller is most likely not working if the battery itself has failed, but we only need it to contact the new battery with the phone terminals. Now we take measurements from the old battery and cut out a plate using them from a material of suitable thickness.
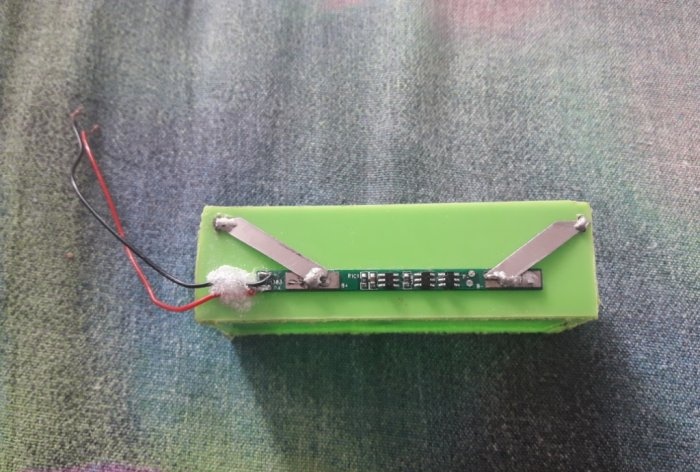
This will be a kind of filler, instead of the original battery, which will press the controller from the old battery to the phone terminals. Just in case, I used another controller, which I removed from an unnecessary 3.7 V working battery. and which was glued to the outer side wall of the box.
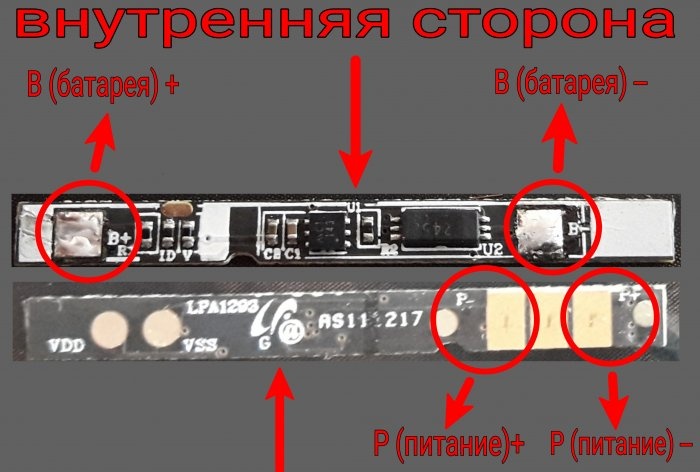
Every modern 18650 battery has overcharge protection, but an extra controller can't hurt! We connect the contacts of the box (plus and minus) to the corresponding contacts on the controller. Each controller has designations: B+ and B- (battery) indicate contacts that should be connected to the battery (battery, in our case!) in accordance with the polarity.As well as the P+ and P- (power) terminals, which need to be connected to the phone terminals in accordance with the polarity.
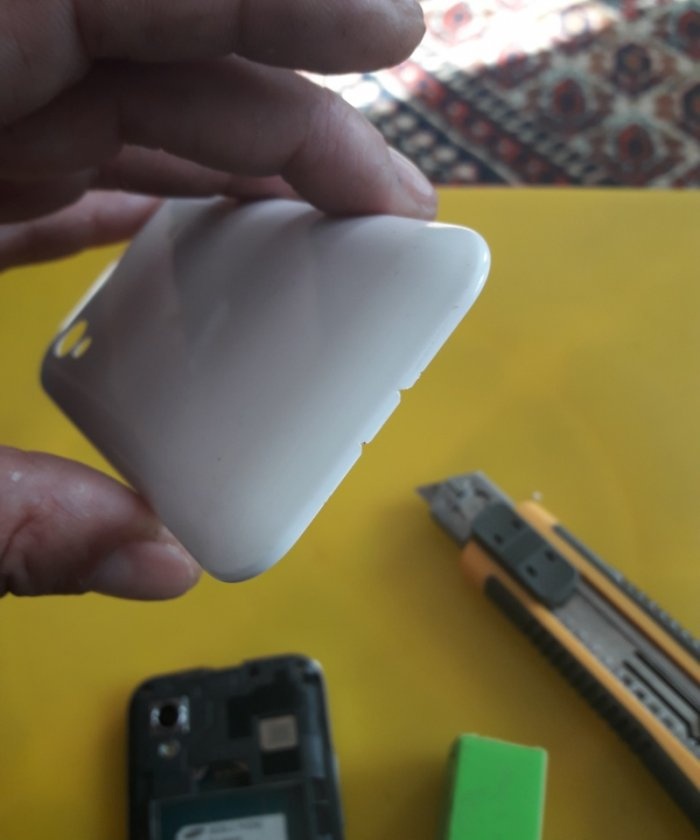
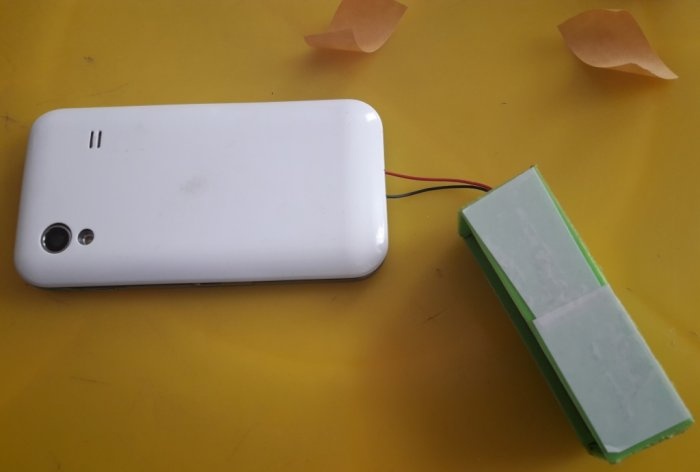
Next, using double tape, glue the box to the phone cover.
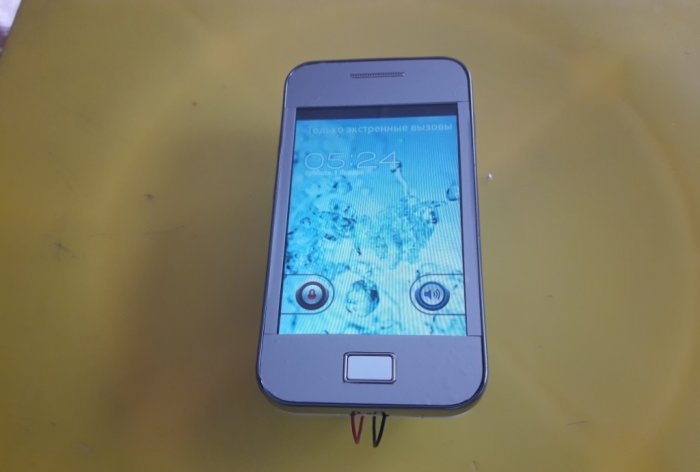
We put the charged battery in the box, connect it to the phone terminals, again, observing the polarity and use it for your health!
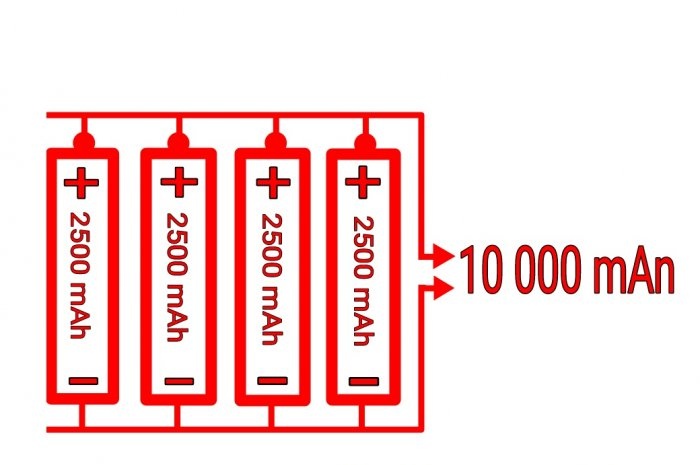
Another disadvantage of this design; To charge the battery, you need to remove it from the device! But there is one trick: you can use several 18650 batteries at once, connected in parallel. How many parallel-connected batteries you connect to the phone - the number of times longer it will function without recharging. For example; One battery with a capacity of 2500 mAh multiplied by four of the same type will give a capacity of 10,000 mAh! The voltage does not change when connected in parallel.
One more thing; If you use several batteries (for example, four), when the energy in them is discharged, it is not necessary to take them all out at once to recharge; you can leave one so as not to start the phone again in the future. With one battery, the phone will not turn off while the others are charging.
There is only one drawback to this solution to the problem: after the so-called modernization, it can only be used at home... But as a video player, for example, cartoons for children, or a game console, or, as a last resort, if your phone fails until you purchase a new one, quite suitable for use at home, for accessing the network, for example... You can, of course, buy a “original” battery for a certain model, but such products are not always on sale. Especially if the smartphone model is outdated for quite some time, as in my case. The phone is still fully functional. Everything works, it “understands” quite well for its model, but there is no battery. This problem can be easily fixed on your own.
Will need
- 18650 battery (1 PC.)
- Sheet plastic, 2mm thick.
- Soldering iron, flux and solder.
- Two wires (150 mm each, preferably black and red).
- Springs.
- Burner.(or soldering iron)
- Charger for 18650 batteries.
Assembling a battery for a phone
So, first we will make a box for the battery. We take measurements from the 18650 battery (height and width) and using these measurements we cut out blanks from plastic with scissors. If the plastic is no more than two mm thick, then good scissors will handle it. Next, we solder the resulting parts using a burner. On one back end, using second glue, we install a spring (this will be a minus) and bring the contact out, and on the second back end we install a tin plate into which the plus of the battery will rest, and we also bring it out to the front side of the box.
Next, remove the charge controller from the old battery.
We do this as carefully as possible! Don't forget about safety glasses and rubber gloves! This controller is most likely not working if the battery itself has failed, but we only need it to contact the new battery with the phone terminals. Now we take measurements from the old battery and cut out a plate using them from a material of suitable thickness.
This will be a kind of filler, instead of the original battery, which will press the controller from the old battery to the phone terminals. Just in case, I used another controller, which I removed from an unnecessary 3.7 V working battery. and which was glued to the outer side wall of the box.
Every modern 18650 battery has overcharge protection, but an extra controller can't hurt! We connect the contacts of the box (plus and minus) to the corresponding contacts on the controller. Each controller has designations: B+ and B- (battery) indicate contacts that should be connected to the battery (battery, in our case!) in accordance with the polarity.As well as the P+ and P- (power) terminals, which need to be connected to the phone terminals in accordance with the polarity.
Next, using double tape, glue the box to the phone cover.
We put the charged battery in the box, connect it to the phone terminals, again, observing the polarity and use it for your health!
Another disadvantage of this design; To charge the battery, you need to remove it from the device! But there is one trick: you can use several 18650 batteries at once, connected in parallel. How many parallel-connected batteries you connect to the phone - the number of times longer it will function without recharging. For example; One battery with a capacity of 2500 mAh multiplied by four of the same type will give a capacity of 10,000 mAh! The voltage does not change when connected in parallel.
One more thing; If you use several batteries (for example, four), when the energy in them is discharged, it is not necessary to take them all out at once to recharge; you can leave one so as not to start the phone again in the future. With one battery, the phone will not turn off while the others are charging.
Watch the video
Similar master classes
Particularly interesting
Comments (14)

