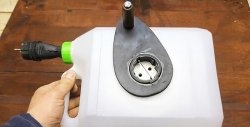
Do-it-yourself portable miracle stove from an old canister
Cooking outdoors rarely comes with comfort. You need to collect a lot of firewood, hammer in pegs with a crossbar for hanging the pot, raise the heat, etc. As a result, the usual preparation of shurpa or fish soup turns into a complex action. Let's look at the design of a camping stove made from a canister, which requires only a couple of handfuls of wood chips and dead wood to ignite. You can place a pot on it stably, and it will not be covered with soot as much as on a regular fire.
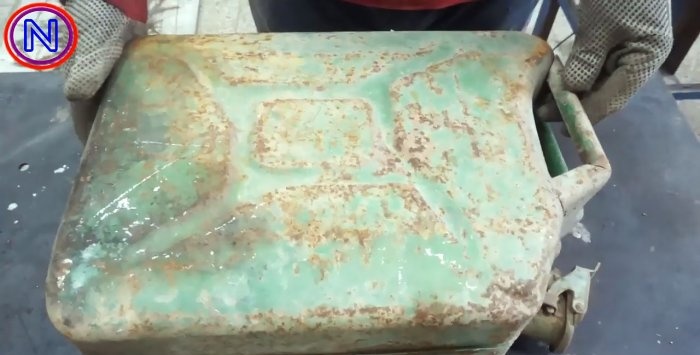
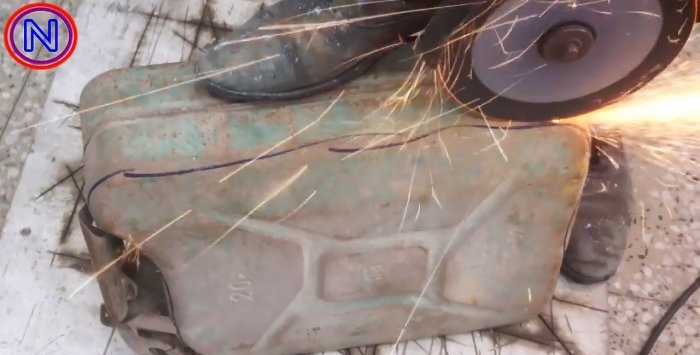
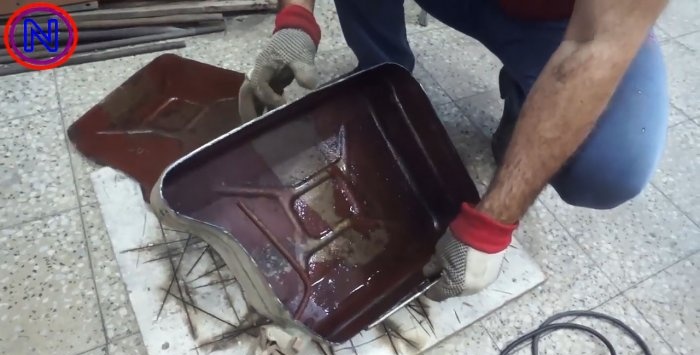
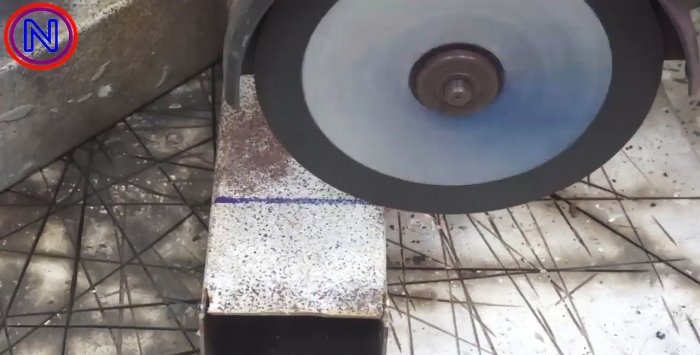
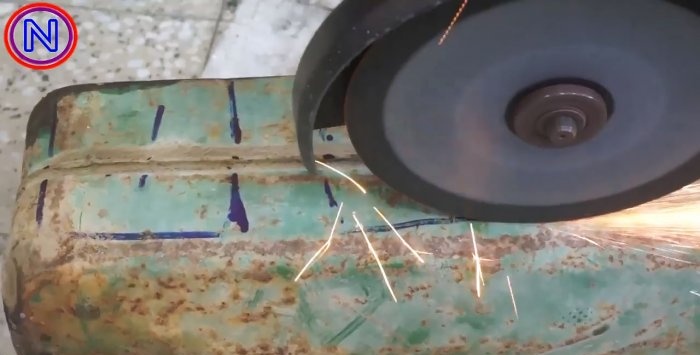
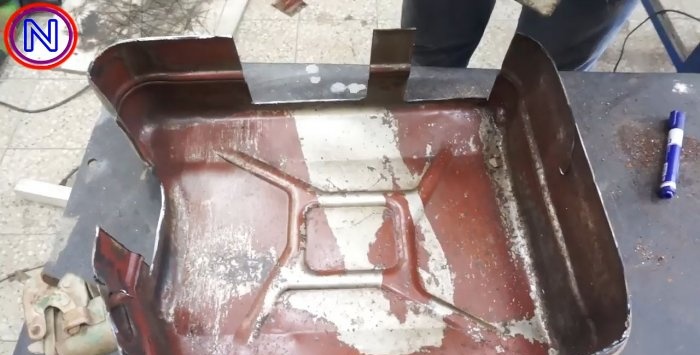
Before starting work, you must make sure that there is not a drop of flammable substances or their vapors left in the container. Using a grinder, you need to open the canister, cutting out its side along the ribs. The handles are also cut off along with the base.
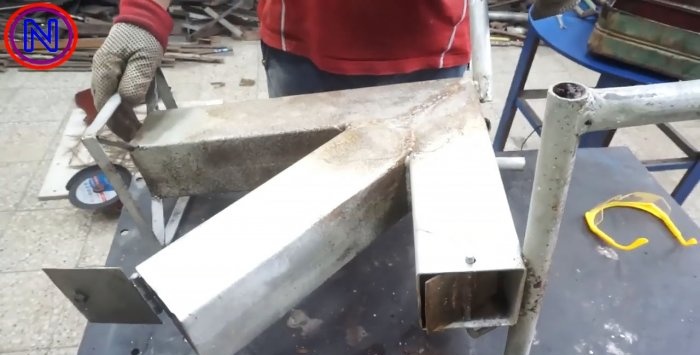
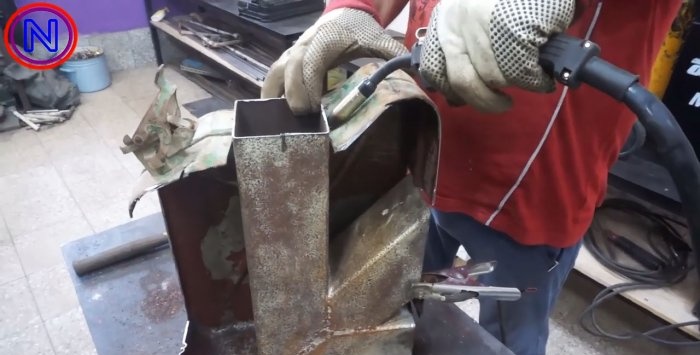
The part in contact with the fire, the rocket furnace, must be made of thicker steel than the walls of the canister. To do this, you need to weld a frame from a square as in the photo.Its base uses 2 sections of profile pipe, cut at 45 degrees and welded at right angles. Between them, a kind of grate is made from a drilled steel sheet. It turns out that the squares at the junction are separated by a lattice. Another piece of pipe, previously sawn on both sides at angles of 45 degrees, is welded into the inner corner of the L-shaped part to form a wedge. Before welding, a window must be cut in the vertical profile at the joining point in order to obtain a passage from the oblique profile into the L-shaped workpiece. I took the rocket stove I had made earlier and adjusted it to the size of the canister.
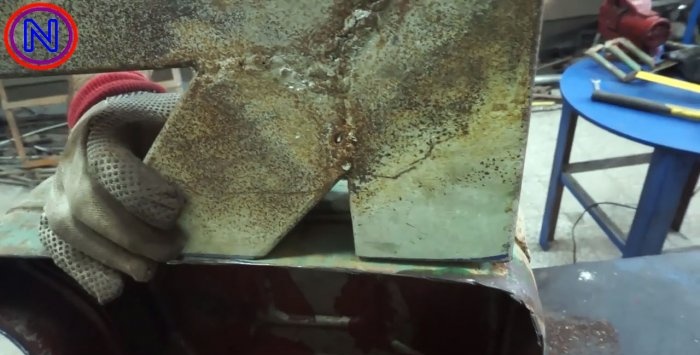
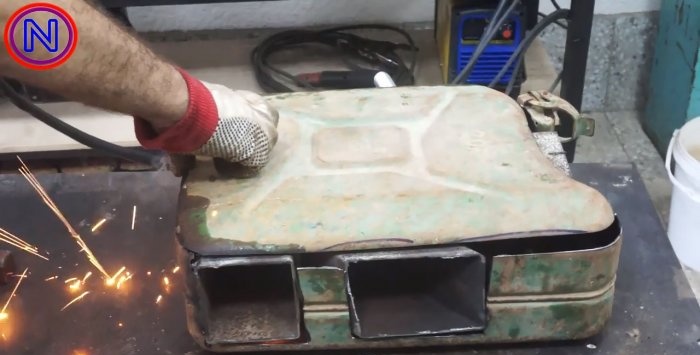
Two windows are cut into the back wall of the canister for the welded stove frame.
A slot is also made at the top to bring out the vertical profile. After such preparation, the frame can be placed inside the canister. You also need to cut out a large window in the front of the canister to get a door into the compartment for storing small items for ignition.
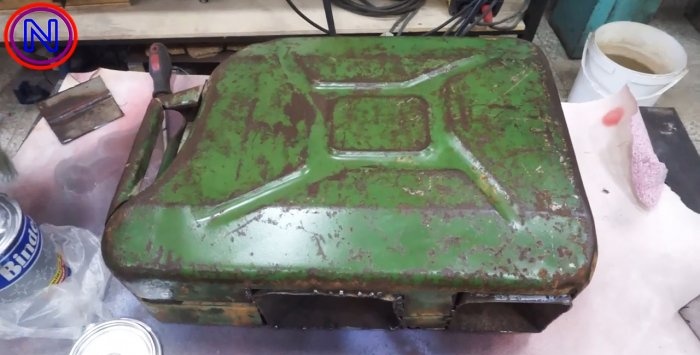
The inserted frame is welded into the canister. After this, the previously cut side wall and handles are welded into place.
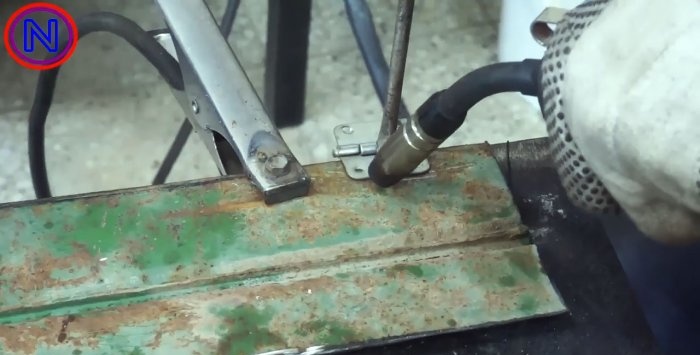
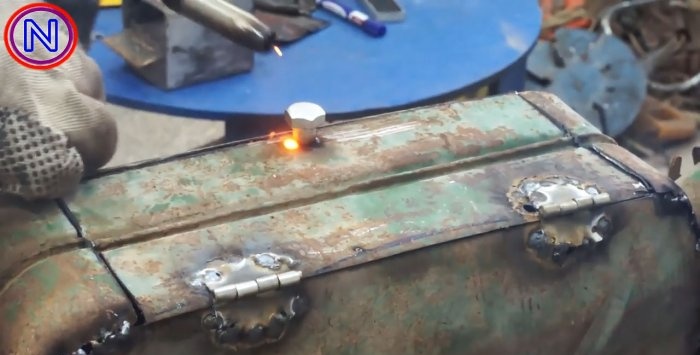
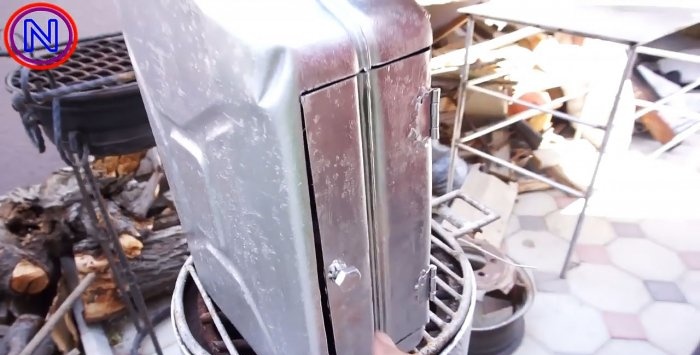
The door at the front of the canister is welded onto furniture hinges.
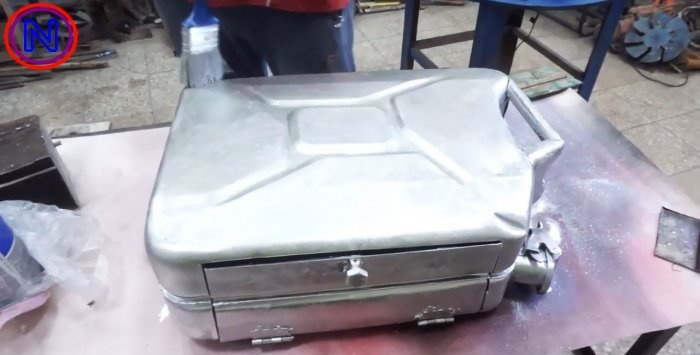
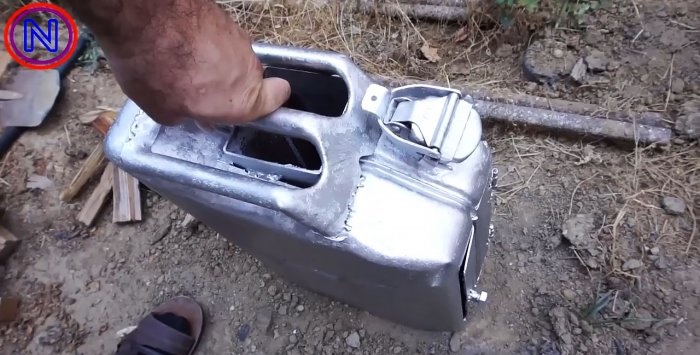
For beauty, the canister can be painted.
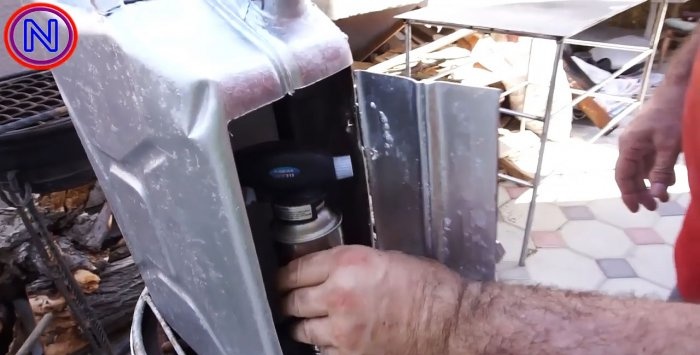
The resulting compartment can be used to store matches, kindling, firewood or a gas burner.
To make the door open, a piece of bolt is welded to it instead of a handle. A hook is not required, since with such hinges it opens with force.
We take the stove to any place we need and simply set it up.
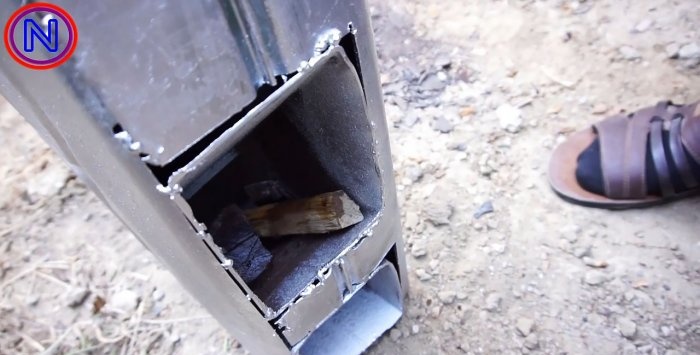
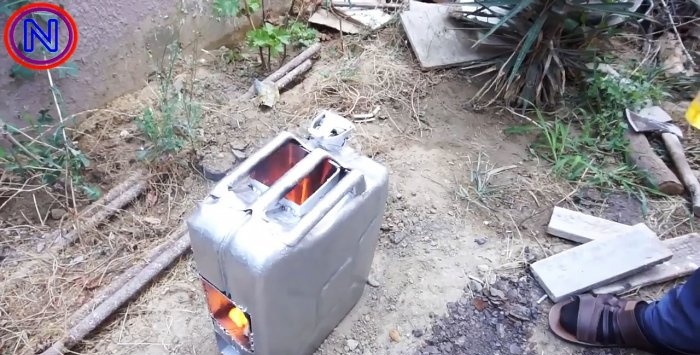
Firewood is stored in the upper side window.
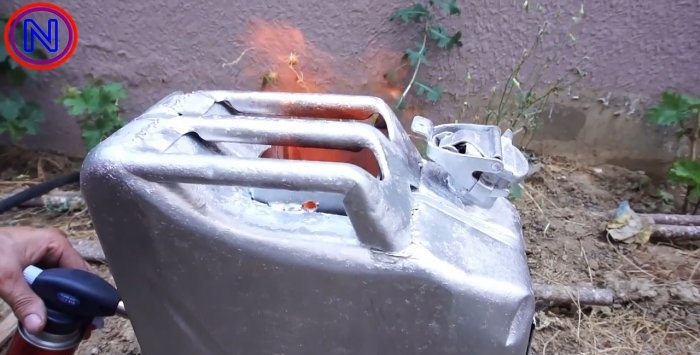
After ignition, the air coming from the lower window creates a strong draft, so the flame is sucked into the pipe and exits through the window under the handles of the canister on which the boiler is installed.
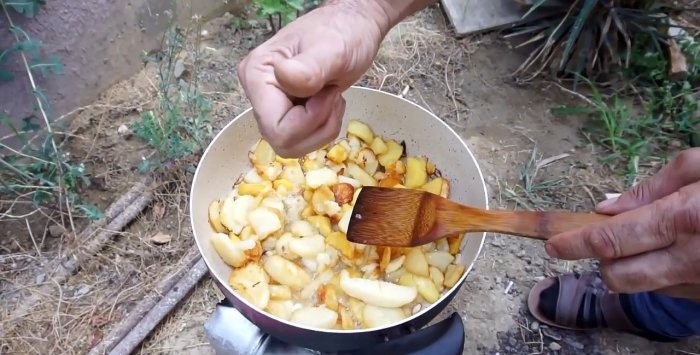
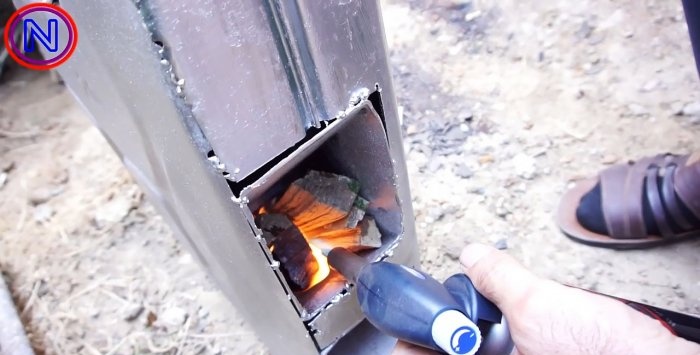
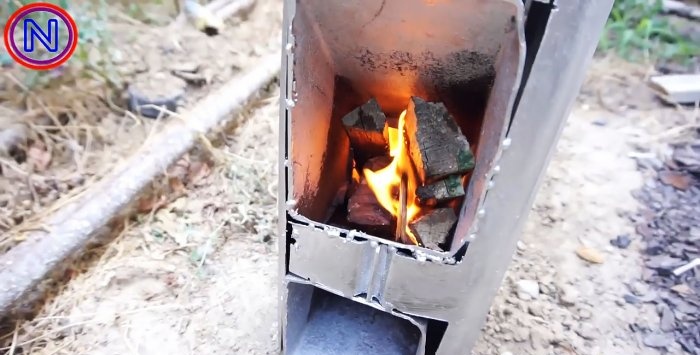
Since the firebox is made at an angle, the firewood slides and completely burns out. If you light a stove with a burner, you can achieve a stable fire in just a minute. It’s easy to throw firewood into it and easy to clean from ash.
Materials:
- steel canister 20 l;
- square 100x100 mm;
- furniture hinges 2 pcs.;
- any unnecessary bolt;
- heat-resistant paint.
Making a stove
Before starting work, you must make sure that there is not a drop of flammable substances or their vapors left in the container. Using a grinder, you need to open the canister, cutting out its side along the ribs. The handles are also cut off along with the base.
The part in contact with the fire, the rocket furnace, must be made of thicker steel than the walls of the canister. To do this, you need to weld a frame from a square as in the photo.Its base uses 2 sections of profile pipe, cut at 45 degrees and welded at right angles. Between them, a kind of grate is made from a drilled steel sheet. It turns out that the squares at the junction are separated by a lattice. Another piece of pipe, previously sawn on both sides at angles of 45 degrees, is welded into the inner corner of the L-shaped part to form a wedge. Before welding, a window must be cut in the vertical profile at the joining point in order to obtain a passage from the oblique profile into the L-shaped workpiece. I took the rocket stove I had made earlier and adjusted it to the size of the canister.
Two windows are cut into the back wall of the canister for the welded stove frame.
A slot is also made at the top to bring out the vertical profile. After such preparation, the frame can be placed inside the canister. You also need to cut out a large window in the front of the canister to get a door into the compartment for storing small items for ignition.
The inserted frame is welded into the canister. After this, the previously cut side wall and handles are welded into place.
The door at the front of the canister is welded onto furniture hinges.
For beauty, the canister can be painted.
The resulting compartment can be used to store matches, kindling, firewood or a gas burner.
To make the door open, a piece of bolt is welded to it instead of a handle. A hook is not required, since with such hinges it opens with force.
How to use
We take the stove to any place we need and simply set it up.
Firewood is stored in the upper side window.
After ignition, the air coming from the lower window creates a strong draft, so the flame is sucked into the pipe and exits through the window under the handles of the canister on which the boiler is installed.
Since the firebox is made at an angle, the firewood slides and completely burns out. If you light a stove with a burner, you can achieve a stable fire in just a minute. It’s easy to throw firewood into it and easy to clean from ash.
Watch the video
Similar master classes
Particularly interesting
Comments (3)

