Portable solar power station for hiking, tourism
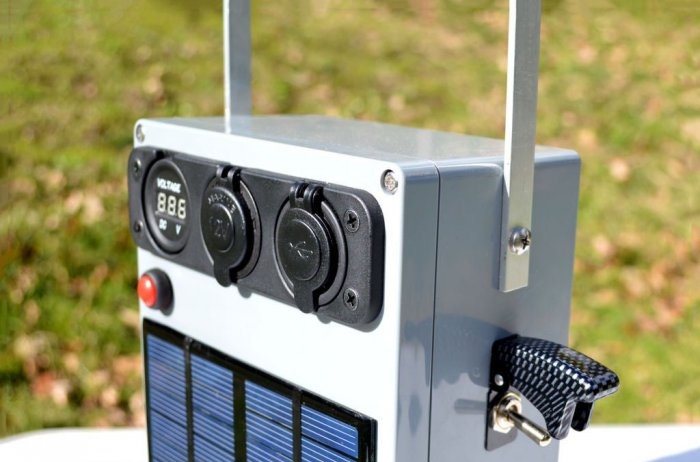
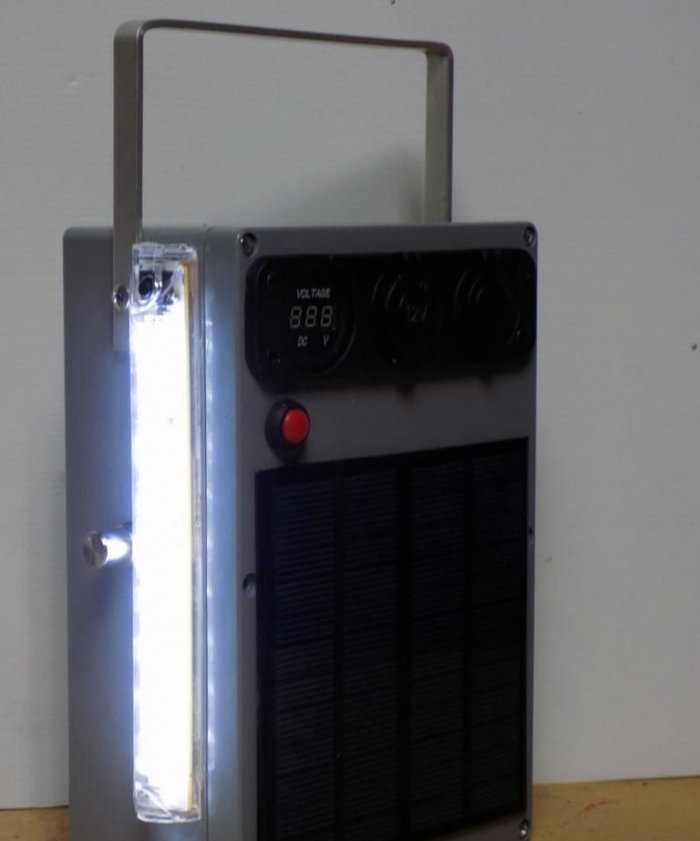
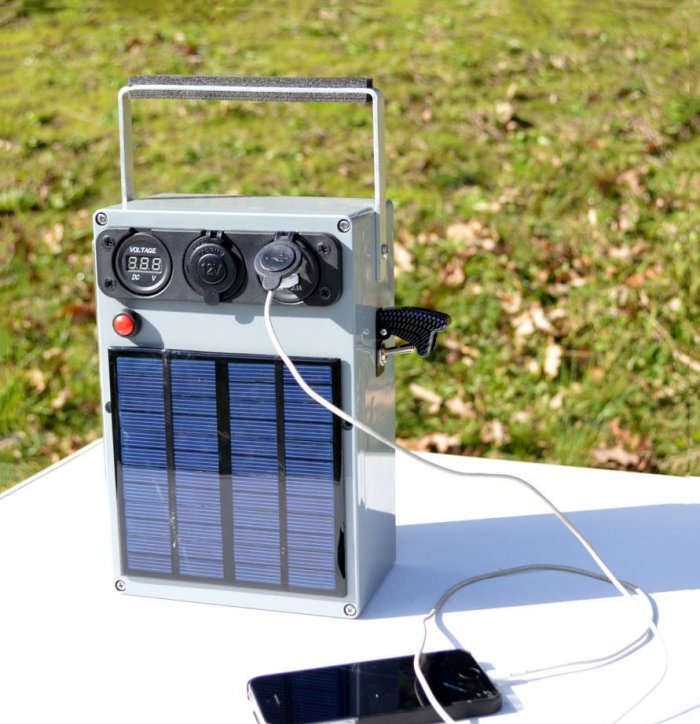
This is a fully-fledged miniature solar power plant. The thing is extremely useful when hiking, outdoor recreation, and anywhere where there is no electricity and there is sunlight. With it you can inflate an air mattress or boat, take a shower or wash a car, charge any gadgets and devices, and connect lighting. The power of the built-in battery is enough for everything.
Anyone can assemble such a useful thing; you don’t need much knowledge of electronics.
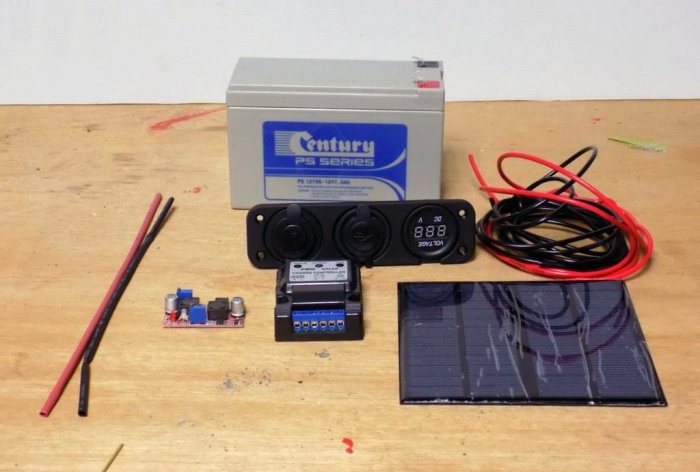
1. A 12A 7A/H battery can be purchased at electrical stores or AliExpress.
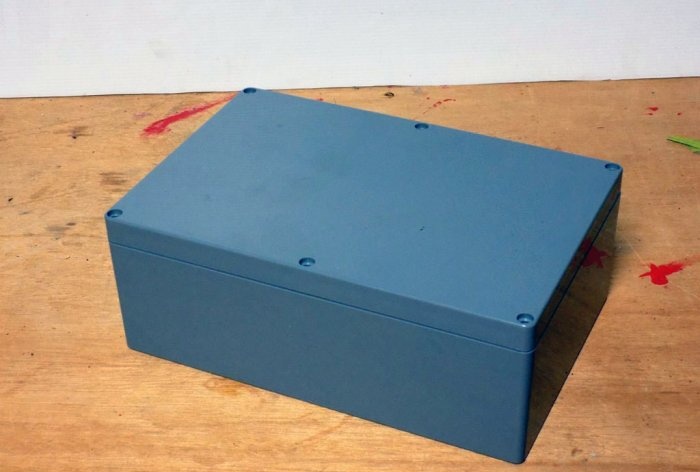
2. Housing, plastic box 85 mm x 230 mm x 150 mm can be purchased at electrical supply stores or AliExpress.
3. Solar panel 18V - AliExpress.
4. Charging controller - AliExpress.
5. Switch - AliExpress.
6. Button - AliExpress.
7. Wires for connection.
8. LED line - AliExpress.
9. Panel 3 in 1: cigarette lighter, USB socket, voltmeter - AliExpress.
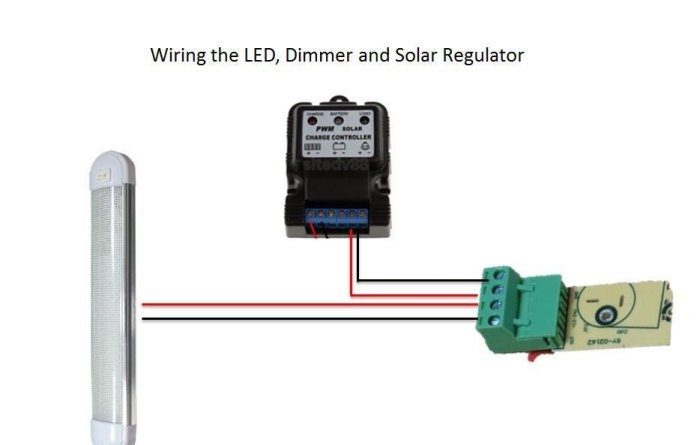
10. Dimmer - AliExpress.
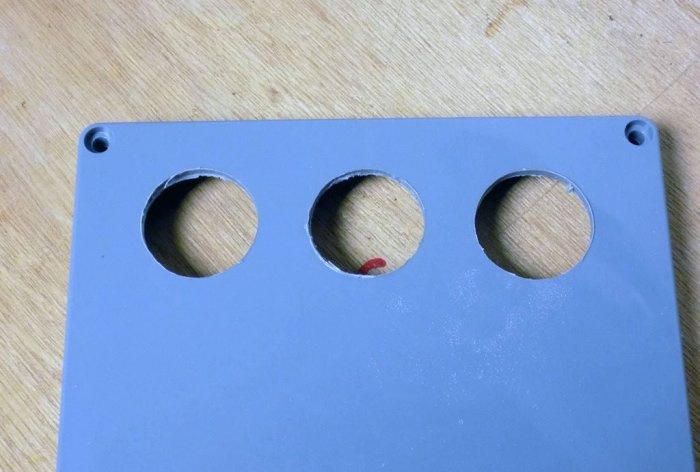
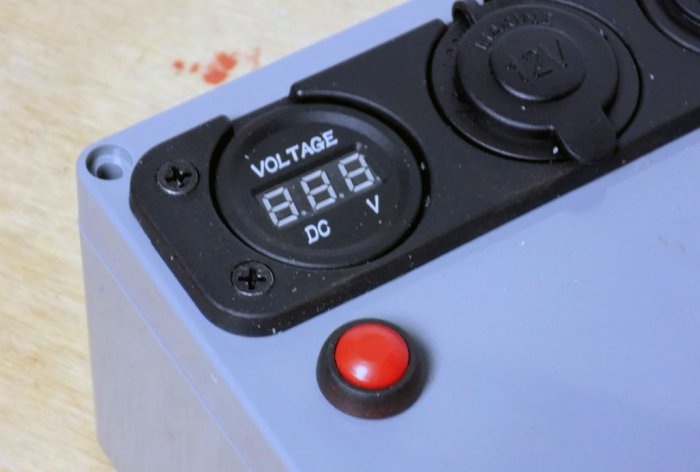
In the box we will drill three holes for the cigarette lighter, double USB sockets and a voltmeter.
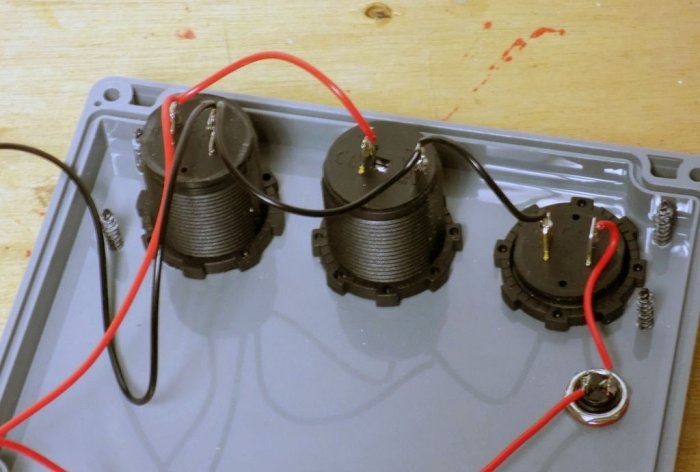
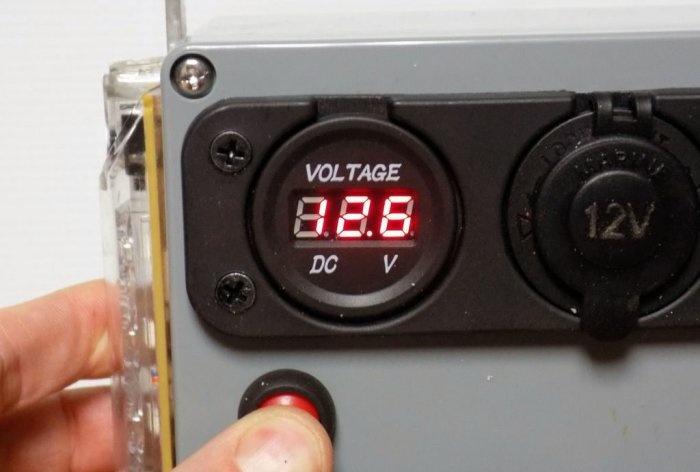
Let's install them and secure them with screws. We will also drill a hole next to the voltmeter and install a button without fixing. It is needed to turn on the voltmeter when you need to determine the approximate condition of the battery.
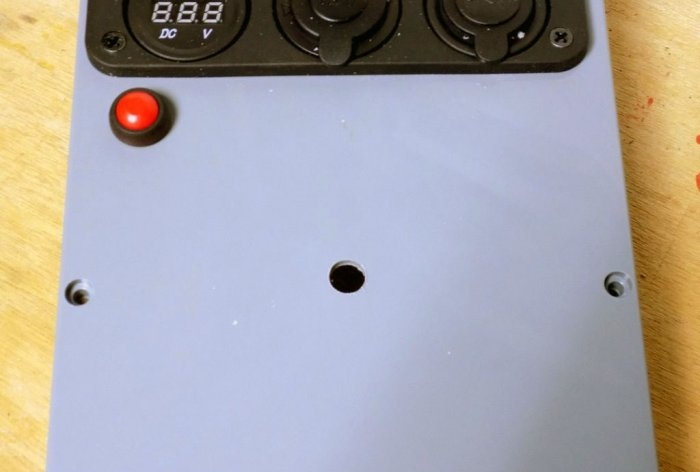
Next, we drill a small hole in the center into which the wires from the solar panel will be threaded.
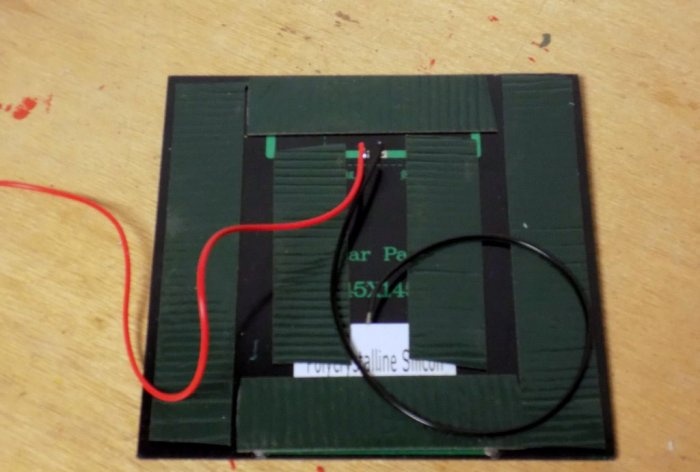
We will attach the solar panel with double-sided tape. Let's glue it. Solder the wires to the panel.
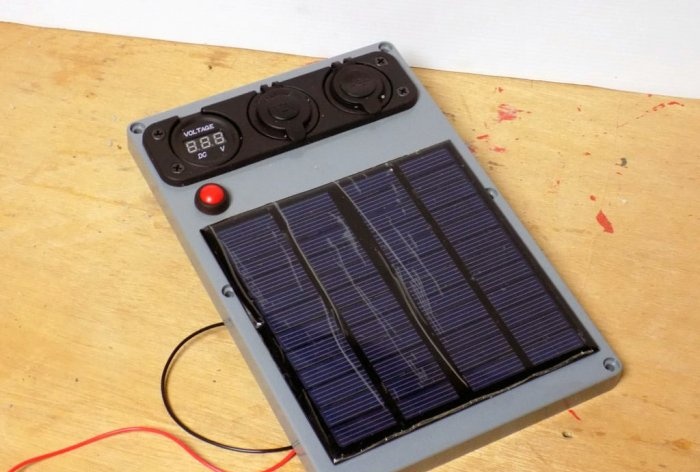
Installing the panel.
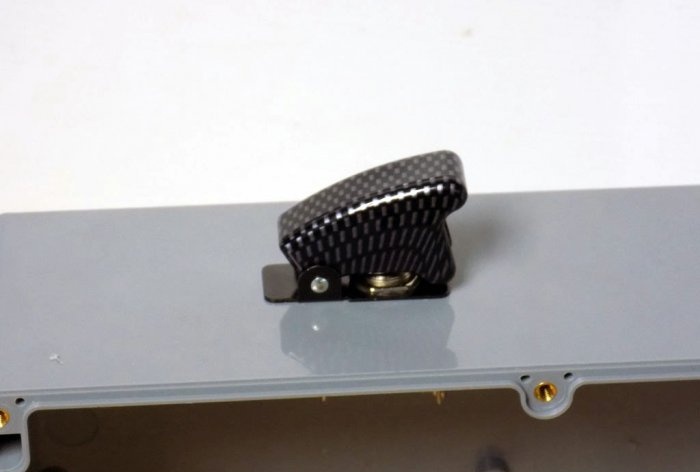
We drill a hole on the side and install a switch that will completely turn off the panel. It is needed to ensure that the battery does not burst when the power plant is inactive.
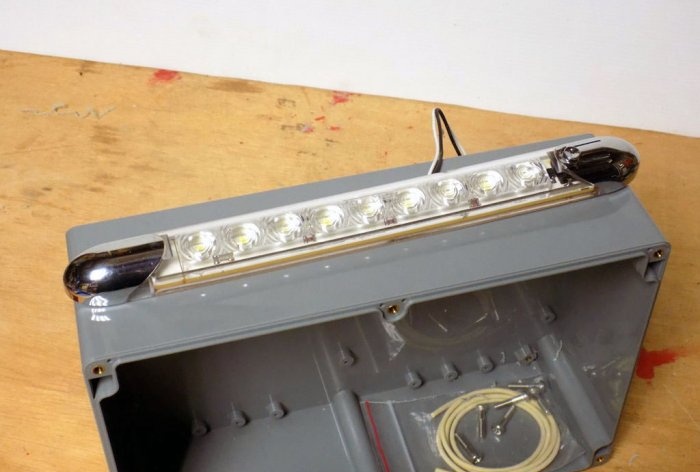
We glue an LED strip on the opposite side.
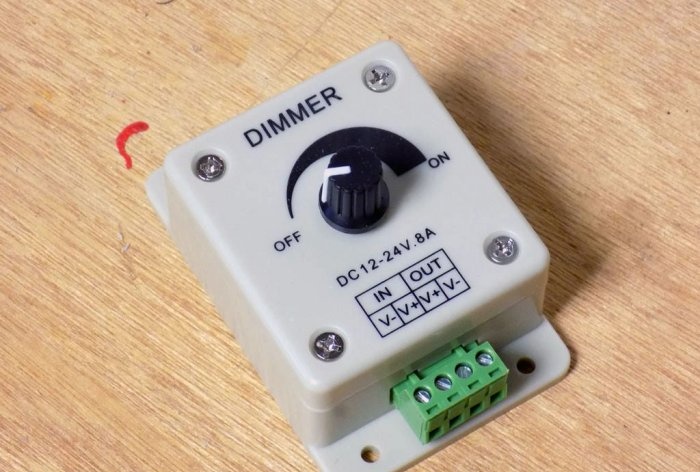
To regulate the strength of its glow, a dimmer will be used.
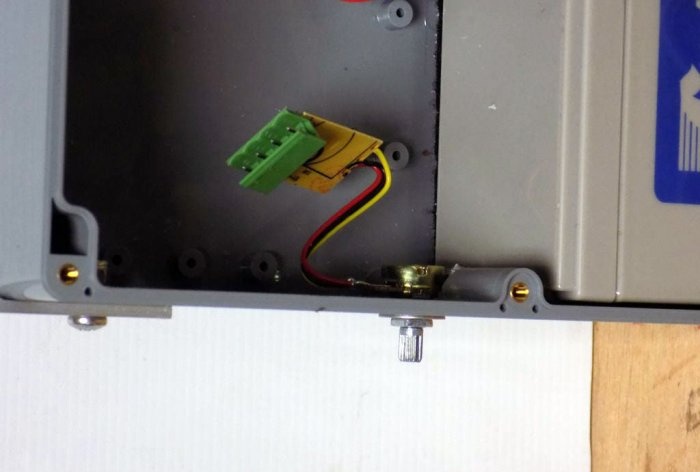
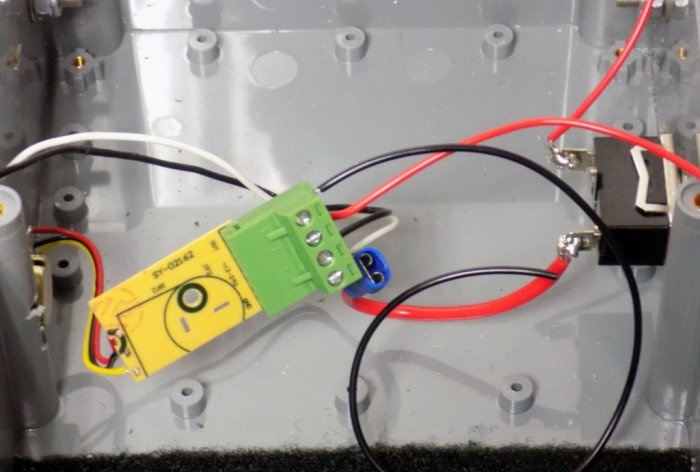
We disassemble it from its original case. Install a variable resistor.
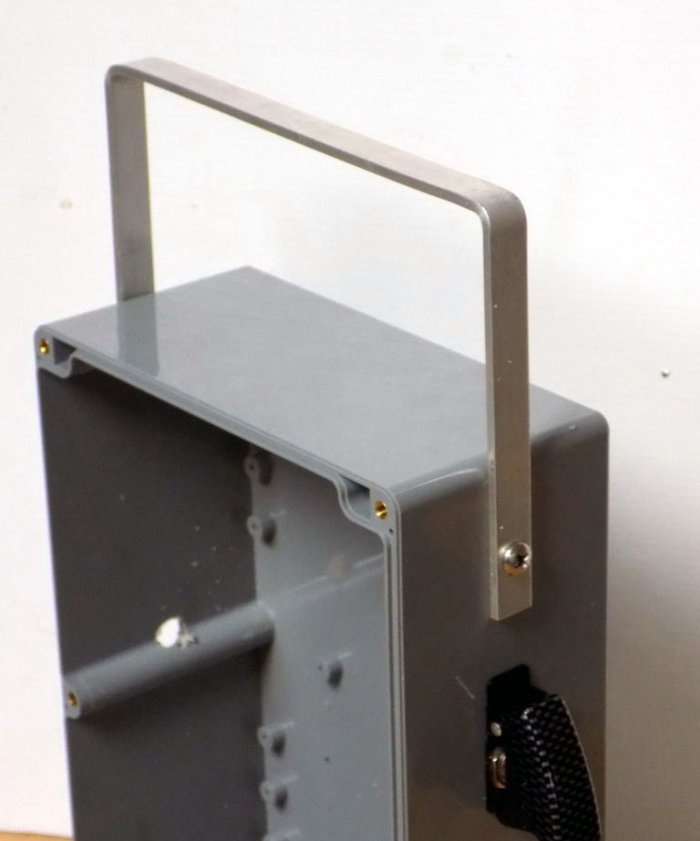
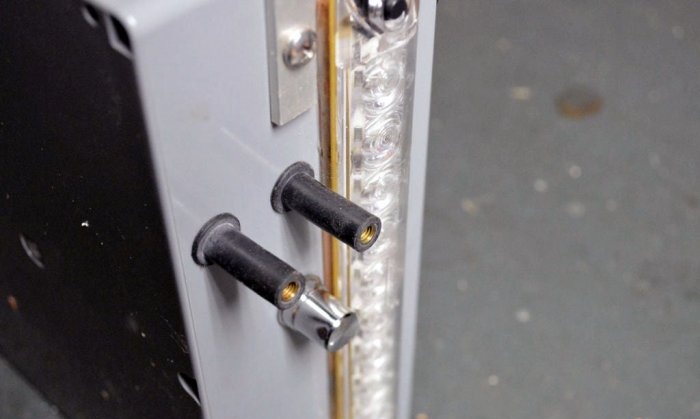
For ease of carrying, we attach a handle made of a strip of aluminum.
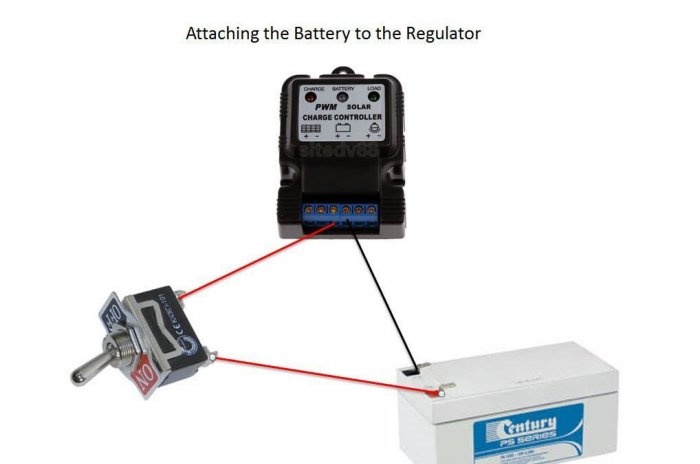
This device uses the simplest charge controller. There are icons on it showing where the battery, panel and load are connected. Such a controller will protect the battery from being completely discharged or overcharged.
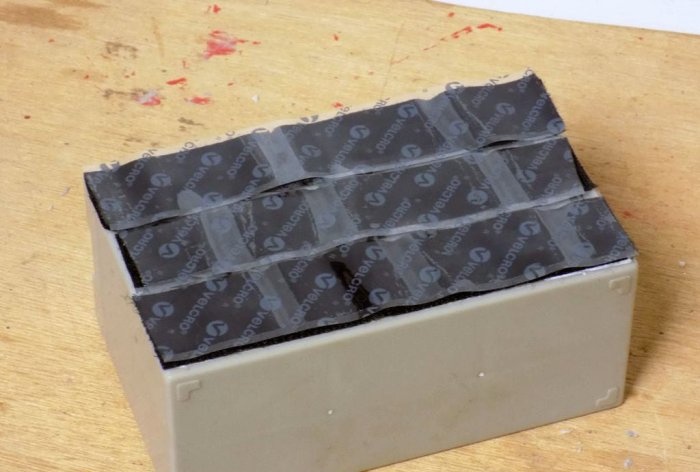
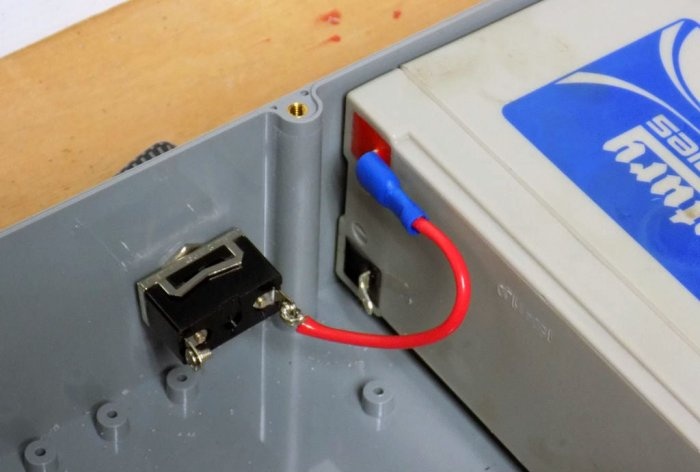
We connect to the battery via a switch. We attach the battery itself to the case using double-sided tape or, as in my case, using a special adhesive rubber.
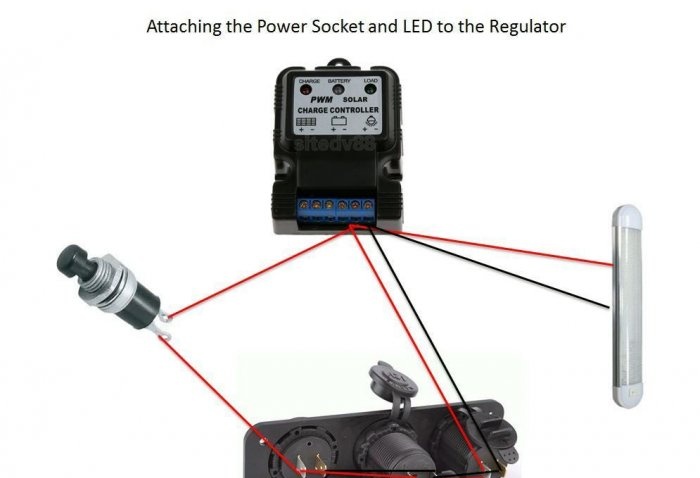
The controller provides output to all consumers.
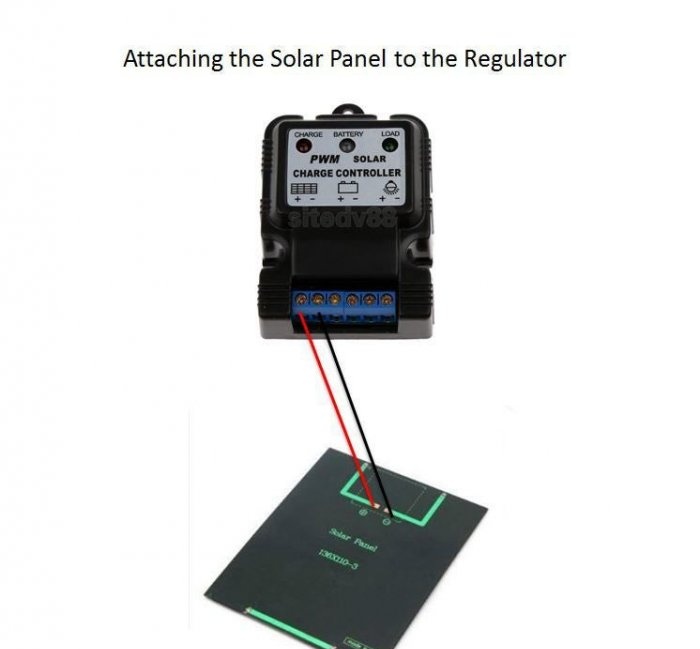
And the solar panel is connected.
The light comes through a dimmer.
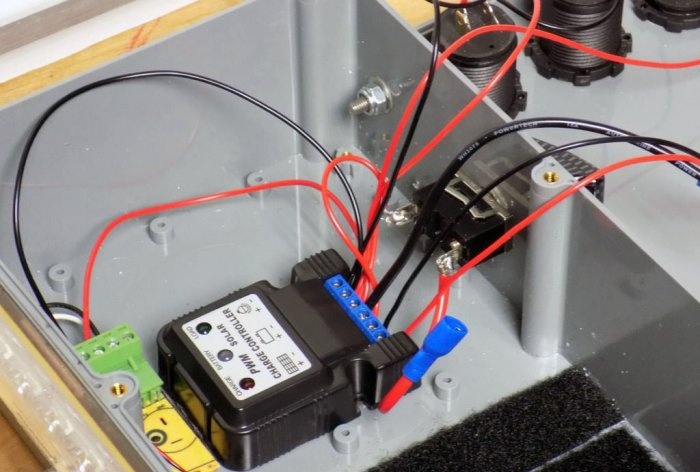
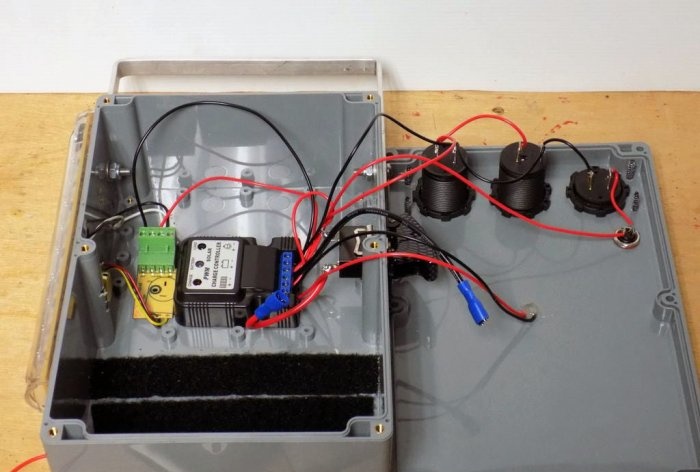
The finished device before closing the lid.
There are additional battery terminals on the side so that you can charge the battery from a third-party charger. After all, even if there is no sun, it can be used as a power bank.
Checking the voltage.
The presence of an acid battery is still a plus compared to lithium-ion batteries, since it is not afraid of sub-zero temperatures.
The device is very useful, especially in case of a zombie apocalypse))
Collect something more powerful in the plan. Bye everyone!
Original article in English
Anyone can assemble such a useful thing; you don’t need much knowledge of electronics.
Will need
1. A 12A 7A/H battery can be purchased at electrical stores or AliExpress.
2. Housing, plastic box 85 mm x 230 mm x 150 mm can be purchased at electrical supply stores or AliExpress.
3. Solar panel 18V - AliExpress.
4. Charging controller - AliExpress.
5. Switch - AliExpress.
6. Button - AliExpress.
7. Wires for connection.
8. LED line - AliExpress.
9. Panel 3 in 1: cigarette lighter, USB socket, voltmeter - AliExpress.
10. Dimmer - AliExpress.
Manufacturing of solar power station
In the box we will drill three holes for the cigarette lighter, double USB sockets and a voltmeter.
Let's install them and secure them with screws. We will also drill a hole next to the voltmeter and install a button without fixing. It is needed to turn on the voltmeter when you need to determine the approximate condition of the battery.
Next, we drill a small hole in the center into which the wires from the solar panel will be threaded.
We will attach the solar panel with double-sided tape. Let's glue it. Solder the wires to the panel.
Installing the panel.
We drill a hole on the side and install a switch that will completely turn off the panel. It is needed to ensure that the battery does not burst when the power plant is inactive.
We glue an LED strip on the opposite side.
To regulate the strength of its glow, a dimmer will be used.
We disassemble it from its original case. Install a variable resistor.
For ease of carrying, we attach a handle made of a strip of aluminum.
Assembling the entire circuit
This device uses the simplest charge controller. There are icons on it showing where the battery, panel and load are connected. Such a controller will protect the battery from being completely discharged or overcharged.
We connect to the battery via a switch. We attach the battery itself to the case using double-sided tape or, as in my case, using a special adhesive rubber.
The controller provides output to all consumers.
And the solar panel is connected.
The light comes through a dimmer.
The finished device before closing the lid.
There are additional battery terminals on the side so that you can charge the battery from a third-party charger. After all, even if there is no sun, it can be used as a power bank.
Solar power plant in operation
Checking the voltage.
What do we end up with?
- Two USB outputs for simultaneous charging of two devices.
- Cigarette lighter socket with 12 V output.
- Dimmable light source.
The presence of an acid battery is still a plus compared to lithium-ion batteries, since it is not afraid of sub-zero temperatures.
The device is very useful, especially in case of a zombie apocalypse))
Collect something more powerful in the plan. Bye everyone!
Original article in English
Similar master classes
Particularly interesting
Comments (4)

