How to make a rubberized handle on a knife
Working knives, which have to be held in your hands for a long time in the open air, get very cold on your fingers. This primarily applies to hunting, tourist and fishing blades. To solve this problem, you can rubberize the handle. This will make it warmer, less slippery, slightly softer and more resistant to rotting.
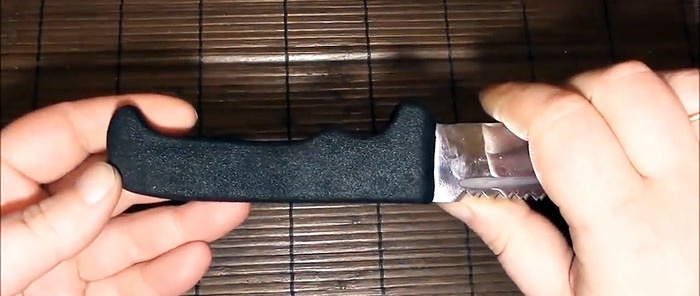
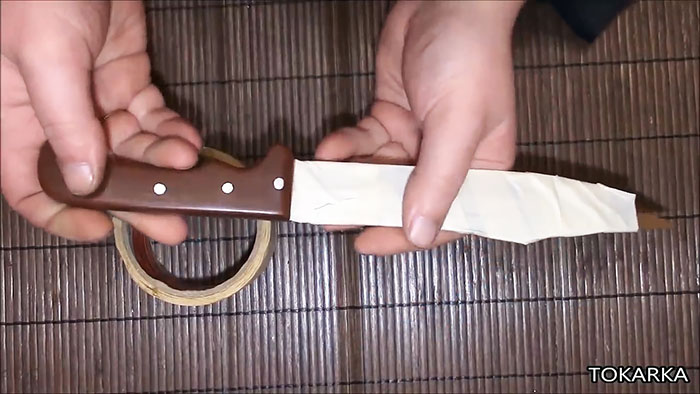
To protect your hands from cuts and not to cover the blade itself with rubber, it should be sealed with masking tape.
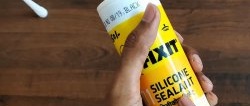
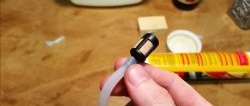
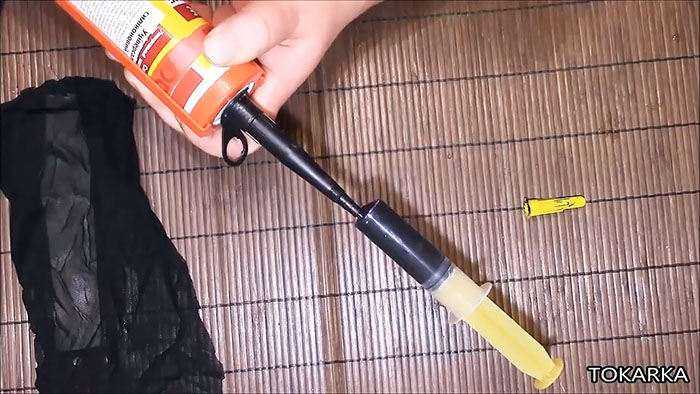
For rubber coating, silicone sealant is used, which is better to squeeze into a syringe, which will allow it to be applied more accurately.
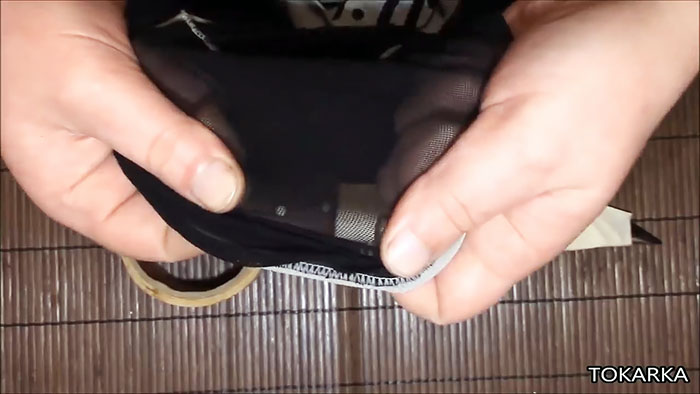
To reinforce the silicone, you will need to cut out a piece of mesh material. This could be a stocking or an insert from an unnecessary women's blouse, dress, etc. One end of the flap should be cut exactly to fit the ruler.
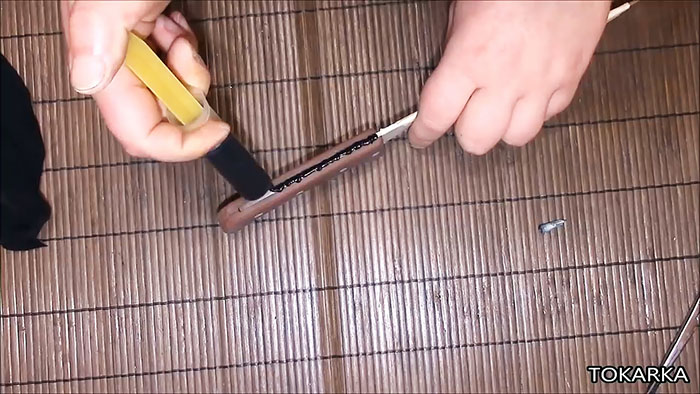
After degreasing, a little silicone is applied to the back of the handle. It is smoothed out and left for 5 minutes to dry easily. For ease of operation, it is better to secure the knife blade in a vice.
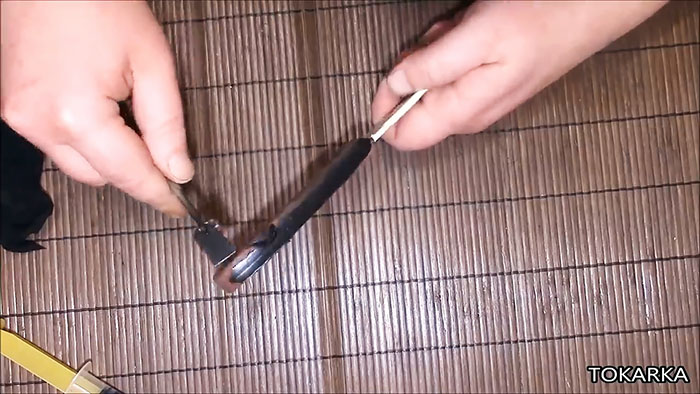
As soon as the silicone hardens a little on the back of the handle, you need to apply and smooth the mesh, placing it with a cut, even edge. To move to the next stage, the reinforcement needs to hold well.
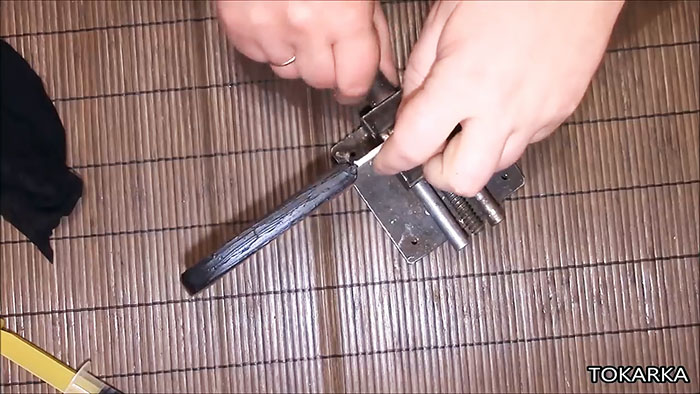
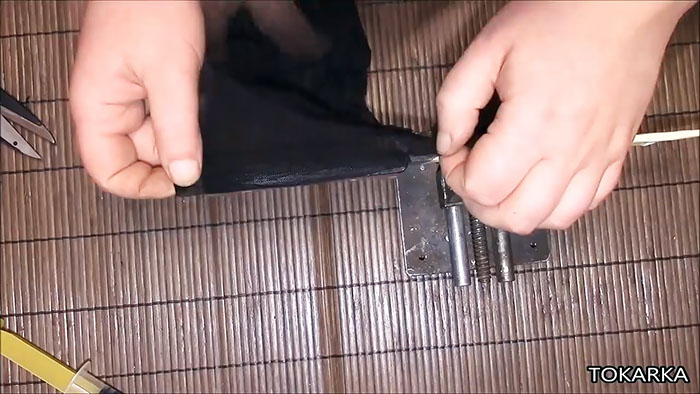
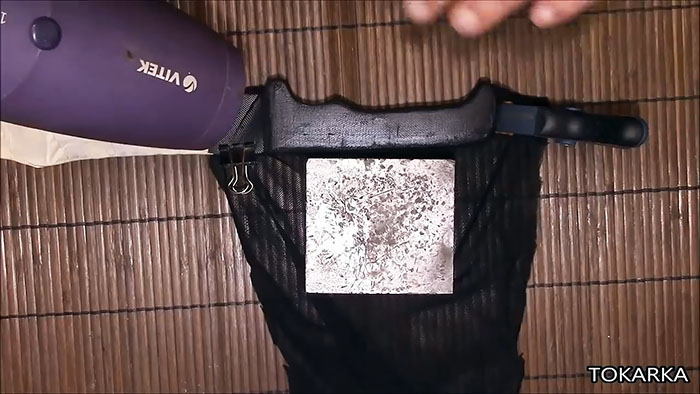
To avoid waiting a long time, the sealant can be dried with a household hairdryer.
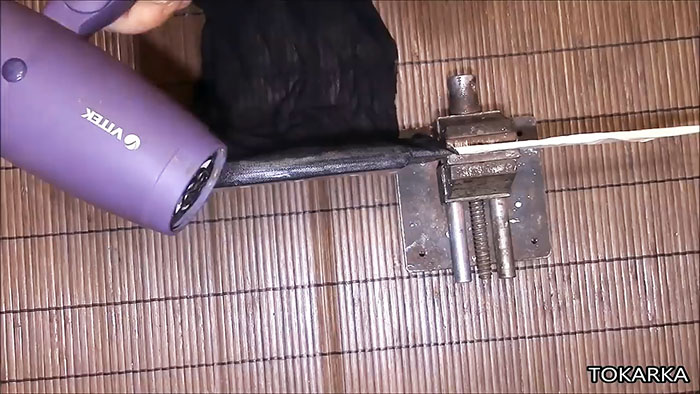
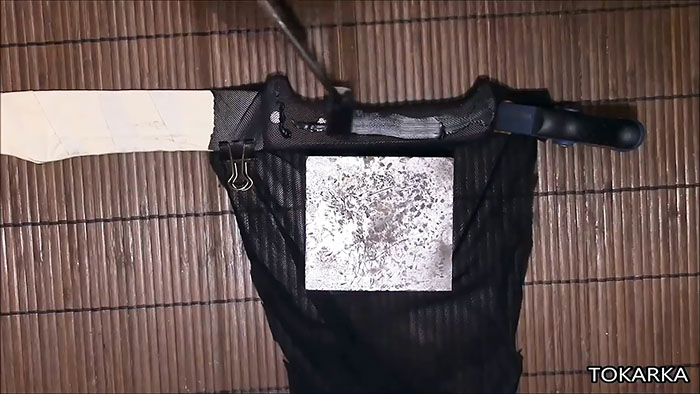
Next, the lower part of the handle and sides are coated with silicone. The fabric is pulled back to avoid wrinkles and applied to it. A weight is placed on the hanging end of the mesh to keep it taut and not loosen while the sealant hardens. At the blade, it can be hooked in a tense position with a stationery clip.
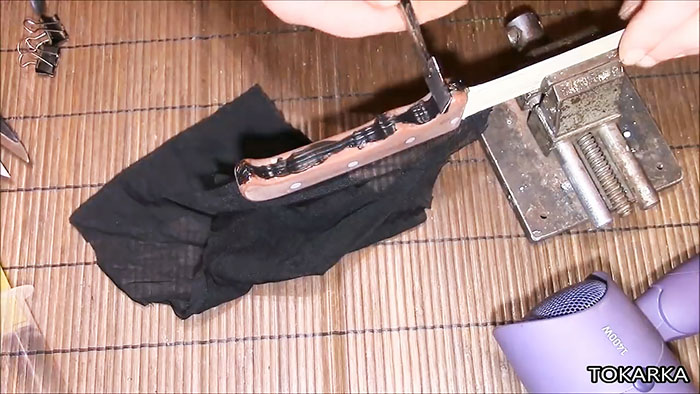
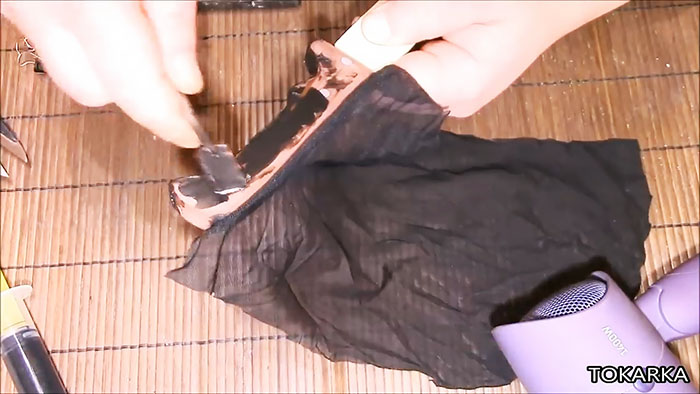
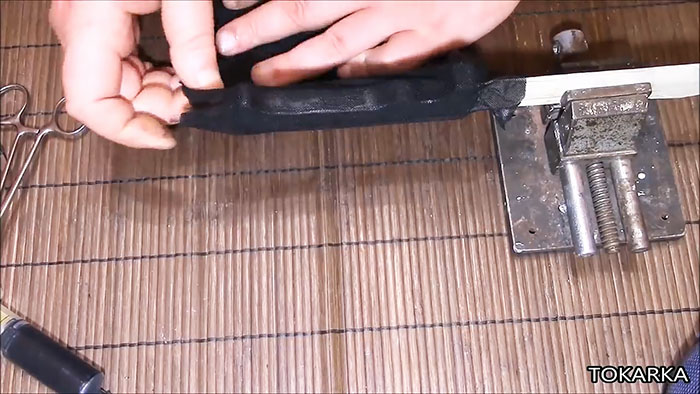
Dry it.
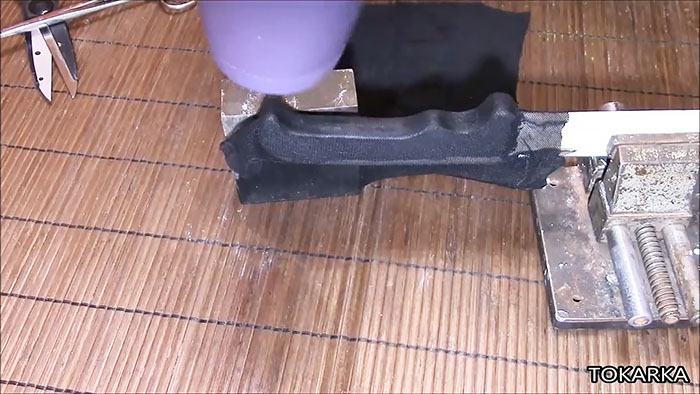
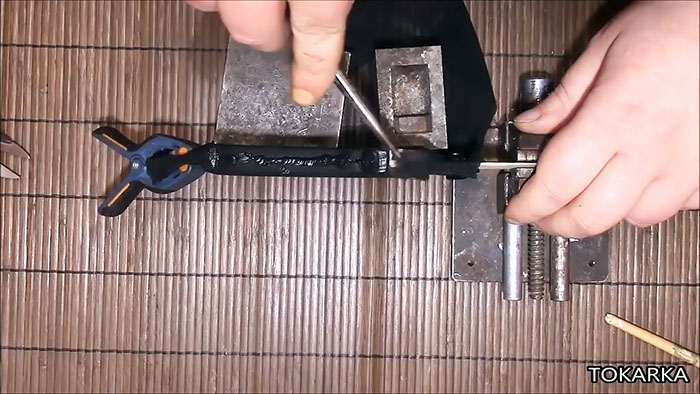
On the sidewalls, the sealant is applied from above through a mesh. It is liquid enough to penetrate to the handle and attach to it. In this way, you need to apply silicone and glue the mesh in at least 2 layers. If you wrap the handle more, it will become even warmer and a little softer. Be sure to allow the sealant to cure before applying each side.
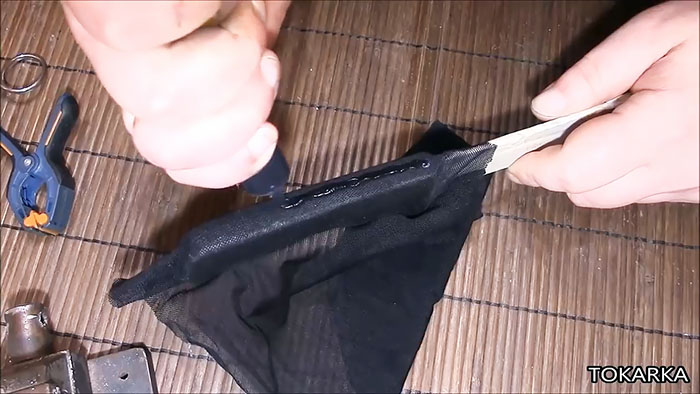
After building the desired number of layers, the excess mesh is cut off.
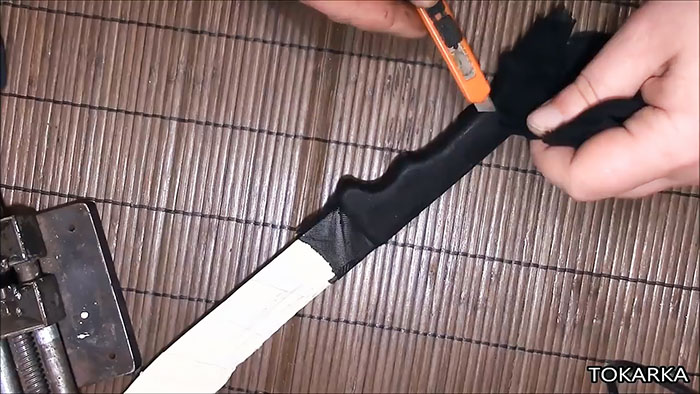
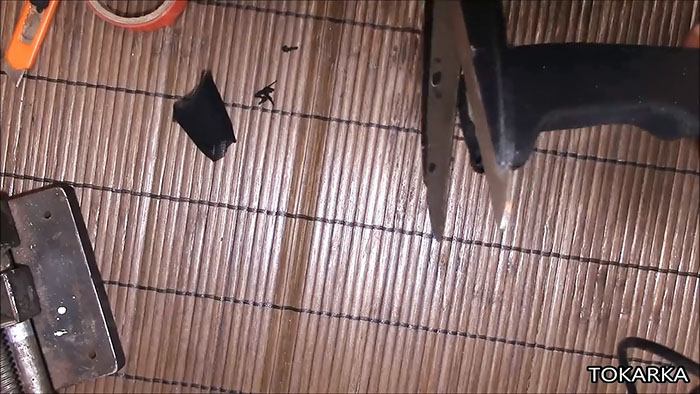
It also needs to be cut off from the side of the handle head, and the remaining folds should be carefully laid and the pommel coated with silicone.
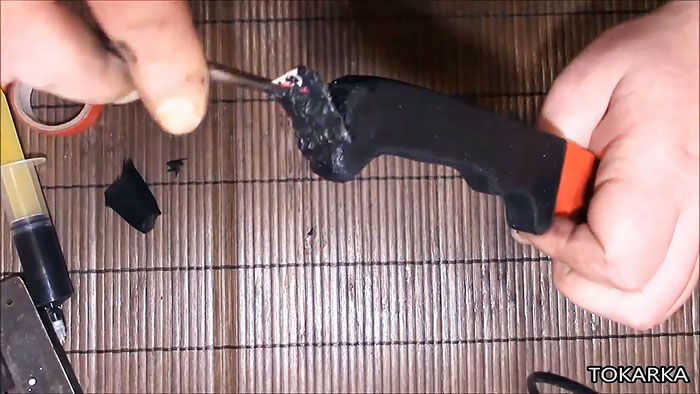
The end of the handle from the blade side is also opened with silicone. The mesh available there can be stretched and secured with electrical tape, and after coating with sealant and hardening, careful trimming can be done.
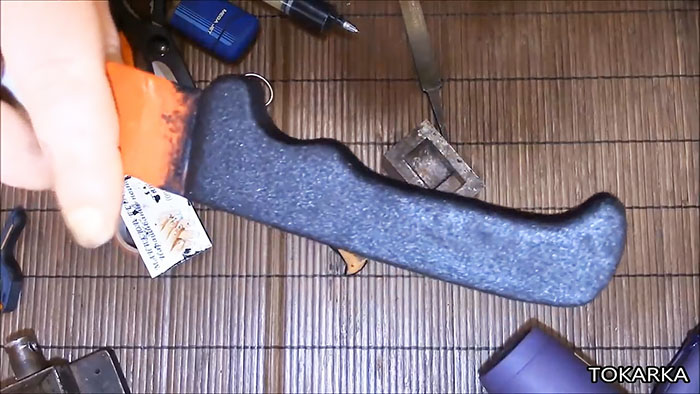
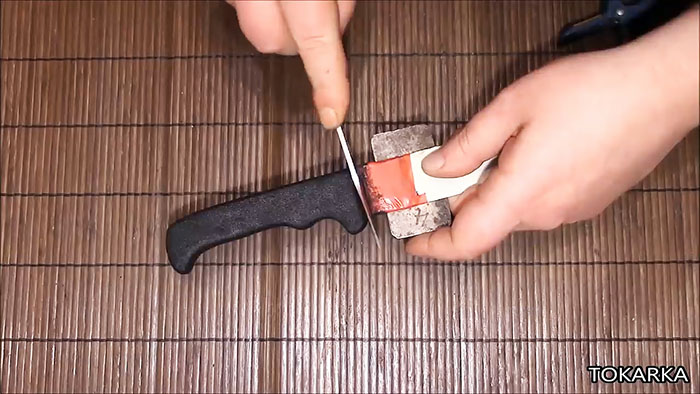
The final stage of rubberizing will be the creation of a matte texture. To do this, apply silicone to the entire handle at once and spread it with longitudinal movements using the hard side of a kitchen sponge.
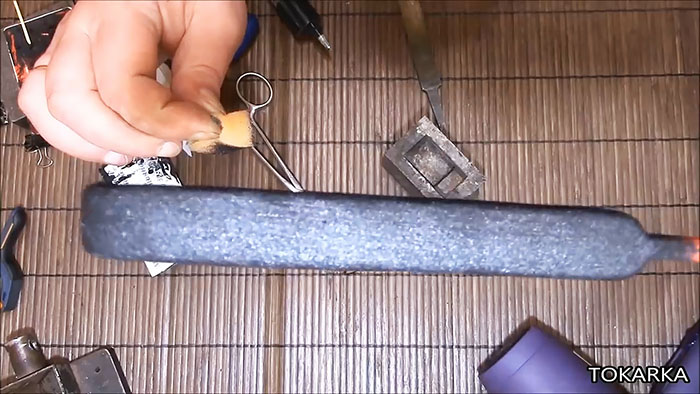
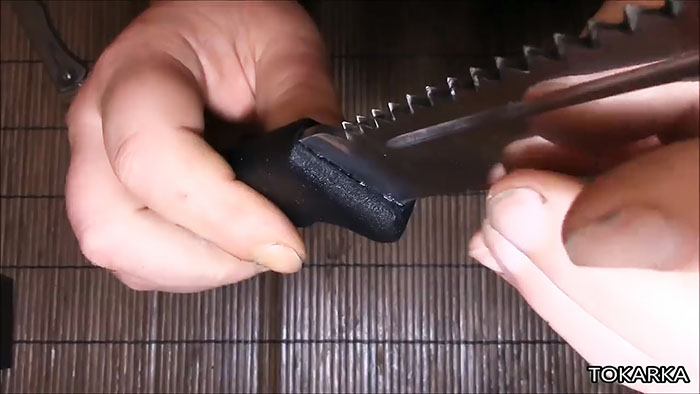

As soon as the sealant has dried slightly, it should be fluffed with light touches of the soft side of the sponge. This will make the coating matte.

Materials and tools:
- silicone sealant of the required color;
- stocking or fine mesh made of synthetic material;
- solvent;
- masking tape;
- 5 cc syringe;
- rubber spatula or plastic card;
- sponge for washing dishes;
- office clips or small clamps;
- vice.
Rubber coating technology
To protect your hands from cuts and not to cover the blade itself with rubber, it should be sealed with masking tape.

For rubber coating, silicone sealant is used, which is better to squeeze into a syringe, which will allow it to be applied more accurately.

To reinforce the silicone, you will need to cut out a piece of mesh material. This could be a stocking or an insert from an unnecessary women's blouse, dress, etc. One end of the flap should be cut exactly to fit the ruler.

After degreasing, a little silicone is applied to the back of the handle. It is smoothed out and left for 5 minutes to dry easily. For ease of operation, it is better to secure the knife blade in a vice.


As soon as the silicone hardens a little on the back of the handle, you need to apply and smooth the mesh, placing it with a cut, even edge. To move to the next stage, the reinforcement needs to hold well.


To avoid waiting a long time, the sealant can be dried with a household hairdryer.

Next, the lower part of the handle and sides are coated with silicone. The fabric is pulled back to avoid wrinkles and applied to it. A weight is placed on the hanging end of the mesh to keep it taut and not loosen while the sealant hardens. At the blade, it can be hooked in a tense position with a stationery clip.


Dry it.

On the sidewalls, the sealant is applied from above through a mesh. It is liquid enough to penetrate to the handle and attach to it. In this way, you need to apply silicone and glue the mesh in at least 2 layers. If you wrap the handle more, it will become even warmer and a little softer. Be sure to allow the sealant to cure before applying each side.


After building the desired number of layers, the excess mesh is cut off.


It also needs to be cut off from the side of the handle head, and the remaining folds should be carefully laid and the pommel coated with silicone.

The end of the handle from the blade side is also opened with silicone. The mesh available there can be stretched and secured with electrical tape, and after coating with sealant and hardening, careful trimming can be done.


The final stage of rubberizing will be the creation of a matte texture. To do this, apply silicone to the entire handle at once and spread it with longitudinal movements using the hard side of a kitchen sponge.


As soon as the sealant has dried slightly, it should be fluffed with light touches of the soft side of the sponge. This will make the coating matte.
Watch the video
Similar master classes
Particularly interesting
Comments (2)


