3 homemade products from an aerosol can
Typically, empty aerosol cans go into the trash. But you can use them to make useful and entertaining homemade products that will delight adults and even children.
In order not to be distracted while working, we will acquire in advance:
two cans;
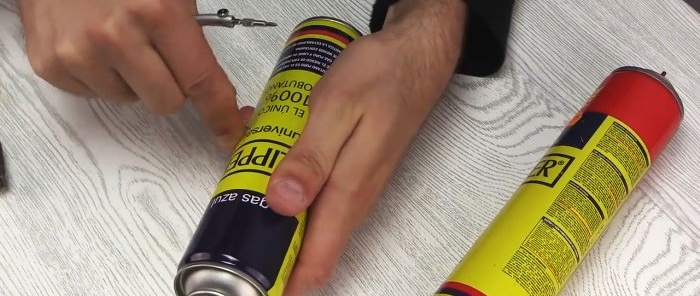
Before cutting the canister, make sure it is empty. But in any case, we will make a puncture on the side opposite to ourselves with a nail or an awl.
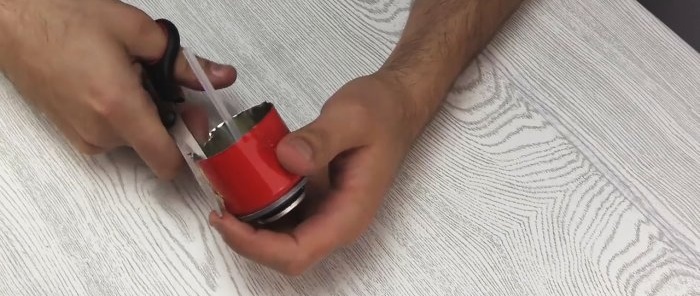
Using scissors, cut off the top parts of two cans.
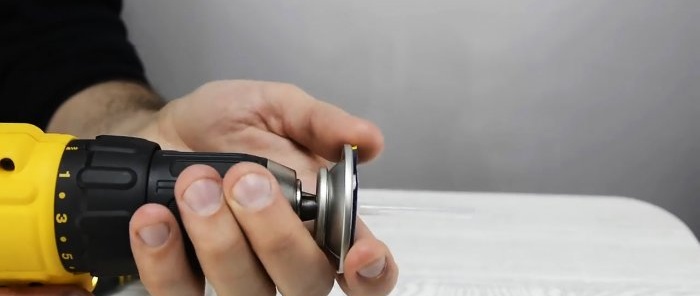
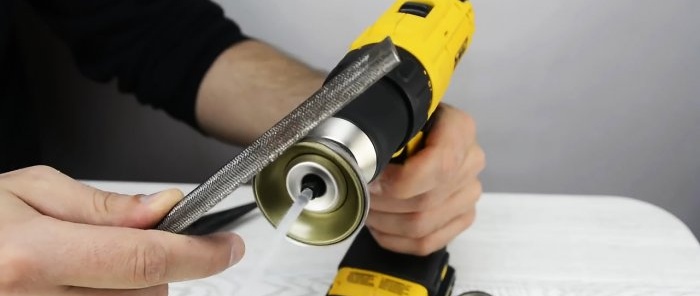
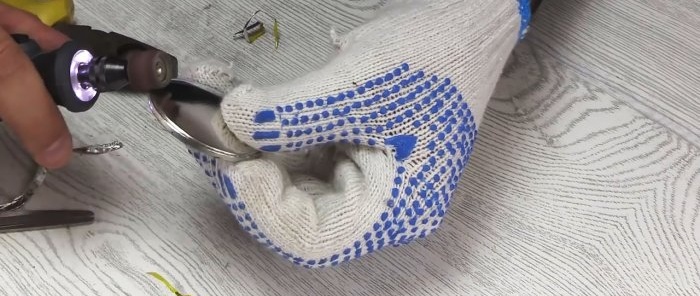
We smooth the edges of the cut manually with sandpaper or, holding the cover by the rod in the drill chuck, with a file.
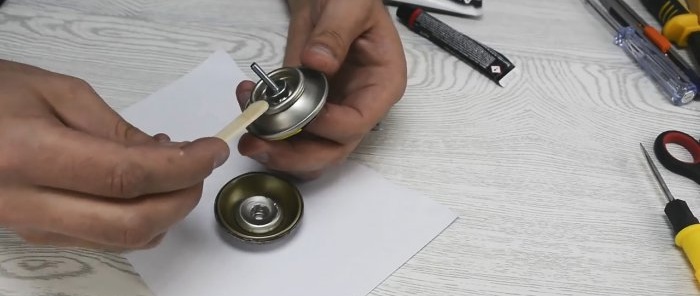
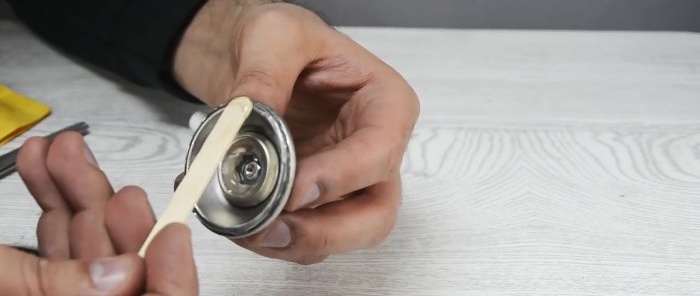
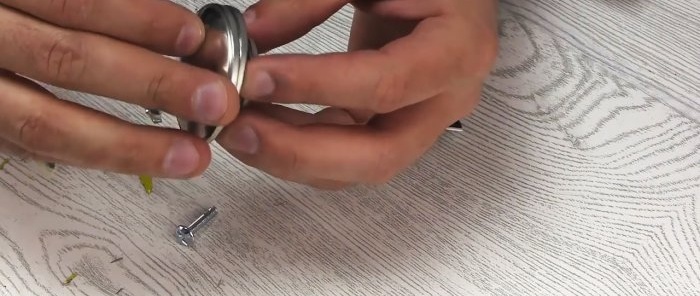
We remove the rod, spring and sprayer from the covers. We glue the covers together with their upper parts so that a groove for the future pulley is formed.
We fix the resulting assembly with a rod and nuts. We leave it in this position until the glue has completely hardened. Then remove the fastening.
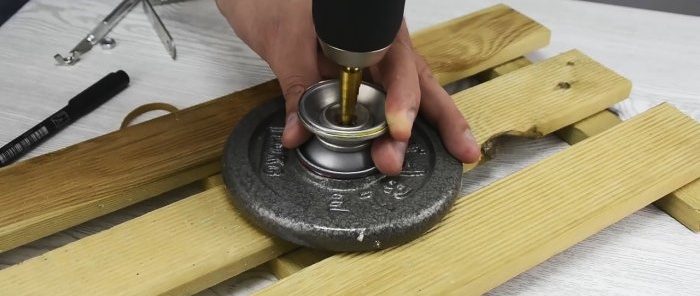
We expand the holes in the glued covers with a drill and a drill bit.
From the L-shaped bracket we bend a U-shaped one.
We shorten the threaded rod with a hacksaw, having previously determined its length. We file the edges of the cut.
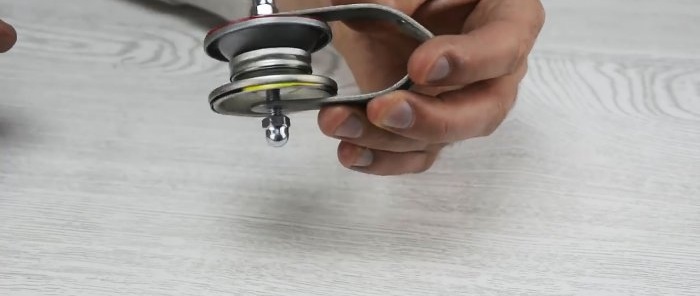
We screw a nut onto one end of the stud and pass it into the holes of the bracket and pulley. We fix the assembly from the outside with another nut.
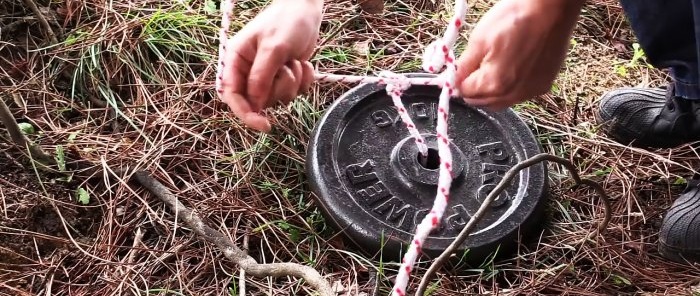
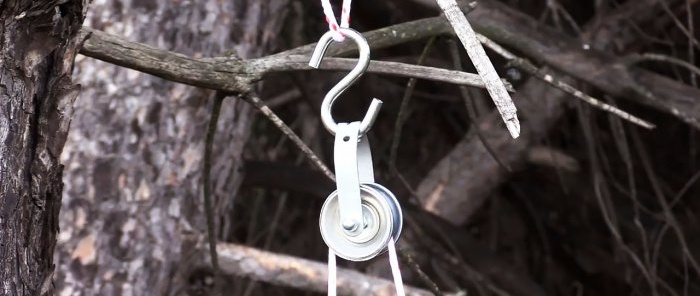
The pulley made from cans turned out to be quite durable. With its help, you can lift most household goods and at the same time be calm about their safety.
This will take a little time, effort and money if you acquire in advance:
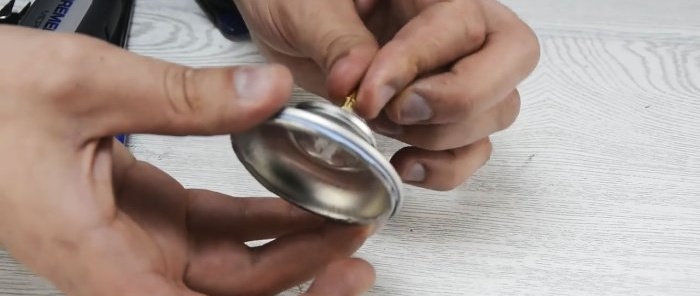
After the puncture, cut off the top and bottom of the can. We get rid of the sprayer and tube. We polish the cut using a disc or sandpaper.
We pass the bolt into the hole in the upper part of the cylinder and fix it with glue.
We wait until the glue hardens completely.
Lubricate the bottom and top parts with glue and press them together. We keep them in this position until the glue completely hardens.
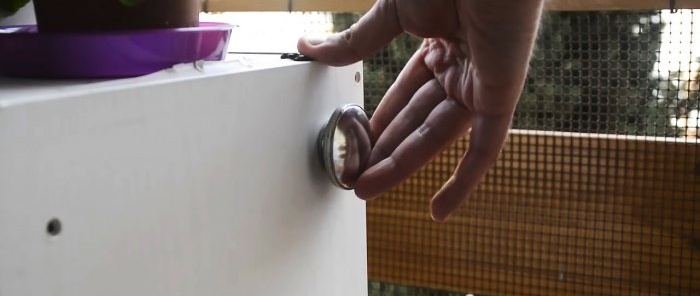
Insert a bolt into the hole in the door and secure it with a nut on the back. After this, we polish the handle, which will give it an attractive look.
Children will certainly love it, because thanks to its lightness, it will rotate without stopping for at least two minutes. To work we need to prepare:
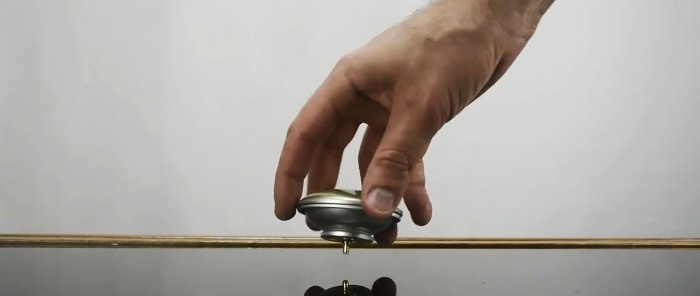
We cut off the top and bottom of the can and connect them with glue. In advance, insert and glue a headphone plug or a bolt with a rounded head into the hole in the upper part.
Once the glue has dried, the toy is ready to play.
How to make a reliable and lightweight pulley
In order not to be distracted while working, we will acquire in advance:
two cans;
- L-shaped bracket;
- stud and nuts;
- nail or awl;
- scissors;
- hacksaw for metal;
- file and sandpaper;
- glue;
- drill and drill bit.
Before cutting the canister, make sure it is empty. But in any case, we will make a puncture on the side opposite to ourselves with a nail or an awl.
Using scissors, cut off the top parts of two cans.
We smooth the edges of the cut manually with sandpaper or, holding the cover by the rod in the drill chuck, with a file.
We remove the rod, spring and sprayer from the covers. We glue the covers together with their upper parts so that a groove for the future pulley is formed.
We fix the resulting assembly with a rod and nuts. We leave it in this position until the glue has completely hardened. Then remove the fastening.
We expand the holes in the glued covers with a drill and a drill bit.
From the L-shaped bracket we bend a U-shaped one.
We shorten the threaded rod with a hacksaw, having previously determined its length. We file the edges of the cut.
We screw a nut onto one end of the stud and pass it into the holes of the bracket and pulley. We fix the assembly from the outside with another nut.
The pulley made from cans turned out to be quite durable. With its help, you can lift most household goods and at the same time be calm about their safety.
Convenient and beautiful door handle made from an aerosol can
This will take a little time, effort and money if you acquire in advance:
- aerosol can;
- nail or awl;
- bolt;
- hacksaw for metal;
- file;
- heat gun and glue;
- polishing agent.
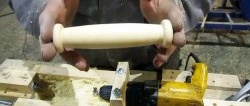
After the puncture, cut off the top and bottom of the can. We get rid of the sprayer and tube. We polish the cut using a disc or sandpaper.
We pass the bolt into the hole in the upper part of the cylinder and fix it with glue.
We wait until the glue hardens completely.
Lubricate the bottom and top parts with glue and press them together. We keep them in this position until the glue completely hardens.
Insert a bolt into the hole in the door and secure it with a nut on the back. After this, we polish the handle, which will give it an attractive look.
How to make a toy top
Children will certainly love it, because thanks to its lightness, it will rotate without stopping for at least two minutes. To work we need to prepare:
- used spray can;
- glue;
- bolt or plug;
- hacksaw;
- file.
We cut off the top and bottom of the can and connect them with glue. In advance, insert and glue a headphone plug or a bolt with a rounded head into the hole in the upper part.
Once the glue has dried, the toy is ready to play.
Watch the video
Similar master classes
Particularly interesting
Comments (2)

