How to make a hydraulic press from a bottle jack
You will have to pay a lot of money for a factory new press. But you can make it yourself using a jack. This will not require anything scarce or expensive, except perhaps some time and hard work.
Will need
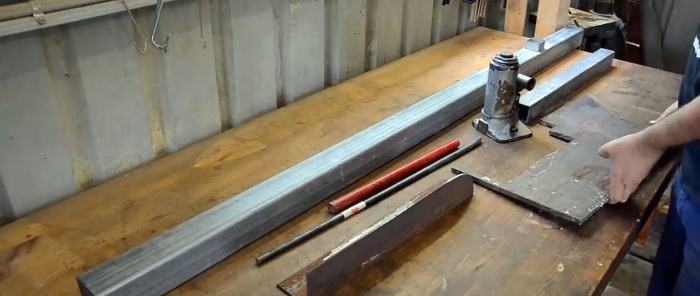
Before we begin, let's prepare the following materials and products:
- hydraulic bottle jack;
- square steel pipes;
- round steel pipe;
- round metal rod;
- a piece of equal-flange steel angle;
- steel sheets of various thicknesses;
- cans of primer and protective paint for metal;
- adhesive tape or tape;
- a piece of anti-slip material, etc.
For work you will need: a vice and clamps, a marker, a ruler and tape measure, an angle grinder, a grinder and a drill, a drilling and sanding machine, welding equipment, a hacksaw, etc.
The process of making a press from a jack
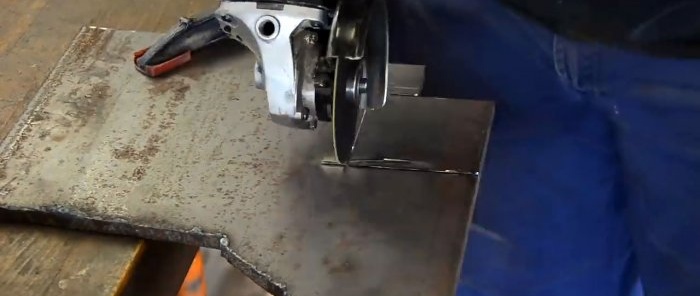
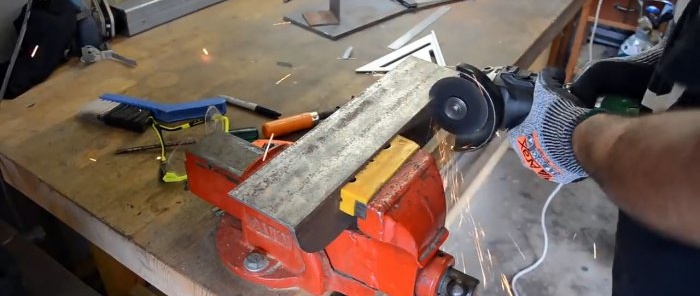
We cut out a base for the jack from a thick sheet of metal, using a ruler, square and chalk for marking, clamps for fastening and a grinder for cutting.
We align the end of the square pipe by cutting off a small ring from its edge.Using a tape measure, measure a piece of the required length from the aligned end and cut it off with a grinder.
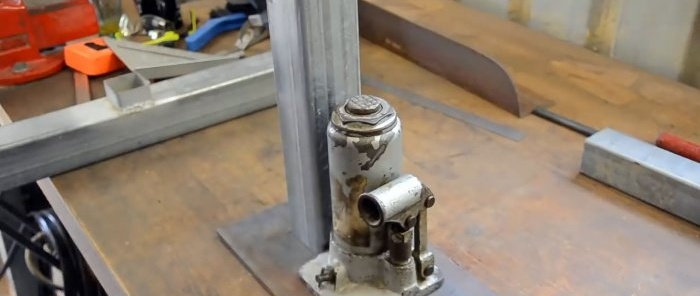
On a rectangular base we install a vertical section of a square pipe and a jack next to it to ensure the accuracy of the dimensions and relative position of these units.
Using a ruler, measure the distance from the stand to the center of the retractable stop of the jack and, taking this into account, cut out a square plate from a thick sheet of metal using a grinder.
We cut off four equal-length fragments from an equal-length steel angle. Using a grinder, we remove burrs and chamfer the edges of all parts subjected to cutting. We grind flat surfaces with a grinder with appropriate attachments.
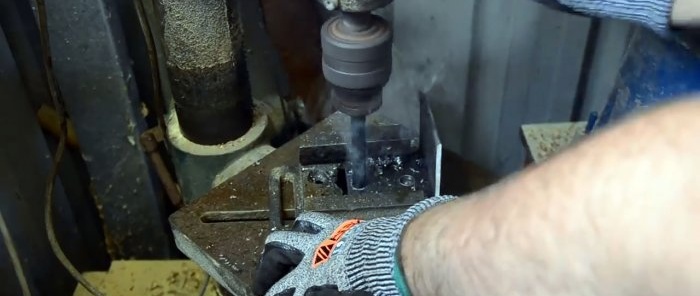
Using a drill, we first drill preliminary and then finally drill a couple of holes in one shelf of two fragments of corners in its center perpendicular to the corner.
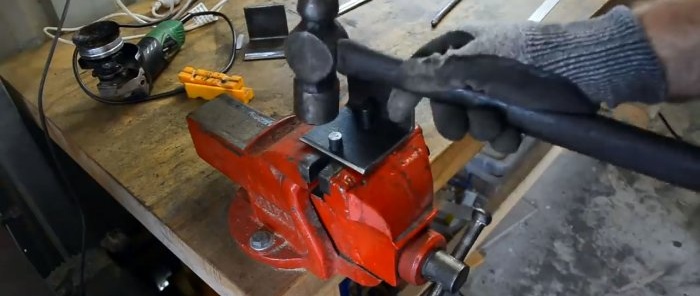
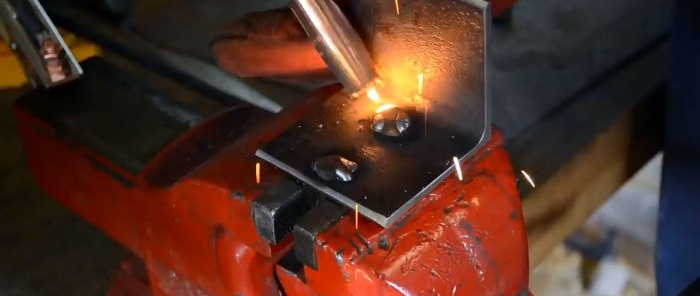
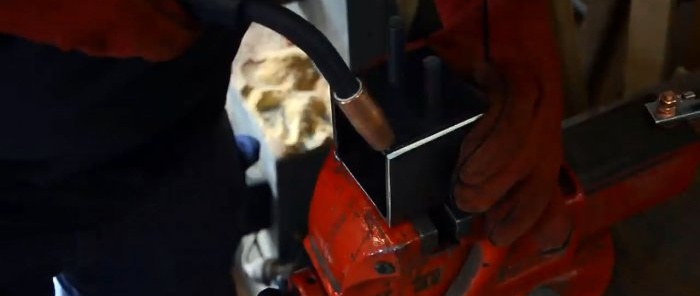
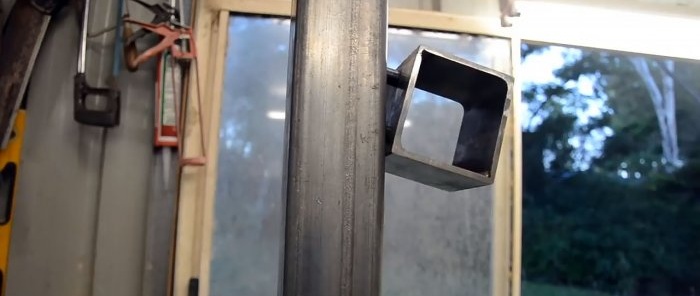
We insert into them pieces of steel rod with an outer length slightly larger than the side of the square pipe. From the inside, they should also protrude slightly above the plane of the shelf. We weld them in this position using a vice.
Then we place another on the corner with the rods so that a closed contour is formed, and weld them at the joints outside and inside. We process the seams on the grinder.
We fix the bottle jack in a vice and clamps, and use a grinder with a grinding wheel to remove the outer coating.
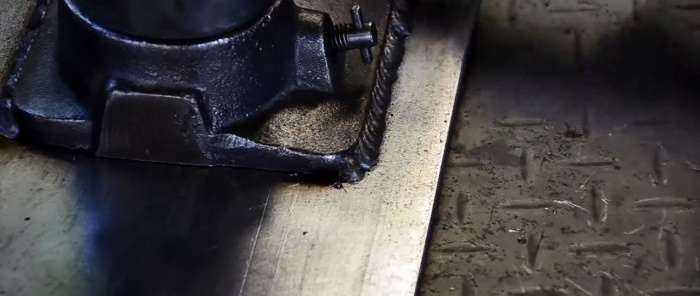
We slightly unscrew the screw extension from the retractable rod, tilt the jack and use a corrugated support to place it vertically in the center of a square cut from a thick steel sheet, and perform welding. We clean the seam from slag with a wire brush.
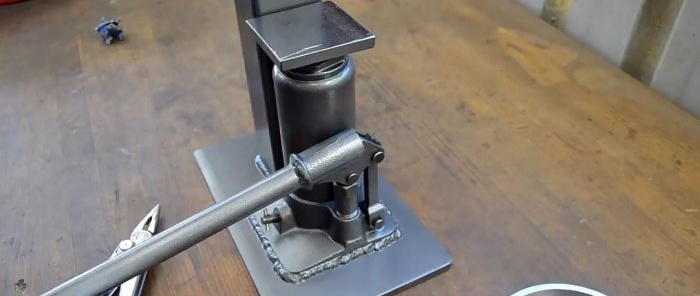
We lower the jack onto a rectangular base, check the accuracy of the installation in place and weld along the contour of its support.
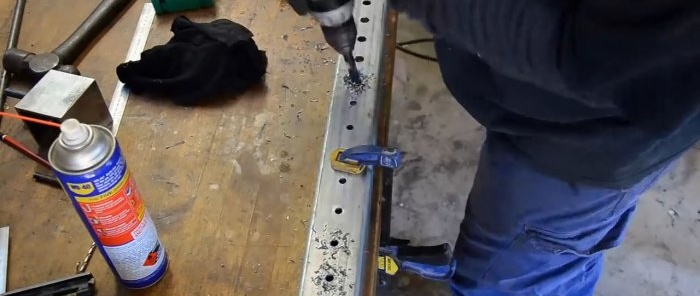
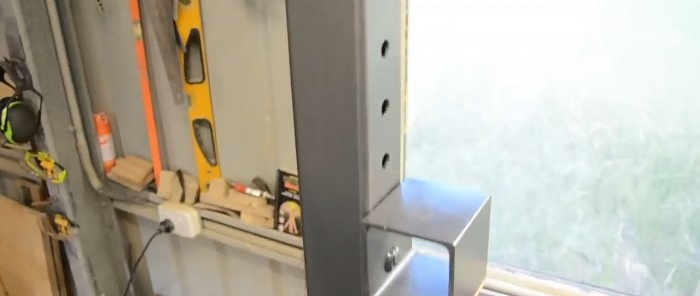
We mark and mark the centers of the holes along the square pipe post. Using a drill in two stages, we make through holes through two opposite sides. We make sure that the rods welded to the closed corner contour fit into any two holes adjacent in height.
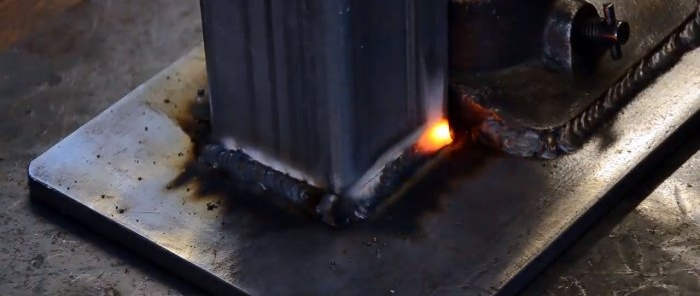
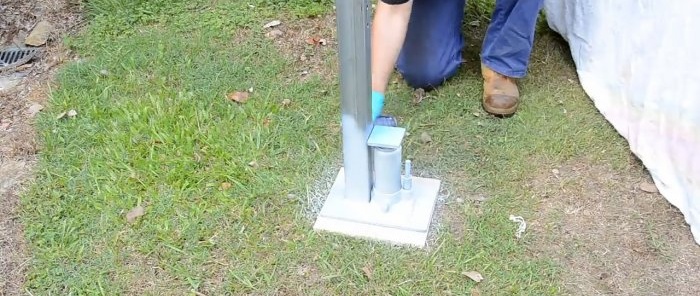
We install the stand close to the jack and weld it along the contour to the steel base. We clean the seams with a wire brush. We insert the rods into the holes of the rack at the desired height.
We disassemble the main cylinder drive and process them on an emery machine in preparation for painting.
We clean a section of round pipe from old paint, attach a metal cap to the end, process it on a grinder and weld it to the lever of the injection plunger as an extension.
We first coat the entire structure with a primer and then with protective paint for metal, covering with electrical tape the surface of the movable support, the base of the injection plunger, the relief valve, etc. Then we assemble the drive mechanism of the injection plunger and check the operation of the device without load.
We glue anti-slip material onto the contact surface of the upper stop, squeeze it with a clamp, wait until the glue dries completely and install it in place.
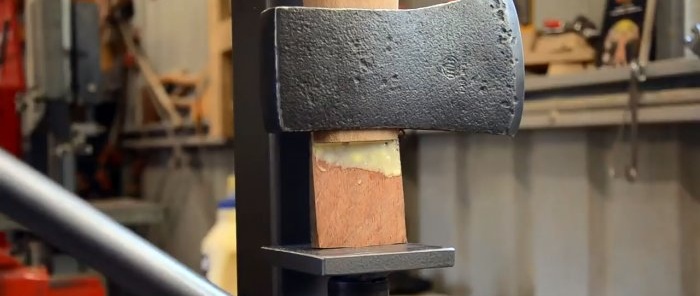
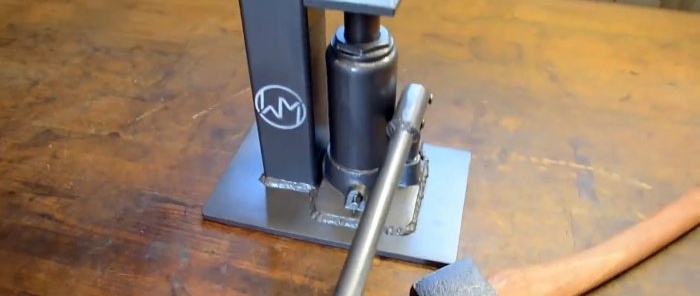
We check the hydraulic press in action by pressing the wedge into the end of the ax with the mounted head. We rest the end of the ax against the upper stop, and the base of the wedge against the surface of the movable support.
We activate the injection plunger and the movable support, rising, presses the wedge into the cut at the end of the ax handle. Having achieved the required result, release the pressure from the working cylinder and remove the ax from the press.
Watch the video
Similar master classes
Particularly interesting
Comments (0)

