How to make stylish shelves from PVC pipes
Empty walls in a house or apartment do not look the best, so they need to be filled. They can be hung with paintings, photographs or shelves. Using the latter will not only decorate the interior, but also solve the problem of placing various small items. The shelves are very easy to make, especially the plastic ones, so you don’t even need to buy them, just make them from a sewer pipe.
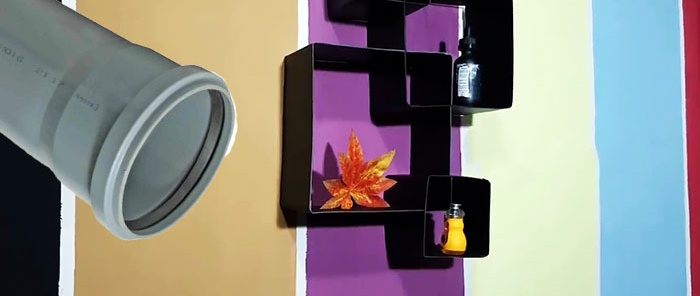
Materials:
- PVC sewer pipe 160 mm or 200 mm;
- Super glue;
- dye.
Making square shelves
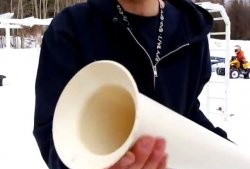
The sewer pipe is cut into pieces 11 cm long. Their number depends on the size of the shelves that need to be made. On average, 6 blanks will be required.
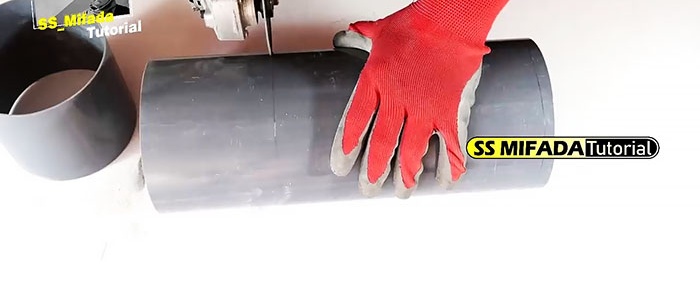
Pipe sections are cut lengthwise.
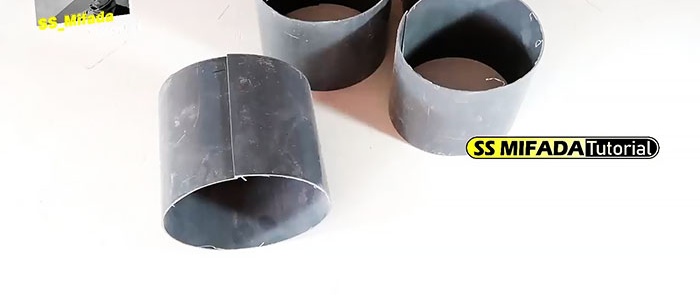
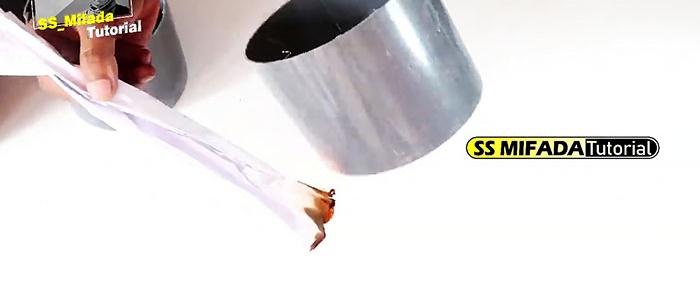
Next, they need to be aligned into plates. To do this, each tube is heated with a hairdryer or simply with a flame from an ignited sheet of paper. After warming up, it unbends and is held in this position until it cools down.
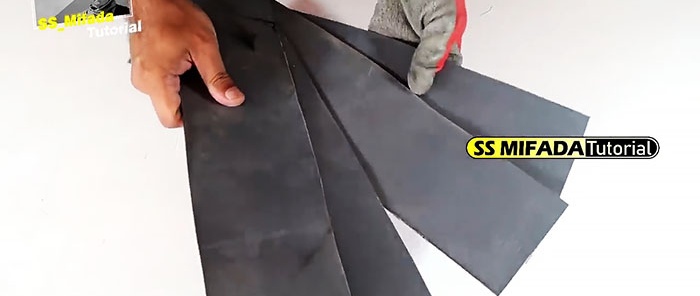
Next, the plates are given the correct rectangular shape, since after cutting the pipe in any way there will be slight distortions and waves instead of straight lines. The width of the calibrated plates should be 10 cm.
The resulting blanks need to be bent into squares.To do this, they are heated along the bend line with a lighter. To obtain large squares, 2 plates are bent into squares. One side should be 2 cm longer than the other. After this, you need to bend the long side at a right angle 2 cm from the edge.
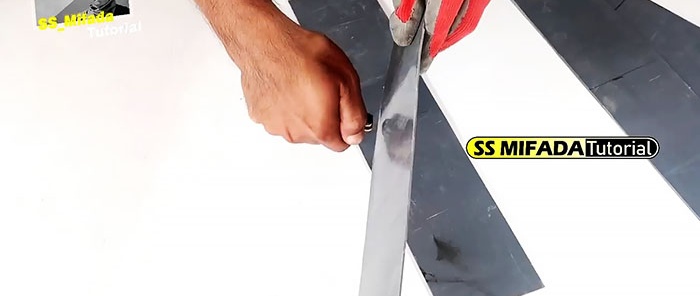
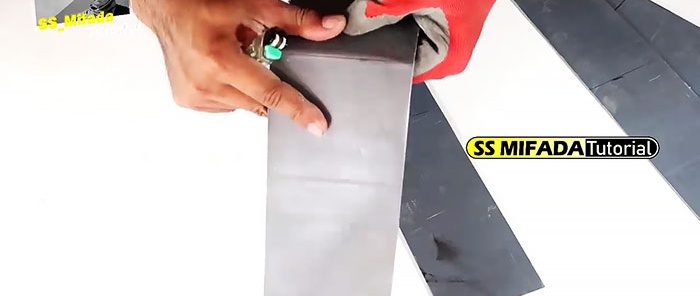
As a result, from 2 plates you get 2 parts that are glued into one square. After the glue has dried, the gluing line is sanded. You need to make 2 large squares, which will take 4 plates.
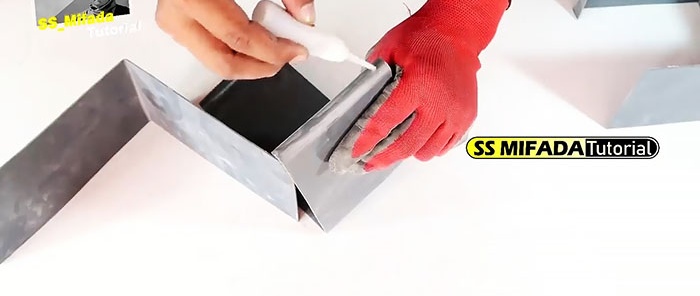
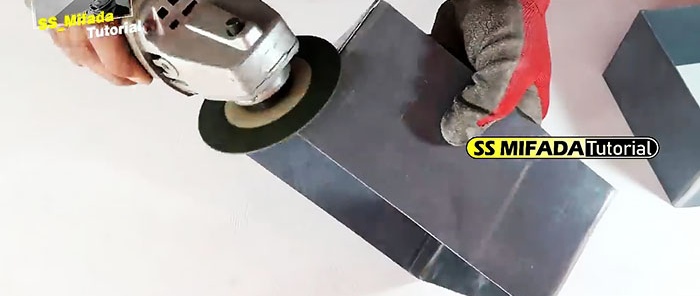
To make 2 small squares you will need 2 plates. A transverse line is drawn on them 2 cm from the edge, after which the remaining length is divided into 4 identical segments. The plates are bent along the lines, their edges are glued together.
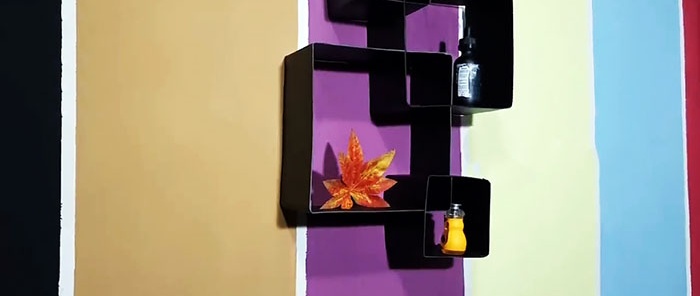
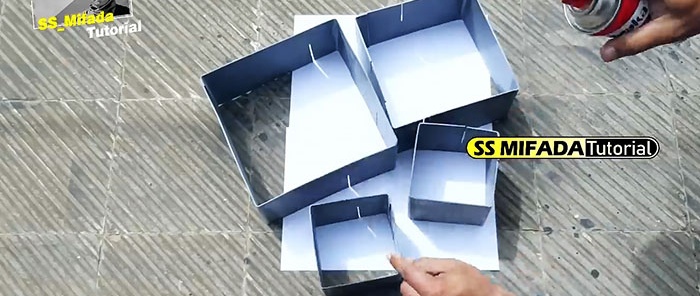
To connect the squares into one shelf, you need to make transverse cuts 5 cm deep on each of them. They are cut on adjacent sides of one corner at the same distance from it. You can retreat 4-6 cm. The width of the cut should correspond to the thickness of the walls of the squares. On large squares, 4 cuts are made on adjacent corners, rather than 2 cuts on small ones.
After cutting, the workpieces are painted with spray paint.
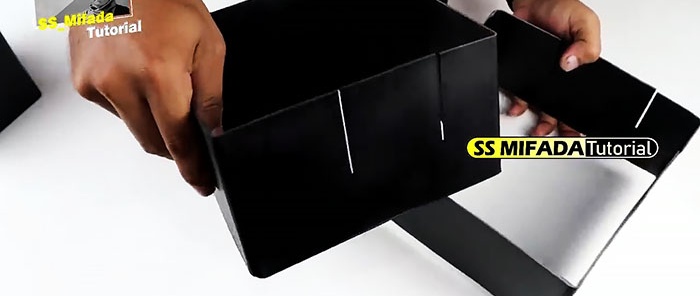
When it dries, you need to connect the large squares together, and then attach the small ones to each of them.
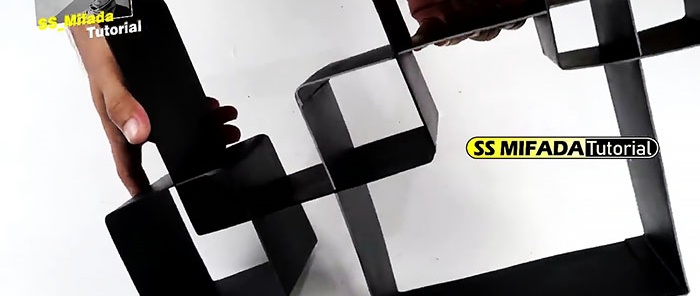
Next, the shelf is hung on several nails or self-tapping screws screwed into the wall. This is more of a decorative item, so it should not be loaded with books, but only with small souvenirs, flowerpots, bottles, etc.
